If sewing has taught me anything, it is this: the seam ripper is not a punishment. It is a perfectly normal tool in the process, right up there with scissors and pins. The trick is using it gently and on purpose so you remove stitches, not fabric.
Below is my beginner-friendly, no-jargon method for taking out stitches cleanly, whether you are fixing one wonky line or undoing a whole seam you accidentally sewed inside-out. Tea optional, but highly recommended.
Quick safety note: work in good light, keep your fingers out of the blade’s path, and always cut away from your body. A seam ripper can slip when a thread suddenly gives.
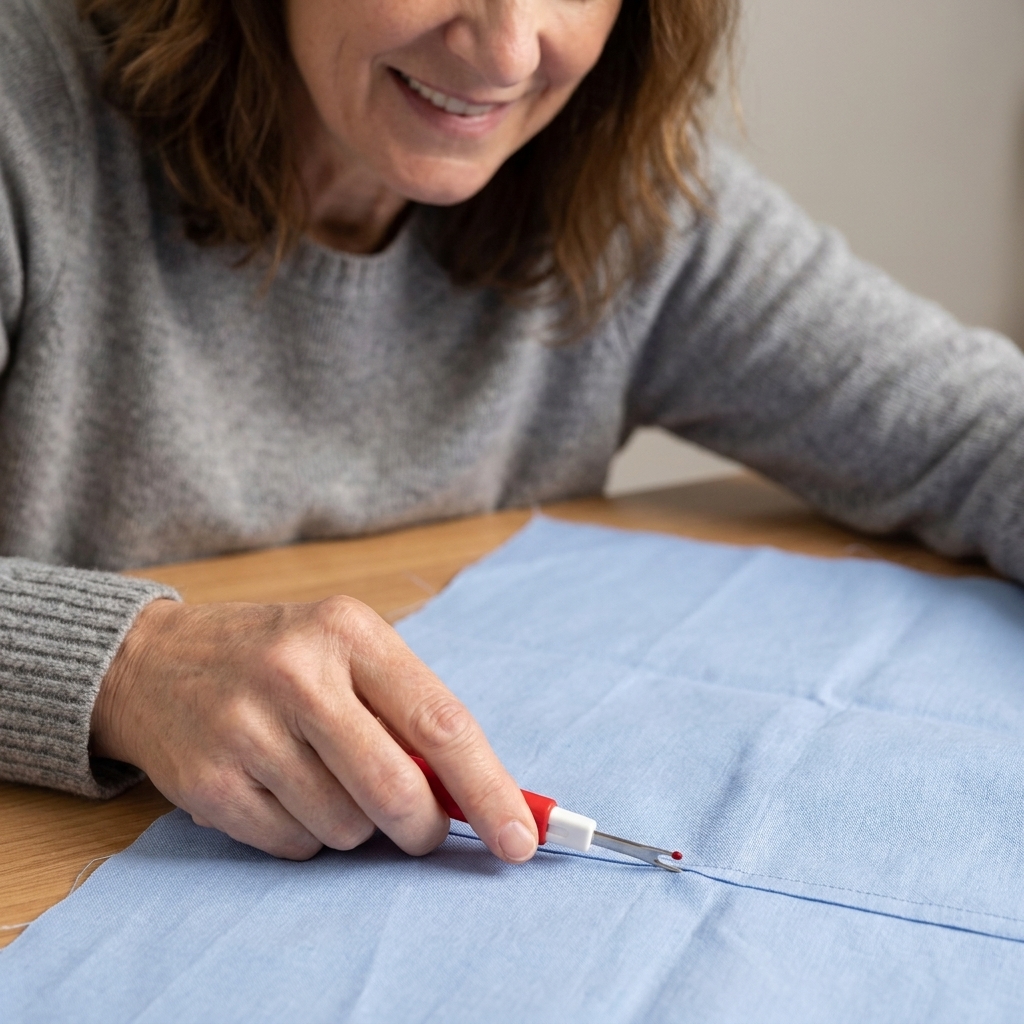
Meet the seam ripper
Most seam rippers look the same: a small handle with a metal fork at the end. That fork is doing all the work, so it helps to know what you are looking at.
- Two prongs: the forked end slides under stitches.
- Sharp inner blade: the cutting edge between the prongs slices the thread.
- The red ball (or rounded tip): this is your fabric saver. It helps the seam ripper glide along fabric without slicing into it. Not every seam ripper has a bright red ball, but most do.
Beginner rule: whenever you can, keep the rounded ball touching the fabric and keep the sharp point away from it.
Before you rip
1) Stop sewing and find good light
Don’t try to unpick stitches while the project is bunched in your lap. Lay it flat on a table, grab a lamp if you need it, and give yourself space. You will be calmer and more accurate.
2) Press the seam if it is puckered
This feels backwards, but a quick press can make stitches easier to see and easier to remove. If your seam is tightly puckered, the threads can hide in the wrinkles and you end up poking too aggressively.
3) Choose the easiest side
Look at your seam from both sides and start where the thread is easiest to see and slide under. Often that is the side that looks a little looser or less neat, especially if tension was off, but the simplest rule is: pick the side that gives you the clearest access to the stitches.
4) Test on a scrap for delicate fabric
If you are working with chiffon, rayon challis, loosely woven linen, or anything that loves to snag, practice the motion on a scrap first. It takes 30 seconds and can save your project.
Optional helpers: a small magnifier (dark thread on dark fabric is no joke) and tiny embroidery scissors for stubborn micro-stitches.
The safest method
This is the method I use for most beginner projects because it is controlled and gentle. It is slower than zipping a seam, but it dramatically lowers the chance of a fabric slice.
Cut a few stitches, then pull
- Slide the rounded ball under a stitch. Keep the fabric flat and use your non-dominant hand to hold the seam steady.
- Lift slightly and cut. You only need the tiniest lift. Let the blade do the work.
- Skip 2 to 4 stitches and cut again. Work in small sections instead of cutting every single stitch.
- Stop and gently pull the loosened thread. After you have cut a few stitches, you can often pull the thread out in a longer piece.
- Repeat until the seam opens. Slow and steady is the win here.
Why this works: cutting every few stitches releases tension. Instead of forcing the seam ripper under tight threads (which can make you stab or drag), you create slack and the seam starts cooperating.
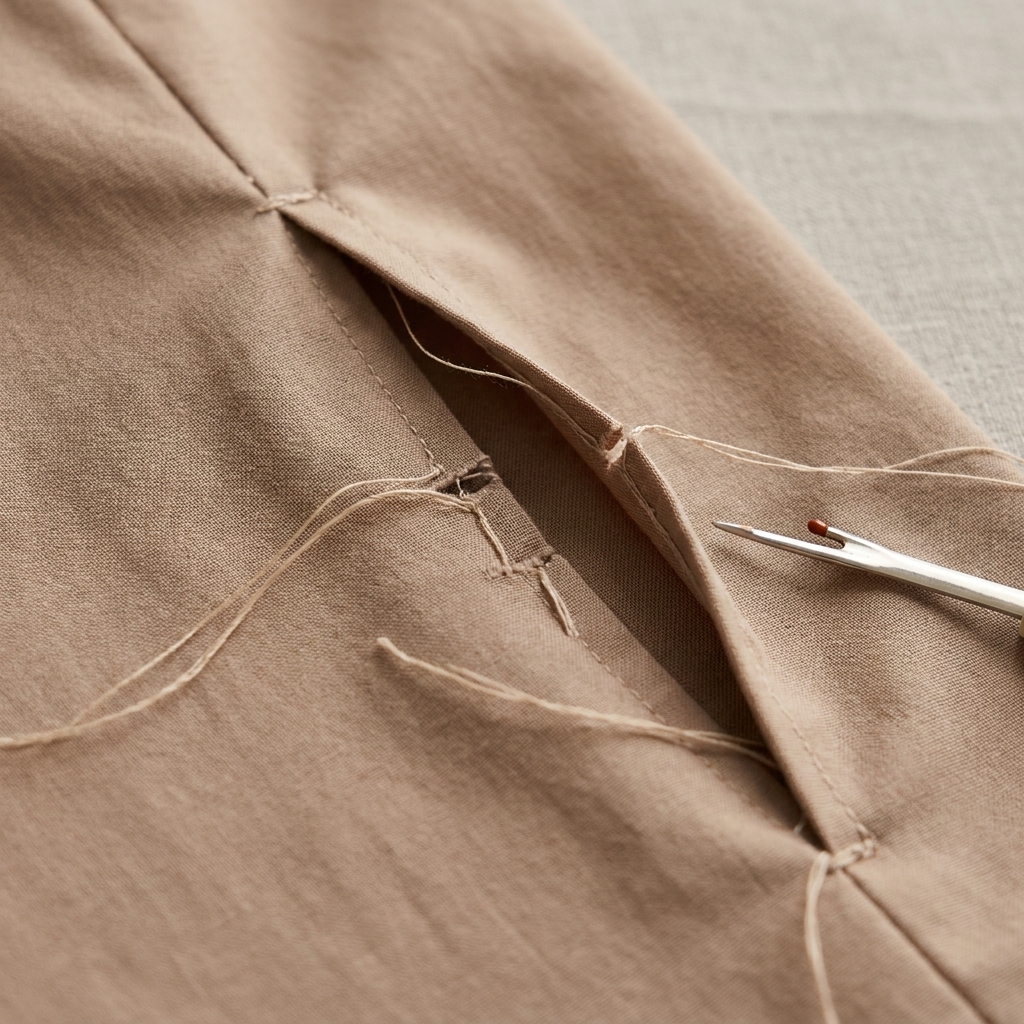
How to zip a seam
Once you are comfortable, you can use the faster method for long straight seams in stable woven fabrics like quilting cotton, broadcloth, denim, or canvas.
When zipping is safe
- Long, straight seams
- Medium to heavy woven fabric
- Normal stitch length (not tiny stitches)
- You can clearly see the seam threads
How to do it
- Work from the side where you can see the ladder clearly. You want to be cutting the thread that bridges across the seam.
- Slide the rounded ball under the seam threads. The ball should be against the fabric.
- Pull the seam ripper forward in a smooth motion. Light pressure only. If you feel resistance, stop. Resistance is your warning sign.
- Stop every few inches and check. If you see fuzzing, snags, or stretched stitches, switch back to the slower method.
After you zip: flip to the other side and pull out the uncut thread. Sometimes it comes out in one satisfying strand, sometimes it needs a couple of gentle tugs along the line.
Beginner tip: if you are nervous, do a mini zip of one inch at a time. You get the speed benefit without getting reckless.
Avoid holes and snags
Keep the point out of the fabric
Most damage happens when the sharp point dips into the fabric weave. Try to keep the seam ripper more parallel to the fabric surface rather than angled downward.
Do not rip toward your hand
I know it is tempting to brace the fabric with your thumb right next to the stitch you are cutting. Instead, hold the fabric a little farther away so if the seam ripper slips, it does not go into you or your project.
Cut thread, not fabric
If you cannot slide under a stitch easily, do not force it. Pick up the fabric, change angles, or use the tip to gently tease the thread up first.
Use a fresh seam ripper
Dull seam rippers drag. Dragging causes you to press harder. Pressing harder causes accidents. If yours feels like it is chewing thread instead of slicing cleanly, it is time to replace it.
Use a barrier on delicate fabric
For very delicate or loosely woven fabric, slide something thin behind the seam before you cut, like:
- a small piece of cardstock
- a thin plastic ruler
- a scrap of sturdy fabric
This gives the seam ripper something to bump into besides your project.
Fabric-specific tips
Knit fabrics
- Use the slow method and cut every few stitches.
- Do not stretch the knit while ripping. Keep it relaxed and flat.
- If you see laddering or runs, stop and switch to tiny snips with small scissors.
Delicate wovens
- Work under bright light so you can see each thread clearly.
- Use a barrier behind the seam.
- Cut stitches from the side you can see best, then pull threads out gently with tweezers if needed.
Denim and heavy canvas
- Bring extra patience. Thick seams can be tight.
- Pick out stitches in sections and pull thread with firm, steady tension.
- A stiletto or pin can help lift thread loops before you cut.
Very small stitches
Tiny stitches hold tightly, especially if you were sewing with a short stitch length. Instead of trying to slide under every stitch, cut a few stitches, then use your fingernail or tweezers to pull the loosened thread out.
Different types of stitching
Topstitching
Topstitching is often done with a longer stitch length and sometimes thicker thread, depending on the project. It can also leave visible needle holes in certain fabrics, so go slowly.
- Cut every 3 to 5 stitches.
- Pull out the top thread first, then the bobbin thread.
- If the fabric looks dotted afterward, a quick press with steam often helps the holes relax.
Basting stitches
Hand basting and long machine basting usually pull right out. Snip at the beginning, then gently pull the long thread. If it resists, do not yank. Snip once or twice more along the line and try again.
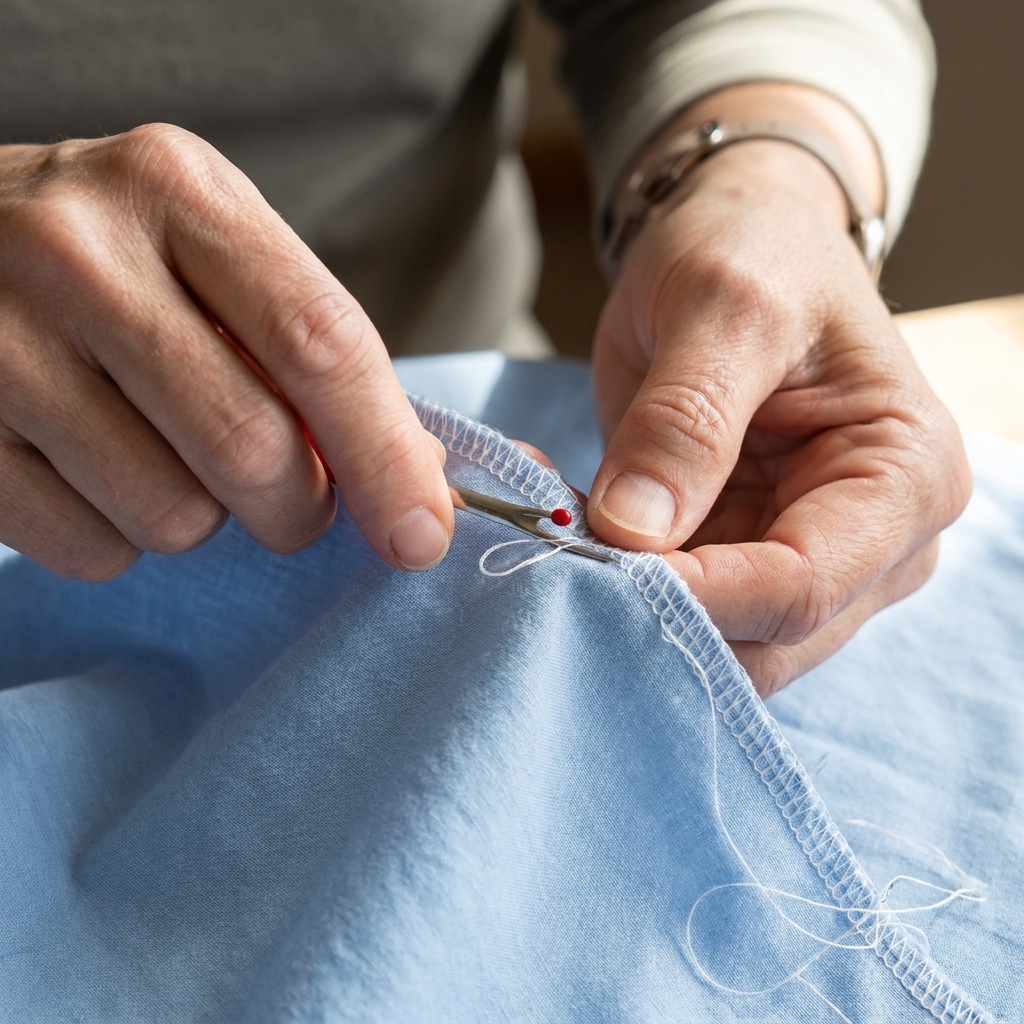
Serger seams (overlock stitches)
Serger stitching can look like a thread jungle, but it is totally removable.
- Find the straight seam line made by the needle threads. On some overlocks, it helps to follow the two straight lines of stitching and confirm which threads run in that path.
- Snip the needle threads every inch or so.
- Gently pull the looper threads. They often come away in longer chains once the needle threads are broken.
If you are unsure, start with tiny snips and check often. Overlock thread can tighten into fabric if you pull the wrong strand too aggressively.
After you rip
Remove leftover thread bits
Little thread crumbs love to hide in seam allowances. A few options:
- use tweezers to pluck them out
- use a lint roller for fuzzy fabrics
- use a piece of tape pressed lightly onto the area
- use a lint brush for stubborn fuzz
Press the area
A press helps the fabric recover from the stitching. If you can, press from the wrong side first, then the right side.
Check for needle holes and stress marks
If you see tiny holes, do not panic. Many fabrics relax with steam and time. For stubborn holes, gently rub the fabric with your fingernail or a spoon edge to encourage the weave to close up, then press again.
Common mistakes
- Mistake: ripping while the fabric is stretched.
Do instead: lay the seam flat and relaxed, especially on knits. - Mistake: stabbing straight down into the seam.
Do instead: slide under the thread with the rounded ball against the fabric. - Mistake: pulling the thread hard when it is resisting.
Do instead: snip a few more stitches to release tension, then pull again. - Mistake: trying to remove a whole seam without checking the other side.
Do instead: flip the seam over occasionally and make sure you are not catching the fabric or a second layer.
Quick FAQ
Which side should I rip?
Start on the side where stitches are easiest to see and easiest to slide under. If one side looks slightly looser or loopier, that is often a good candidate, but visibility beats guessing every time.
Why is my seam ripper snagging the fabric?
Usually it is one of three things: you are using the sharp point instead of the rounded ball, the seam ripper is dull, or the fabric is delicate and needs the slow method and a barrier behind the seam.
Can I use a seam ripper on knit fabric?
Yes, just go slowly and do not stretch the knit as you work. Cut every few stitches and pull gently.
Do seam rippers get dull?
They do. If you find yourself pressing harder to cut thread, replace it. A sharp seam ripper is actually safer because it requires less force.
Final pep talk
If you are unpicking stitches, you are sewing. Truly. Fixing and refining is part of the craft, not a detour from it. Go slow, keep the fabric flat, and let the seam ripper do the cutting. You have got this, one snip at a time.