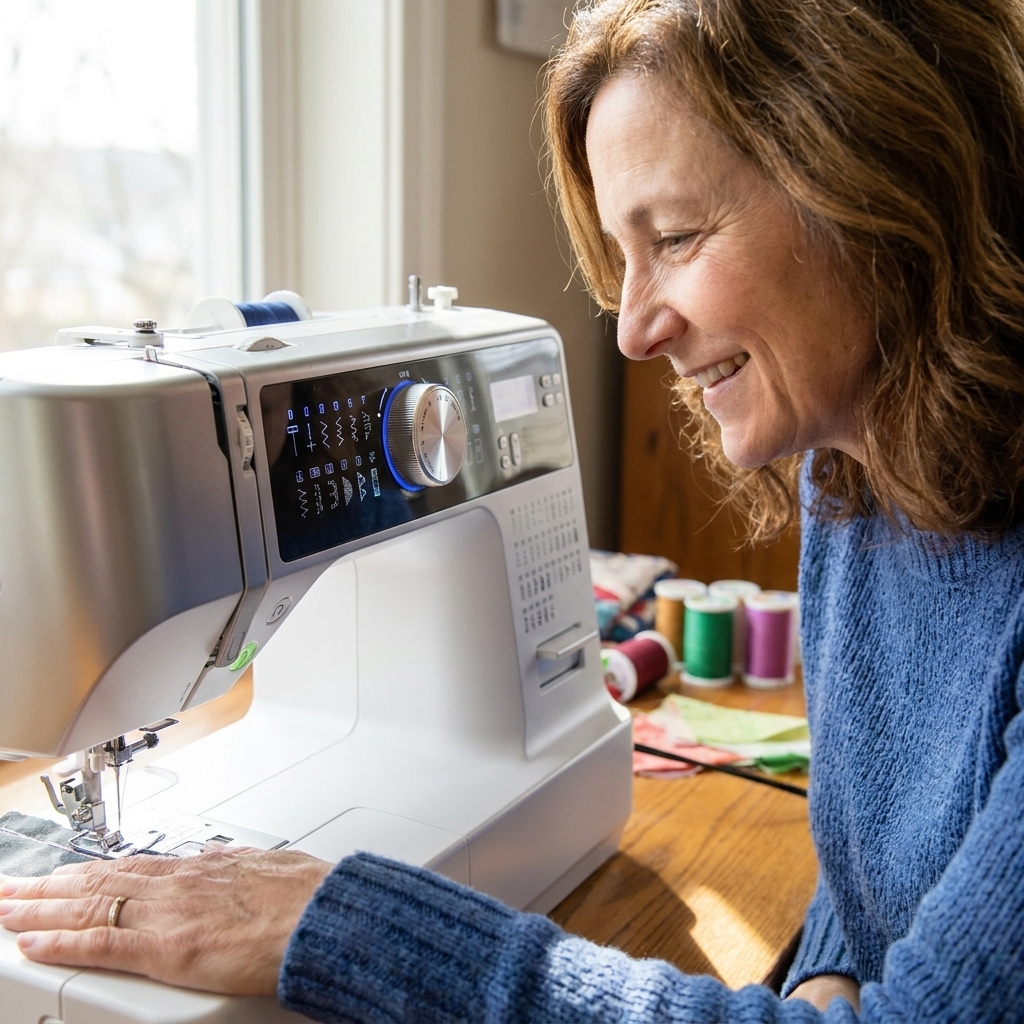
The first time I tried to sew a “simple straight seam,” I ended up with something that looked like it had wandered off to find snacks. If that sounds familiar, you are in excellent company. Sewing straight isn’t a talent you either have or don’t. It is a little bundle of tiny habits: how you sit, how you guide the fabric, how your machine is set up, and what you look at while you sew.
Let’s turn straight stitching into a repeatable skill you can trust, whether you are hemming curtains or piecing your first tote bag.
What sewing straight really means
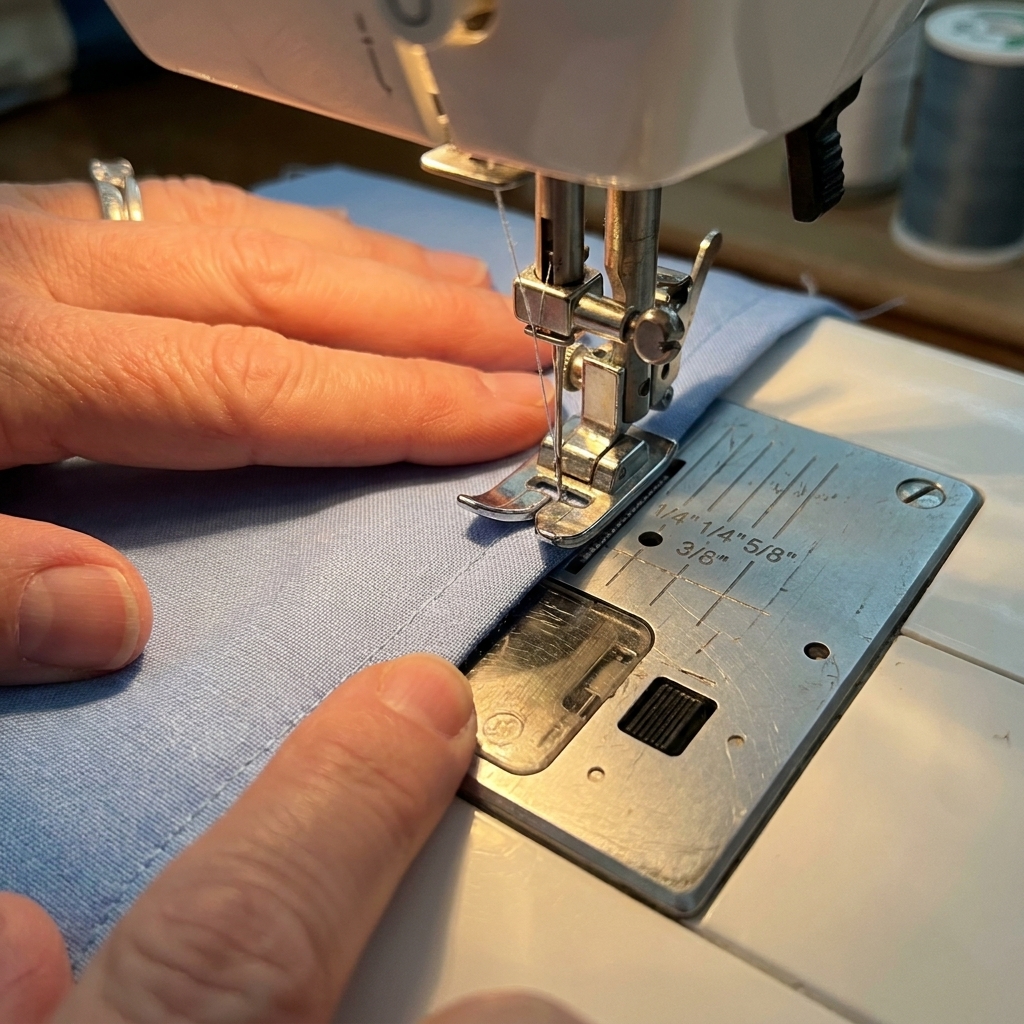
Here is the secret: you are not trying to force the needle to stitch a straight line on the fabric. You are trying to keep the fabric moving consistently so the seam allowance stays the same the whole way down.
That means your main goal is consistent distance from the edge, not staring at the needle like it is a tiny high-stakes test. When you are following a pattern, consistent seam allowance is what makes pieces match up later.
Set up before you sew
1) Pick the right needle and thread
Think of these as friendly starting points, not unbreakable rules:
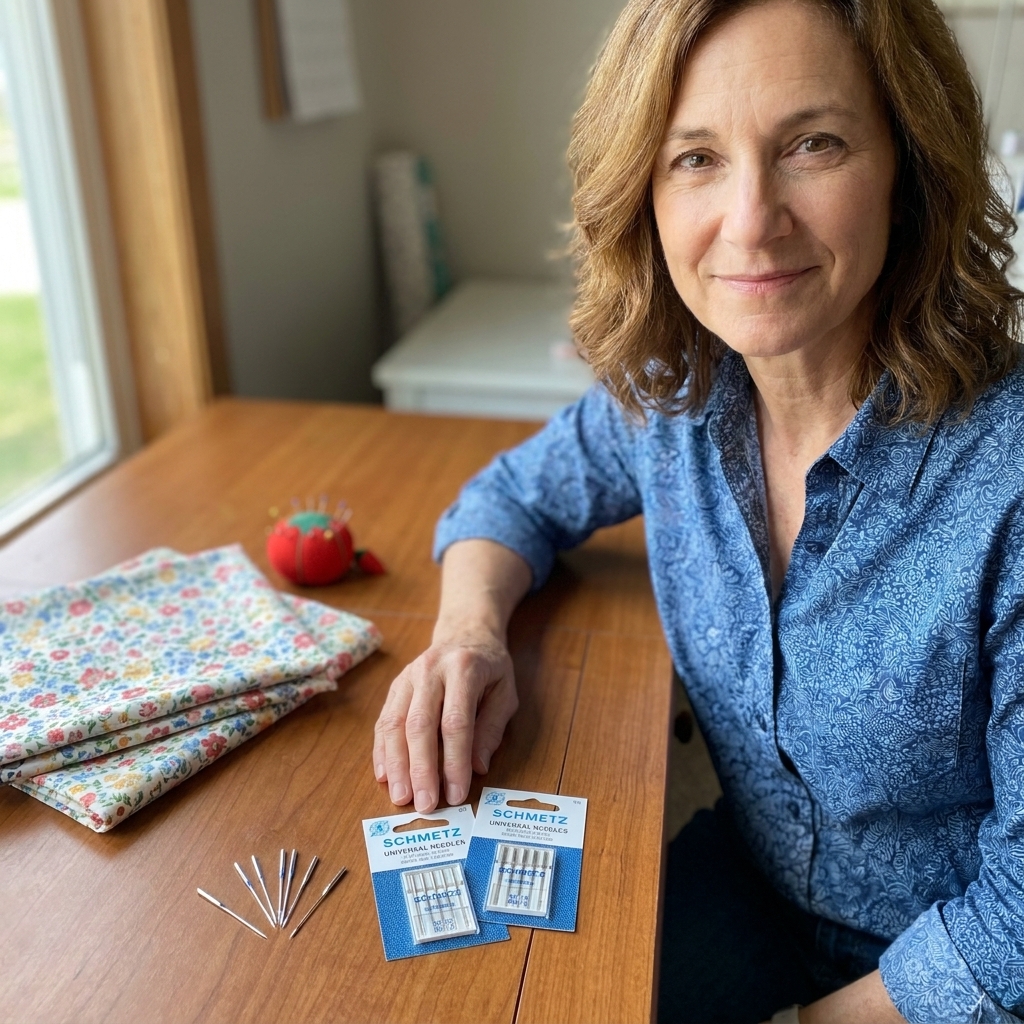
- Woven cottons: a universal 80/12 is a solid default. For finer quilting cotton, many people like 75/11, and for multiple layers you may prefer 90/14.
- Lightweight fabric: start with 70/10. If the fabric is very lightweight or tightly woven (batiste, lawn, silk), a Microtex/sharp needle in 60/8 to 70/10 often gives cleaner stitching.
- Denim or canvas: try a jeans needle 90/14. For heavier denim, thick seams, or stacked layers, you may need 100/16.
A dull or wrong needle can “push” fabric around, which makes you feel like you cannot steer. Swap the needle first before you blame yourself.
2) Press first, then cut cleanly
Wrinkly fabric edges are sneaky. If the edge is wavy, your seam allowance will wobble even if your hands are steady. Give your fabric a quick press and cut with sharp scissors or a rotary cutter so you are guiding a clean edge.
3) Start with a friendly fabric
If you are practicing, choose a stable woven like quilting cotton. Super stretchy knits, slippery satin, and chunky fleece are all possible to sew straight, but they are level-up fabrics.
4) Choose a reasonable stitch length
For most beginner seams on woven fabric, set your stitch length around 2.5 mm. Very tiny stitches can contribute to puckering, especially if tension is high or the needle and thread do not match the fabric. Very long stitches can look uneven while you are learning.
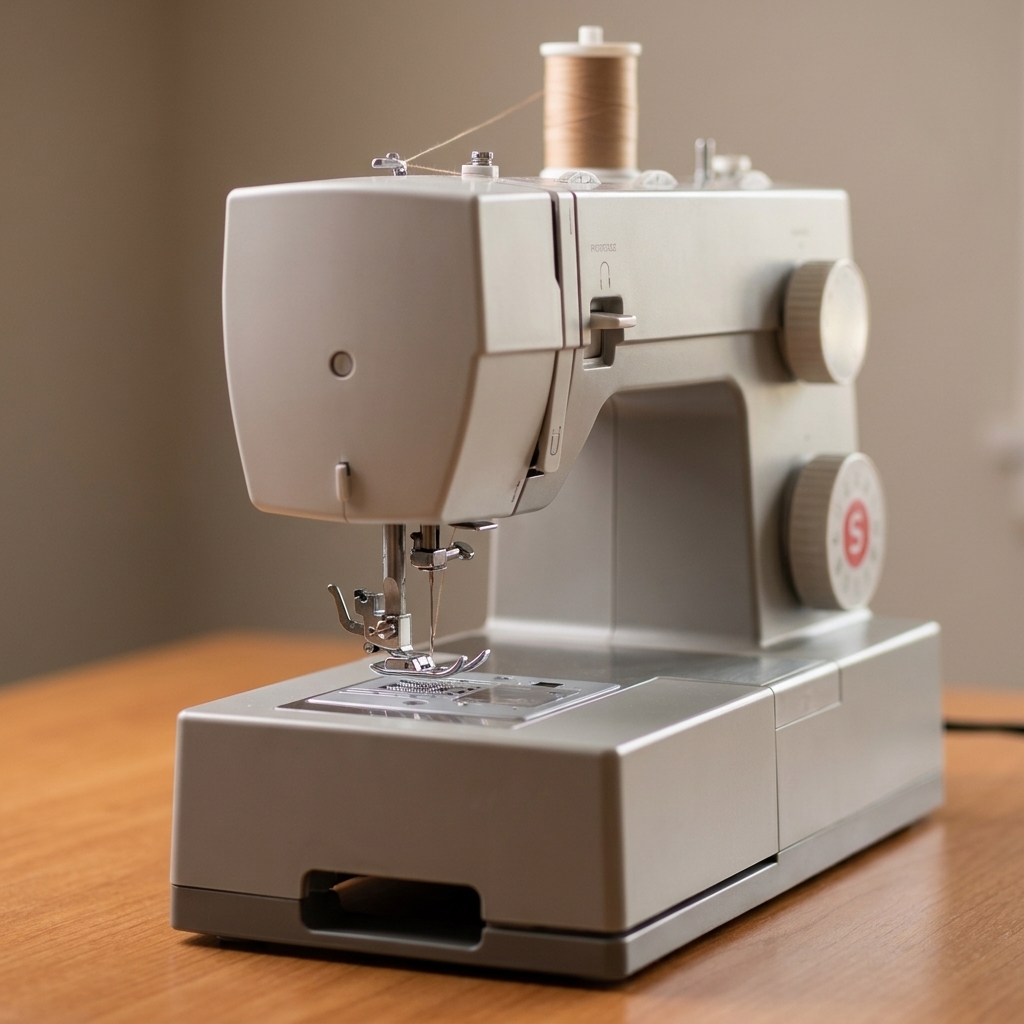
5) Do a quick machine check
- Clean lint under the needle plate if it has been a while. A fuzzy feed area can affect how smoothly fabric moves.
- Make sure the feed dogs are up (it happens to all of us).
- If your machine has presser foot pressure adjustment, too much pressure can cause dragging, drifting, or stretching, especially on knits. If things feel grabby, reduce it a notch and test on scrap.
Stop watching the needle
I know. The needle is mesmerizing. But watching it is like trying to drive by staring at the hood of your car.
Instead, pick a guide and keep the fabric edge lined up with it:
- The seam allowance lines on your needle plate (those little etched markings)
- The edge of your presser foot
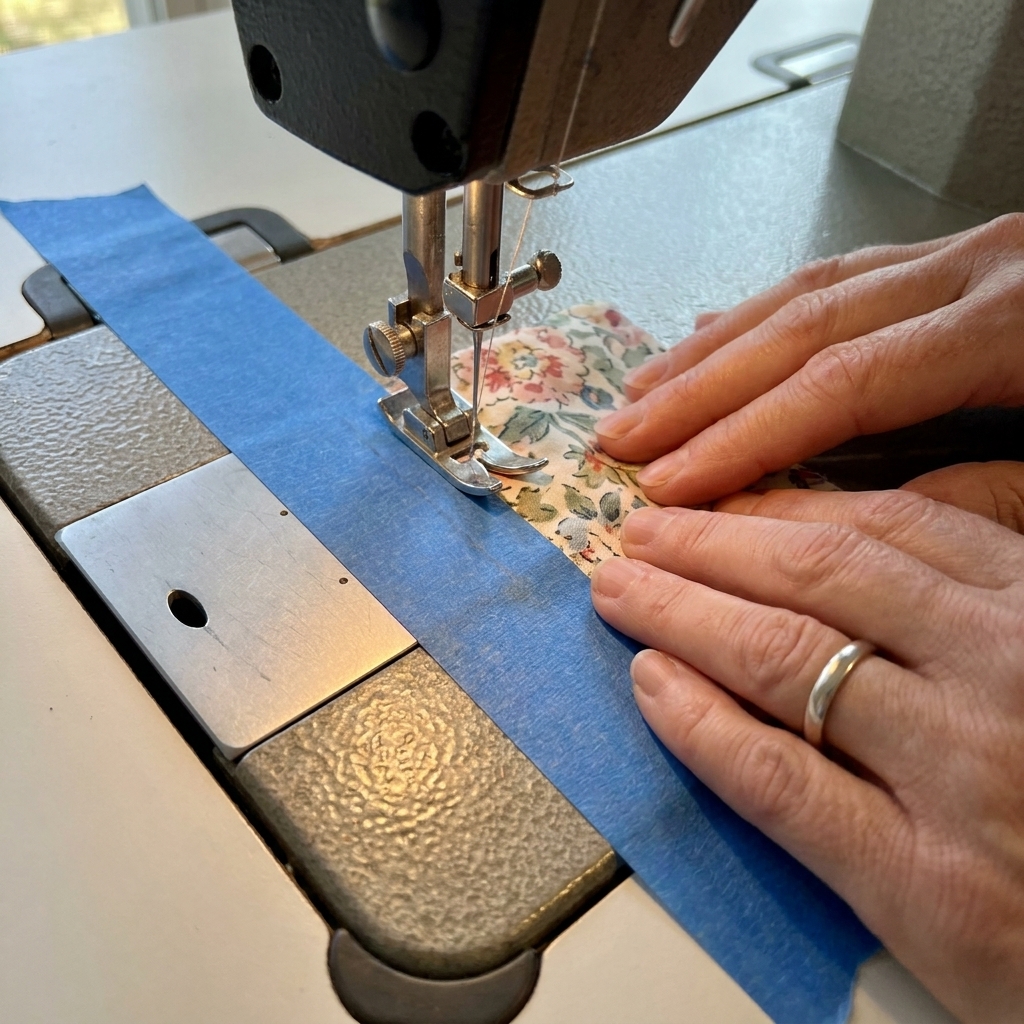
- Painter’s tape (also called masking tape) you place as a guide
- A magnetic seam guide (if your machine allows it)
Your eyes stay on the guide. Your hands simply keep the edge of the fabric riding the rail.
The tape trick
If your machine’s plate markings feel hard to see or you want a bold, no-mistakes lane to follow, tape is your best little helper.
How to do it
- Decide your seam allowance. For beginner projects, 5/8 inch (about 1.5 cm) is common in commercial patterns, and 1/2 inch is nice for simple projects.
- Measure from the needle to where you want the fabric edge to ride (usually to the right of the needle).
- Lay down a strip of painter’s tape so the fabric edge can run along it.
- Sew with the fabric edge gently touching the tape, not shoved into it.
Tip: If you want an even more fence-like guide, fold the tape over itself once or twice to make a thicker ridge.
Seam guides: what to use
There is no single best option, only the one that feels easiest for your brain and your machine.
Needle plate markings
Best for: quick everyday sewing once you get used to them.
Watch out for: they can be faint, and fabric can cover them as you sew.
Presser foot edge
Best for: topstitching or consistent narrow seam allowances.
Watch out for: presser feet vary. If you switch feet, your guide edge might change.
Magnetic seam guide
Best for: long straight seams like curtains.
Watch out for: some computerized machines do not love magnets near them. Check your manual first. Also, magnets can shift if you bump them.
Stick-on seam guide (or stacked tape)
Best for: bold visibility and beginner confidence.
Watch out for: adhesive residue if left on too long. Painter’s tape is usually gentle.
Hand positioning
Guide, do not pull
Your machine’s feed dogs are little grippy teeth under the presser foot. Their job is to move fabric through at the correct speed. If you pull from the back, you can bend the needle, distort the fabric, and create wavy seams.
Try this instead:
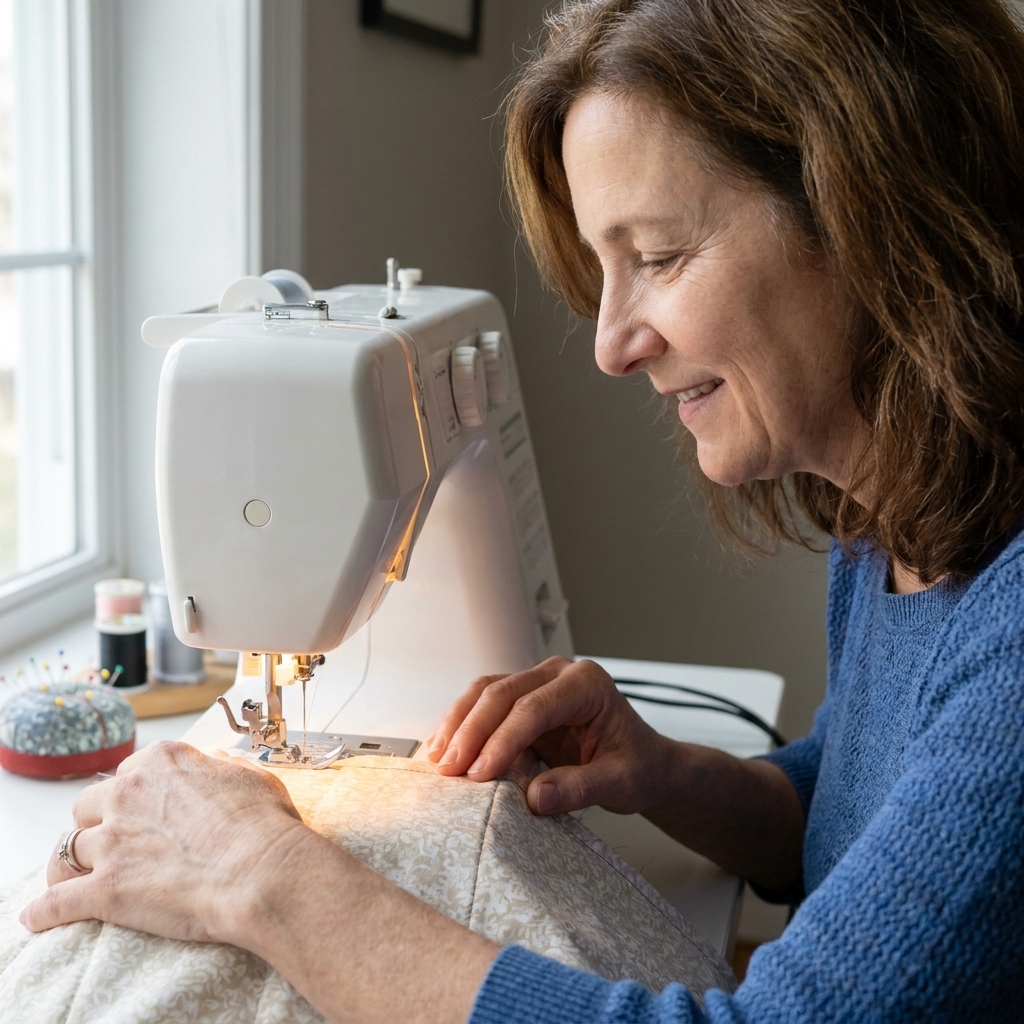
- Place your hands flat on either side of the fabric, a few inches in front of the needle.
- Keep a light touch, like you are guiding a sheet of paper.
- Let the fabric feed itself. Your hands only keep it aligned with your guide.
Relax your shoulders
When you tense up, you overcorrect and the seam wiggles. Take a breath and slow your foot down. Slow sewing is accurate sewing.
Start straight
A lot of crooked seams actually start crooked.
A clean start routine
- Line up your fabric edge with your seam guide before you lower the presser foot.
- Lower the presser foot, then take 1 to 2 hand-wheel stitches to anchor the fabric.
- Backstitch for 2 to 3 stitches if it is a seam that needs securing.
- Then sew forward at a steady, not-too-fast pace.
If your machine has a speed control slider, set it to the middle while you practice. You want your hands and eyes to have time to coordinate.
Practice that works
If you have ever tried to just practice sewing straight and got bored in 45 seconds, these are for you. They are short, focused, and they build muscle memory fast.
Exercise 1: Sew on paper (use an old needle)
Grab a sheet of printer paper and draw a few long lines with a pen. Remove your thread (or leave it, but know you will perforate the paper either way), lengthen your stitch to around 3.0, and sew right on the line.
Paper can dull needles, so use an old needle for this exercise and swap back to a fresh one for fabric.
This teaches steering without worrying about seam allowances yet.
Exercise 2: Tape roads on fabric
Put two parallel strips of painter’s tape on scrap cotton to form a road about 1/2 inch wide. Sew down the middle without crossing either tape edge.
This builds smooth, tiny corrections instead of big panicky ones.
Exercise 3: Real seam allowances on scrap
Cut a few 2-inch wide strips. Mark a seam line with a washable marker or chalk at 1/2 inch from the edge. Sew while keeping the raw edge aligned to your guide, then check if your stitches landed on your marked line.
Troubleshooting
Your seam allowance changes
- Cause: you are watching the needle instead of a guide.
- Fix: choose one guide point and keep your eyes there. Tape helps a lot here.
The fabric drifts left or right
- Cause: you are pulling from the back, pushing too hard from the front, or presser foot pressure is too high (if adjustable).
- Fix: lighten your grip and let the feed dogs do the moving. If your machine allows it, reduce presser foot pressure a notch and test on scrap.
The seam looks wavy
- Cause: stretching the fabric as you sew, tension issues, needle and thread mismatch, or a stitch length that is too short for the fabric.
- Fix: support the fabric so it stays flat, rethread top and bobbin, and test a slightly longer stitch (around 2.5 mm for many wovens). On knits, a walking foot can help.
Your fabric gets eaten at the beginning
- Cause: the needle is pushing fabric down into the needle plate hole.
- Fix: the easiest solution is a leader (a small scrap of fabric). Start stitching on the scrap, then feed your project right behind it like a runway. If you do start slightly in from the edge and backstitch, just know it shortens the seam a tiny bit at the start. Also consider a straight stitch plate if your machine has one.
The stitches are straight, but the fabric edge looks jagged
- Cause: inconsistent cutting or shifting layers.
- Fix: recut with a ruler and rotary cutter if possible, pin or clip more often, and press before sewing.
Pinning and clipping
If you are sewing two layers and the top layer creeps ahead, your seam can look crooked even if you guided perfectly.
- Pin perpendicular to the edge so layers stay aligned.
- Use more pins than you think you need while learning. You can use fewer later.
- Try fabric clips for thicker layers.
- Do not sew over pins as a beginner. Remove pins a couple inches before the needle reaches them so you are not pulling a pin out at the last second with the needle right there.
My confidence routine
If you want a simple checklist you can repeat every time:
- Press fabric.
- Fresh needle if you are unsure.
- Set stitch length to 2.5 (adjust for fabric).
- Add painter’s tape guide if you feel wobbly.
- Hands guide, do not pull.
- Eyes on the guide, not the needle.
- Sew slowly for the first 2 inches, then keep an even pace.
And if it still goes sideways? That is what the seam ripper is for. It is not a punishment, it is just part of sewing. Tea optional, but highly recommended.
FAQ
Why does my machine sew crooked even when I do everything right?
Often it is not the machine, it is the setup. Rethread the top thread and bobbin completely (most tension weirdness is actually threading weirdness), check that your presser foot is fully snapped on, and put in a new needle. If it has been a while, clean lint under the needle plate and make sure the feed dogs are up. Then try again on scrap.
Should I use the edge of the presser foot as my guide?
Yes, if it gives you a consistent seam allowance for what you are sewing. Just remember that different presser feet have different widths, so your perfect guide may change when you swap feet.
How do I sew straight on stretchy knit fabric?
Use a ballpoint or stretch needle, a longer stitch (around 3.0), and avoid stretching the fabric as it goes under the presser foot. A walking foot helps a lot. If your machine has presser foot pressure adjustment, slightly reducing pressure can help knits feed evenly. If you are brand new, practice on woven cotton first so you build steering skills without the extra challenge.
Do I need a seam guide attachment?
Not at all. Tape and plate markings can get you very far. A seam guide is a nice upgrade if you do lots of long seams and want a consistent fence to follow.