If sewing feels like a magic trick sometimes, fabric cutting is usually the part where the spell breaks. You trace a pattern, you cut carefully, and somehow your pieces still come out a little wobbly, a little stretched, or mysteriously not the same size.
The good news is this: accurate cutting is a skill, not a personality trait. And the tool you choose matters a lot. Let’s walk through rotary cutters vs. sewing shears, when each shines, and exactly how to use them so your pattern pieces stay on-grain and true to size.
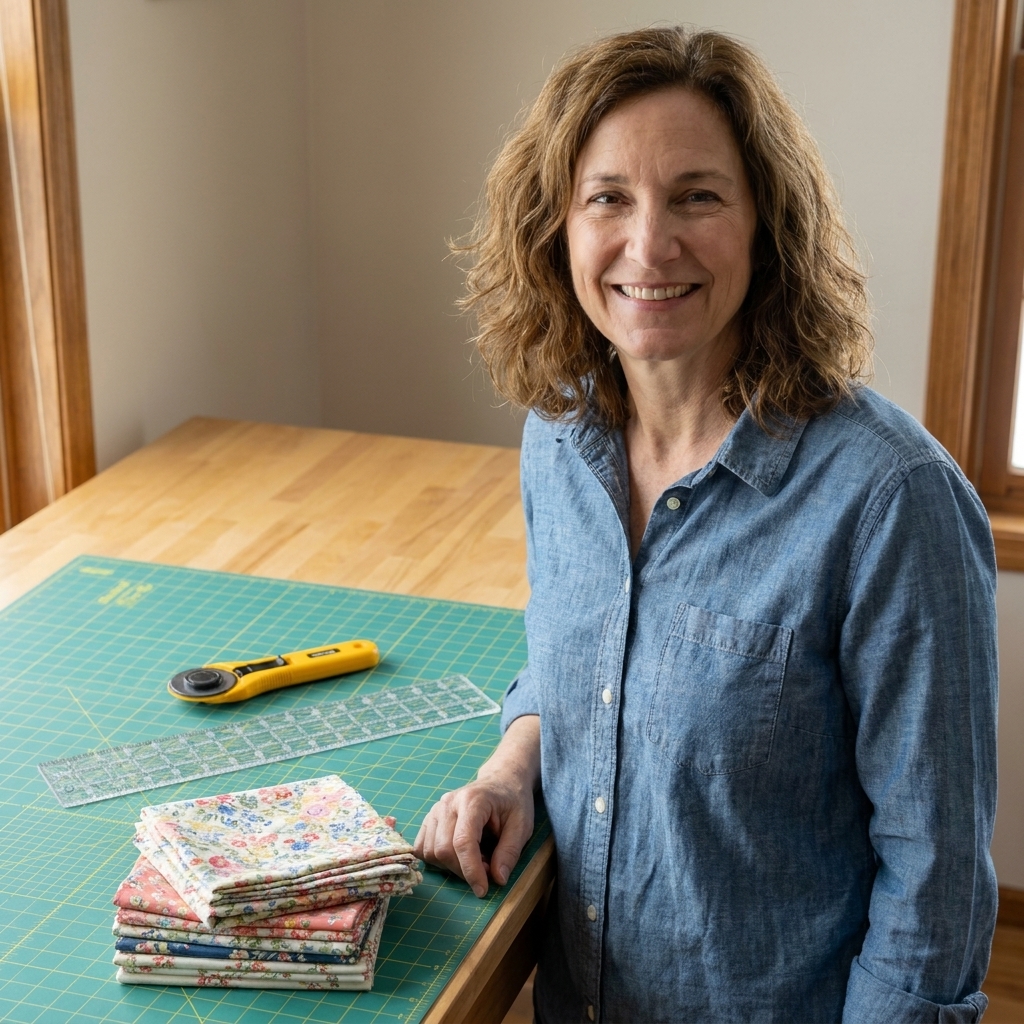
Rotary cutter vs. sewing shears: the quick decision
If you only remember one thing, remember this: rotary cutters are amazing for stable fabrics and long clean edges, and shears are more forgiving on thick, shifty, or delicate fabrics, especially when you need to pivot through curves and corners.
| Tool | Best for | Watch out for |
|---|---|---|
| Rotary cutter | Quilting cotton, linen, canvas, pattern cutting with a ruler, straight edges, multiple layers | Can drift off-grain if fabric is skewed, can nick rulers or fingers, needs a mat and sharp blade |
| Sewing shears | Garment cutting, curves, thick fabrics, single-layer cutting, small adjustments at the edge | Can lift fabric and distort edges if you “chop” or open the blades too wide |
| Snips (not a main cutter) | Clipping threads, tiny notches | Not for cutting pattern pieces |
What “cutting on grain” means
Fabric grain is simply the direction of the threads.
- Lengthwise grain runs parallel to the selvage (the finished edge of the fabric).
- Crosswise grain runs from selvage to selvage.
- Bias runs diagonally and has the most stretch on wovens.
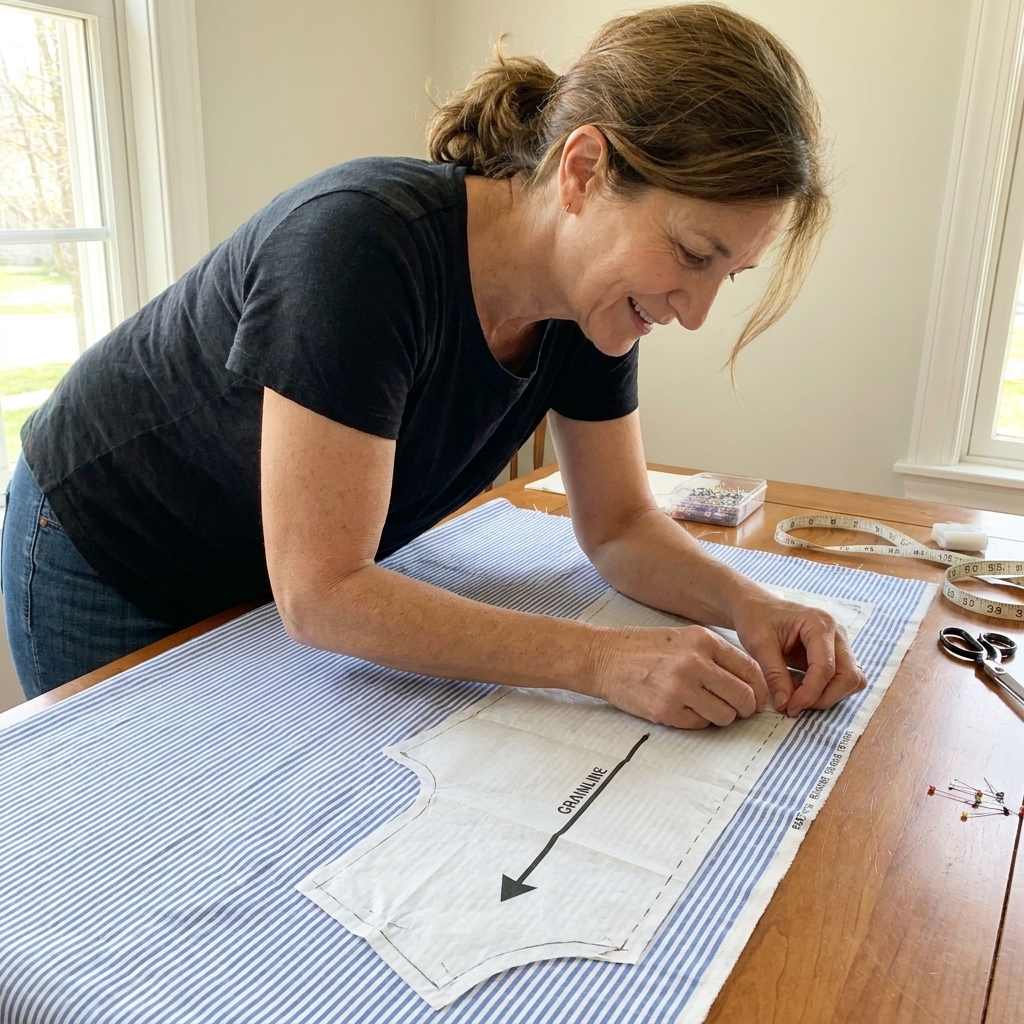
Patterns usually include a long arrow called the grainline. Most of the time, that arrow needs to be parallel to the selvage so your garment does not twist or hang strangely. If a piece is meant to be cut on the bias or in a specific direction, the pattern will say so. Follow the pattern first, always.
Rotary cutters: why beginners love them
A rotary cutter is like a pizza cutter for fabric. Instead of opening and closing blades, you roll through the fabric in one smooth motion. That means less lifting, less shifting, and often a cleaner edge.
Pros
- Very accurate on straight lines, especially with a clear ruler.
- Fast once your setup is ready.
- Great for cutting multiple layers of stable fabric.
- Less hand fatigue for some people than heavy shears.
Cons
- You need a self-healing mat and preferably an acrylic ruler.
- A dull blade will skip and chew your fabric, especially on knits.
- It can be easy to cut slightly off if your fabric is not squared first.
- Safety matters. An open blade is a quick way to ruin your day.
Best beginner rotary setup
- 45 mm rotary cutter (the most versatile size)
- Self-healing mat large enough that you are not constantly repositioning
- 6 x 24 inch acrylic ruler for long edges (and a smaller one is nice too)
- Pattern weights or canned goods from the pantry if you are just starting
If you mostly cut tight curves (doll clothes, small collars), a 28 mm cutter can feel more nimble. If you often cut heavy layers (denim stacks, upholstery), a 60 mm cutter can be a workhorse, but it is not required for most beginners.
Sewing shears: the garment workhorse
Good fabric shears give you control. You can turn curves smoothly, you can handle bulky folds, and you can cut single layers with precision. If you want one cutting tool to start with, quality shears are the most flexible choice.
Pros
- Excellent control on curves and corners.
- No mat required.
- Often better for thicker fabrics like coating or denim.
- Great for single-layer cutting when accuracy really matters.
Cons
- They can lift the fabric as you cut if your technique is choppy.
- Dull shears will push fabric instead of slicing cleanly.
- If they touch paper, they can dull faster. Yes, I learned this the hard way.
A shears tip that changes everything
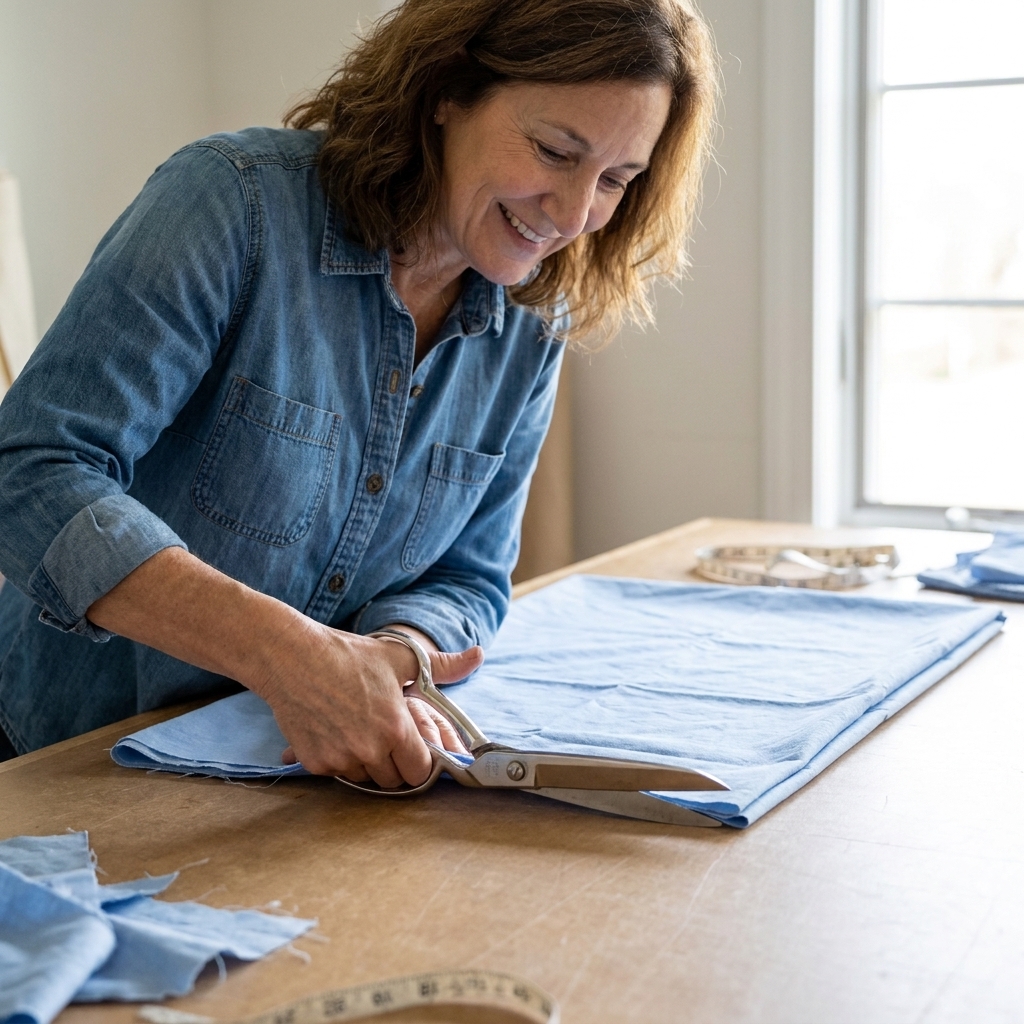
Keep the bottom blade resting on the table as much as possible. The more you lift the fabric, the more you accidentally stretch it and change the shape.
Before you cut: set up for accuracy
This is the not-so-glamorous part, but it’s the difference between pieces that match and pieces that make you whisper, “Why are you like this?” at your fabric.
1) Press first
Wrinkles equal extra fabric hiding in plain sight. Press your fabric the way you will launder it later (steam is fine for many wovens, but test first).
2) Square the fabric
Fabric can be off-grain straight from the store. Squaring means getting the cross-grain truly perpendicular to the selvage.
- Wovens: Pull a crosswise thread to create a straight line, or carefully trim with a ruler. If you like the snip-and-tear method, only do it if the fabric tears cleanly. Test a corner first and skip it for loosely woven or easily distorted fabrics.
- Quilting cotton: Often needs the pull-a-thread method or careful trimming with a ruler.
- Knits: Let the fabric relax flat, then align the edges without stretching.
3) Use a big, flat surface
If part of your fabric is hanging off the table, gravity will gently tug it out of shape while you cut. If your table is small, cut single layer and shift the fabric as needed.
4) Pin or weight your pattern
Rotary cutter people tend to prefer weights. Shears people tend to pin. Either works if the pattern does not move while you cut.
How to cut accurately with a rotary cutter
This method is my favorite for stable cottons, linens, and anything that behaves on the table.
Tools
- Rotary cutter with a sharp blade
- Self-healing mat
- Acrylic ruler
- Pattern weights or pins
Steps
- Lay fabric flat on the mat without stretching it. Smooth with your hands, do not yank.
- Check grain alignment by confirming the fold is parallel to the selvage (or measure from selvage to fold in a few spots).
- Place your pattern and align the grainline arrow parallel to the selvage (unless the pattern specifically tells you to cut on the bias or another direction). Measure from the grainline to the selvage at both ends of the arrow. Make those two measurements match.
- Weight the pattern well, especially near corners.
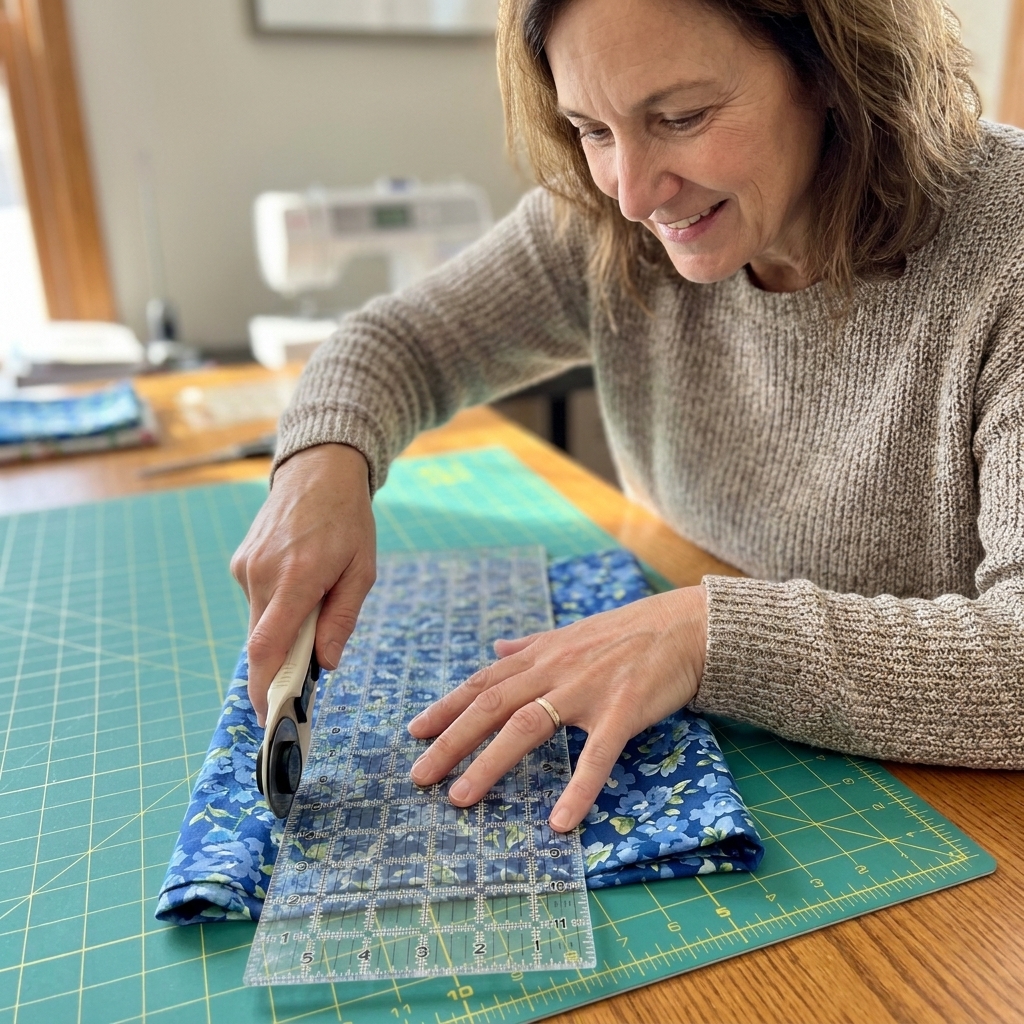
- For straight edges, use a ruler. Hold the ruler firmly with your non-cutting hand, fingers safely away from the edge. If your ruler slips, consider a non-slip ruler or add grip dots to the back.
- Cut in one confident pass. Rolling stops and starts can create little “bites.” If your cutter skips, change the blade.
- Cut on the correct line. Many commercial patterns include seam allowance, but some do not. Check the instructions before you cut.
- Mark notches last by making small snips into the seam allowance or using a marking tool, depending on the pattern.
Rotary cutter safety habit
Close the blade the moment you set it down. Every time.
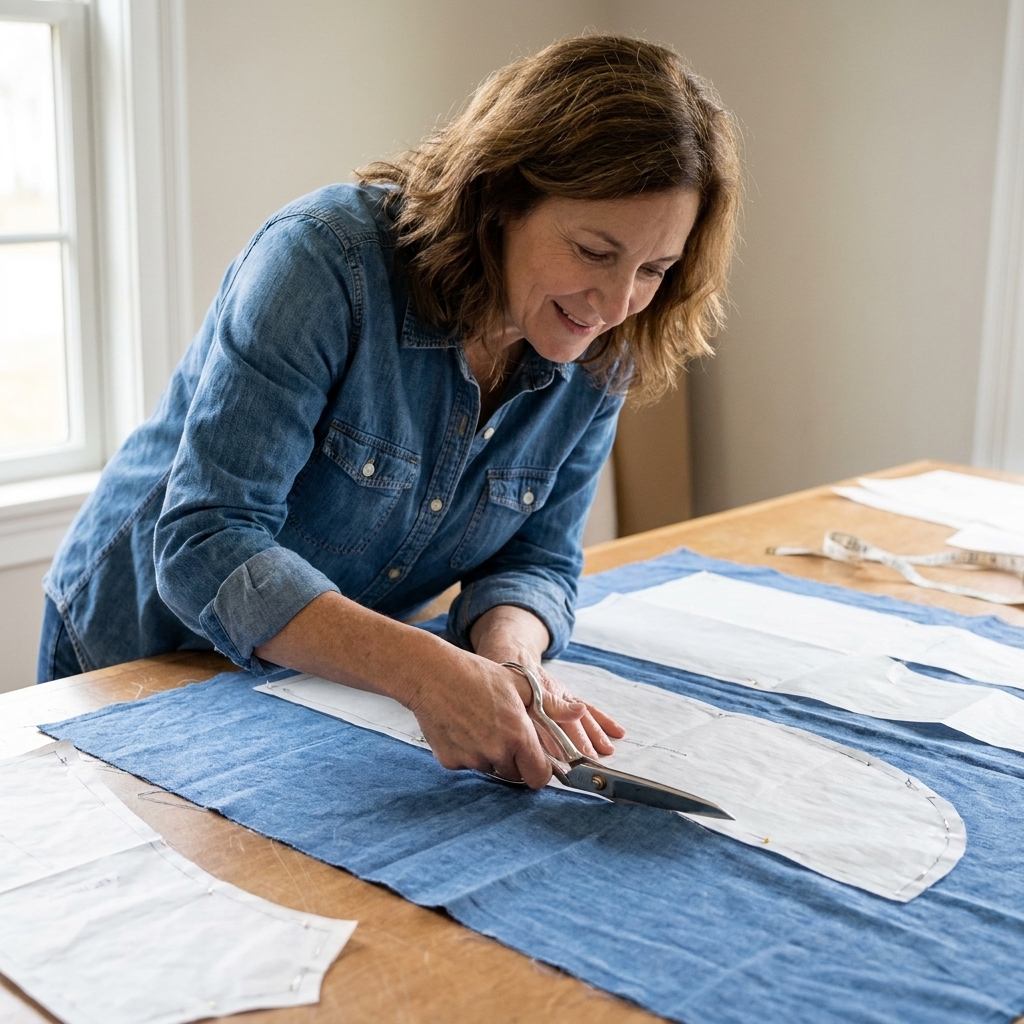
How to cut accurately with sewing shears
This is my go-to for garments, curves, and anything that likes to shift.
Tools
- Sharp fabric shears
- Pins or pattern weights
- Optional: a seam gauge or ruler for checking grainline placement
Steps
- Lay fabric on a flat surface and smooth it gently.
- Align the pattern grainline parallel to the selvage (unless the pattern says otherwise), measuring at both ends of the grainline arrow.
- Pin well, placing pins perpendicular to the cutting line so they are easy to remove as you cut.
- Start cutting with long, smooth strokes. Think “slice,” not “chop.”
- Keep the lower blade on the table as much as possible to prevent lifting and distortion.
- Turn the fabric, not your wrist. Stop with the blades closed, rotate the fabric, then continue. This keeps curves cleaner.
- Cut notches carefully. Snip outward from the edge into the seam allowance, and keep the notch small so you do not weaken the seam.
Which tool is more accurate?
When everything is set up well, both can be very accurate. The difference is what tends to go wrong for beginners.
Rotary cutter accuracy tends to fail when
- The fabric is slightly off-grain to begin with.
- You are cutting too many layers and the bottom layer creeps.
- Your blade is dull and you press harder, which makes the cutter drift.
Shears accuracy tends to fail when
- You lift the fabric as you cut.
- You take short “chopping” cuts that create jagged edges.
- Your shears are dull and the fabric folds or slides away from the blade.
My practical rule: use rotary for long straight runs and stable fabrics, and use shears for curves, bulky fabrics, and single-layer garment cutting.
Common cutting mistakes
Your pieces look right, but do not match
- Cause: Cutting off-grain or stretching fabric while cutting.
- Fix: Square your fabric first and smooth it flat, never tug. Measure the grainline to the selvage at both ends.
Your edges look chewed or fuzzy
- Cause: Dull rotary blade or dull shears.
- Fix: Change the rotary blade or sharpen shears. Fabric should slice cleanly, not fight back.
Your pattern shifts while you cut
- Cause: Not enough pins or weights.
- Fix: Add more pins, especially at corners and curves. If rotary cutting, add weights and cut with the ruler when possible.
You cut a notch too deep
- Cause: Trying to make notches “extra visible.”
- Fix: Notches only need to be a tiny snip within the seam allowance. If you went too far, mark the notch with chalk on both pieces instead.
And if you do cut something wrong, welcome to the club. This is exactly why seam rippers exist, and why I consider them emotional support tools.
Special fabrics: what to choose
Knits (jersey, rib knit)
- Tool pick: Often shears for control, or rotary with a very sharp blade and plenty of weights.
- Tip: Do not let knits hang off the table. Gravity stretches them while you cut. Also remember that knit stretch is structure-dependent, so follow the pattern’s direction-of-stretch guidance if it includes it.
Slippery fabrics (silk, rayon challis)
- Tool pick: Shears, cut single layer if you can.
- Tip: Use lots of pins, or place tissue paper under the fabric to add grip (then tear it away later).
Thick fabrics (denim, canvas, coating)
- Tool pick: Shears are usually easier. Rotary can work with a fresh blade and fewer layers.
- Tip: Avoid stacking too many layers. Thickness encourages shifting.
Quilting cotton
- Tool pick: Rotary cutter plus ruler is a dream.
- Tip: Square the fabric first. Rotary cutters are accurate, but they cannot fix fabric that started crooked.
FAQ
Do I need both a rotary cutter and sewing shears?
No. You can sew happily with just one. If you are making garments, start with good shears. If you are quilting or doing lots of straight cuts, a rotary cutter setup is worth it.
What size rotary cutter should a beginner buy?
A 45 mm rotary cutter is the most versatile. Smaller ones are great for tight curves, and larger ones can be nice for heavy fabric, but 45 mm will carry you through most beginner projects.
How often should I replace a rotary blade?
Replace it when cutting stops feeling smooth. If you have to press hard, if it skips, or if it starts chewing the fabric, it’s time. Fresh blades are cheaper than ruined fabric, I promise.
Can I cut pattern pieces with a rotary cutter?
Yes, absolutely. Use weights, keep the fabric flat and squared, and use a ruler for straight edges whenever you can.
Why do my cut pieces look fine but twist when worn?
That is often an off-grain cut, unless the pattern intentionally calls for bias or another direction. Double-check that the pattern grainline is placed correctly and that your fabric was squared before cutting.
A simple accuracy checklist
- Fabric pressed
- Fabric squared and on-grain
- Pattern grainline measured to selvage at both ends
- Fabric fully supported on the table
- Pattern secured with pins or weights
- Sharp tool (fresh blade or sharp shears)
- Cut smoothly, without lifting or stretching
If you want a confidence boost, try cutting two small rectangles on-grain using each tool, then stack them. When they match perfectly, you will feel like you just leveled up in sewing.