If your stitches look messy, loopy, or just plain rude, I have good news. In most cases, your sewing machine is not broken. It is simply asking for a tiny tension tune-up. And yes, that mysterious dial with numbers actually makes sense once you know what it is doing.
In this guide, I will show you how to read your stitches like clues, adjust your upper (top) thread tension confidently, and only touch bobbin tension when it is truly the right move.
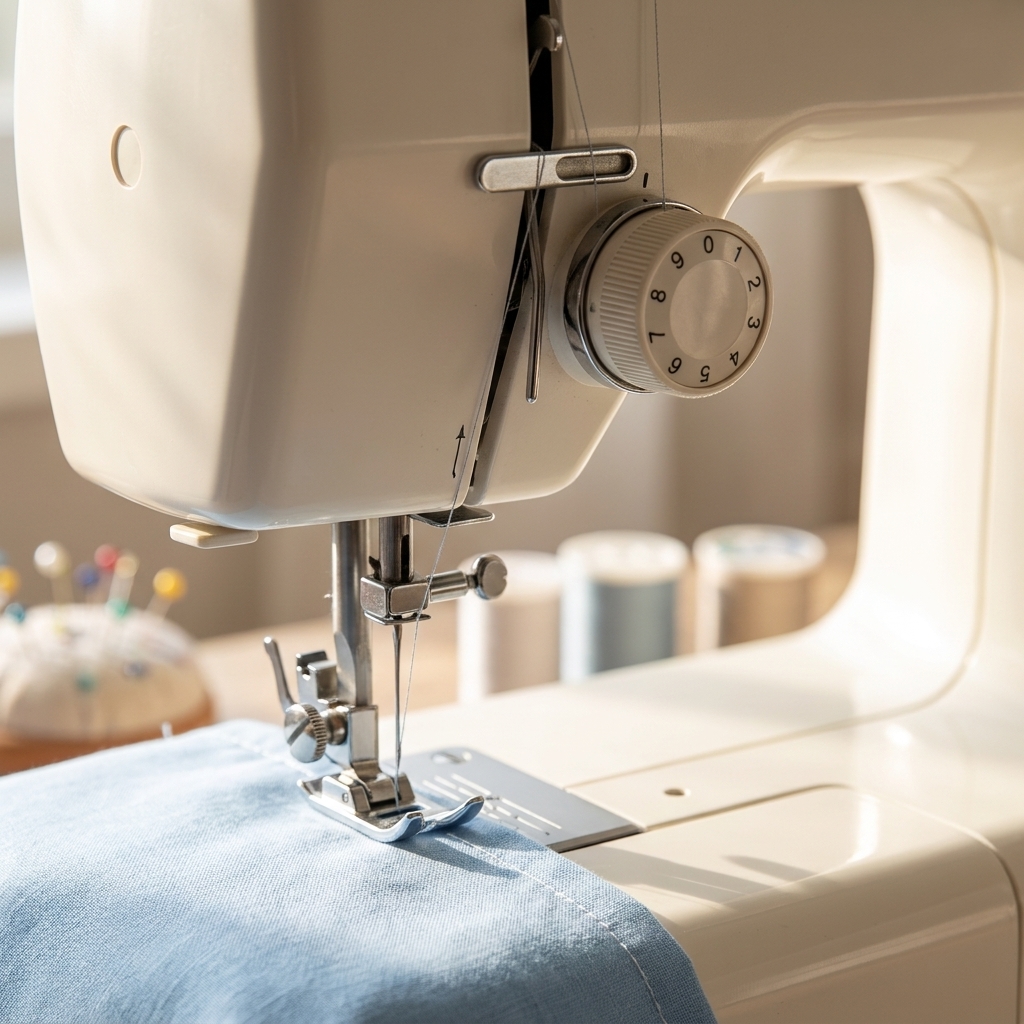
What tension means
Sewing machine tension is just the gentle tug-of-war between two threads:
- Upper thread coming from your spool and threaded through the machine
- Bobbin thread coming up from below
When tension is balanced, the two threads meet in the middle of the fabric. That is what makes a neat, strong stitch.
When tension is off, one thread gets pulled to the “wrong” side, which is why you see loops on the underside or bobbin thread showing on top.
Quick checks first
I know it is tempting to grab the tension dial immediately. But tension problems are often caused by something simpler. Do this mini checklist first. It takes two minutes and saves a lot of frustration.
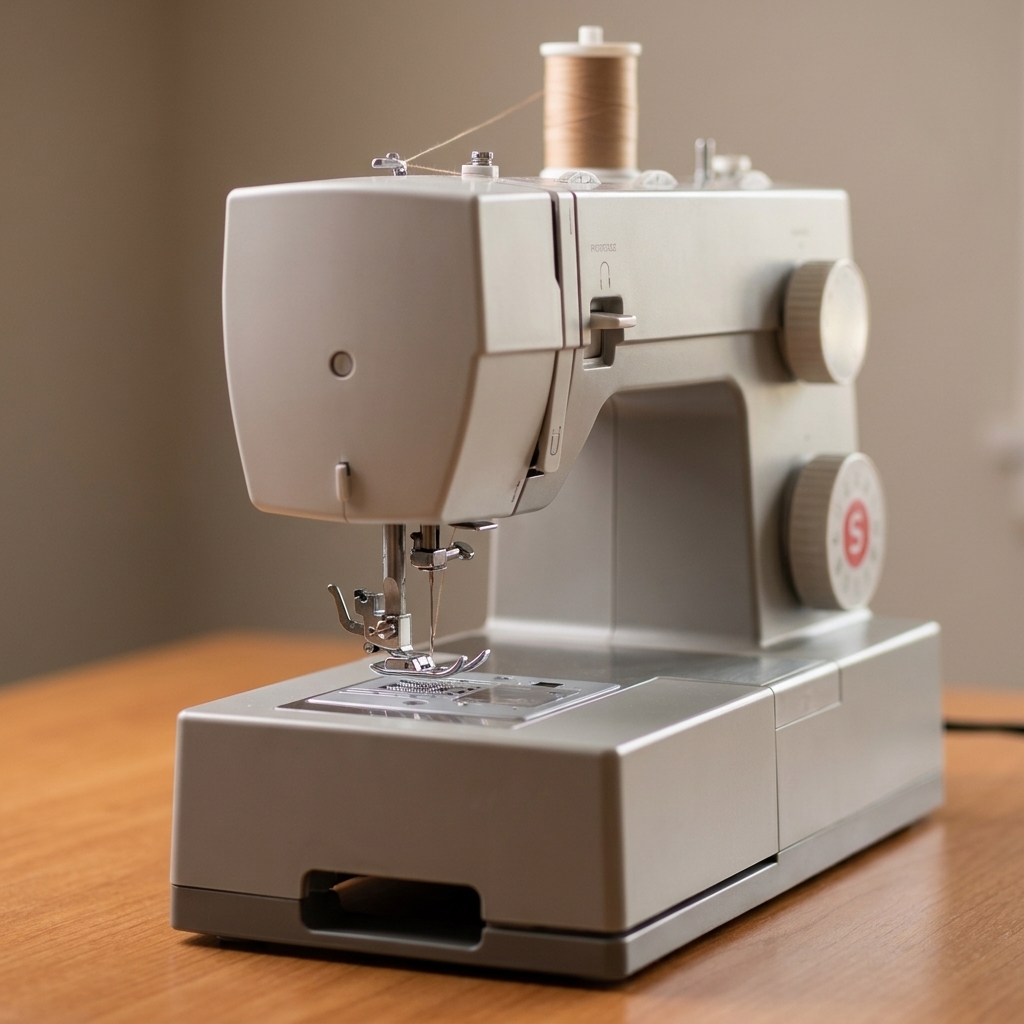
1) Rethread the top thread with the presser foot up
This is the big one. When the presser foot is up, the tension discs open and the thread can slip between them properly. If you thread with the presser foot down, the thread can miss the tension system and you will get loops underneath no matter what number your dial is set to.
Tip: If your machine likes it, start with the needle at its highest position (take-up lever up) before you thread. It helps the thread follow the correct path.
2) Make sure the thread path is complete
Missing a guide or the take-up lever can mimic tension trouble. If your stitches suddenly look chaotic, rethread slowly and make sure the thread is seated in every guide in the correct order.
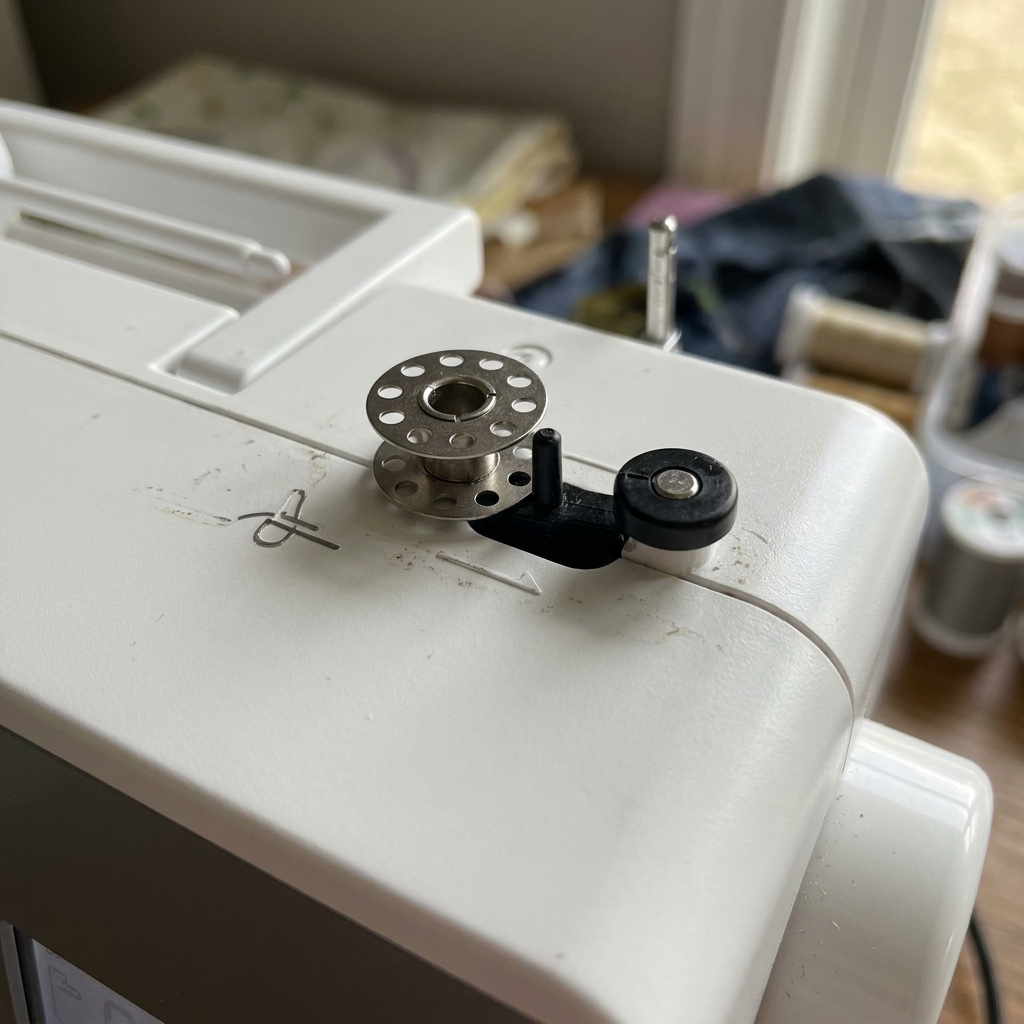
3) Check the bobbin direction
Front-loading and top drop-in bobbins unwind in different directions depending on the machine. If the bobbin is flipped, you can see weird tension behavior and even jam-ups.
4) Match thread type and weight
Mixing a thick topstitch thread on top with a skinny bobbin thread can make balancing tension much harder. For troubleshooting, keep it simple: same brand and weight if possible.
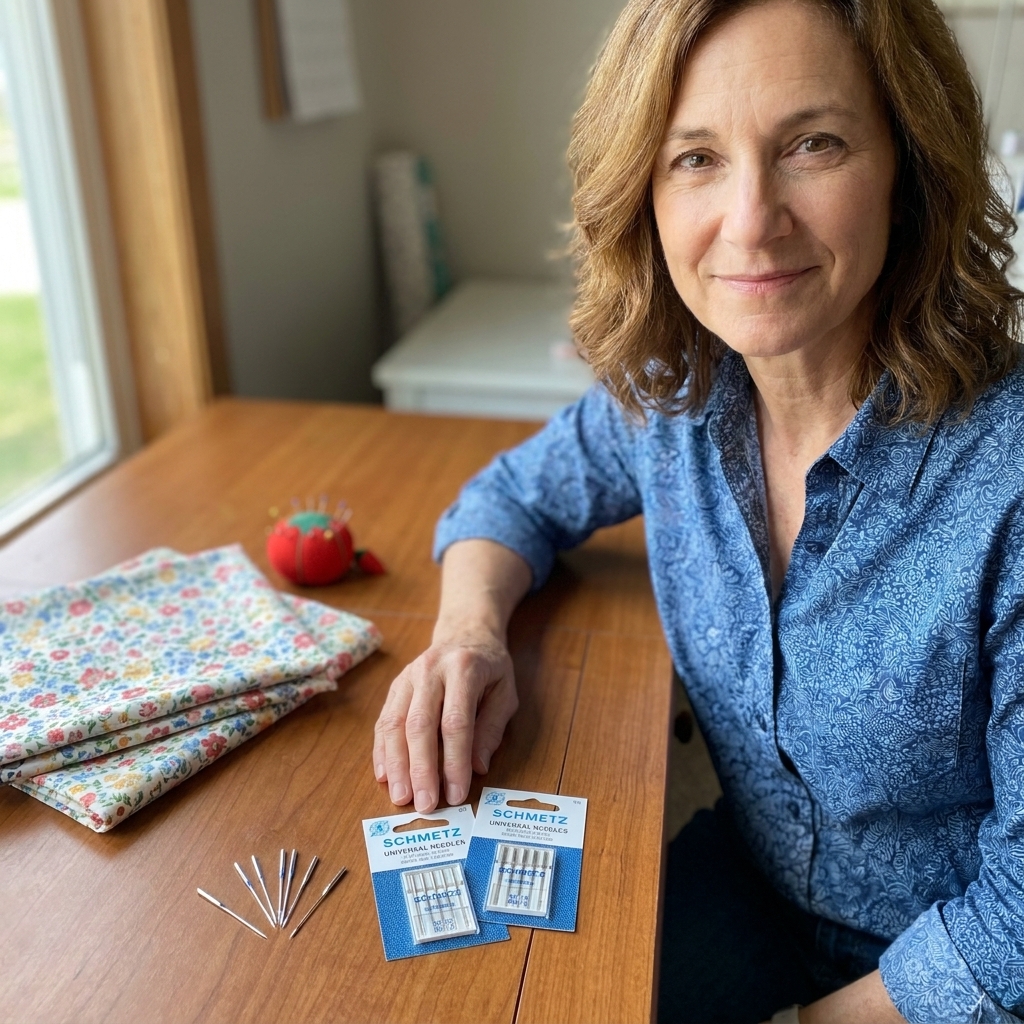
5) Put in a fresh needle
A slightly bent or dull needle can cause skipped stitches, puckers, and snaggy-looking seams that masquerade as “tension issues.” If your needle has sewn a few projects or hit a pin, swap it.
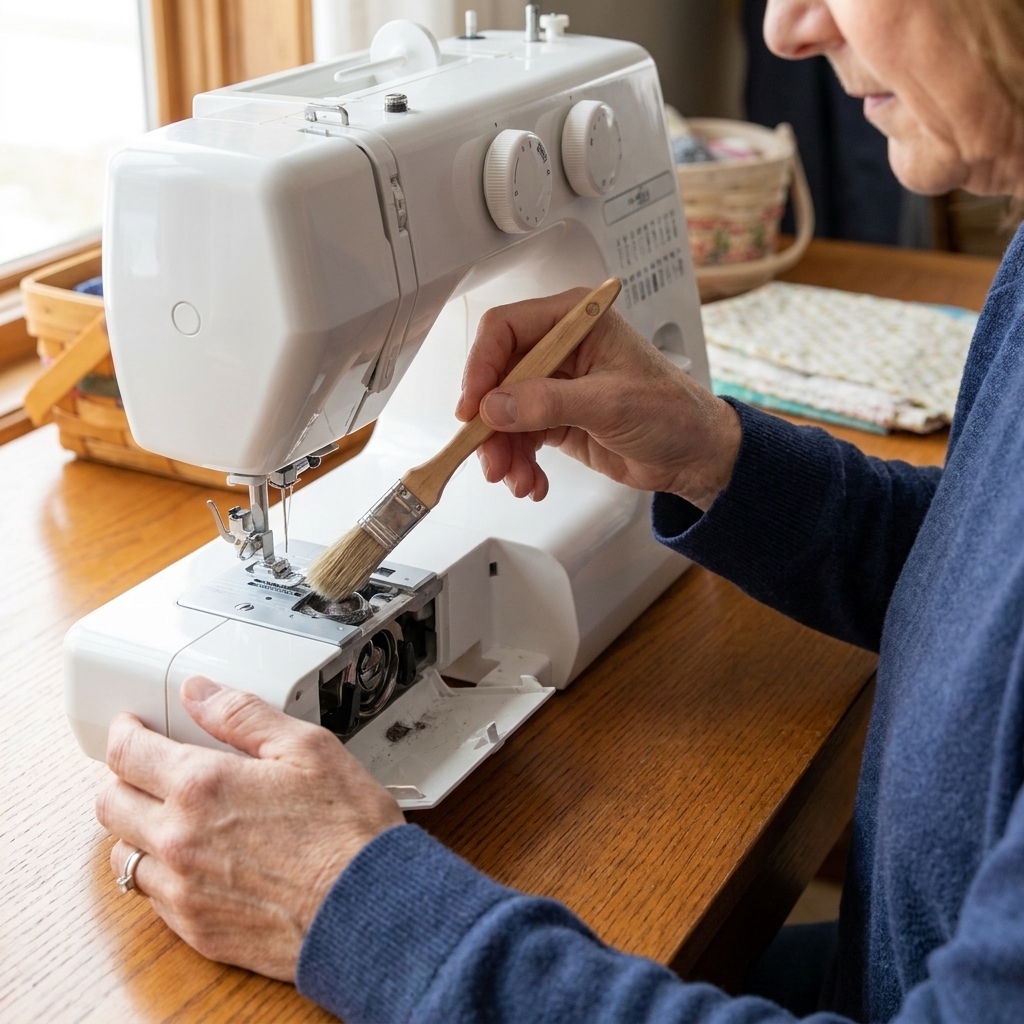
6) Clean lint from the bobbin area
Lint can interfere with how the bobbin thread feeds. A quick brush-out can noticeably improve stitch quality.
Top vs bobbin tension
Here is the beginner trick: look at which thread is misbehaving and where you see it.
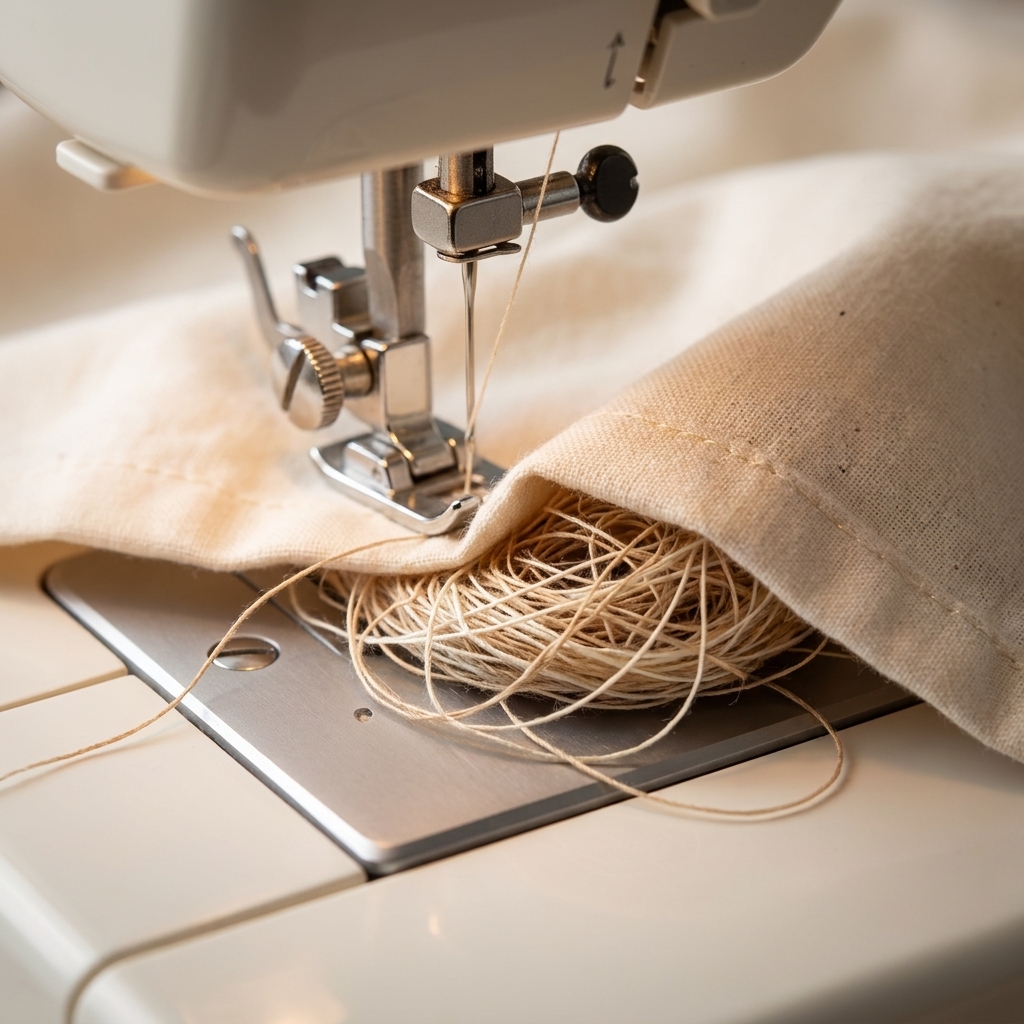
Loops or “bird nests” on the underside
This usually means the upper thread tension is too loose or the top thread is not properly seated in the tension discs (often from threading with the presser foot down).
Bobbin thread pulled to the top
This usually means the upper tension is too tight (it is yanking the bobbin thread up through the fabric).
Puckering along a straight seam
This can be tension, but it can also be:
- Stitch length too short for your fabric
- Needle too large
- Thread too thick
- Presser foot pressure too high (on some machines)
- Fabric feeding unevenly (a walking foot can help on knits, slippery layers, or quilts)
We will still do a tension test, but keep those in mind.
Your 5-minute tension test
Testing on scraps beats guessing on your real project. Always.
What you need
- Two layers of scrap fabric similar to your project
- The same needle and thread you plan to sew with
- Your normal presser foot (start with all-purpose)
How to test
- Set your machine to a straight stitch, a middle stitch length (often around 2.5 on many domestic machines).
- Rethread the top with the presser foot up.
- Sew a 6-inch seam at a steady, medium speed.
- Look at the stitches on the top and underside.
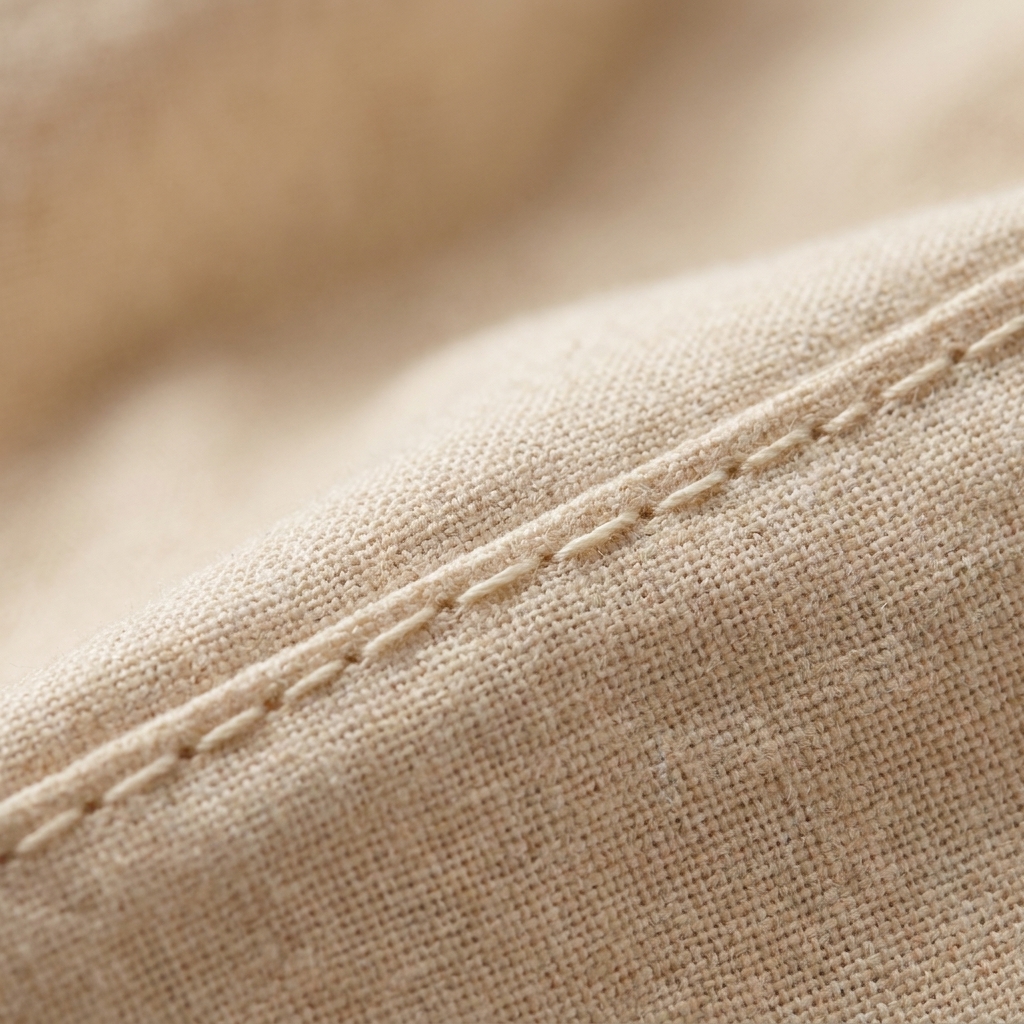
Balanced tension looks like: smooth stitches on both sides, with no loops, and the threads “knot” in the middle of the fabric layers.
Adjust upper tension
For beginners, this is the adjustment you will use most of the time.
Start from a normal setting
Most machines like a middle number for everyday sewing. On many dials, that is around 4, but your machine may vary. If you have no idea where yours should be, check your manual or set it to the center of the range.
Adjust in small steps
- If loops are on the underside, turn the dial up (tighter) one step, then test again.
- If bobbin thread shows on the top, turn the dial down (looser) one step, then test again.
Try not to jump from 4 to 8 in one dramatic twist. Tiny changes are easier to control, and tension can be surprisingly sensitive.
When a fabric change makes everything weird
This is normal. Different fabrics create different friction and thickness, which changes how the threads pull. Knits, denim, quilting cotton, and slippery poly all behave differently. A quick test seam saves you every time.
Bobbin tension basics
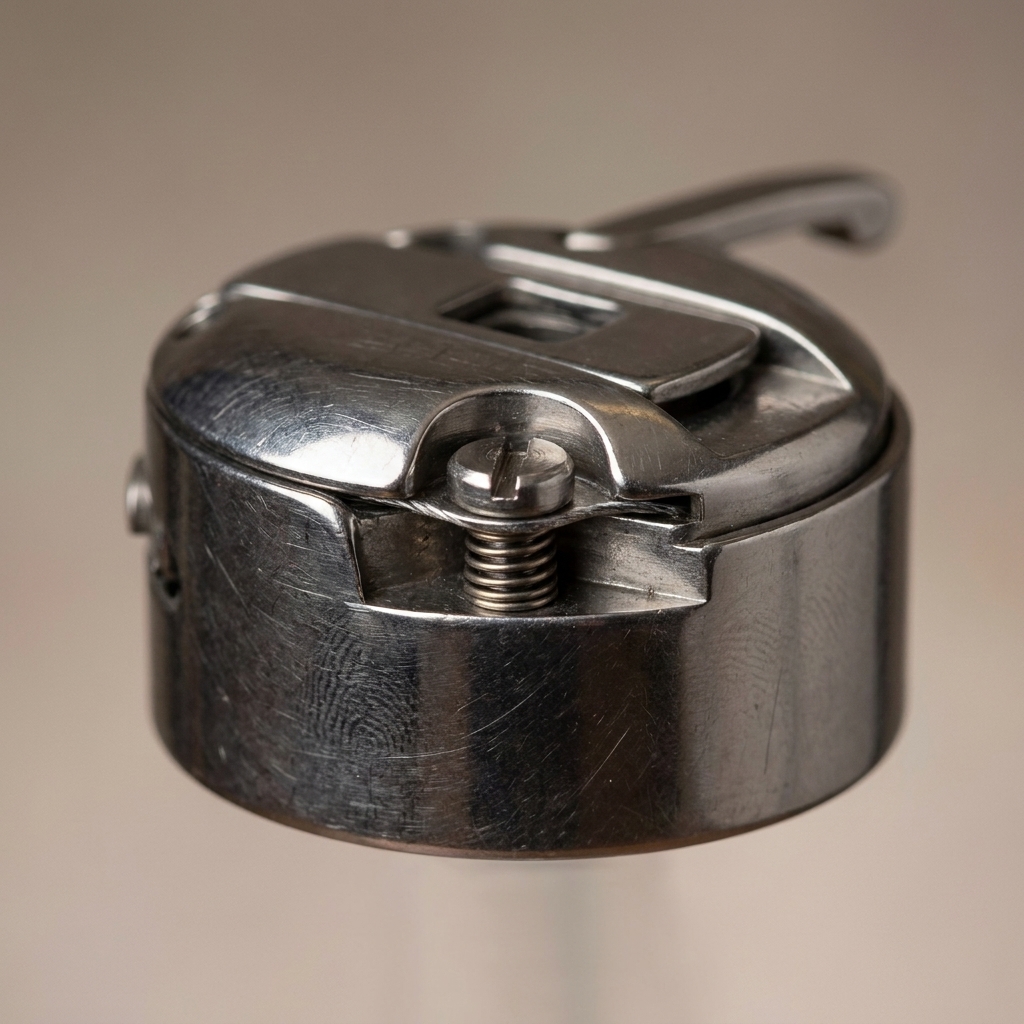
Bobbin tension is the tension applied to the bobbin thread, usually by a small spring on the bobbin case.
On many modern beginner machines, bobbin tension is meant to be left alone. And I agree with that plan unless you have a specific reason to adjust it.
When to adjust bobbin tension
- You have tested, rethreaded, changed the needle, and the upper tension dial cannot balance the stitch within a reasonable range.
- You are using a specialty situation like very fine bobbin thread for dense embroidery (more advanced, but it is a real reason).
- Your bobbin case was previously adjusted and is now clearly off.
Top drop-in vs front-loading cases
Top drop-in bobbin (common on many machines): some have a tiny tension screw, some do not, and many are not designed for regular adjustment. If yours has a screw, treat it like a last-resort setting.
Front-loading bobbin case: more likely to have an accessible screw for bobbin tension adjustments.
Adjust bobbin tension safely
I am going to be practical here because this is where beginners can accidentally create a bigger problem.
Rules for bobbin adjustments
- Make a mark first. Use a tiny dot of nail polish or a permanent marker so you can always return to the original position.
- Use the correct screwdriver. A poorly fitting screwdriver can strip the screw.
- Turn the screw in tiny increments. Think 1/8 of a turn, not a full turn.
- Test after every change. Do not stack multiple adjustments before testing.
Which direction?
It depends on your bobbin case style, so I do not want to pretend one direction fits every machine. Your manual is the safest reference.
That said, in general terms: tightening the bobbin tension makes it harder for bobbin thread to feed, loosening makes it easier. Your test seam will tell you if the stitch is moving toward balanced or away from it.
Troubleshooting chart
| What you see | Most common cause | Try this first |
|---|---|---|
| Loops on underside | Upper thread not seated or too loose | Rethread with presser foot up, then increase upper tension 1 step |
| Bobbin thread showing on top | Upper tension too tight | Lower upper tension 1 step, then test |
| Bird nest at the start of seam | Thread tails not controlled, top not threaded correctly | Hold both thread tails for first 3 stitches, rethread top |
| Puckering on woven fabric | Tension too tight or stitch length too short | Lengthen stitch slightly, lower upper tension 1 step, test on scrap |
| Skipped stitches | Wrong needle type or dull needle | Change needle, match needle to fabric (ballpoint for knits) |
| Thread snapping | Tension too tight, burr on needle plate, old thread | Lower upper tension, change needle, try fresh thread |
Tension reset routine
If you are in that moment where the machine feels cursed and you are considering taking up knitting instead, here is what I do.
- Remove the project and cut threads.
- Remove the needle and put in a new one.
- Take out the bobbin and reinsert it correctly.
- Raise presser foot. Rethread the top from scratch.
- Set upper tension to the normal middle setting.
- Sew a test seam on two layers of scrap.
This fixes a surprising number of “tension” problems because many are actually threading problems.
FAQ
What number should my tension be on?
For general sewing on medium woven fabrics, many machines are happy in the mid-range. Often that is around 4, but the real answer is: the number that gives you a balanced stitch on your fabric. Use a test seam and adjust one step at a time.
Why is my tension perfect on cotton but terrible on knit?
Knits stretch and can tunnel or ripple, which changes how the stitch forms. Use a ballpoint or stretch needle, consider a zigzag or stretch stitch, and then fine-tune upper tension on scraps.
Why do I get a bird nest underneath when I start sewing?
Usually the top thread is not properly seated in the tension discs, or the thread tails are being sucked down into the machine at the start. Rethread with the presser foot up and hold both thread tails for the first few stitches.
Should I adjust tension for thick seams or multiple layers?
Sometimes, yes. Thickness changes how the threads meet. For bulky areas, test on a folded scrap that matches your seam thickness and adjust upper tension slightly if needed.
Can a wrong bobbin cause tension issues?
Absolutely. Using a bobbin that is the wrong style or slightly different height can cause inconsistent feeding and messy stitches. Make sure you are using the bobbin type your machine requires.
A gentle reminder
Tension is not a “set it once and never touch it” kind of setting. It is more like seasoning a soup. Different fabrics, threads, needles, and projects need small tweaks. The win is that once you learn to read your stitches, you can fix most tension trouble in minutes.
If you want, tell me what your stitches look like and which side the loops are on, and I will help you choose the next adjustment.