If you have ever turned a handmade item inside out and thought, “Oh no… those edges look a little wild,” you are in excellent company. A serger is wonderful, but it is not a requirement for clean, durable seams. With a regular sewing machine and a few simple habits, you can keep fabric from fraying and make the inside of your projects look tidy too.
Below are five easy seam finishes that work beautifully on beginner projects like pajama shorts, tote bags, simple skirts, pillow covers, and basic tops.
Quick note on wovens vs. knits: The finishes in this list are mainly for woven fabrics, which fray. Many knits do not fray much, and they usually use different seams altogether. When in doubt, test a scrap and see how the edge behaves.
Before you finish anything: a quick fray check
Different fabrics fray differently. Before you choose a seam finish, do this quick test:
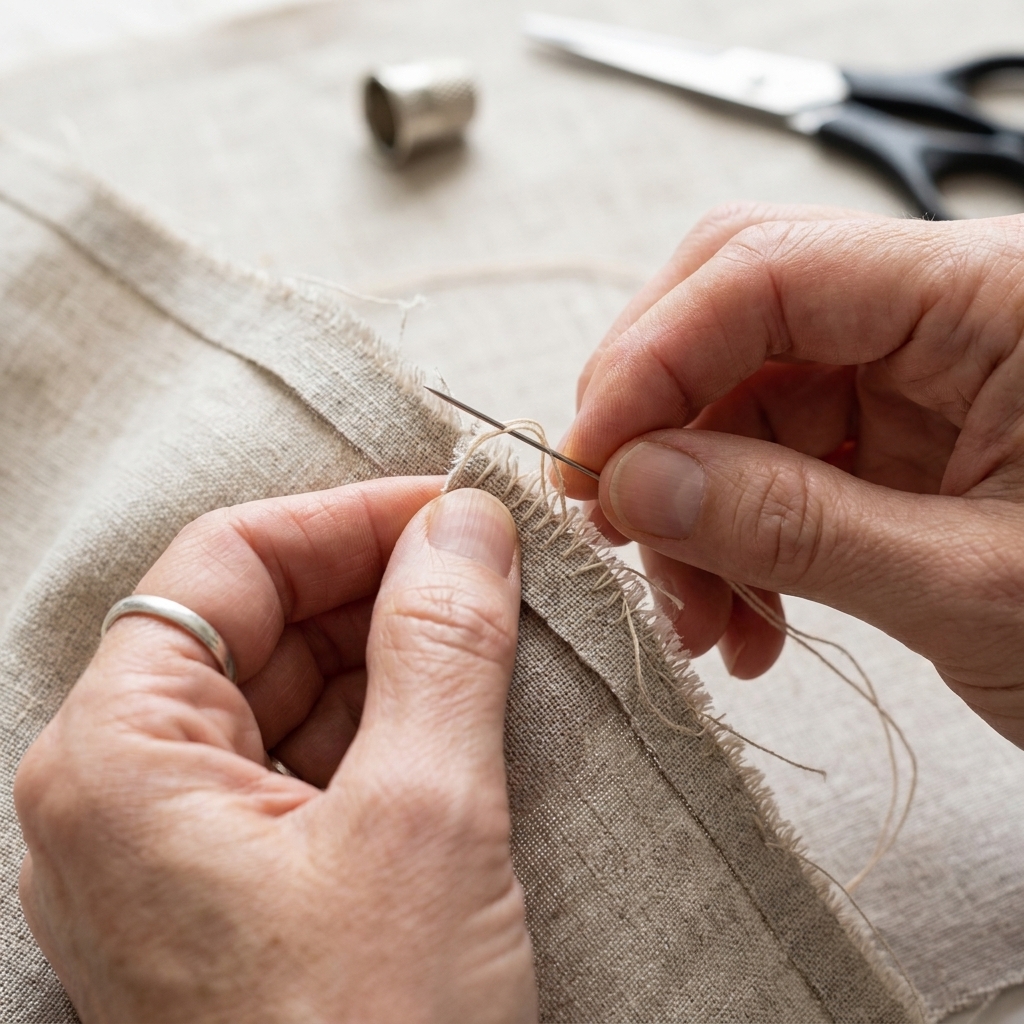
- Rub the cut edge between your fingers. If threads immediately start peeling off, plan on a sturdier finish (French seam, flat-felled seam, or a bound edge).
- Look at the weave. Loosely woven cottons, linens, and rayon fray fast. Stable quilting cottons are usually easier.
- Consider the project. A seam on clothing that will be washed a lot needs more security than a decorative pillow that barely gets laundered.
Also, one tiny habit makes every seam finish look better: press as you sew. I know pressing feels like the “extra step,” but it is the step that makes everything behave.
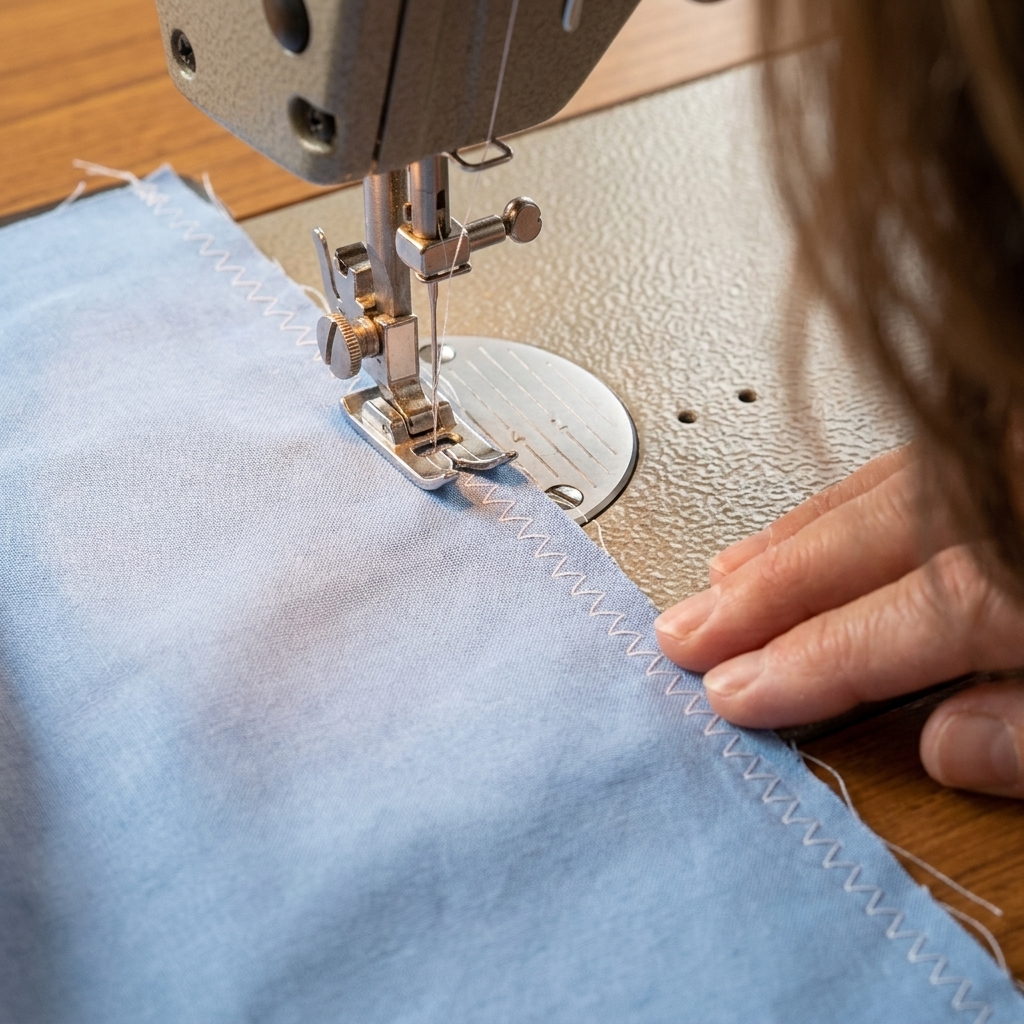
1) Zigzag stitch over the raw edge
This is the simplest no-serger solution, and it is available on almost every machine. You stitch a zigzag right along the raw edge so the thread wraps the edge and helps prevent unraveling.
Best for
- Woven fabrics like quilting cotton, broadcloth, and many linens
- Beginner garments and quick home projects
- Seams that will be pressed open or to one side
How to do it
- Sew your seam as usual (most patterns use a 5/8 inch seam allowance, but follow your pattern).
- Press the seam allowance flat first, then press it open or to one side.
- Set your machine to a medium zigzag. A common starting point is 2.0 to 2.5 width and 2.0 to 2.5 length (units vary by machine, so use this as a feel, not a rule).
- Stitch with the zigzag “swinging” over the edge. You want the needle to go just off the fabric on one side of the zigzag and into the fabric on the other.
- Trim any whiskery threads after stitching.
Clara tip
If your fabric tunnels or waves while zigzagging, slightly lengthen the stitch and lower your thread tension a touch. And if it still looks a bit wiggly, press it. Pressing is magic.
2) Overcast stitch (also called overedge)
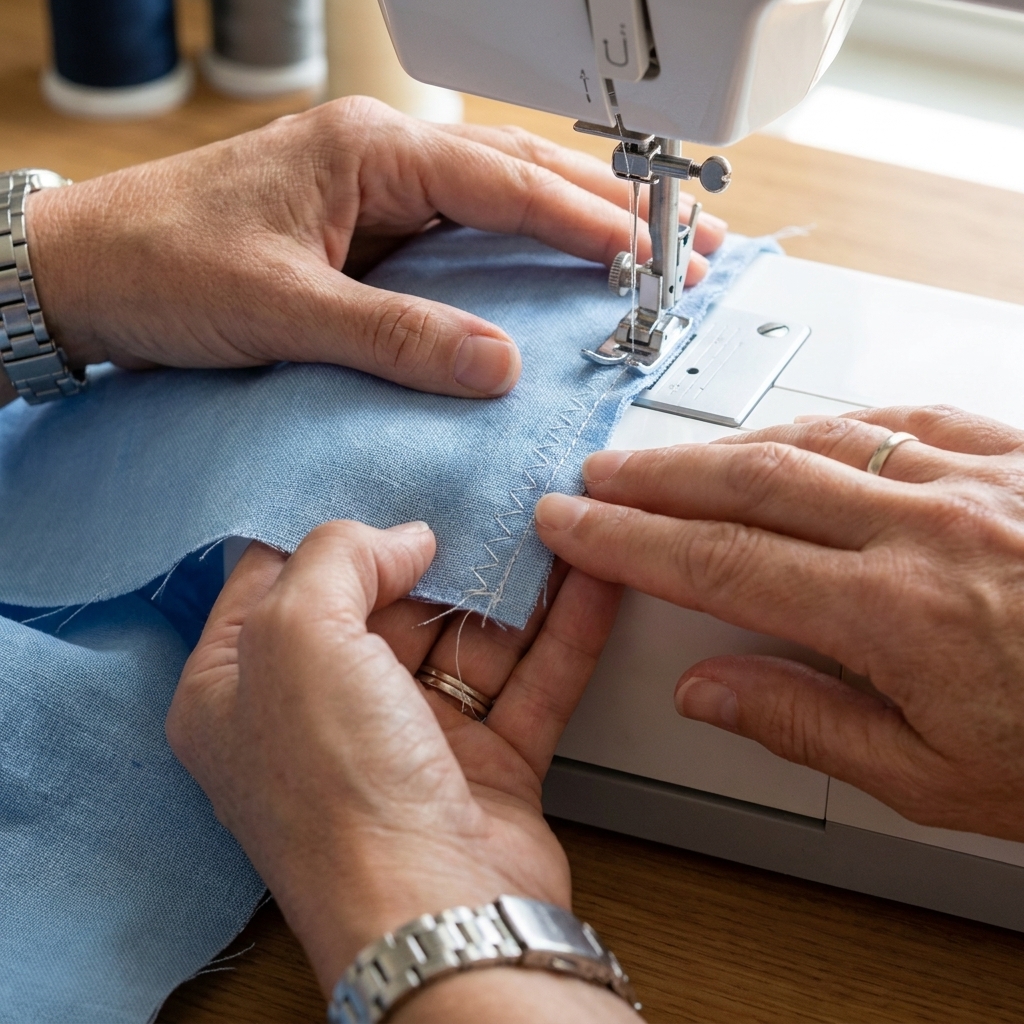
Many sewing machines have an overcast stitch that looks like a zigzag with an extra bite. Some machines label this as overedge, overcast, or even overlock stitch. The goal is the same: a stitch designed to hug the fabric edge and resist fraying. If your machine does not have it, you can still get a similar result by carefully guiding a zigzag right on the edge.
Best for
- Fabrics that fray more than average
- Seams you want to finish quickly but a bit more securely than a basic zigzag
- Projects where the inside will be seen (like unlined jackets or open totes)
How to do it
- Sew your seam.
- Either finish each seam allowance separately (nice if you want to press the seam open) or finish both layers together (fast and sturdy, but you will usually press to one side).
- Select your overcast or overedge stitch if you have one.
- Stitch along the raw edge, keeping the stitch formed right at the edge.
Clara tip
If you own an overcast foot, this is its moment. If you do not, no worries. Pick a spot on your presser foot as a “guide point” and keep the fabric edge lined up with that point as you sew.
3) French seams (a pretty, enclosed finish)
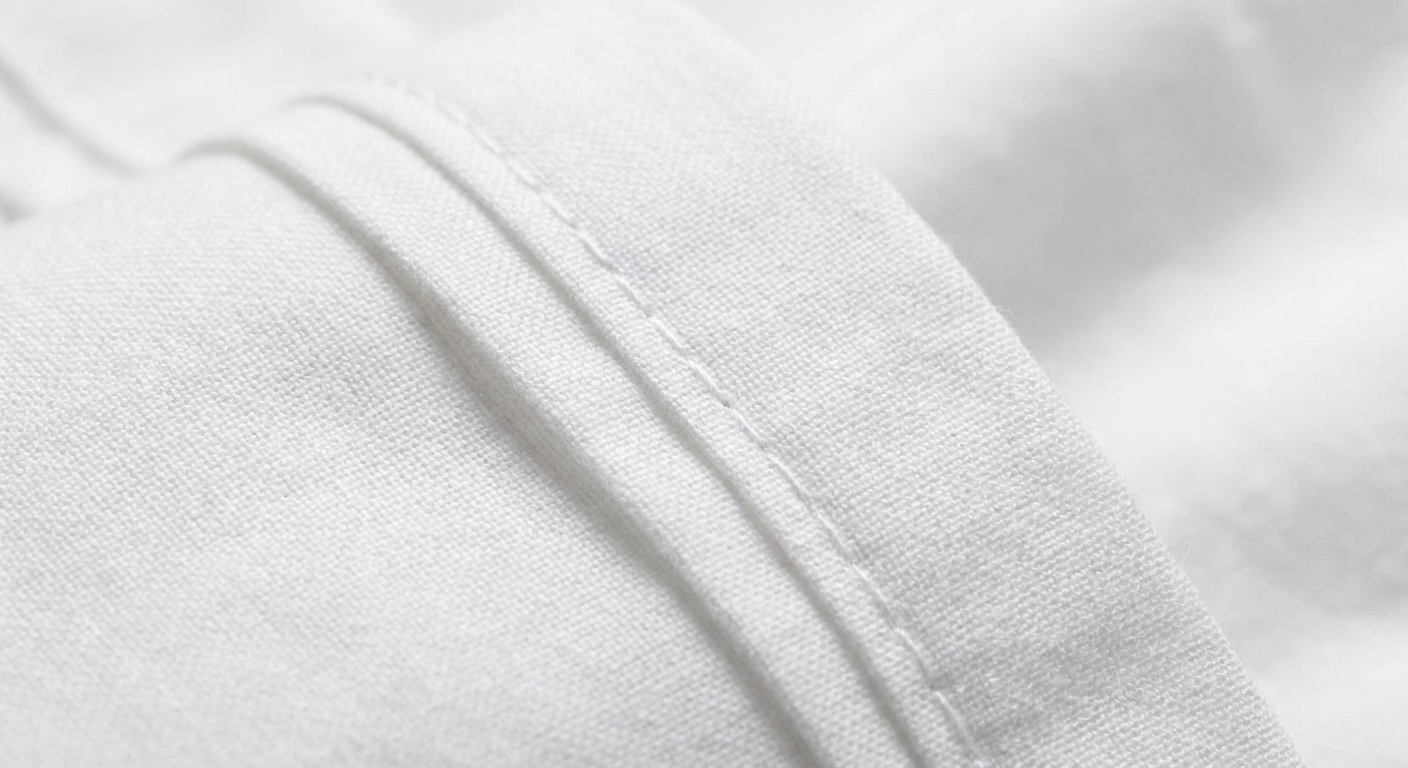
French seams are my go-to when I want the inside to look calm and polished without any special equipment. They enclose the raw edges inside the seam, which means fraying is greatly reduced, and often eliminated on stable wovens.
Best for
- Light to medium weight woven fabrics
- Projects like pajama pants, simple blouses, baby clothes, pillowcases
- Sheer or semi-sheer fabrics where you can see seam allowances
When to avoid
- Very bulky fabrics (denim, thick canvas) since the seam can get chunky
- Curves that are tight, unless you are willing to go slowly and clip carefully
How to do it (beginner version)
- Put fabric wrong sides together. Yes, wrong sides together. This feels illegal the first time.
- Sew a very narrow seam, about 1/4 inch.
- Trim the seam allowance to about 1/8 inch so no threads stick out.
- Press the seam to one side, then fold fabric so it is now right sides together. Press again so the seam sits right on the fold.
- Sew again with a seam that encloses the trimmed edge, usually 3/8 inch (or enough to fully cover the first seam).
- Press the finished French seam to one side.
Seam allowance note: The 1/4 inch plus 3/8 inch method equals a typical 5/8 inch seam allowance. If your pattern uses a different seam allowance, adjust both passes so the final seam matches your pattern.
Clara tip
Trim carefully. Any stray threads you leave behind will try to peek out later, like they are auditioning for a role. Your seam ripper will forgive you, but your future self will be happier if you trim neatly now.
4) Pinked edges (quick and surprisingly effective)
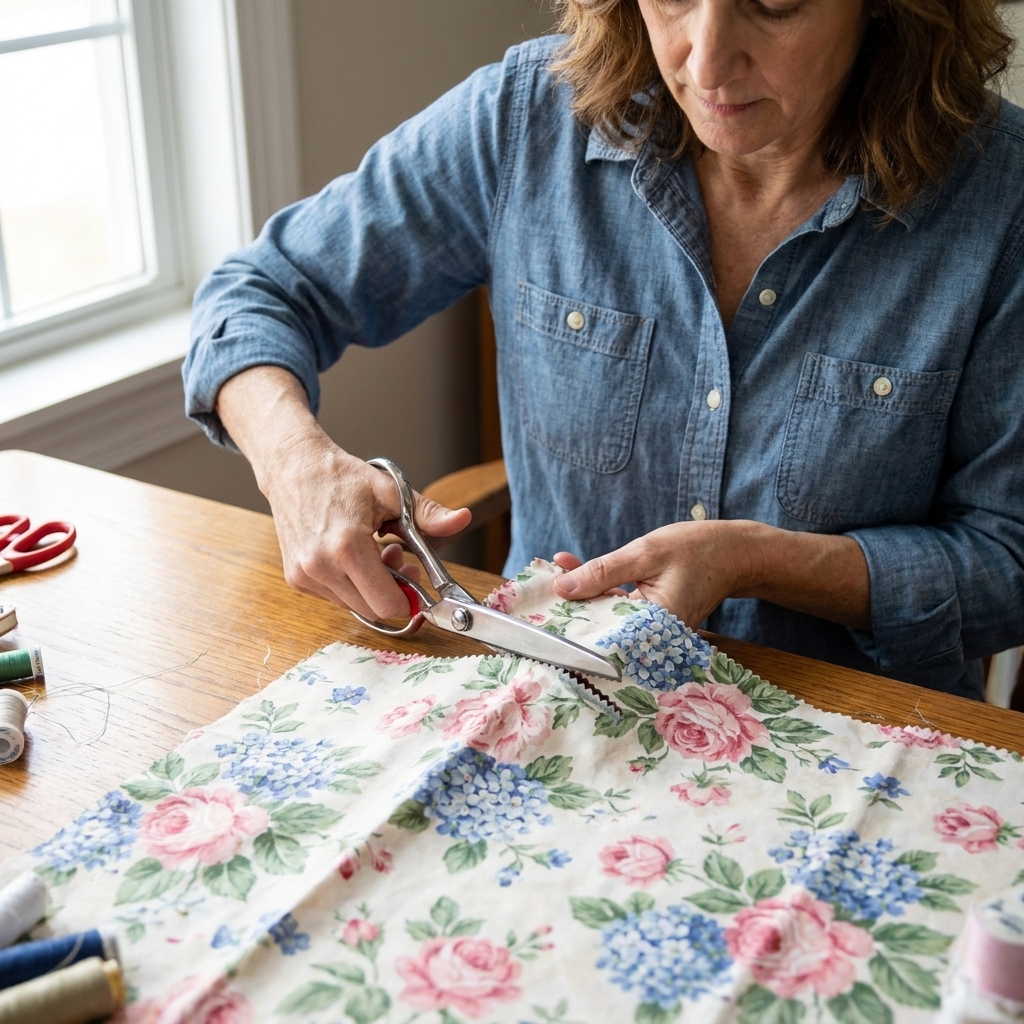
Pinking shears cut the fabric in a zigzag pattern. That interrupted edge helps slow fraying because a cut thread has less uninterrupted path to unravel. Is it the strongest finish? No. Is it fast and beginner-friendly for the right fabric? Absolutely.
Best for
- Stable woven cottons that do not fray aggressively
- Projects that will not be washed constantly
- Quick makes like simple tote bags, costume pieces, decor items
How to do it
- Sew your seam.
- Press the seam allowance flat.
- Use pinking shears to trim the raw edge neatly.
- Press again to set everything.
Clara tip
Pinking shears like fabric, not paper. If yours feel dull, they might be tired from an accidental date with cardstock. A clean cut is what makes this finish work.
5) Flat-felled seams (the jeans seam)
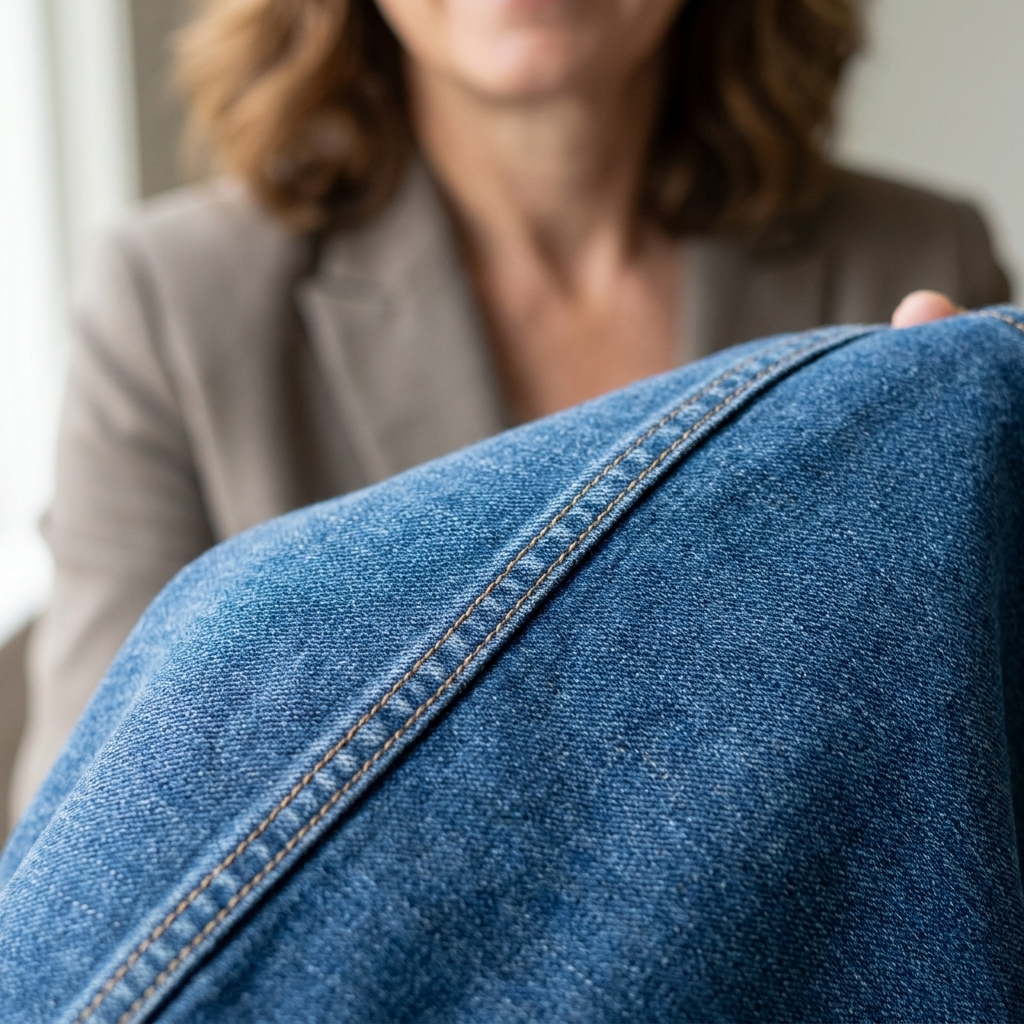
Flat-felled seams are strong, tidy, and fully encase raw edges. You often see them on jeans, shirts, and sturdy kids clothes. They take a little more time than zigzagging, but the payoff is a seam that can handle a lot of wear and washing.
Best for
- Medium weight woven fabrics like chambray, denim, canvas, and sturdy cotton
- Side seams on pants, casual shirts, tote bags
- Anywhere you want extra strength
How to do it (simple method)
- Sew your seam wrong sides together using a seam allowance that gives you room (commonly 5/8 inch, but check your pattern).
- Press the seam allowance to one side.
- Trim the under seam allowance down short (about 1/4 inch).
- Fold the top seam allowance around the trimmed one, tucking the raw edge under so it is fully enclosed.
- Press well and pin or clip.
- Topstitch close to the folded edge to hold everything down.
Pattern note: Not every pattern is drafted for flat-felling. If your seam allowance is narrow, you may need to add a bit of extra allowance before cutting, or choose flat-felled seams only in spots where you have room.
Clara tip
If your layers feel bulky, lengthen your stitch a bit for the topstitching (many sewists like 3.0 or even 3.5). A slightly longer stitch looks more even and helps your machine feed the layers smoothly.
Choosing the right seam finish
| Finish | Difficulty | Best for | Notes |
|---|---|---|---|
| Zigzag edge | Easy | Most beginner woven projects | Fast and reliable, press for best results |
| Overcast stitch | Easy | Fray-prone wovens | Also called overedge on many machines |
| French seam | Medium | Lightweight fabrics, pretty insides | Fully enclosed, adjust to match your seam allowance |
| Pinking shears | Easy | Stable cottons, low-wash items | Quick, not ideal for heavy frayers |
| Flat-felled seam | Medium | Hard-wearing seams | Strong and clean, may require extra allowance |
Troubleshooting
My fabric is still fraying after zigzagging
Try a wider zigzag, and make sure the stitch actually wraps the edge. If your zigzag is landing entirely on the fabric, it is not locking the edge down. Also consider upgrading to an overcast stitch or using French seams for that fabric.
My seam finish looks wavy
Waviness often comes from stretching the fabric while you sew. Let the feed dogs do the work. A longer stitch length can help, and pressing afterward makes a big difference.
My seam allowances feel bulky
Trim and grade seam allowances where you can. For French seams, trim the first seam closely. For flat-felled seams, keep the trimmed layer narrow and press firmly before topstitching.
I do not want to finish seams at all. Is that ever okay?
Sometimes, yes. Fabrics like felt do not fray, and some knits barely fray at all. But for most woven fabrics, finishing seams is what keeps your project looking good after a few trips through the wash.
A final pep talk
If you have been avoiding sewing because you think you need a serger to make “real” clothes, please let that worry go. A regular machine can create strong, neat seams that last. Pick one finish from this list, try it on scraps, then use it on your next simple project. One seam at a time is still progress.
And if you mess up and have to unpick a wobbly zigzag, welcome to the club. The seam ripper is not a sign of failure. It is just part of the toolkit.