If gathers have ever made you feel like you are wrestling a stubborn curtain, you are in the right place. The secret to pretty, even gathers on a standard sewing machine is surprisingly simple: sew two parallel rows of long basting stitches, then pull the threads to create controlled, adjustable ruffles.
This is my go-to method for skirt waistlines, ruffles, sleeve caps, and anything else that needs soft volume without chaos.
What it is (and why it works)
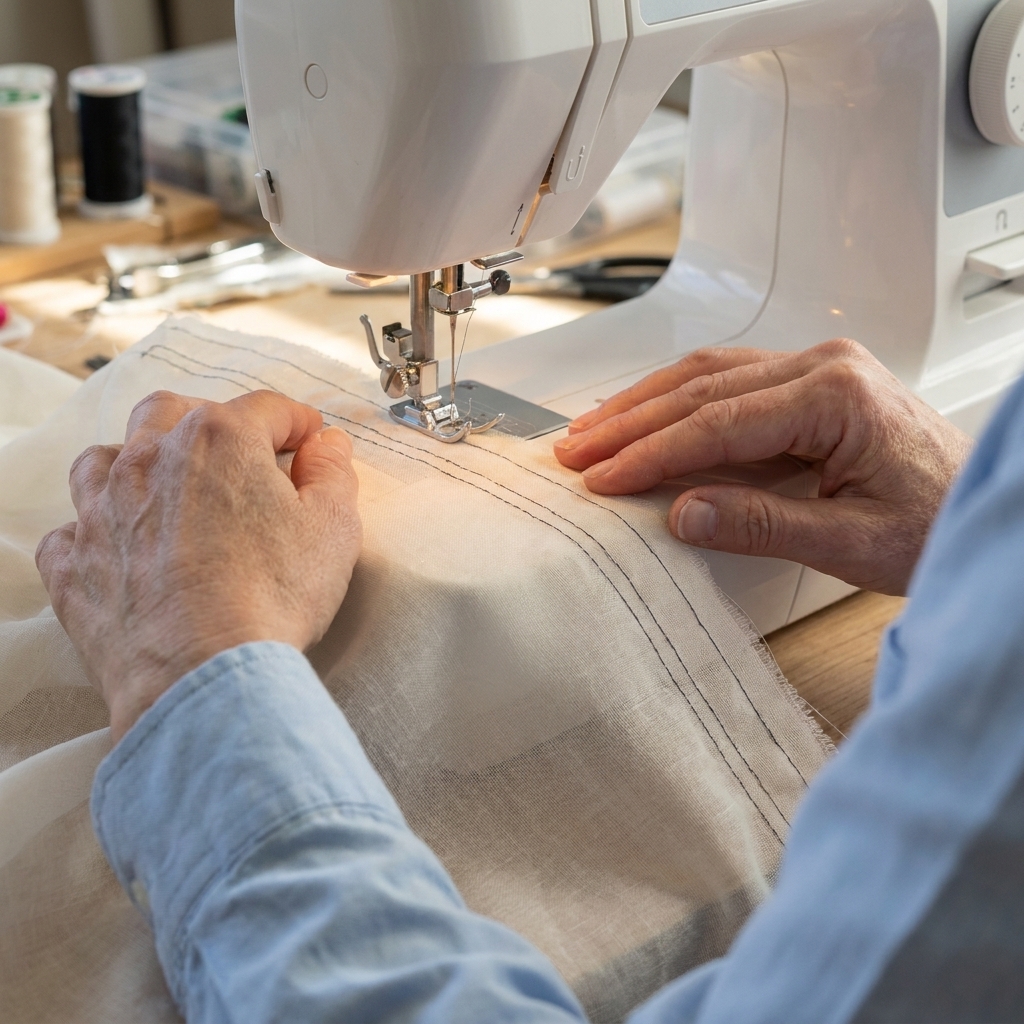
The two-row basting method uses two rows of long stitches sewn inside your seam allowance. Then you gently pull the two threads from the same side of the stitching to gather the fabric (the bobbin side usually slides the easiest).
Why two rows? Because it keeps your gathers from twisting into little clumps. The fabric gathers between the rows and stays more upright and evenly spaced, which makes it much easier to sew to a flat piece (like a waistband or a bodice) without puckers.
Best fabrics to start with
You can gather most woven fabrics, but your first attempts will feel much easier on fabrics that behave.
- Easier: quilting cotton, cotton lawn, poplin, chambray, rayon challis (go slow)
- Trickier: very thick fabrics (canvas, denim), very slippery fabrics (satin), knits (use different techniques)
If your fabric is thick, you may need a longer stitch length and a little extra patience when pulling threads.
What you need
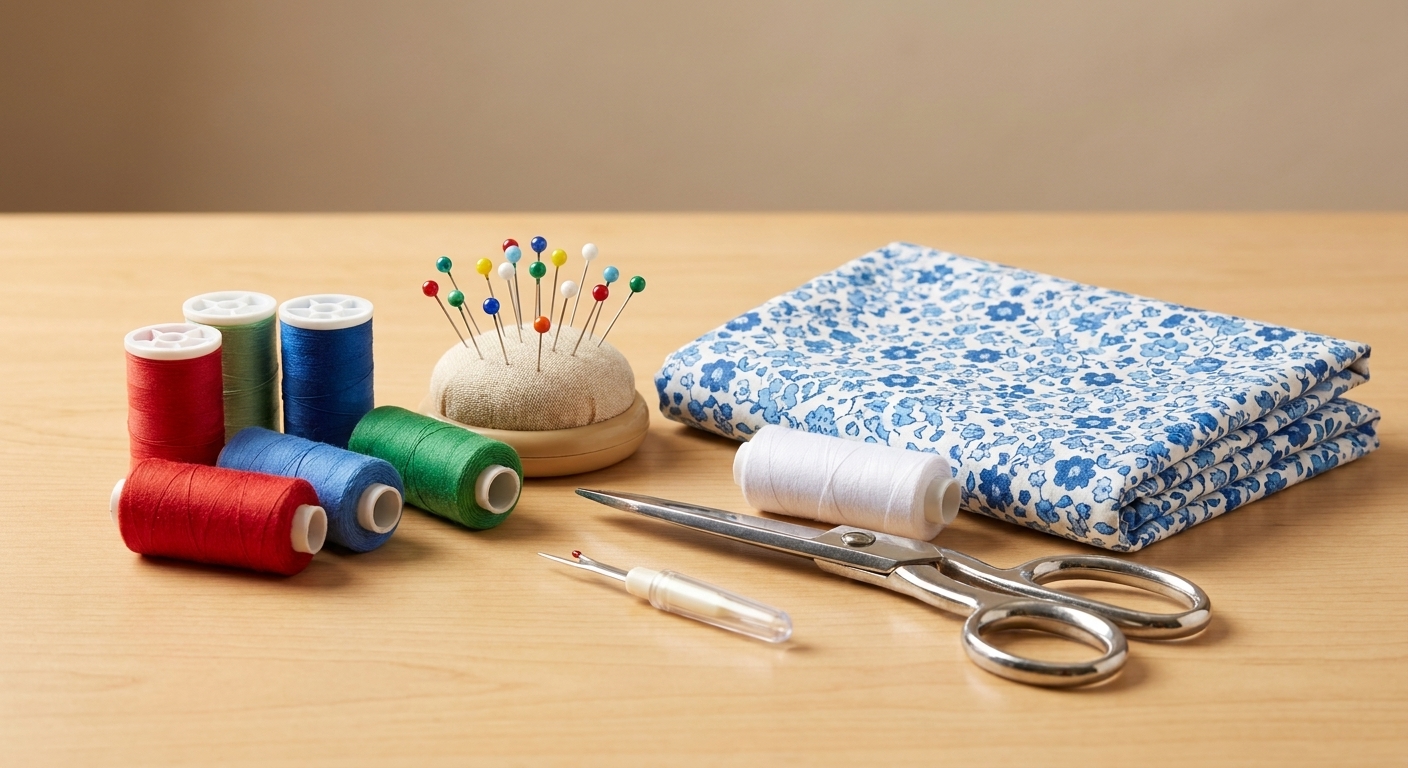
- A standard sewing machine
- All-purpose thread (matching, or contrasting if you want to see the basting clearly)
- Fabric marking tool (optional but helpful)
- Scissors
- Pins or clips
- Your seam ripper, just in case
Machine setup
Stitch length
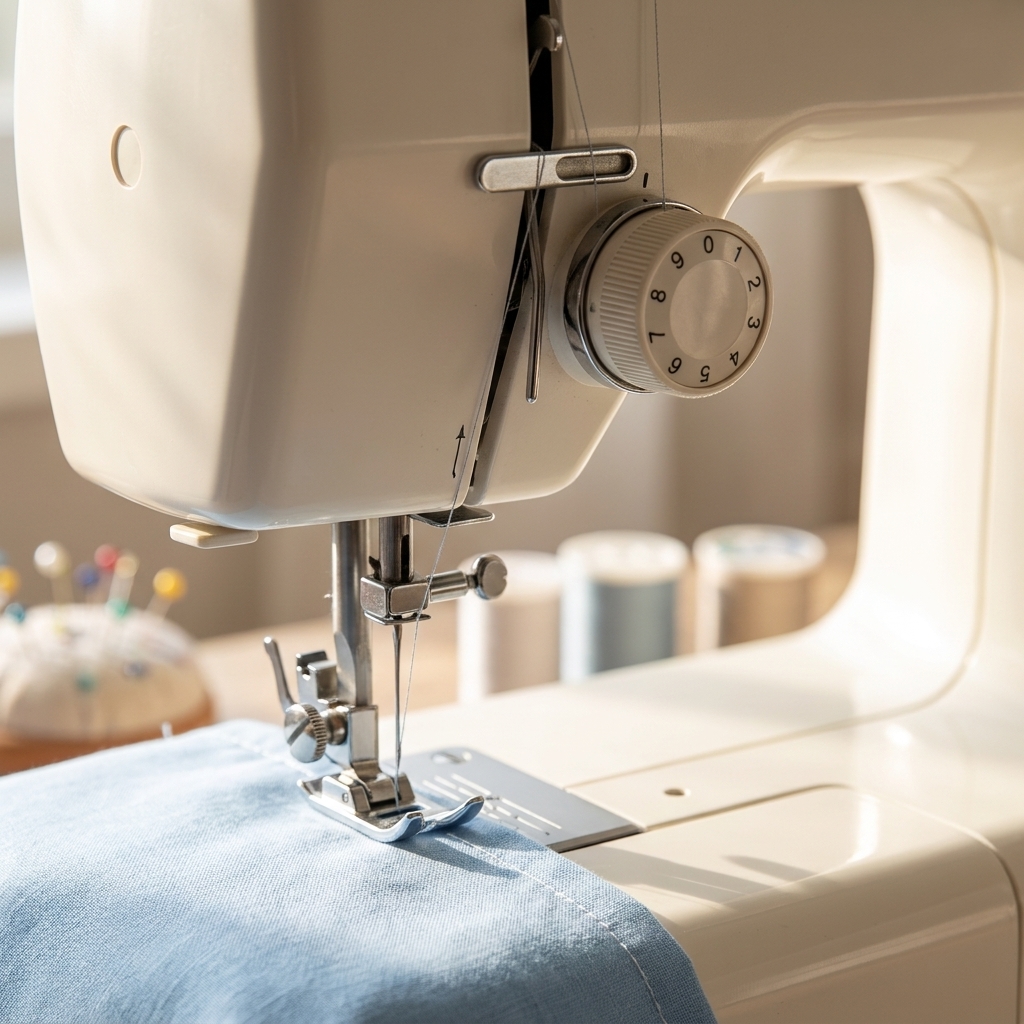
Set your stitch length to a long stitch, usually 4.0 to 5.0 on many machines. The key is long stitches (so the threads can slide) plus long tails and no backstitching.
Tension
Leave your tension at normal to start. A longer stitch length does not automatically mean “loose tension,” so there is usually nothing to adjust here.
Backstitching
Do not backstitch at the beginning or end of the basting rows. You need those threads free so you can pull them.
Presser foot
A regular presser foot is perfect. A walking foot can help with even feeding on slippery fabric, but it can also make it harder to nudge gathers into place, so test on scraps first.
Step-by-step
We are going to sew two long stitch lines inside the seam allowance, then pull the threads to gather.
1) Mark your seam allowance (optional, but calming)
If your pattern uses a 5/8 inch seam allowance, lightly mark that line near the edge. It helps you put your gathers exactly where they belong.
2) Place your basting rows
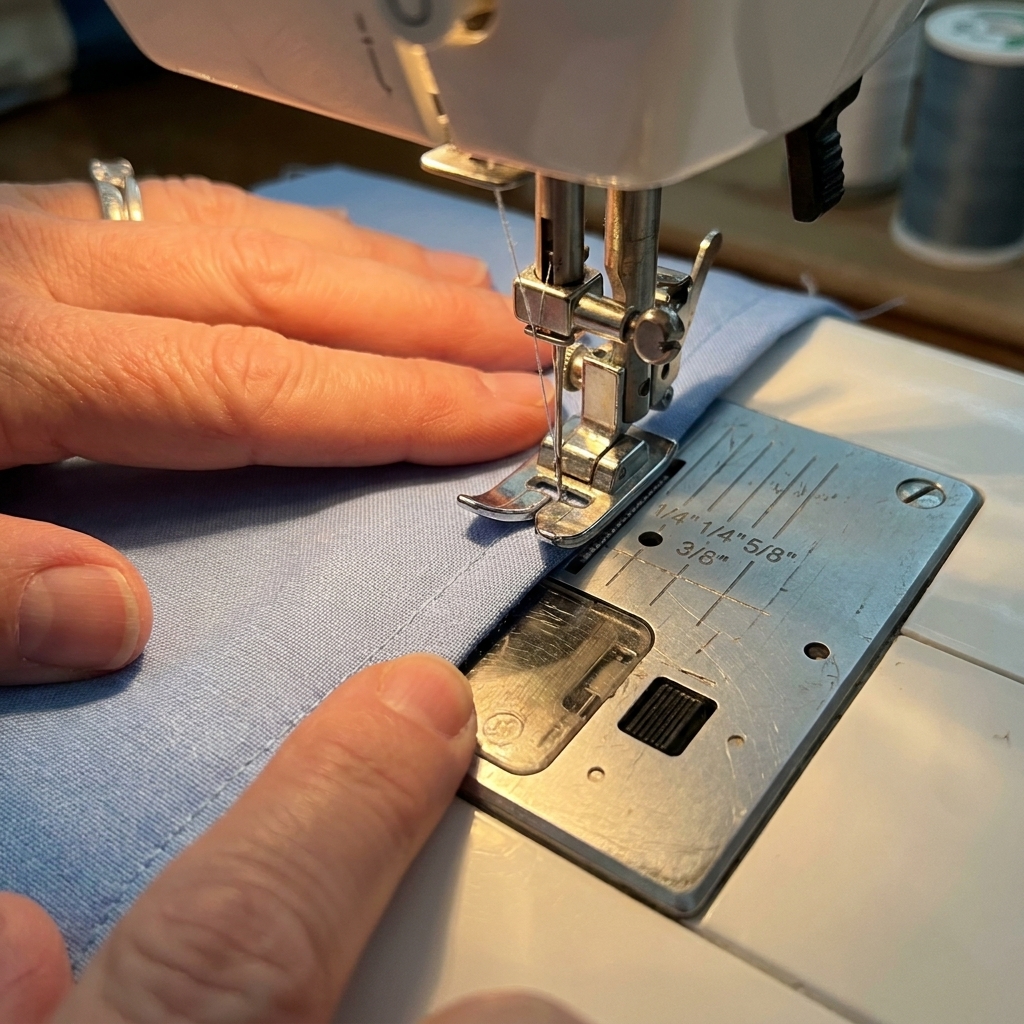
Beginners usually find this easier with a concrete map. For a 5/8 inch seam allowance, a simple setup is:
- First basting row: 1/4 inch from the raw edge
- Second basting row: 1/2 inch from the raw edge
- Final seam: 5/8 inch from the raw edge
Different seam allowances? No problem. Keep both basting rows inside the seam allowance, and leave yourself room to sew the final seam either between the two rows or just to the inside of them.
3) Sew the first basting row
Sew a straight line of long stitches, keeping it parallel to the raw edge.
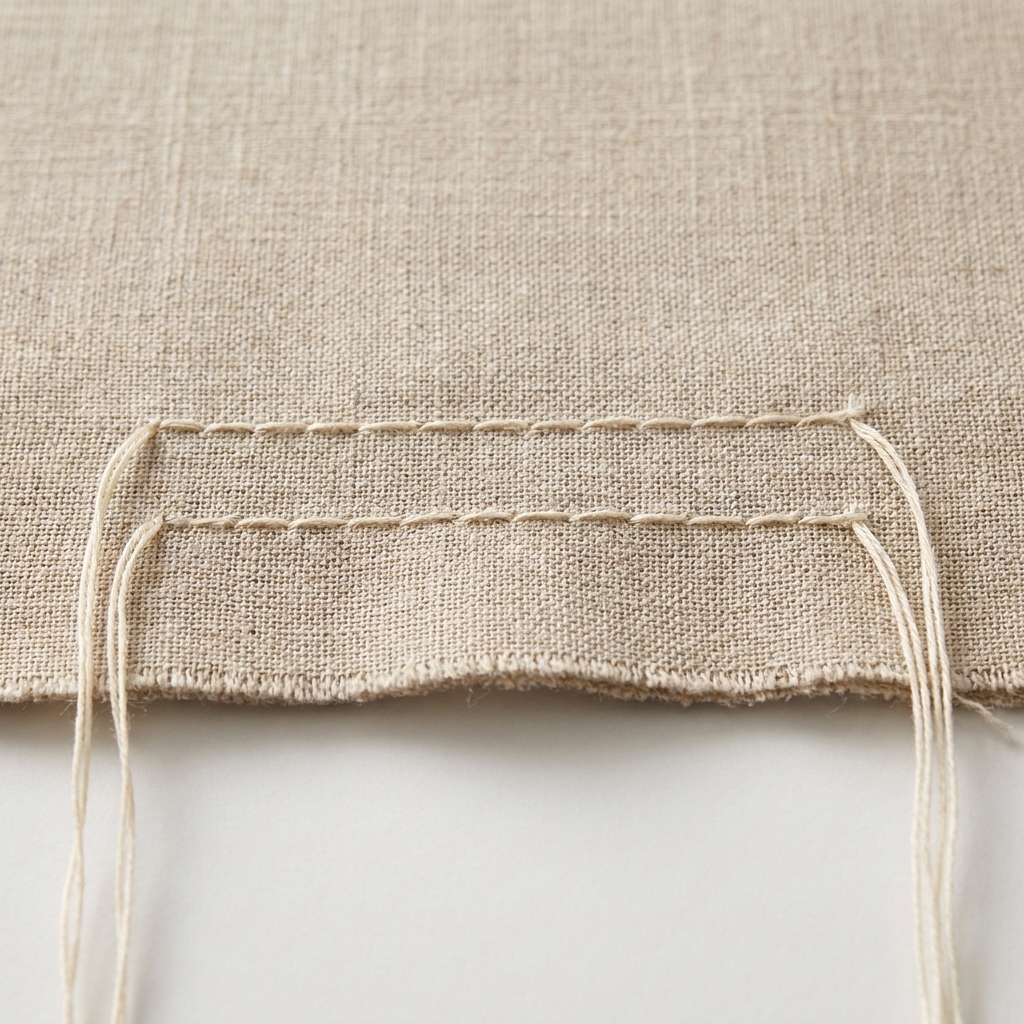
- Leave long thread tails at the beginning and end, about 4 to 6 inches.
- No backstitching.
4) Sew the second basting row
Sew a second line of long stitches, parallel to the first, still inside the seam allowance.
Think of the two rows as gentle guardrails that keep your gathers tidy.
Pull threads and make even gathers
1) Separate the thread tails
On one end, separate the four thread tails into pairs. You will have two top threads and two bobbin threads.
Tip: The bobbin threads usually slide more easily. If you are not sure, gently tug one thread and see which side starts to gather. Then commit to pulling the two threads from that same side consistently.
2) Pull gently (and use both ends for long pieces)
Hold the fabric with one hand and gently pull the two chosen threads together with the other. Your fabric will begin to gather.
For long ruffles or skirt panels, pull a little from both ends rather than trying to force all the gathering from one side. It reduces thread breakage and helps everything distribute faster.
3) Gather to the right length
Keep gathering until the gathered piece matches the length of the piece you are attaching it to (like a waistband). If you have a pattern, this might be a specific measurement.
4) Hold the gathers in place
Once your length is right, keep it from relaxing while you pin:
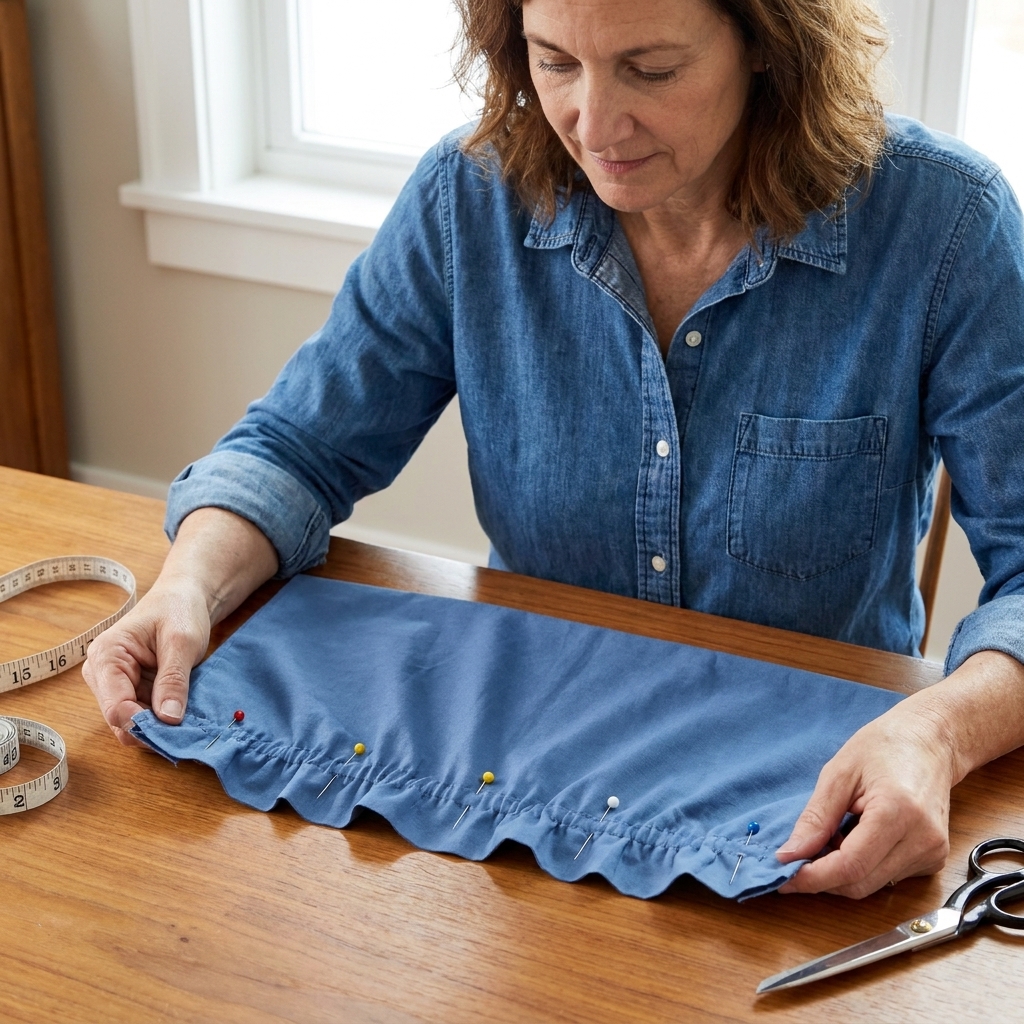
- Wrap the pulled thread tails around a pin in a figure-eight, or
- Tie the thread tails into a gentle knot close to the fabric edge (do not yank tight).
5) Distribute evenly
This is the part that makes your gathers look professional.
- Divide both fabric pieces into quarters (or eighths for long ruffles).
- Mark those points with pins or tiny clips in the seam allowance, and do not clip past the seam line, especially on fraying fabrics.
- Slide the gathers so each section has the same amount of fullness.
Sew gathers to a flat piece
1) Pin with intention
Pin at your quarter marks first, then add pins between. Make sure your raw edges align.
2) Put the gathers on top
I recommend sewing with the gathers on top (facing you), and the flat piece on the bottom. That way you can nudge the gathers as you stitch, keeping them from folding into little pleats.
3) Stitch your final seam
Sew your final seam line between the two basting rows whenever possible. If your basting rows are at 1/4 and 1/2 inch and your seam is at 5/8 inch, you will stitch just inside the basting rows and they will stay hidden in the seam allowance.
4) Go slow and keep checking
Pause every few inches with the needle down, lift your presser foot, and smooth the gathers with your fingers if needed.
5) Remove visible basting stitches (optional)
If any basting stitches show on the right side, gently remove them. If both basting rows are fully inside the seam allowance, you can usually leave them in.
6) Press to set
A little steam and a careful press (do not crush the volume if you want it fluffy) helps the seam sit nicely and makes the gathers look finished.
Extra-even trick
If you are gathering a long ruffle or a skirt, try this:
- Pull the threads just enough to get light gathers.
- Wrap the thread tails around a pin in a figure-eight to hold the length.
- Then fine-tune the distribution section by section.
This keeps your length stable while you adjust, which is especially helpful when you get pulled into “just fix this one spot” territory.
Troubleshooting
Threads keep snapping when I pull
- Pull slowly and slide gathers with your fingers instead of yanking.
- Try pulling from both ends for long sections.
- Make sure you are pulling the two threads from the same side (bobbin side usually works best).
- Use a slightly longer stitch length (closer to 5.0).
- Try a stronger thread (very old thread can snap easily).
Gathers are lumpy or uneven
- Use quarter marks and distribute fullness by sections.
- Make sure your two basting rows are parallel and not crossing.
- Try adding a third basting row for very long gathers or slippery fabric.
Fabric puckers when I sew the final seam
- Reduce bulk by making sure gathers are not stacked on top of each other.
- Sew with gathers on top and the flat piece on the bottom.
- Check that your stitch length is back to a normal length for the final seam.
I accidentally backstitched
It happens. Use your seam ripper to remove just the backstitched part, then free up the thread tails so you can pull them.
Where it shines
- Skirt waistlines: gather the skirt to fit the waistband or bodice
- Ruffles: even, pretty ruffling that does not twist
- Sleeves: controlled ease and soft fullness at the cap
- Tiered dresses: long seams that still look tidy
Quick FAQ
Do I have to use two rows?
You can gather with one row, but two rows almost always look more even and are easier to control, especially for beginners.
Should I change my tension?
Not for this method. Normal tension plus a long stitch length is usually perfect.
How close should the rows be?
Aim for about 1/4 inch apart. The exact spacing is not magical. The goal is two parallel lines inside the seam allowance.
Can I gather thick fabric like denim?
Yes, but it takes more effort. Use a longer stitch length, strong thread, and consider three rows of basting to keep everything stable.
Final pep talk
Even gathers are not about having “naturally talented hands.” They are about giving yourself a system that keeps things under control. Two basting rows, long thread tails, pull the two threads from one side, then distribute in sections. That is it.
And if you end up with a wonky section the first time, welcome to sewing. Your seam ripper and a cup of tea have your back.