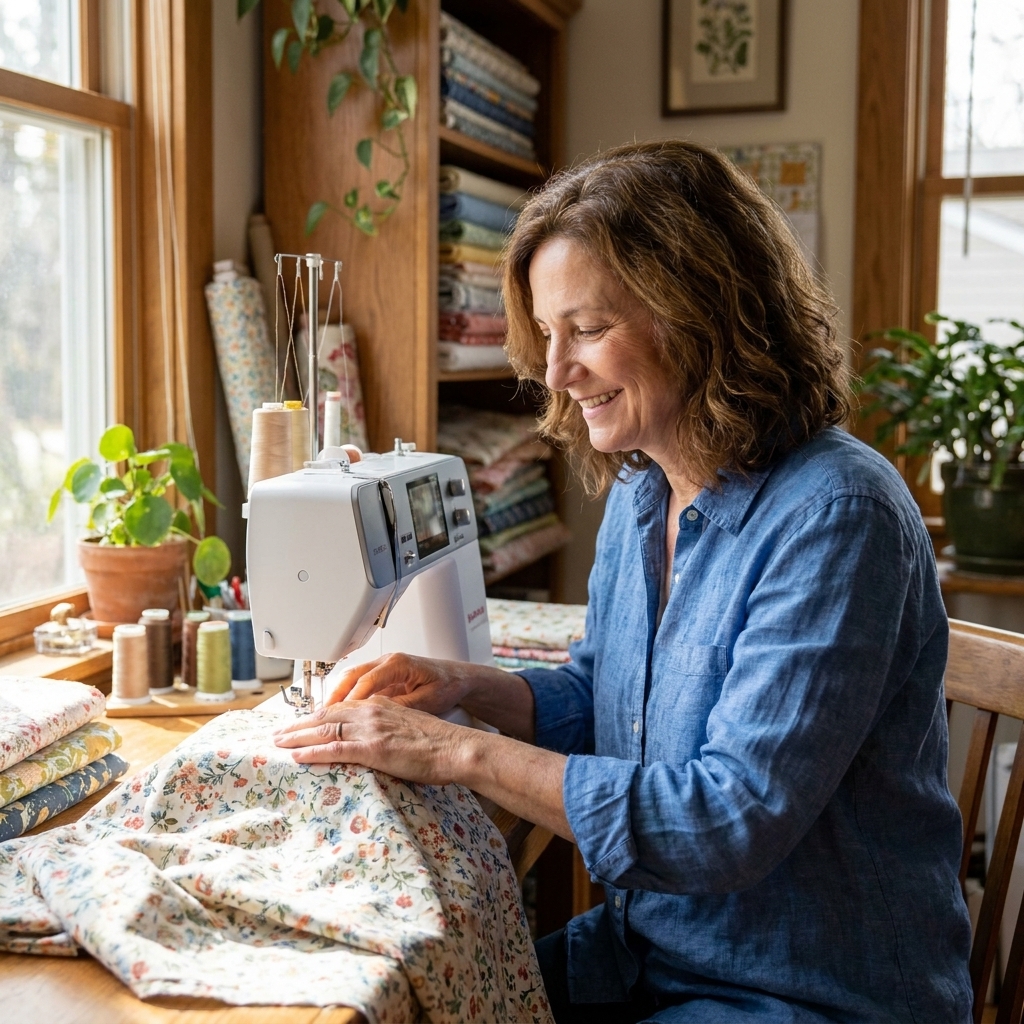
Hemming is one of those sewing skills that feels mysterious until you do it a few times, and then you start noticing hems everywhere. The good news is that most hems are built from the same simple steps: measure, press, pin or clip, then stitch. In this guide, I will walk you through three hems you will use constantly: the double-fold hem (reliable and tidy), the blind hem (almost invisible from the outside), and the topstitched hem (clean and a little sporty).
If you have ever stitched a hem that turned out wavy, twisty, or somehow shorter on one side, you are in the right place. Grab your iron, your seam ripper (my favorite safety net), and let’s do this one stitch at a time.
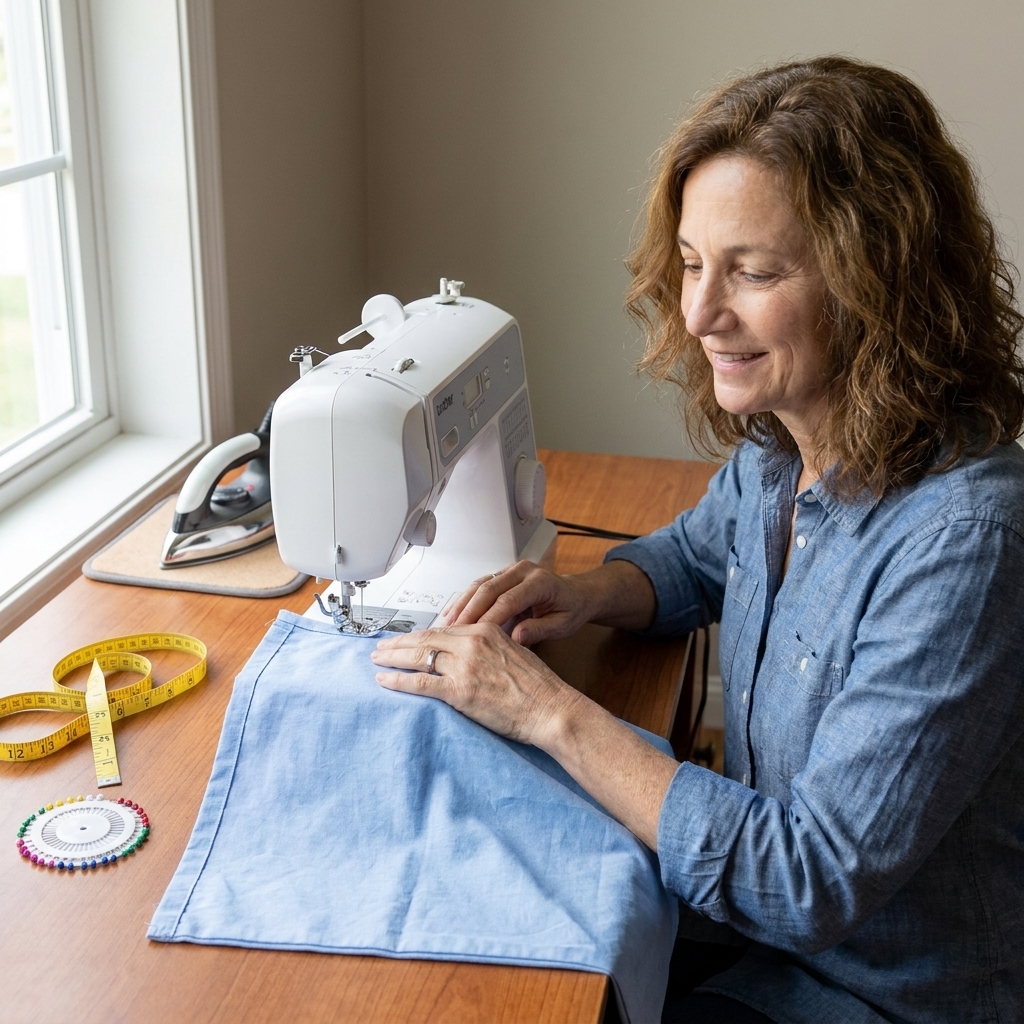
Before you hem: what you need
You do not need fancy tools to sew a great hem, but you do need the basics. The secret ingredient is pressing. A pressed hem is a cooperative hem.
Tools and supplies
- Measuring tool: seam gauge, ruler, or measuring tape
- Fabric marker: tailor’s chalk, washable pen, or a sliver of soap
- Iron and ironing board: or a pressing mat
- Pins or clips: clips are great for thick fabric
- Sewing machine (or hand needle if you prefer)
- Thread that matches your project
- Seam ripper for quick fixes
Needle, thread, and stitch settings (beginner-friendly defaults)
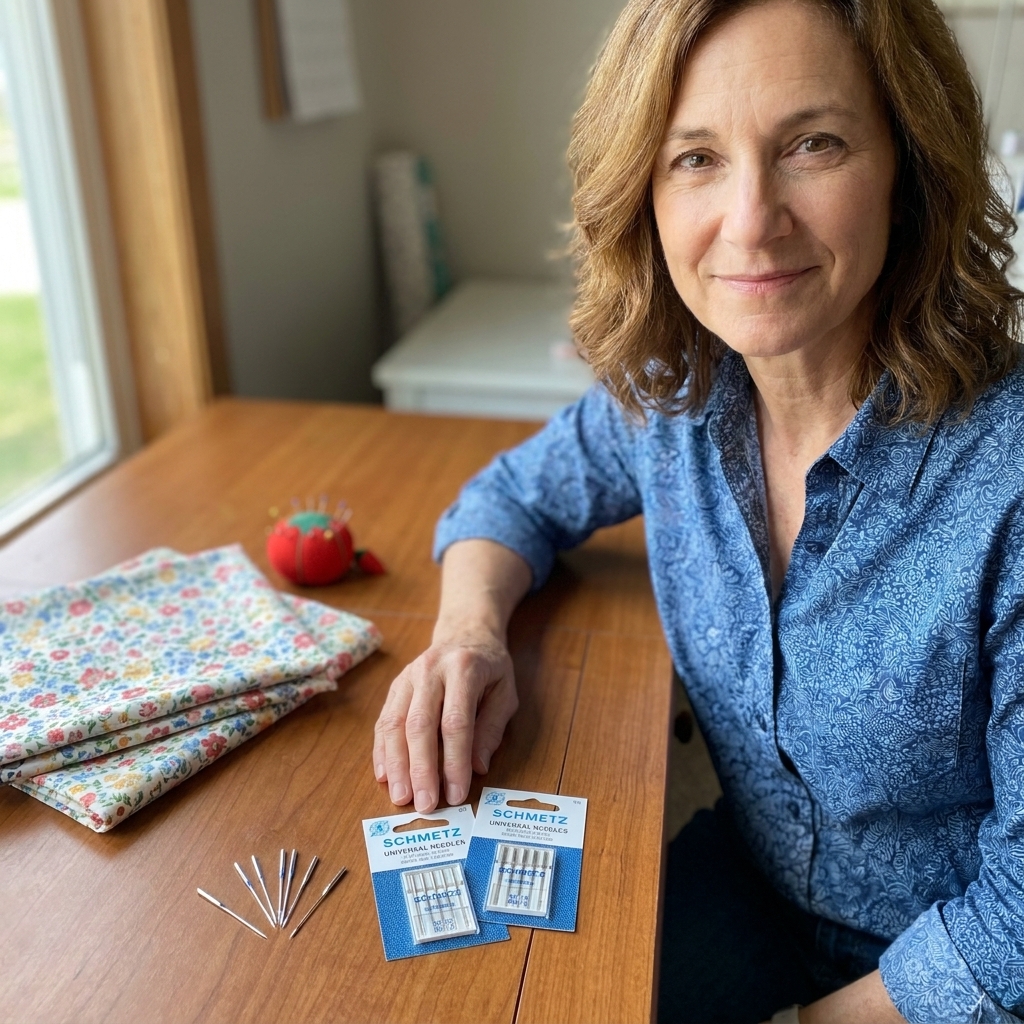
- Woven cottons and linens: universal needle size 80/12, stitch length 2.5 to 3.0
- Denim and heavy twill: denim needle 90/14 or 100/16, stitch length 3.0 to 3.5
- Lightweight fabrics: microtex needle 70/10, stitch length 2.0 to 2.5
- Knits: ballpoint or stretch needle 75/11, use a zigzag or stretch stitch instead of a straight stitch
If you are unsure, test on a scrap folded like your hem. Your machine will tell you the truth faster than any tutorial.
How to choose the right hem
Here is my quick, practical way to decide.
- Double-fold hem: best for most beginner projects, especially cotton skirts, pajama pants, napkins, simple dresses, and light to medium fabrics.
- Blind hem: best when you want an invisible finish, like dress pants, skirts, and curtains.
- Topstitched hem: best when you like a visible line of stitching, like casual dresses, kids’ clothes, aprons, and many home decor projects.
And one gentle reminder: there is no “one perfect hem.” There is the hem that works for the fabric, the garment, and your patience level that day.
The core hemming steps
No matter which hem you choose, you will do some version of these steps. (Specialty hems like rolled hems, faced hems, and coverstitched knit hems add a few extra moves, but the basics still apply.)
1) Prep the fabric
- Wash and dry fabric the way you plan to treat the finished item. Fabric that shrinks after hemming is heartbreak you do not need.
- Press out wrinkles before measuring.
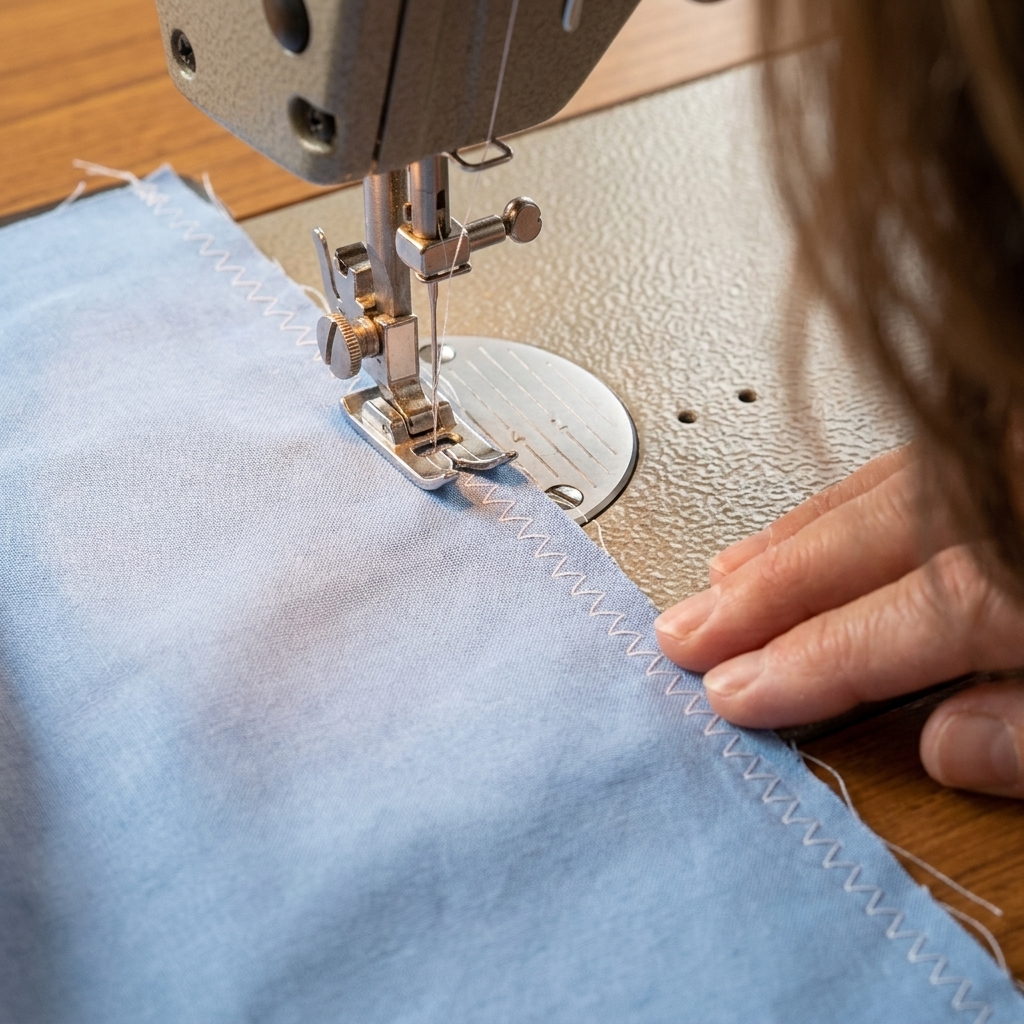
- Finish the raw edge if your fabric frays easily and your hem method does not fully enclose the edge. Options: zigzag stitch, pinking shears, or an overcast stitch on your machine.
2) Let drapey hems hang (when needed)
If you are hemming a circle skirt, a bias-cut garment, or anything floaty and drapey (hello, rayon and viscose), let it hang for several hours or overnight before you mark the hem. Gravity is sneaky, and it loves to “grow” those edges unevenly.
3) Decide the finished length
Try the garment on with the shoes you plan to wear. Stand naturally. If possible, have a friend mark the desired length, or use a safety pin or washable marker and check in a mirror.
4) Mark evenly all the way around
Measure from the bottom edge up (or from the floor up if the item is on a body) in multiple spots. Beginners often mark once, cut once, and end up with an accidental high-low hem. Marking in several places helps everything stay level.
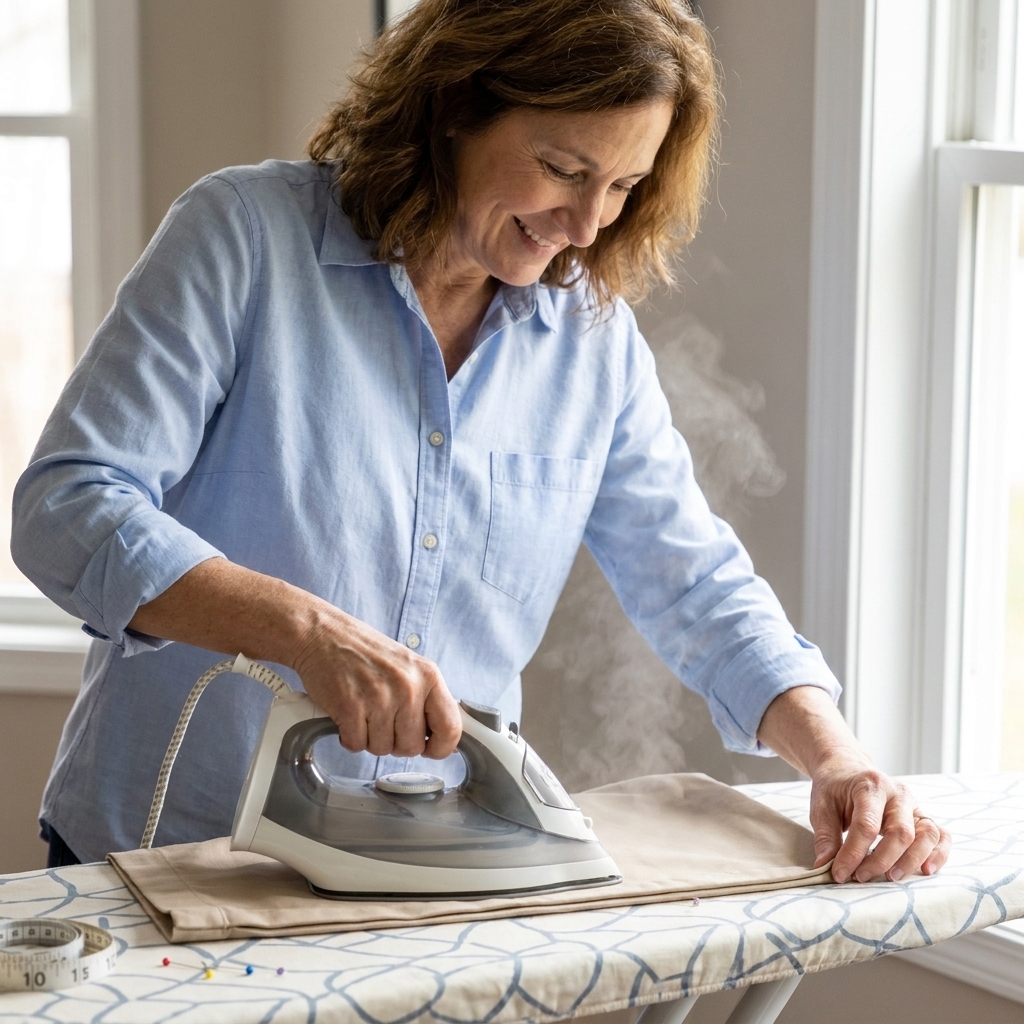
5) Press the fold before you sew
Pressing is not the same as ironing. Lift and press down, then lift and move, rather than dragging the iron. This keeps fabric from stretching into a wavy hem.
Double-fold hem
A double-fold hem is exactly what it sounds like: you fold the raw edge up once, then fold again so the raw edge is tucked inside. It is tidy, durable, and forgiving.
Best for
- Skirts, simple dresses, pajama pants
- Tea towels, table runners, napkins
- Light to medium weight woven fabrics
Hem width
Common finished hem widths are 1/2 inch (1.3 cm) for lightweight fabrics and 1 inch (2.5 cm) for medium weight garments and home decor. Curtains often use a deeper hem like 2 to 4 inches (5 to 10 cm) for a nicer hang.
Step-by-step
- Measure your hem allowance. Decide your finished hem width, then double it. Example: for a 1/2 inch (1.3 cm) finished hem, you need 1 inch (2.5 cm) total hem allowance.
- First fold: fold the raw edge up by half the allowance (example: 1/2 inch or 1.3 cm). Press well.
- Second fold: fold up again by the same amount. Press again.
- Pin or clip. Place pins perpendicular to the edge so you can pull them out easily as you sew.
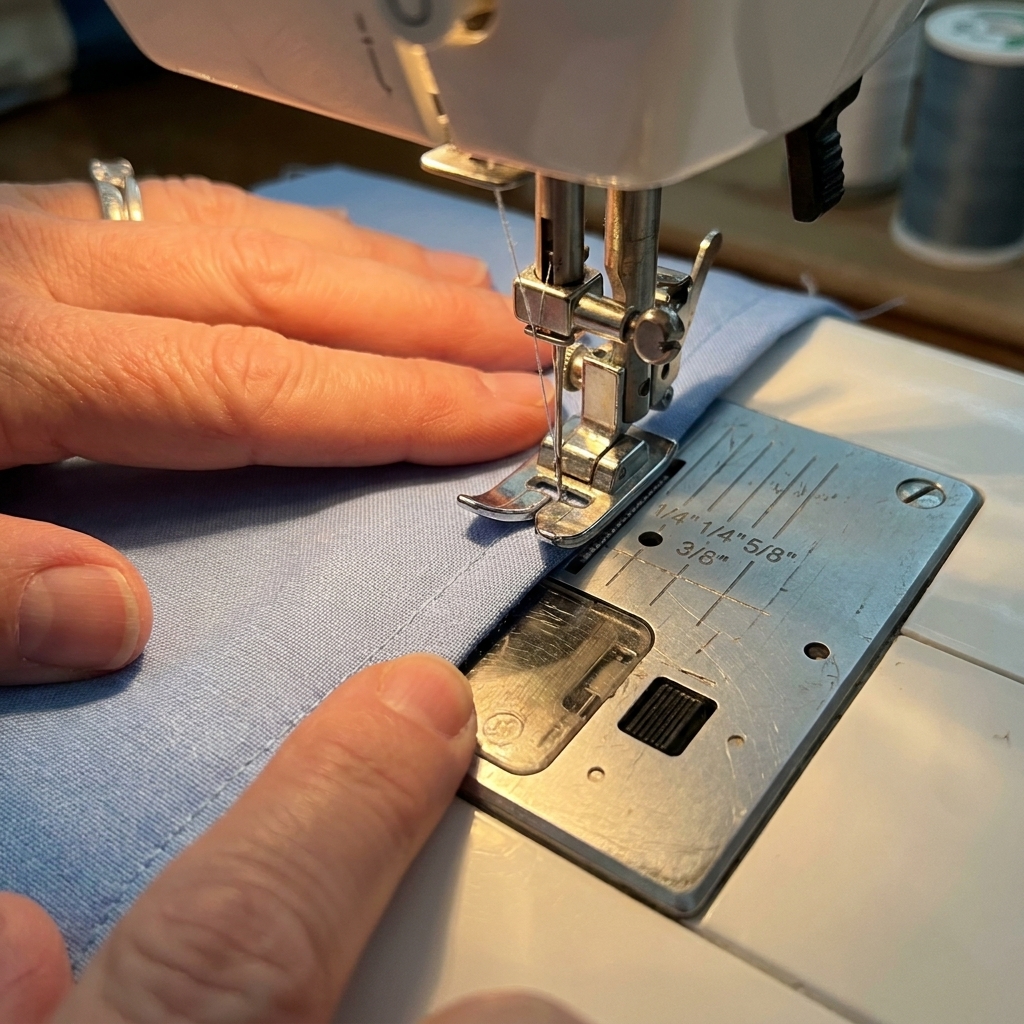
- Stitch close to the inner folded edge. A good beginner target is 1/8 inch (3 mm) from that fold.
- Press the finished hem. Press from the wrong side first, then a quick press from the right side if your fabric can handle it.
Corner tips
If you are hemming something square like a napkin, corners can get bulky. Two easy options:
- Simple: fold and press the sides first, then fold up the bottom hem, and stitch carefully across the corner.
- Less bulk: before the second fold, trim a tiny triangle off the corner seam allowance (do not cut into your fold line), then fold and stitch.
Topstitched hem
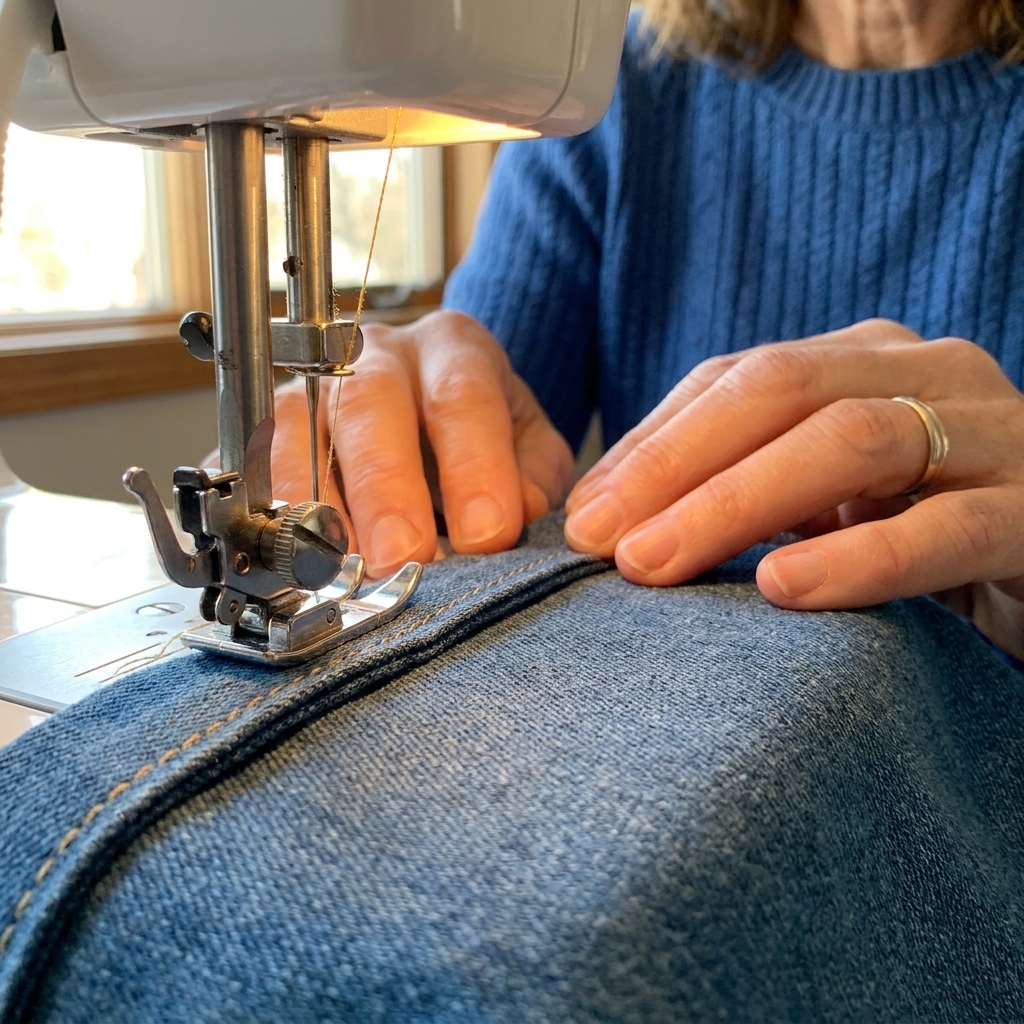
A topstitched hem is still a folded hem, but the stitching is meant to be seen. You can do one row of stitching or two. This is the hem that makes things look crisp and intentionally handmade.
Best for
- Casual garments and kids’ clothes
- Aprons, pillowcases, simple curtains
- When you want a visible design detail
Step-by-step (one row)
- Choose your hem type underneath. Most topstitched hems are a double-fold hem, so the raw edge is enclosed.
- Press the hem. Take your time here. A wobbly press creates a wobbly topstitch.
- Increase stitch length slightly. Try 3.0. Longer stitches usually look nicer on visible topstitching.
- Use matching thread or contrast thread. Matching hides tiny wiggles. Contrast shows every wobble, so save it for when you want to show off.
- Stitch from the right side. Sew a consistent distance from the hem edge, such as 1/8 inch (3 mm) or 1/4 inch (6 mm).
- Press again. This helps the stitching settle into the fabric.
Keep your stitching straight
- Use the edge of your presser foot as a guide.
- Move your needle position (if your machine allows) so the fabric edge lines up with the foot edge.
- Go slower than you think you need to. Speed makes wobbles.
Blind hem
A blind hem is the one that feels like magic: most of the stitches land inside the hem fold, with only tiny “bites” catching the garment fabric. From the outside, you see almost nothing.
Best for
- Dress pants and skirts
- Curtains and drapes
- Medium weight woven fabrics that press well
What you need
- Blind hem foot (optional but helpful). Many machines include one.
- Matching thread for the outer fabric. A close match hides the tiny stitches best.
Step-by-step: machine blind hem
- Finish the raw edge of the hem allowance if your fabric frays (zigzag, overcast, or serge).
- Press the hem up at your full hem depth (example: 2 inches or 5 cm). Press well.
- Fold the hem back on itself. From the wrong side, fold so that most of the hem is to one side, and about 1/4 inch (6 mm) of the garment fabric sticks out as a little ledge. The fold line should run right along where you want the blind stitches to catch.
- Set your machine to blind hem stitch. It looks like several straight stitches followed by a zigzag bite. (Your machine manual will show which one.)
- Position under the foot. Keep the fold running against the guide on your blind hem foot. If you do not have the foot, go slowly and keep the fold aligned with the right side of your presser foot.
- Sew, letting the zigzag just barely bite the garment fabric. You want tiny catches, not big visible tugs.
- Unfold and press. Ideally, from the right side you will see only tiny dots of thread spaced apart. If the dots look obvious, reduce the bite width or adjust your fold so the stitch grabs less fabric.
Hand-sewn blind hem
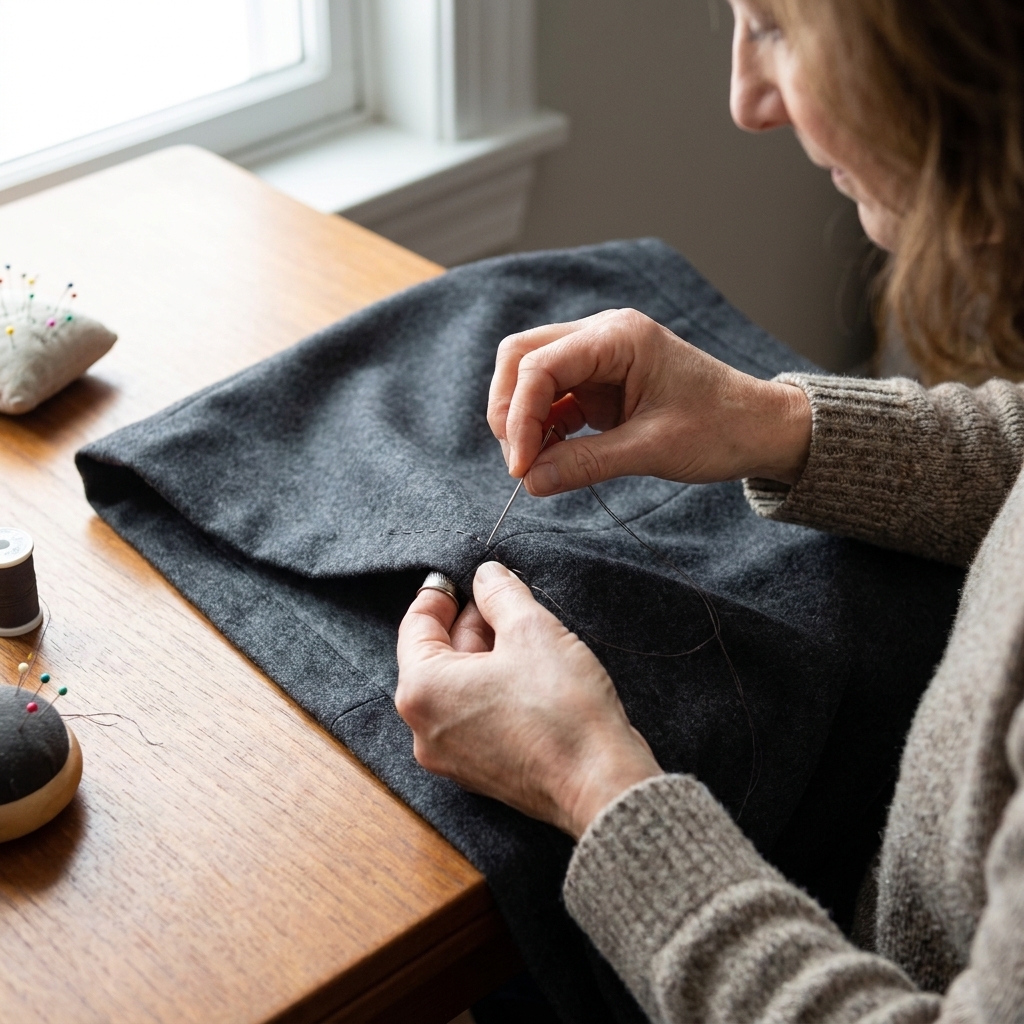
If your machine blind hem is making you grumpy, switch to hand sewing. Hand blind hemming is slow, but it is very controlled.
- Press the hem up and finish the raw edge if needed.
- Thread a hand needle and knot the end.
- Take a small stitch in the hem allowance, then a tiny bite of the garment fabric, then back into the hem allowance. Repeat.
- Keep stitches loose enough that the fabric does not pucker.
Knit hemming tips
Knit hems can be the waviest, most dramatic hems in the whole drawer, mostly because knits stretch while you handle them. A few small tweaks make a huge difference.
- Use the right needle: ballpoint or stretch needles help prevent skipped stitches.
- Stitch choice: a narrow zigzag or stretch stitch keeps the hem stretchy.
- Twin needle option: a twin needle can give you that classic T-shirt look. If you get tunneling (a ridge between the rows), try lowering tension a bit and stabilizing the hem.
- Stabilize if needed: washaway hem tape, a strip of lightweight knit interfacing, or even a narrow strip of tissue paper under the hem can help prevent waves. Tear or wash it away after.
- Consider a walking foot: it can help feed stretchy layers evenly.
Tips to prevent wavy hems
If I could sit next to every beginner and whisper one thing, it would be: do not stretch the fabric while you press or sew. Stretching is the fastest route to a rippled hem.
Avoid waves
- Let the fabric rest on the ironing board. Do not hold it off the edge while pressing.
- Use steam carefully. Steam can relax fabric, but too much steam plus dragging the iron can stretch it.
- Support long garments. If half your skirt is hanging off the table while you sew, the weight can pull the hemline and distort it.
- Use more pins than you think. Beginners often under-pin and the fold drifts.
Curved hems
Curves are trickier because the edge is longer than the fold line. Here are two options:
- Narrow hem: Use a smaller double-fold hem, like 1/4 inch (6 mm) finished. Narrow hems behave better on curves.
- Easing: If the hem wants to ripple, sew a line of long basting stitches just inside your first fold line (so the stitches end up hidden). Then gently pull one set of threads (either needle or bobbin, whichever moves more easily on your machine) to ease the edge before folding, pressing, and stitching.
Common hemming problems
My hem is crooked
- Re-measure from a consistent point. For garments, measure from the floor while worn or from a level surface if laid flat.
- Press the hemline into place before stitching. Pressing “locks in” accuracy.
Puckers along the hem
- Try a longer stitch length.
- Reduce upper thread tension slightly (test first).
- Make sure you are not pulling the fabric from behind the machine.
Skipped stitches
- Change to a new needle. A dull needle causes drama.
- Match needle type to fabric: ballpoint for knits, denim for heavy fabric, microtex for tightly woven fabric.
The hem flips up
- Press more firmly and longer. Heat and time matter.
- Consider a slightly deeper hem for more weight.
- For slippery fabric, a few dots of washable glue stick can hold the fold for stitching.
Bulky hem on thick fabric
- Use a wider hem but trim the inner fold slightly so layers are not stacked evenly.
- Flatten thick seam intersections before sewing. A rubber mallet on a hard surface works well. Protect the fabric with a scrap, and skip this trick on delicate fabrics that might bruise or shine.
Quick hem width guide
| Project | Good beginner hem | Typical finished width |
|---|---|---|
| T-shirt knit (machine) | Topstitched with zigzag, stretch stitch, or twin needle | 1/2 inch to 1 inch (1.3 to 2.5 cm) |
| Woven skirt or dress | Double-fold | 1/2 inch to 1 inch (1.3 to 2.5 cm) |
| Dress pants | Blind hem | 1.5 inches to 2 inches (4 to 5 cm) |
| Curtains | Blind hem or topstitched | 2 inches to 4 inches (5 to 10 cm) |
| Tea towel | Double-fold | 1/4 inch to 1/2 inch (6 to 13 mm) |
FAQ
Do I always need to finish the raw edge before hemming?
If your hem method encloses the raw edge (like a double-fold), you can often skip finishing. If the fabric frays a lot, or you are doing a blind hem where the edge may be exposed inside, finishing is worth it.
Should I hem before or after washing?
After. Pre-wash and dry first so shrinkage happens before you set the length.
Can I hem without an iron?
You can, but it will be harder and less accurate. If you truly do not have an iron, finger-press folds firmly and use extra pins, but know this is the sewing equivalent of making toast without a toaster.
What is the easiest hem for a total beginner?
A double-fold hem on a stable woven cotton. It is the most straightforward and gives you a clean, professional-looking finish fast.
Final pep talk
Hems are not a test of worthiness. They are a skill, and skills get better through repetition, not perfection. If your first hem is a little wobbly, you are officially doing it right. Press it, admire it, then make the next one a tiny bit better. And if you need to unpick a few inches with your seam ripper, welcome to the club. The tea is always on.