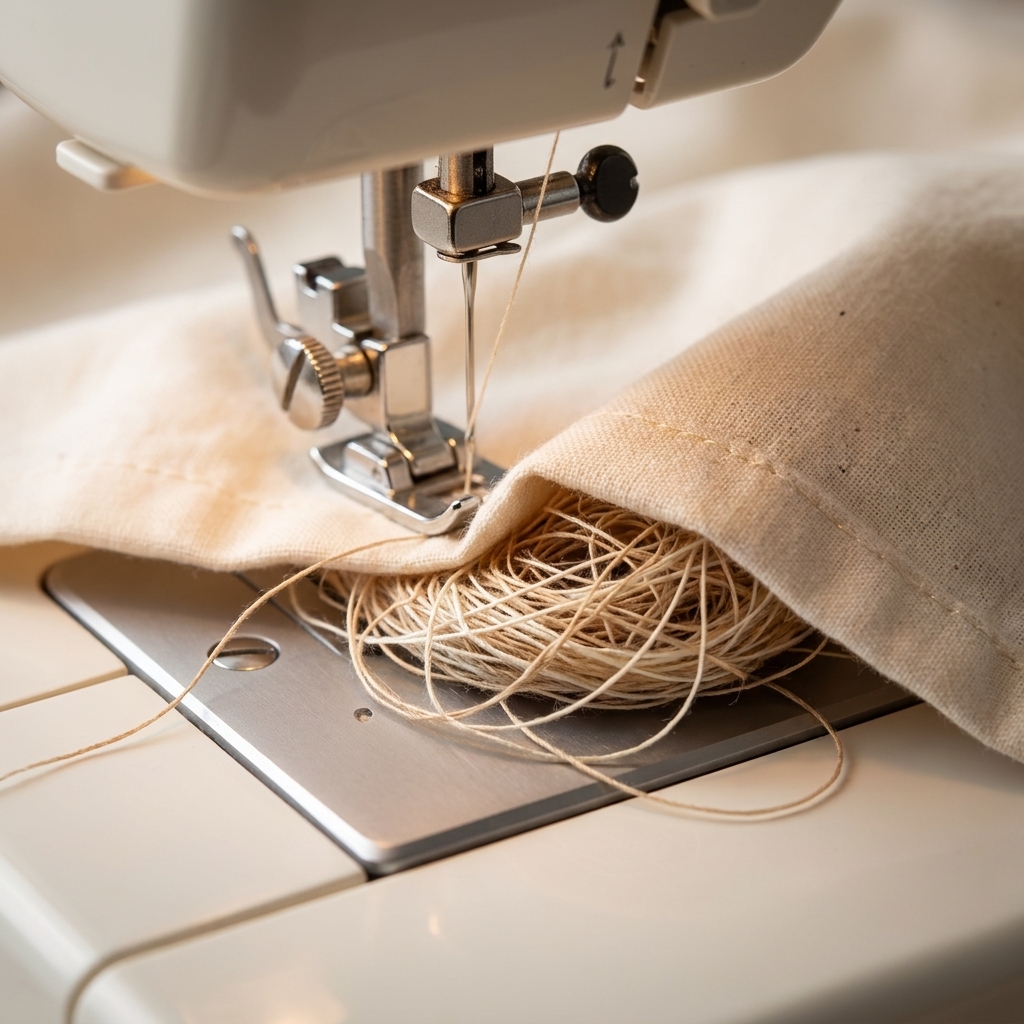
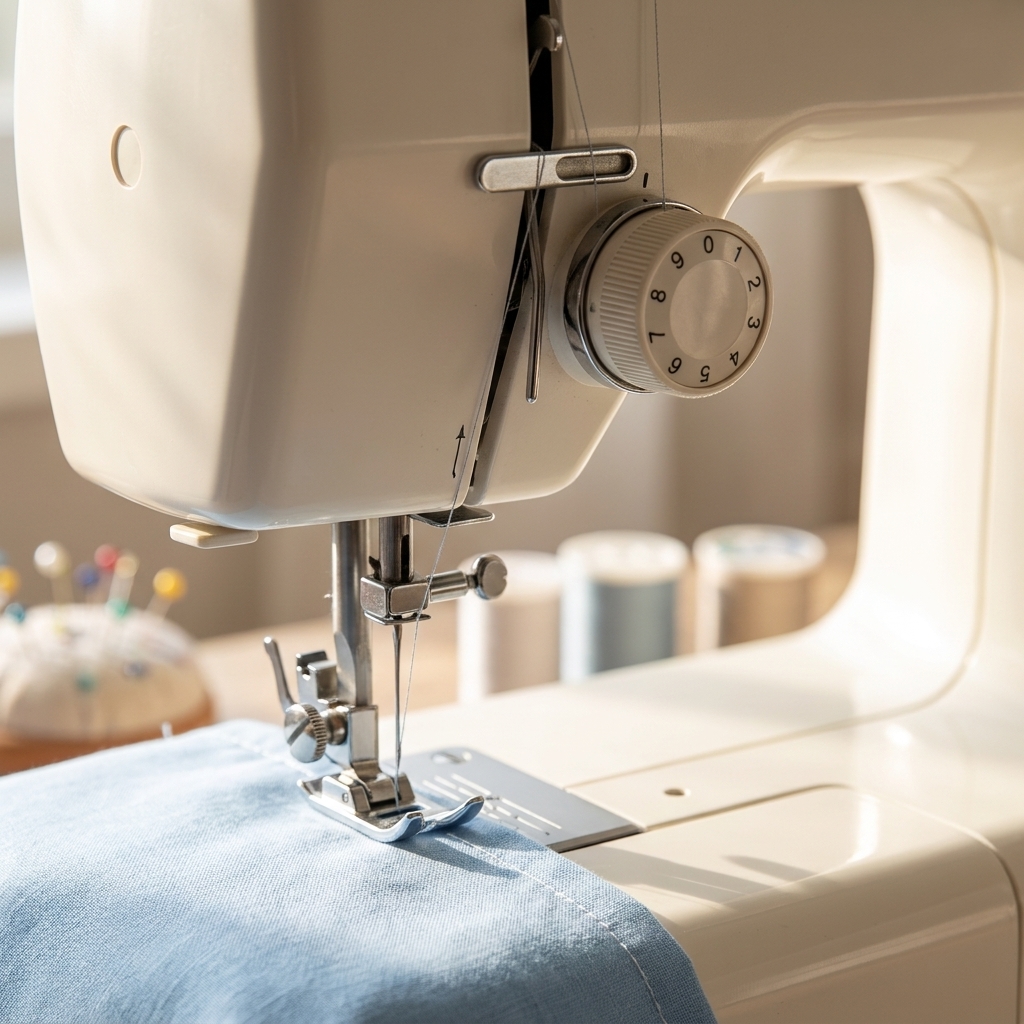
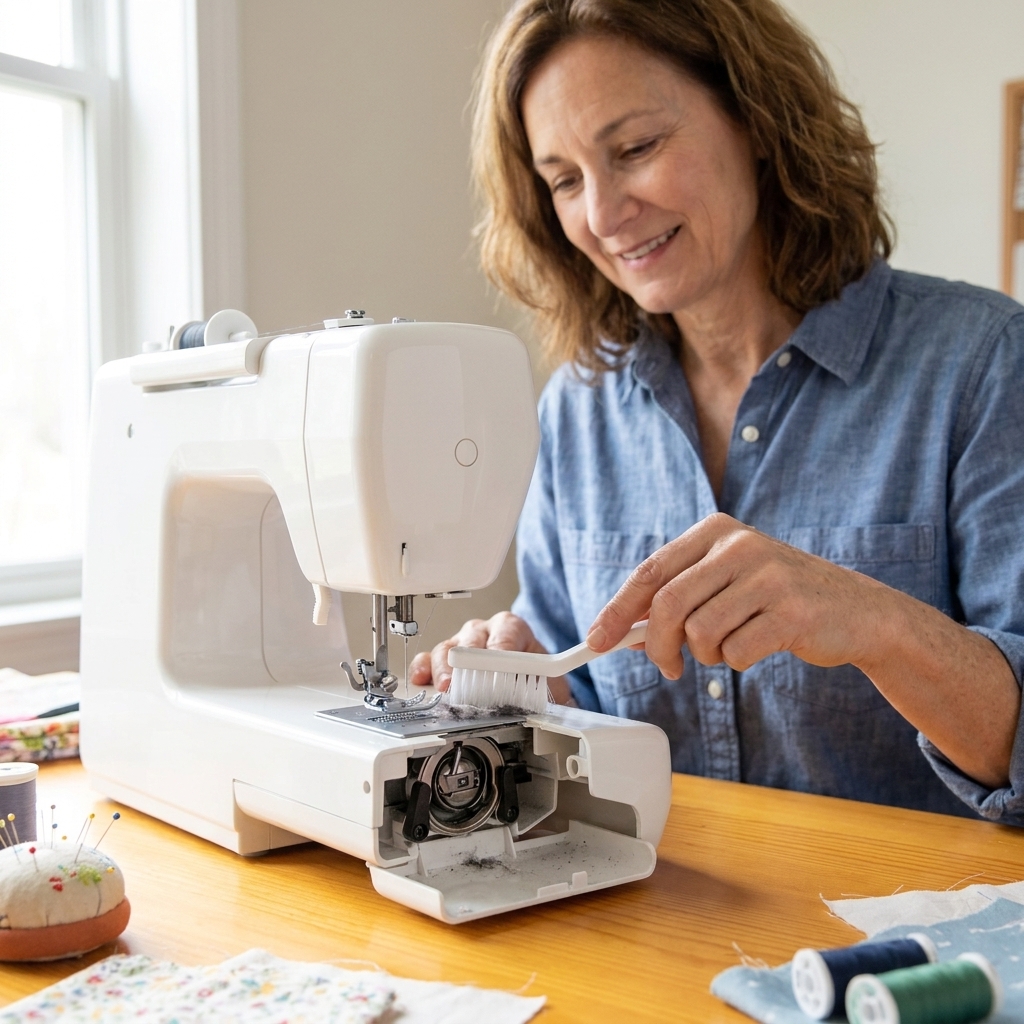
If your sewing machine is acting a little “moody” (skipped stitches, weird popping sounds, puckers, or surprise thread nests), the needle is often the real culprit. The good news: needles are inexpensive, easy to change, and choosing the right one can make your sewing feel instantly smoother.
Let’s make needles feel simple. By the end of this, you will know what the numbers mean, which needle to use for your fabric, and how to tell when yours is ready for retirement.
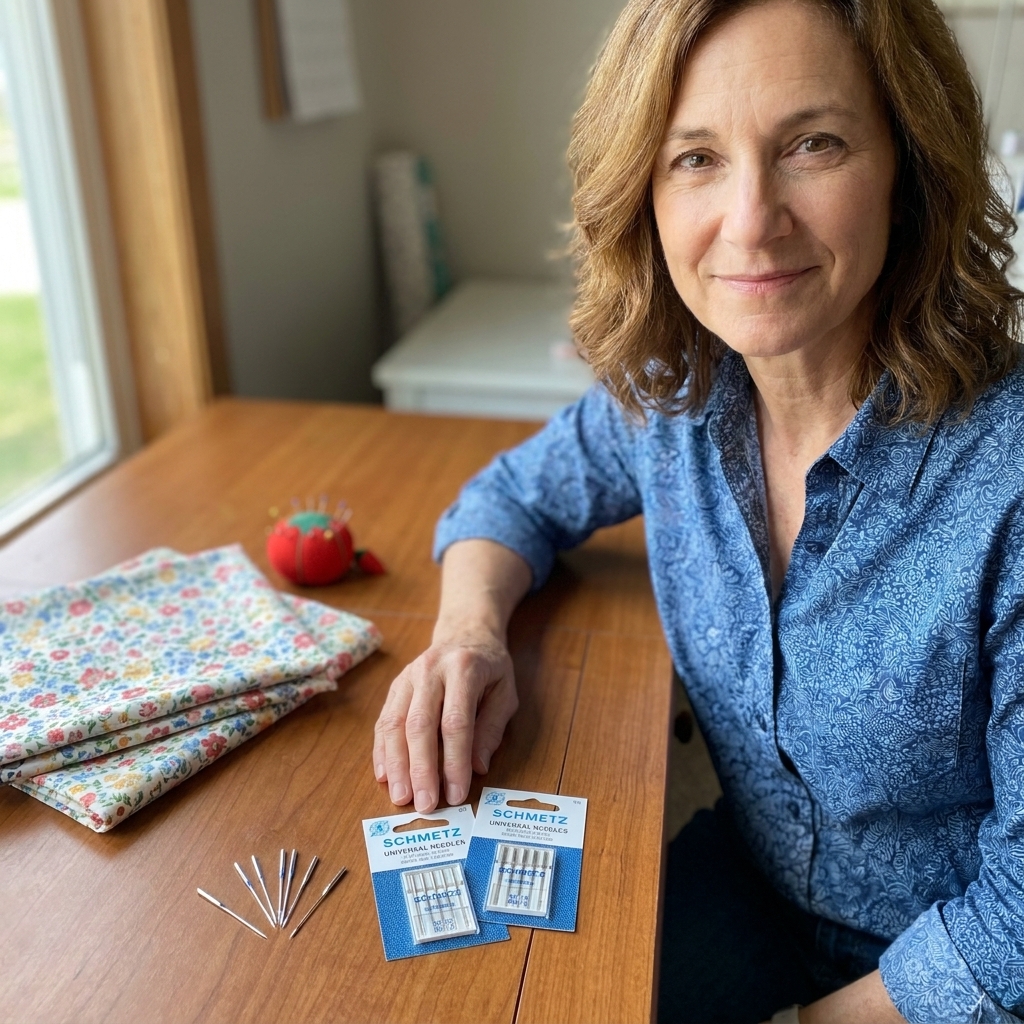
Needle anatomy (in plain English)
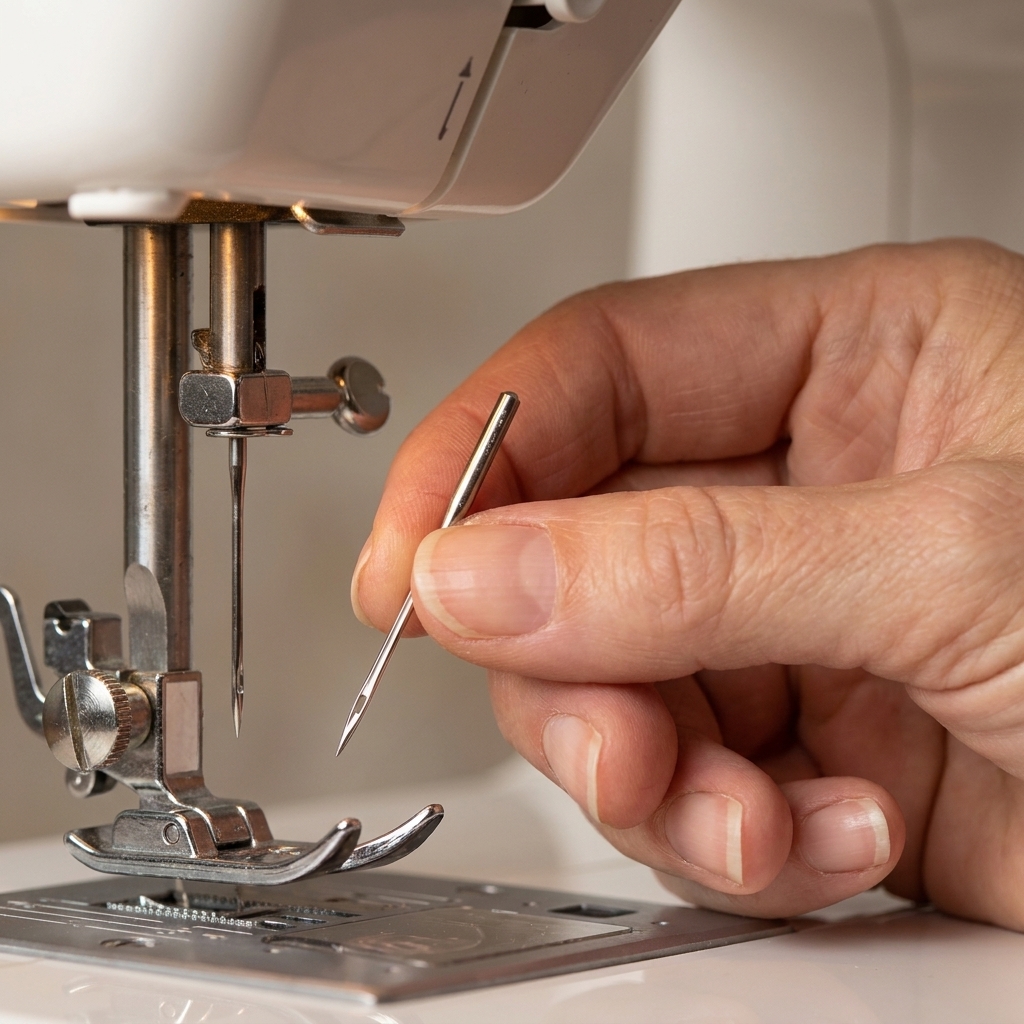
You do not need to memorize needle parts, but it helps to know what affects your stitches.
- Point: The tip that pierces the fabric. Different points are made for wovens vs knits.
- Shaft: The long body of the needle. Thicker shaft = bigger needle size.
- Scarf: A small indentation above the eye that helps the hook catch your thread.
- Eye: The hole the thread goes through. Heavier threads need a bigger eye.
- Flat side: Most home machine needles have one flat side on the top (the shank). This is what helps you insert it the right way.
If you take nothing else away: fabric type decides the needle type, and fabric thickness decides the needle size.
Needle sizes, explained (those two numbers)
Most packages show two sizes, like 80/12 or 90/14.
- The first number (60, 70, 80, 90, 100) is the European size.
- The second number (8, 10, 12, 14, 16) is the US size.
Bigger number = thicker needle. A thicker needle makes a bigger hole, which is great for dense fabrics but can damage delicate fabric.
Beginner needle size cheat sheet
| Needle size | Best for | Examples |
|---|---|---|
| 60/8 | Very lightweight fabric | Chiffon, voile, delicate linings |
| 70/10 | Lightweight fabric | Cotton lawn, lightweight quilting cotton, rayon challis |
| 80/12 | Medium weight (the “default” for many projects) | Quilting cotton, broadcloth, linen, most garment cottons |
| 90/14 | Medium-heavy | Denim shirts, canvas bags, thicker linen, upholstery cotton |
| 100/16 | Heavy | Heavier denim, multiple thick layers, structured bags |
| 110/18 | Very heavy (use with care on a home machine) | Very thick denim seams, heavy canvas |
My easy rule: start with 80/12 for most medium fabrics, then adjust up or down if your fabric is noticeably thinner or thicker.
Needle types (what to use and why)
Needle type is about the point shape and how it treats the fabric.
Universal
Best for: a little bit of everything, especially woven fabrics.
Universal needles are the friendly “starter” needle. If you are sewing quilting cotton, basic linen, or everyday wovens, universal is usually fine.
Microtex (Sharp)
Best for: tightly woven or finicky fabrics that want crisp stitches.
- Cotton poplin, silk, microfiber, synthetic linings
- Topstitching that needs to look clean and precise
If your stitches look slightly messy or your fabric is snagging, a Microtex needle often fixes it fast.
Ballpoint
Best for: knit fabrics (t-shirts, interlock) and anything stretchy that hates being poked.
Ballpoint needles have a rounded tip that slides between knit fibers instead of cutting them. That helps prevent runs and little holes near seams.
Stretch
Best for: very stretchy knits that skip stitches.
- Swimwear fabric, spandex blends, athletic knits
- Rib knit cuffs
If you tried a ballpoint and your machine is still skipping, stretch needles are the next step.
Jeans/Denim
Best for: dense fabrics and thick seams.
Jeans needles are strong and sharp, designed to punch through heavy weaves without bending. They are great for denim hems, canvas, and heavy twill.
Topstitch
Best for: thicker thread and visible stitching.
Topstitch needles have a larger eye and groove, which helps heavier thread feed smoothly. Use these for neat topstitching on garments and bags.
Quilting
Best for: piecing and quilting through layers.
Quilting needles are designed to handle cotton layers and batting more comfortably than a basic universal needle, especially for free-motion or dense quilting.
Leather (use carefully)
Best for: real leather and some vinyls.
Leather needles cut a tiny slit rather than pushing fibers aside. That is perfect for leather, but it can permanently weaken woven fabric, so do not use it on cotton or linen.
How to choose the right needle in 30 seconds
If you are standing in front of your machine wondering what to do, use this quick decision path:
- Is your fabric woven or knit?
- Woven: start with Universal or Microtex.
- Knit: start with Ballpoint. If it skips, try Stretch.
- How thick is it?
- Light: 70/10
- Medium: 80/12
- Medium-heavy: 90/14
- Heavy: 100/16
- Are you using thicker thread or doing decorative topstitching?
- Use a Topstitch needle in an appropriate size.
And yes, you can absolutely keep it simple: Universal 80/12 will get most beginners through a lot of early projects on woven fabrics.
When to change your needle (the part everyone forgets)
I love a bargain, but sewing machine needles are not the place to squeeze extra mileage. A slightly dull or bent needle can cause all sorts of drama that looks like a tension issue.
Change your needle:
- Every 6 to 8 hours of actual sewing (a good “rule of thumb”)
- At the start of a new project if you want the easiest, smoothest experience
- When you switch fabric types (for example, woven to knit)
- After sewing something rough like heavy denim, canvas, thick seams, or anything with gluey interfacing
- Immediately if you hit a pin or hear a “clunk”
Signs your needle is telling you “please swap me”
- Skipped stitches that were not happening before
- Popping sound as the needle goes through the fabric
- Thread shredding or snapping
- Snags, pulls, or tiny holes near the seam line
- Uneven stitches on the underside that look like tension problems
- The needle looks bent when you roll it gently on a flat surface
My seam ripper loving truth: if your stitches suddenly look chaotic, change the needle first. It is the simplest fix and it saves a lot of troubleshooting.
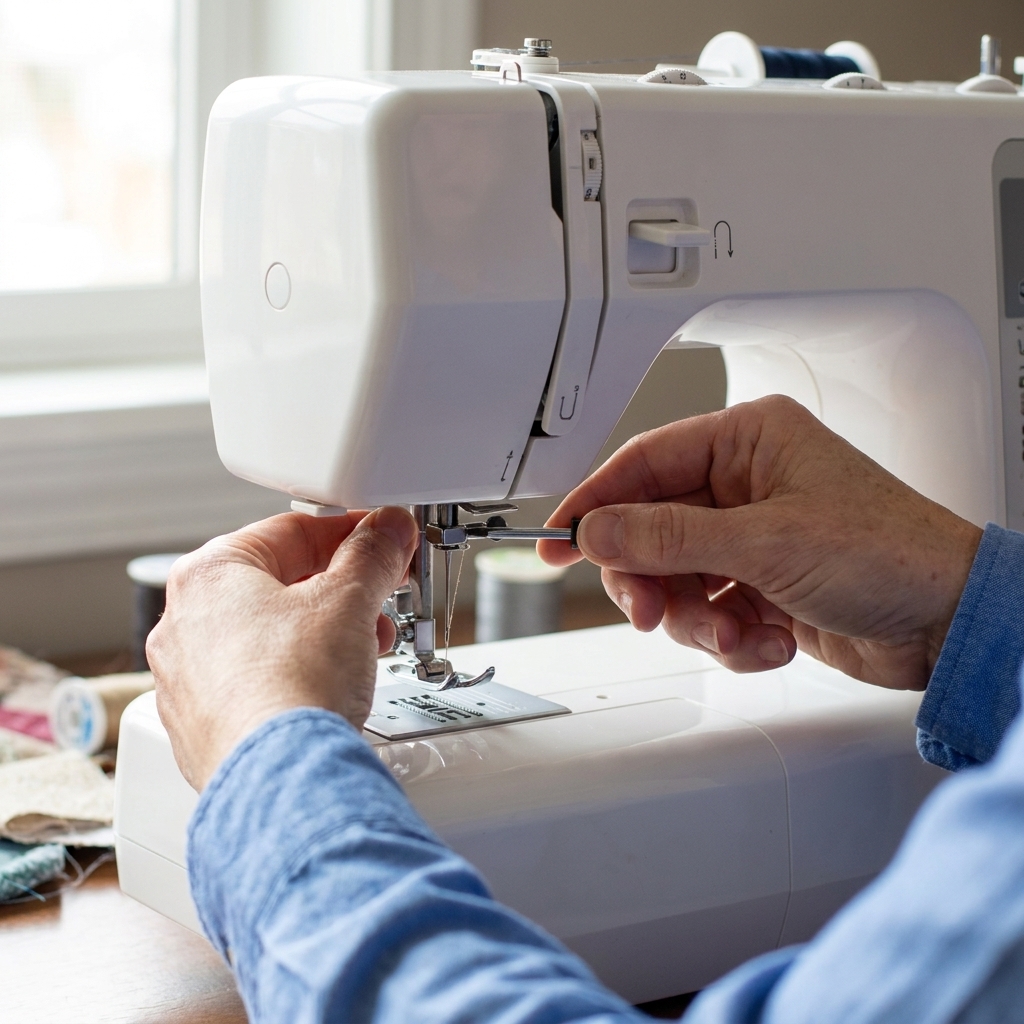
How to change a sewing machine needle (quick and calm)
Different machines vary slightly, but this is the general process for most home sewing machines.
- Turn off your machine. This is not being dramatic. It is just good safety.
- Raise the needle to its highest position using the handwheel (turn toward you) or the needle up button if your machine has one.
- Raise the presser foot. It gives you a little more room to work.
- Loosen the needle clamp screw. Hold the needle so it does not drop into the machine.
- Insert the new needle fully. Push it up as far as it will go.
- Make sure the flat side faces the correct direction. On many machines it faces the back, but some face the side. If you are not sure, your manual will confirm in one sentence.
- Tighten the clamp screw firmly. Snug is good. Over-tightening is not necessary.
- Re-thread the machine. A fresh needle and a fresh re-thread solve a shocking number of problems.
Matching needle to thread (so nothing fights)
Most beginner projects use all-purpose polyester thread, which works beautifully with sizes 70/10, 80/12, and 90/14.
- Fine thread (lightweight garments): try 70/10 or 80/12.
- All-purpose thread (everyday sewing): 80/12 is the sweet spot.
- Heavier topstitch thread: use a Topstitch needle (often 90/14 or 100/16).
If your thread frays near the needle eye or snaps often, you may need a needle with a larger eye (topstitch needle) or a slightly larger size.
Common beginner needle problems (and the quick fix)
“My machine is skipping stitches.”
- Change the needle.
- Make sure it is inserted all the way up.
- For knits, switch to Ballpoint or Stretch.
“My fabric is getting holes or runs.”
- For knits, use Ballpoint or Stretch (not universal).
- Try a smaller size, like 70/10 instead of 80/12.
“The needle keeps breaking.”
- Check that you are not pulling fabric from behind (let the feed dogs do the work).
- Use the right needle for thick fabric (Jeans/Denim for denim, larger size for dense layers).
- Remove pins before the needle reaches them.
- Make sure the presser foot and needle plate are correct for your stitch.
“My stitches look messy and uneven.”
- Try a new needle and re-thread.
- For crisp stitching on wovens, try Microtex.
- Make sure your needle size matches your fabric weight.
Beginner starter kit (needles worth keeping on hand)
If you want a tiny needle collection that covers most beginner projects, this is what I would stock:
- Universal assorted pack (70/10, 80/12, 90/14)
- Ballpoint assorted pack (75/11, 90/14)
- Microtex 80/12 (for those “why is this fabric being difficult” moments)
- Jeans/Denim 90/14 or 100/16 (for hems and bags)
- Topstitch 90/14 (if you like visible stitching)
Label a little envelope or jar “USED” for needles you have already sewn with. That way you do not accidentally put a tired needle back in your machine and wonder why everything suddenly feels cursed.
FAQ
Can I use any brand of needle in my home sewing machine?
Most home sewing machines use the same standard needle system (often labeled 130/705H on packaging). If your machine is a typical home model, you can usually use common brands as long as the needle system matches. Always double-check your manual if you inherited a machine or have an older model.
Why does my needle package say 75/11 sometimes?
That is just another size option. 75/11 sits between 70/10 and 80/12 and is very common for knits. If you see 75/11 for Ballpoint or Stretch, that is a great everyday knit size.
Do I really need a special needle for knits?
If you want fewer skipped stitches and fewer mysterious holes, yes. Universal needles can work on some stable knits, but Ballpoint and Stretch needles are designed to handle knit fabric more gently and reliably.
What if I do not know what my fabric is?
Do the simple stretch test. If it stretches noticeably, treat it like a knit and start with a Ballpoint needle. If it does not stretch (or only stretches a tiny bit on the bias), treat it like a woven and start with Universal or Microtex.
Is a bent needle always obvious?
Not always. Sometimes it is bent just enough to cause trouble. If anything feels “off” and you cannot see the issue, swap the needle anyway. It is the cheapest troubleshooting step you have.
One last gentle nudge
If sewing ever makes you feel like you are doing something wrong, remember this: even experienced sewists change needles constantly. It is not a failure. It is basic maintenance, like putting air in your tires.
Pick the needle that matches your fabric, choose a size that matches the thickness, and when in doubt, put in a fresh one. Your machine will thank you with calmer stitches.