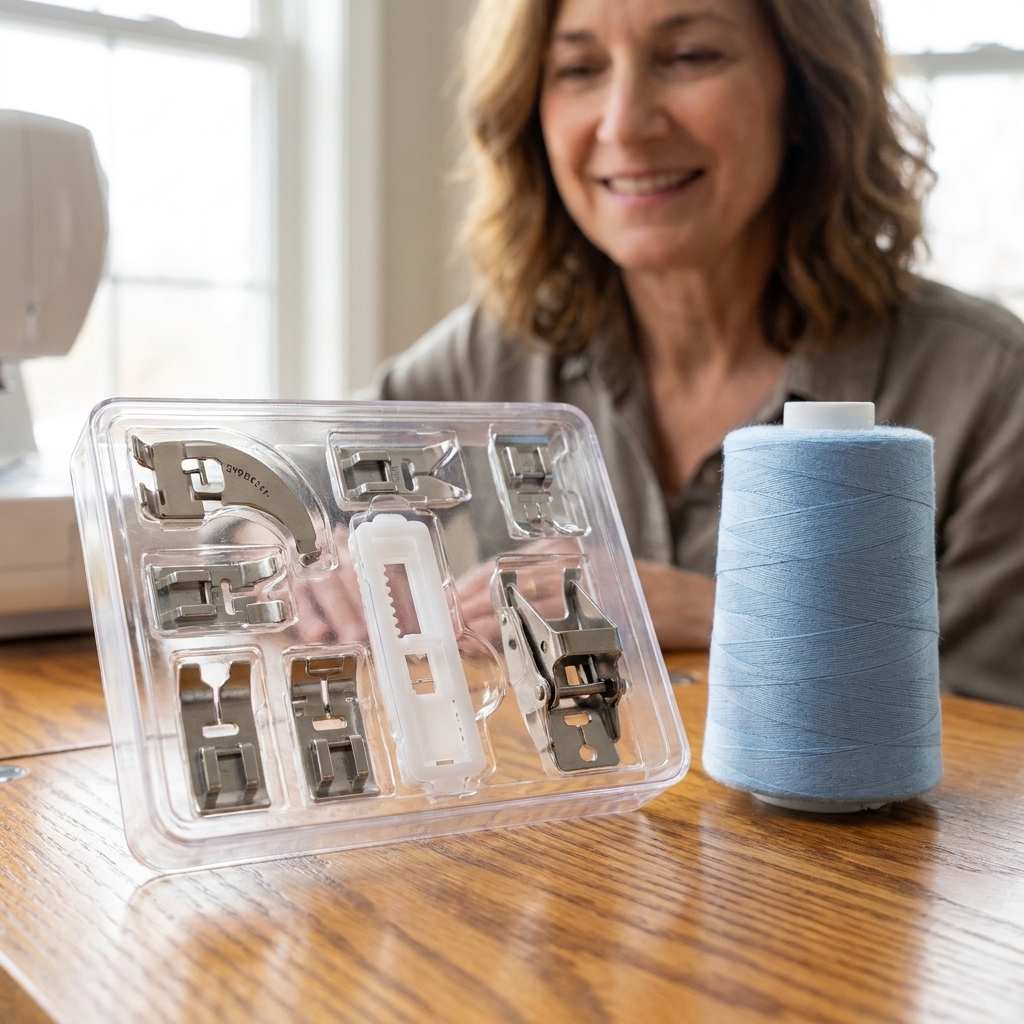
If you have ever opened your sewing machine accessory box and thought, “Why do I own a tiny metal spaceship?” you are in very good company. Presser feet are swap-in attachments that sit under the needle and help control how fabric moves. The right foot makes sewing easier, straighter, and a lot less frustrating.
Below are 7 presser feet I consider true beginner essentials. You do not need all of them on day one, but once you know what each one is for, those mysterious extras start feeling like helpful little sidekicks.
Quick presser foot basics
Snap-on vs screw-on feet
Snap-on feet clip on and off a little ankle (the holder). Screw-on feet attach directly with a small screw. Many home machines use snap-on feet, but not all. If you see a little lever behind the foot holder, that is often the quick-release for snap-on feet.
How to swap a presser foot
Safety first: Turn the machine off (or at least keep your foot off the pedal) before you start swapping feet.
- Raise the needle to its highest position (handwheel toward you).
- Lift the presser foot lever to release pressure.
- Remove the foot (press the release lever to pop it off, or loosen the screw if it is screw-on).
- Line up the new foot under the ankle and lower the presser foot lever to snap it on (or tighten the screw).
My golden rule: Any time you change a foot, turn the handwheel one full stitch by hand first. If the needle is going to hit metal, you will find out gently, not dramatically.
Foot letters, brands, and fit
Some feet are labeled with letters (like “A,” “J,” or “N”). Those letters are brand-specific, so your “J” might not be my “J.” Use the shape and function in this guide to identify your foot, and always double-check your machine manual if you are unsure.
Fit matters, too. Most home machines are low-shank, but some are high-shank or slant-shank, and a few brands use proprietary systems. Before you buy new feet, confirm your shank type and attachment style (snap-on vs screw-on).
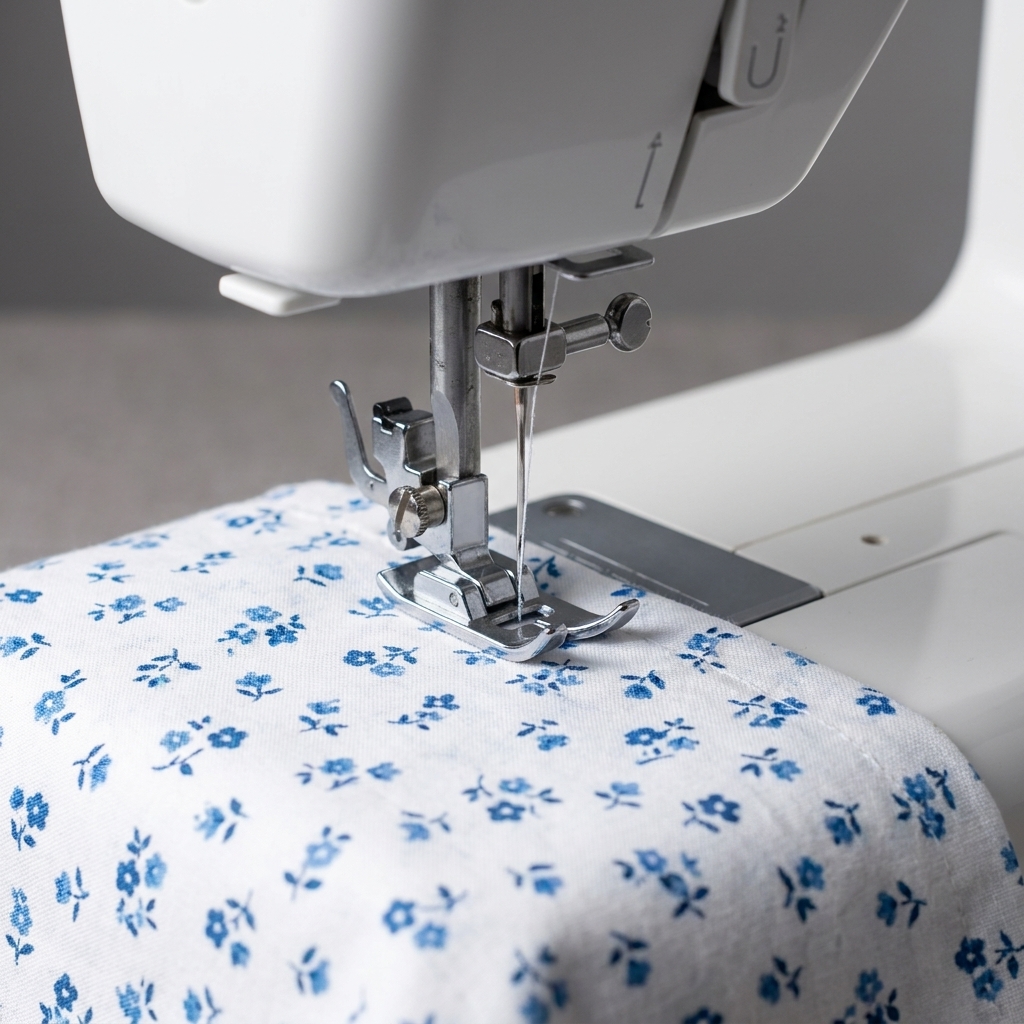
1) Standard zigzag foot
What it looks like: A medium-width foot with a wide needle opening (often a long oval). This is the default foot that comes on most machines.
What it is for: Straight stitches, zigzag stitches, and most everyday sewing on woven and stable knit fabrics.
How to use it:
- Use it for piecing, basic hems, simple seams, and beginner projects like tote bags and pillowcases.
- If you are zigzagging, make sure the needle opening is wide enough for the stitch width you select.
Beginner tip: If your stitches suddenly look messy, re-thread your machine and re-seat the bobbin before blaming the foot. The zigzag foot usually is not the culprit.
2) Zipper foot
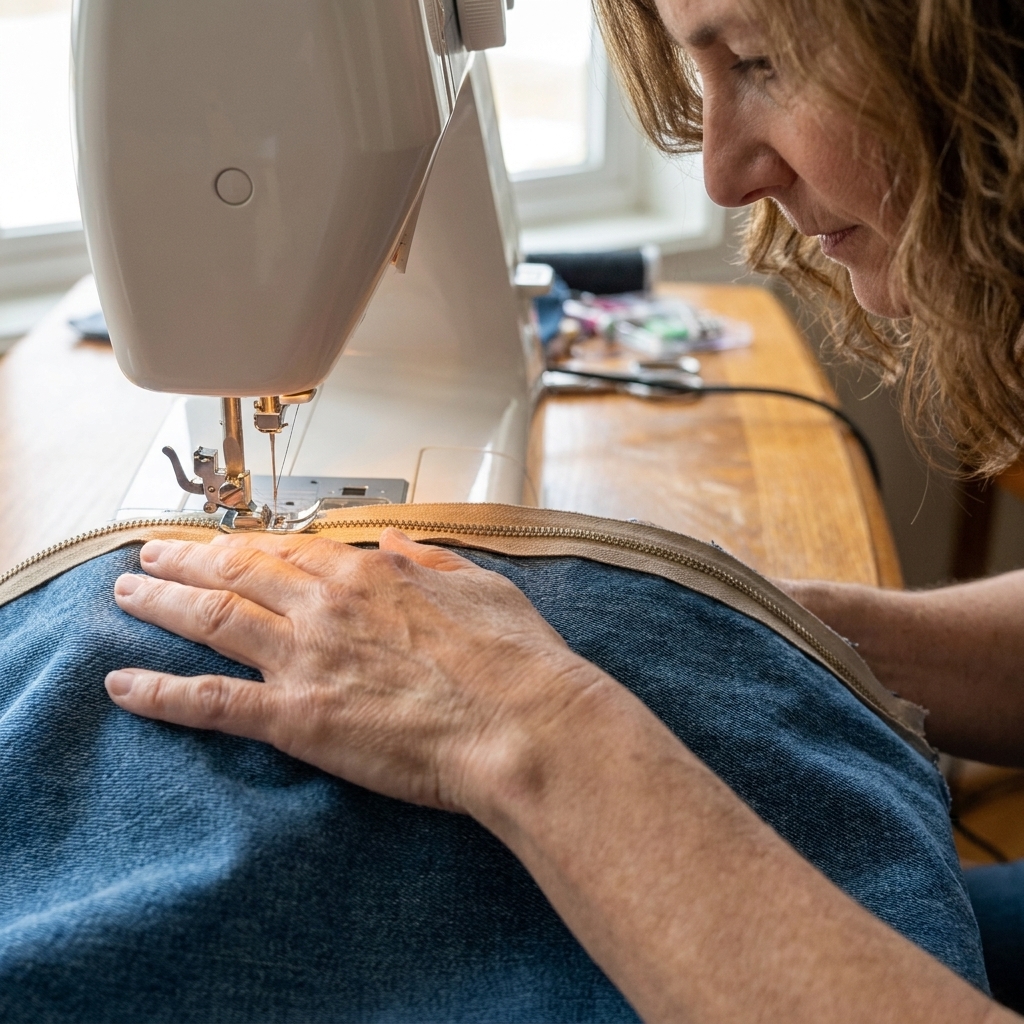
What it looks like: A narrow foot that rides close to zipper teeth. Some zipper feet attach on the left or right side so the needle can stitch close to the zipper.
What it is for: Sewing regular zippers, some invisible zipper steps (depending on the style), and stitching close to bulky edges like piping or bag straps.
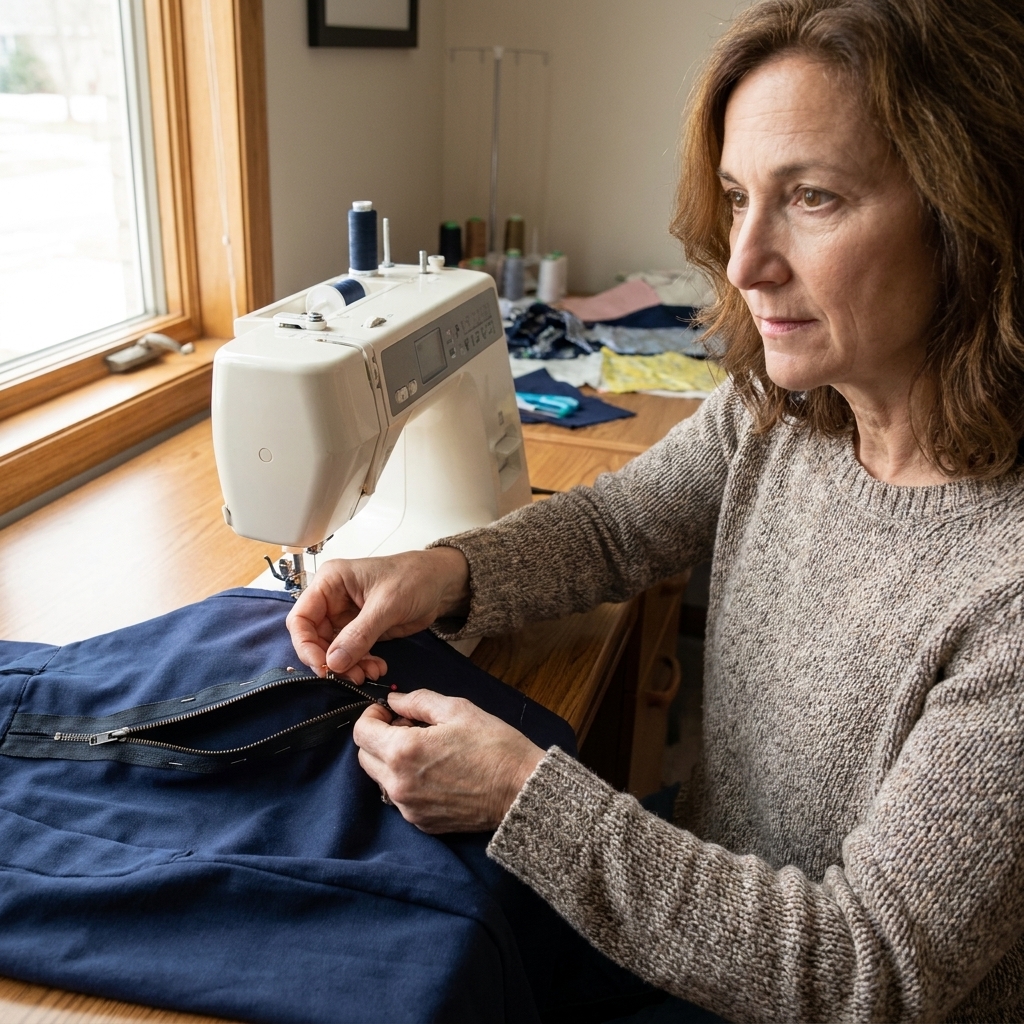
How to use it (regular, centered zipper):
- Baste the seam where the zipper will go, then press it open.
- Position the zipper tape under the opened seam allowances so the teeth sit centered under the seam line, then pin or tape in place.
- Move the zipper foot to the side that lets your needle stitch close to the teeth without hitting them.
- Go slow near the zipper pull. Stop with the needle down, lift the presser foot, and slide the pull out of the way.
Beginner tip: If your stitches look wobbly next to the zipper, lengthen your stitch slightly (try 3.0) and slow your speed. Zippers reward patience.
3) Buttonhole foot
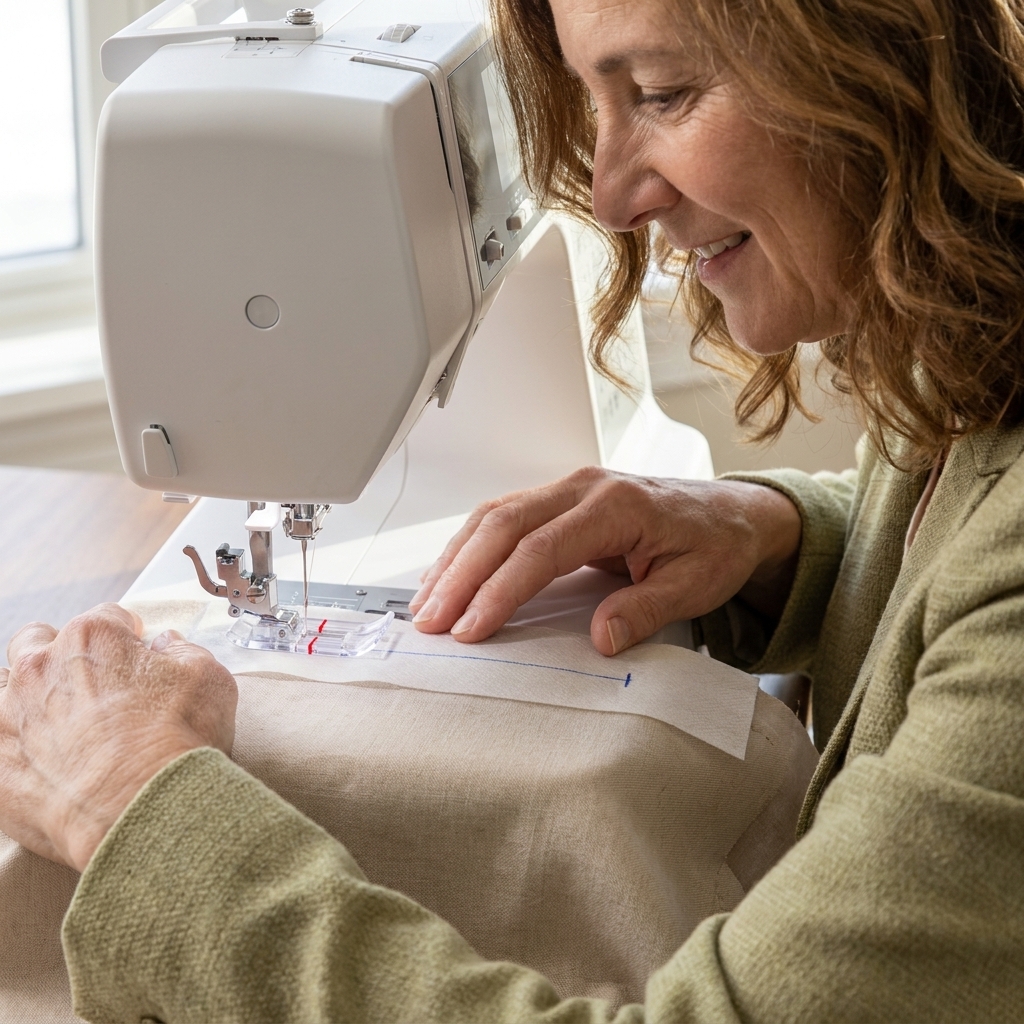
What it looks like: A longer foot, often with a sliding track and markings, designed to stitch a consistent buttonhole. Many machines have a one-step buttonhole foot that measures the button.
What it is for: Buttonholes that actually fit your button and do not look like a panicked rectangle.
How to use it (stress-free version):
- Stabilize the fabric where the buttonhole goes (interfacing is your best friend here).
- Test first on a scrap with the same layers.
- Place your button into the buttonhole foot (for one-step styles) so the machine knows the size.
- Mark your buttonhole placement on your garment.
- Sew the buttonhole, then open it carefully with a seam ripper or buttonhole cutter.
Beginner tip: Put a pin across the end of the buttonhole before you cut. If your seam ripper slips, the pin helps stop the cut from going too far.
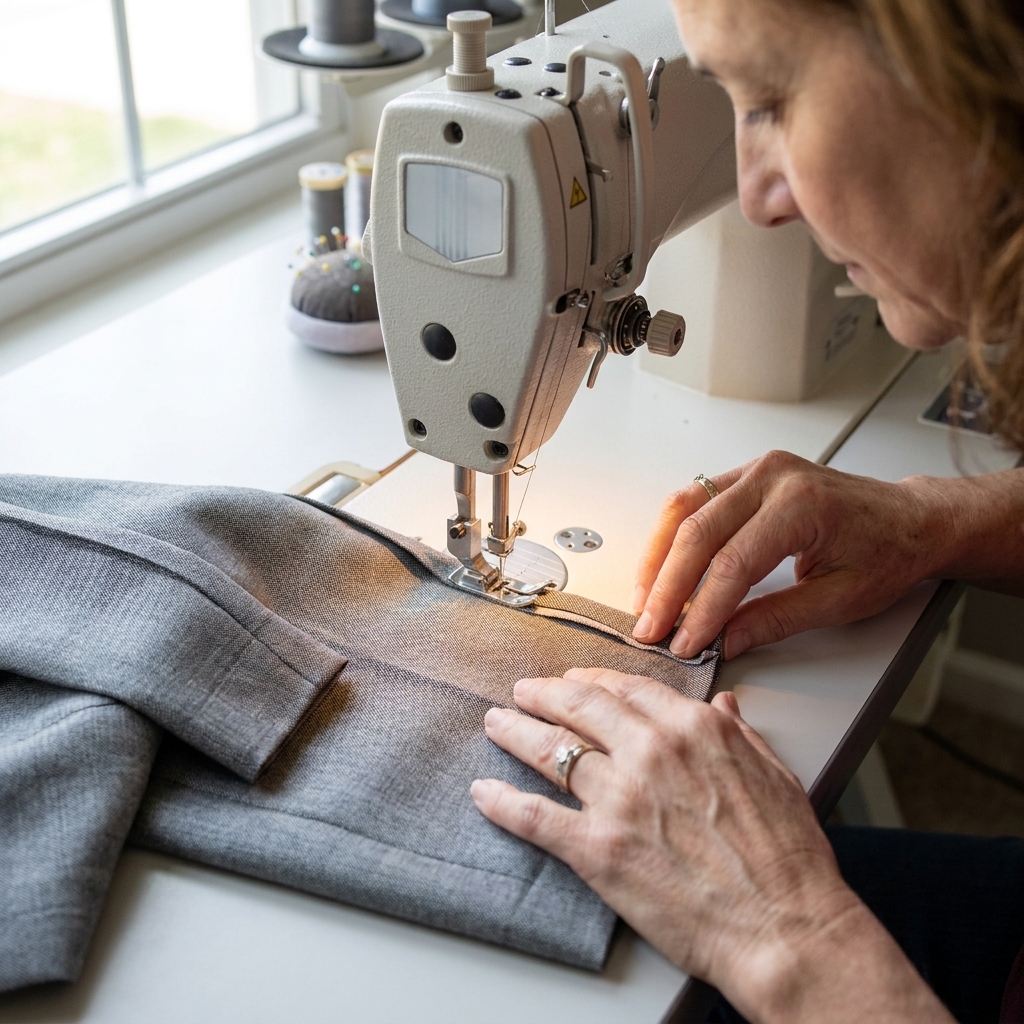
4) Blind hem foot
What it looks like: A foot with a small guide in the center that helps the needle bite just a tiny amount of the main fabric while sewing on a folded hem.
What it is for: Nearly invisible hems on pants, skirts, and curtains, especially on woven fabrics.
How to use it (basic method):
- With the garment wrong side up, press your hem up.
- Fold the hem back on itself so a small edge of the garment fabric sticks out beyond the hem fold.
- Set your machine to a blind hem stitch (often a straight stitch with an occasional zigzag bite).
- Adjust the fabric so the guide rides along the fold.
- Sew slowly. The straight stitches land on the hem allowance, and the zigzag bite catches a thread or two of the garment fabric.
Beginner tip: This foot is 80 percent pressing. If the fold is crisp and even, the stitching becomes much easier.
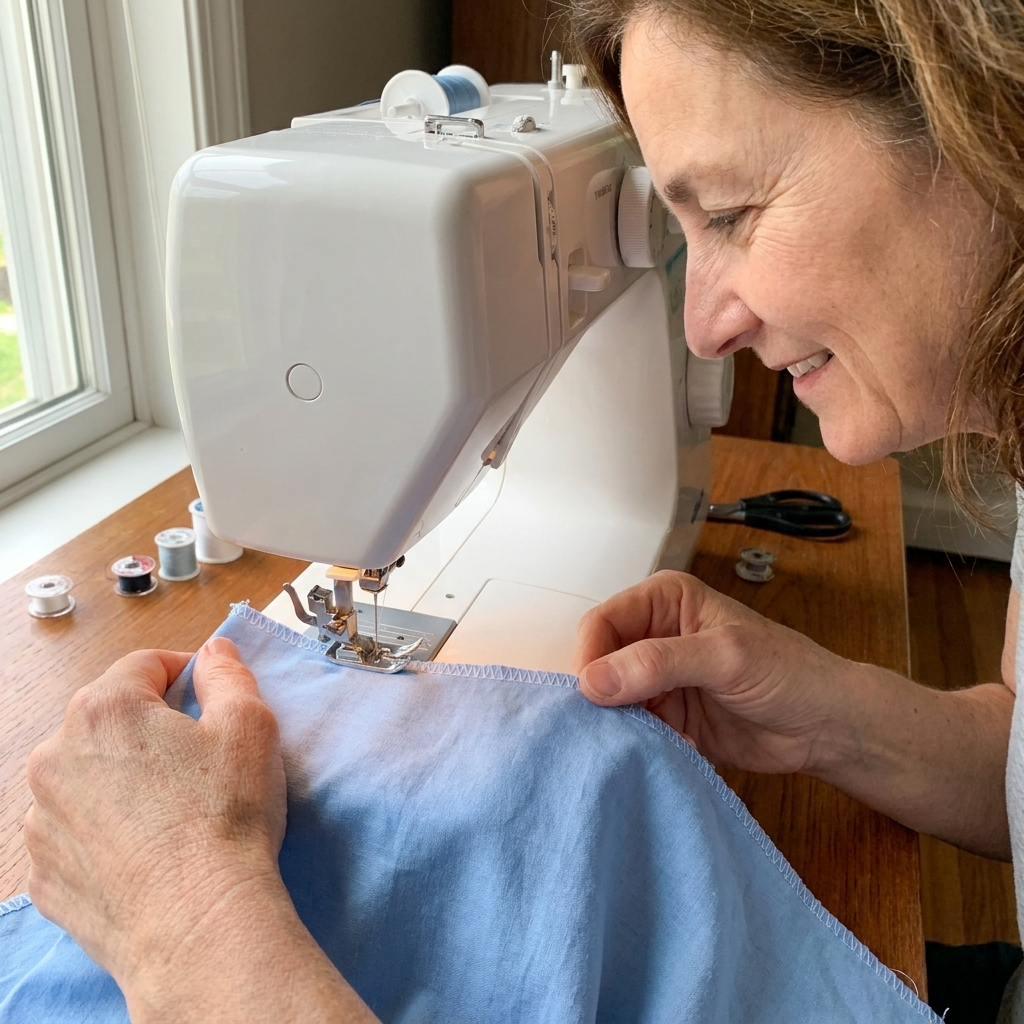
5) Overcasting foot
What it looks like: A foot with a little metal finger or bar that supports the thread as it wraps the fabric edge.
What it is for: Finishing raw edges to help reduce fraying, especially when you do not have a serger.
How to use it:
- Trim your seam allowance neatly first.
- Select an overcast or zigzag-style stitch (your machine may have a specific overedge stitch).
- Line the fabric edge up with the foot’s guide so the stitch swings over the edge without tunneling the fabric (pulling the edge into a ridge).
Beginner tip: If the edge starts waving, reduce presser foot pressure if your machine allows it, or use a slightly narrower zigzag. Too-wide zigzag can pull the edge out of shape.
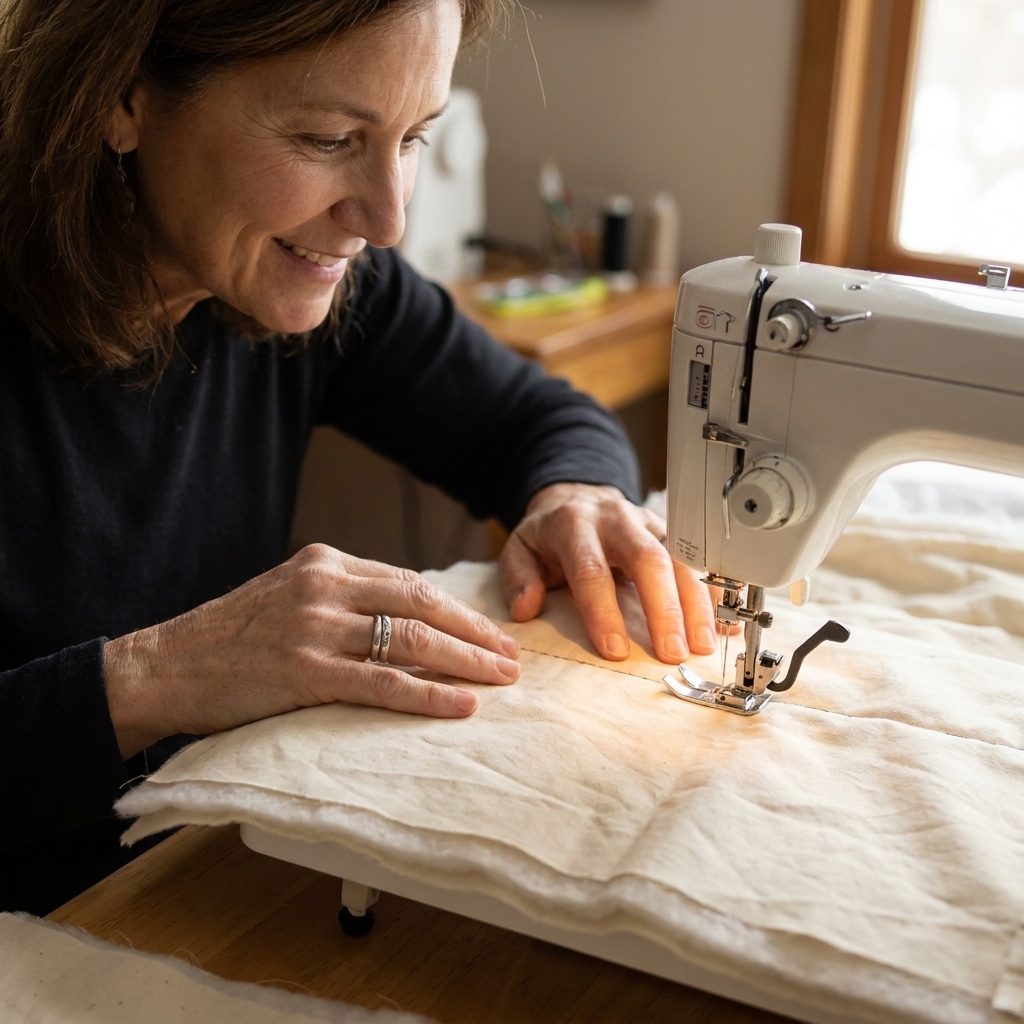
6) Walking foot
What it looks like: A bulkier foot with its own set of teeth that walk the top layer of fabric forward in sync with the machine’s feed dogs.
What it is for: Keeping layers from shifting. It is wonderful for quilting, matching stripes, and handling slippery fabrics. It is also often helpful for knits, although some knits behave better with a stretch needle and a standard foot, so test on a scrap first.
How to use it:
- Attach it according to your manual. Many walking feet have an arm that sits over the needle bar screw.
- Use a slightly longer stitch (2.8 to 3.5 is a good starting range).
- Sew at a steady, moderate speed. Let the foot do the feeding.
Beginner tip: A walking foot can be noisy and clunky. That is normal. It is basically doing a little marching dance on top of your fabric.
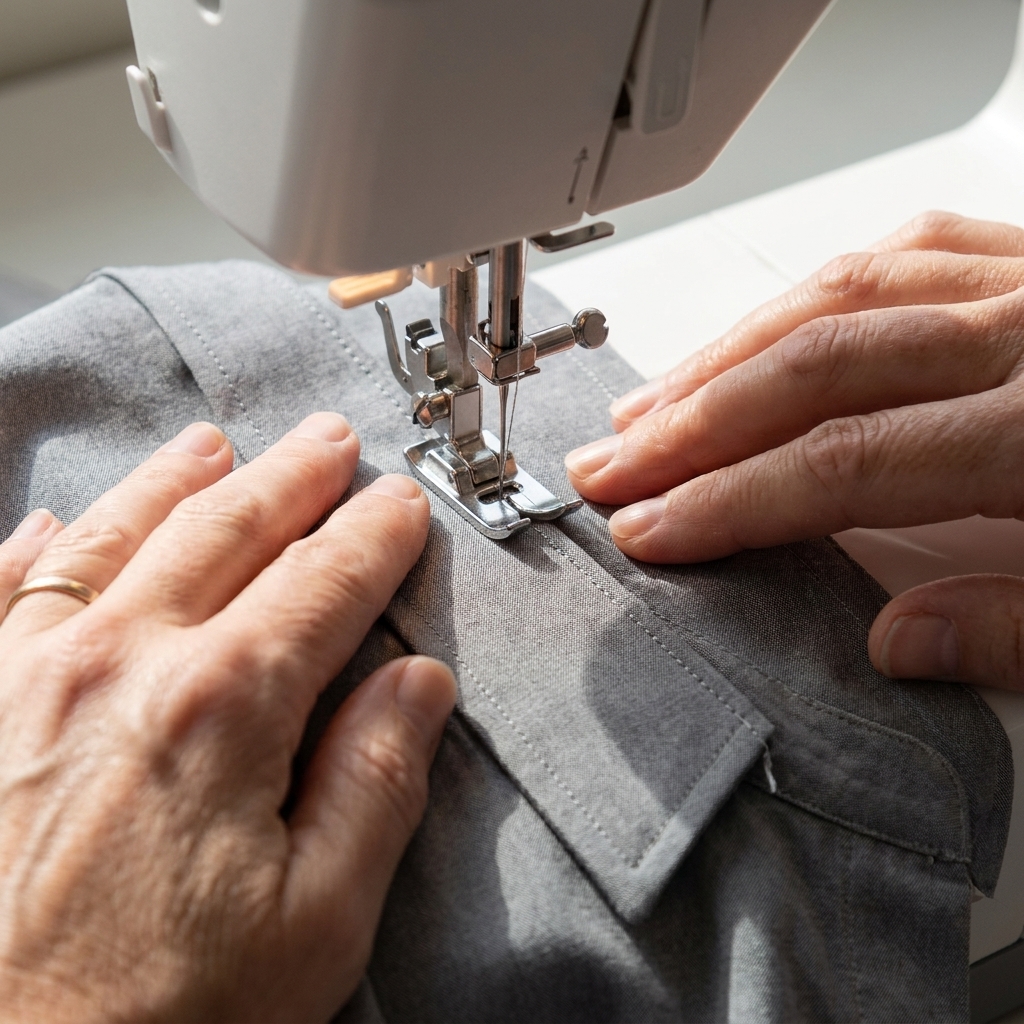
7) Edge stitch foot
What it looks like: A foot with a center blade or guide that rides along a seam or folded edge while you stitch very close to it.
What it is for: Clean topstitching, understitching, sewing in the ditch, and making edges look crisp and professional without needing a super-steady hand.
How to use it:
- Move your needle position slightly left or right so the stitches land exactly where you want them.
- Let the center guide ride along the seam line or folded edge as you sew.
- Go slow around curves and stop with the needle down to pivot.
Beginner tip: If your topstitching looks almost straight, this foot is your glow-up. Pair it with pressing and you will feel like a sewing wizard.
Choosing the right foot
| What you are sewing | Best foot to grab | Why it helps |
|---|---|---|
| Most basic seams and hems | Standard zigzag foot | General-purpose control and a wide needle opening |
| Regular zippers, piping | Zipper foot | Stitches close to raised edges |
| Buttonholes | Buttonhole foot | Keeps buttonholes consistent and correctly sized |
| Invisible-looking hems | Blind hem foot | Guides fabric fold for tiny bites |
| Finishing raw edges without a serger | Overcasting foot | Supports thread so it wraps the edge neatly |
| Quilting, slippery layers, some knits | Walking foot | Feeds top and bottom layers more evenly |
| Neat topstitching close to edges | Edge stitch foot | Built-in guide keeps stitching straighter |
Troubleshooting
The needle hits the foot
- Stop immediately and turn the handwheel toward you to raise the needle.
- Do not use a straight-stitch-only foot or needle plate with any stitch that has width (zigzag, overcast, decorative). Those do not mix.
- Check needle position. Some feet require a centered needle. Some allow left or right positions.
The fabric will not feed well
- Make sure the presser foot lever is down (we have all done it).
- Try a longer stitch length.
- For sticky fabrics, a walking foot can help. A tiny bit of tissue paper under the fabric can also help in a pinch, then tear it away.
Skipped stitches or messy tension
- Re-thread the top thread with the presser foot up.
- Change your needle. A dull needle causes chaos.
- Match needle type to fabric (ballpoint for knits, universal for many wovens).
If none of that works, take a breath and grab your seam ripper. Unpicking is not a moral failing. It is a normal part of sewing, right up there with winding a bobbin and wondering where your fabric scissors wandered off to.
FAQ
Do I need to buy all these presser feet?
Nope. Start with your standard zigzag foot and add feet as projects demand them. If you sew garments, a zipper foot and buttonhole foot become useful quickly. If you quilt or sew tricky layers, a walking foot earns its keep.
Can I use a walking foot on everything?
You can use it on many things, but it is bulky and not ideal for tight curves or detailed work. Think of it as a specialist for layers, slippery fabrics, and projects where shifting drives you bananas.
Why does my machine have more feet than this?
Many machines include decorative or specialty feet (like rolled hem feet, cording feet, or gathering feet). They are fun, but the seven in this list cover a huge chunk of real-life beginner sewing.
How do I know which presser feet fit my machine?
Look up your machine model and “shank type” (low-shank is common on home machines). Your manual often lists compatible feet. If you are buying generic feet, confirm shank type and attachment style (snap-on vs screw-on) before you click buy.
Your next small win
If you want a low-pressure way to practice, stitch a few lines on scrap fabric using three feet: the standard zigzag foot, the edge stitch foot, and the overcasting foot. You will feel the difference immediately, and that is when presser feet stop being mystery gadgets and start being tools you actually reach for.
And if you sew a line with the wrong foot first? Congratulations, you are officially a sewist. Grab the seam ripper and try again, one stitch at a time.