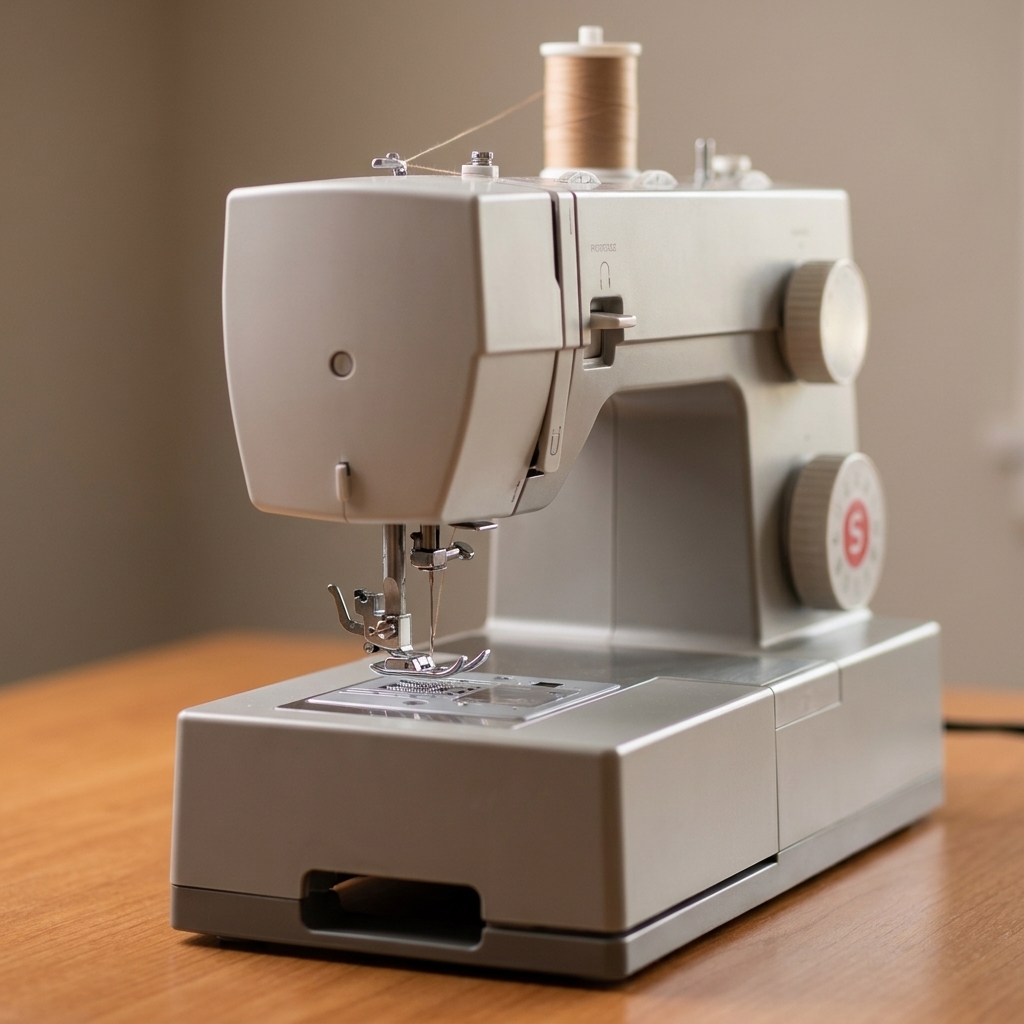
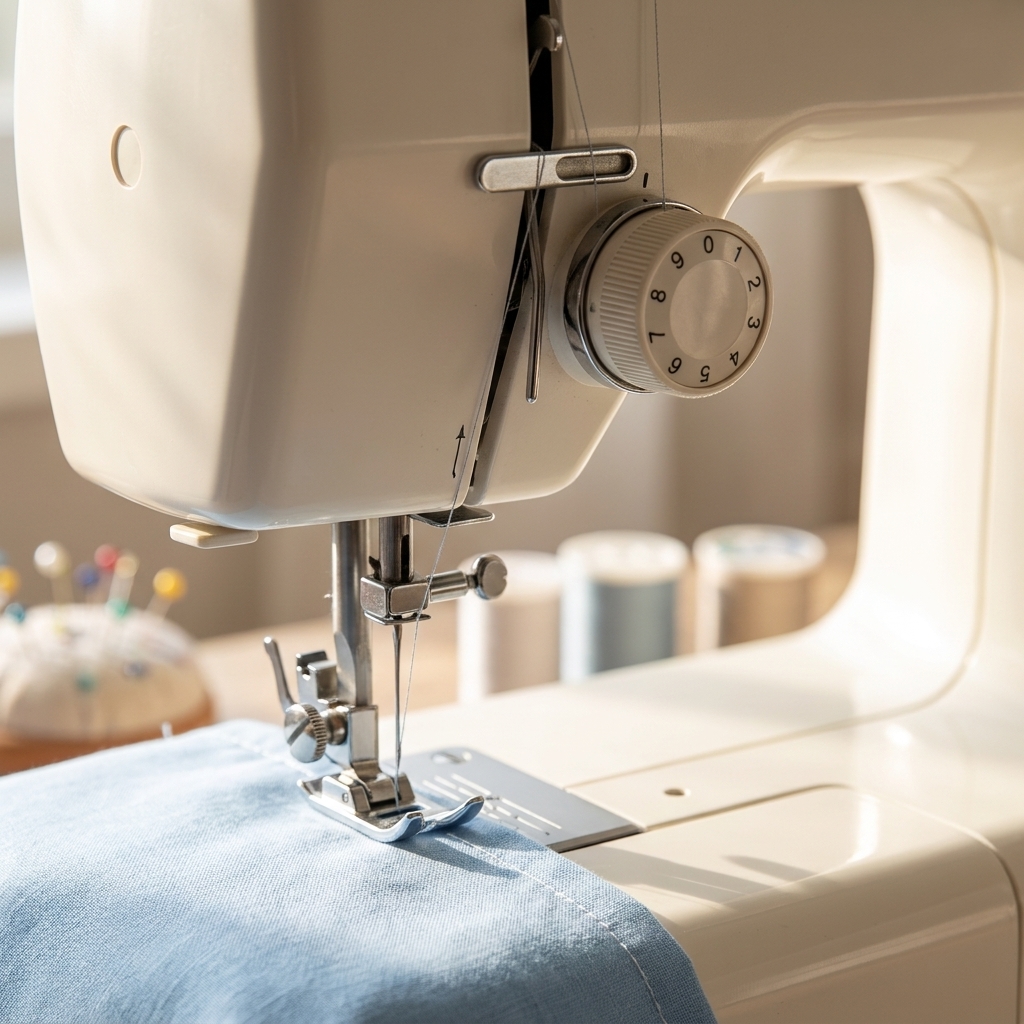
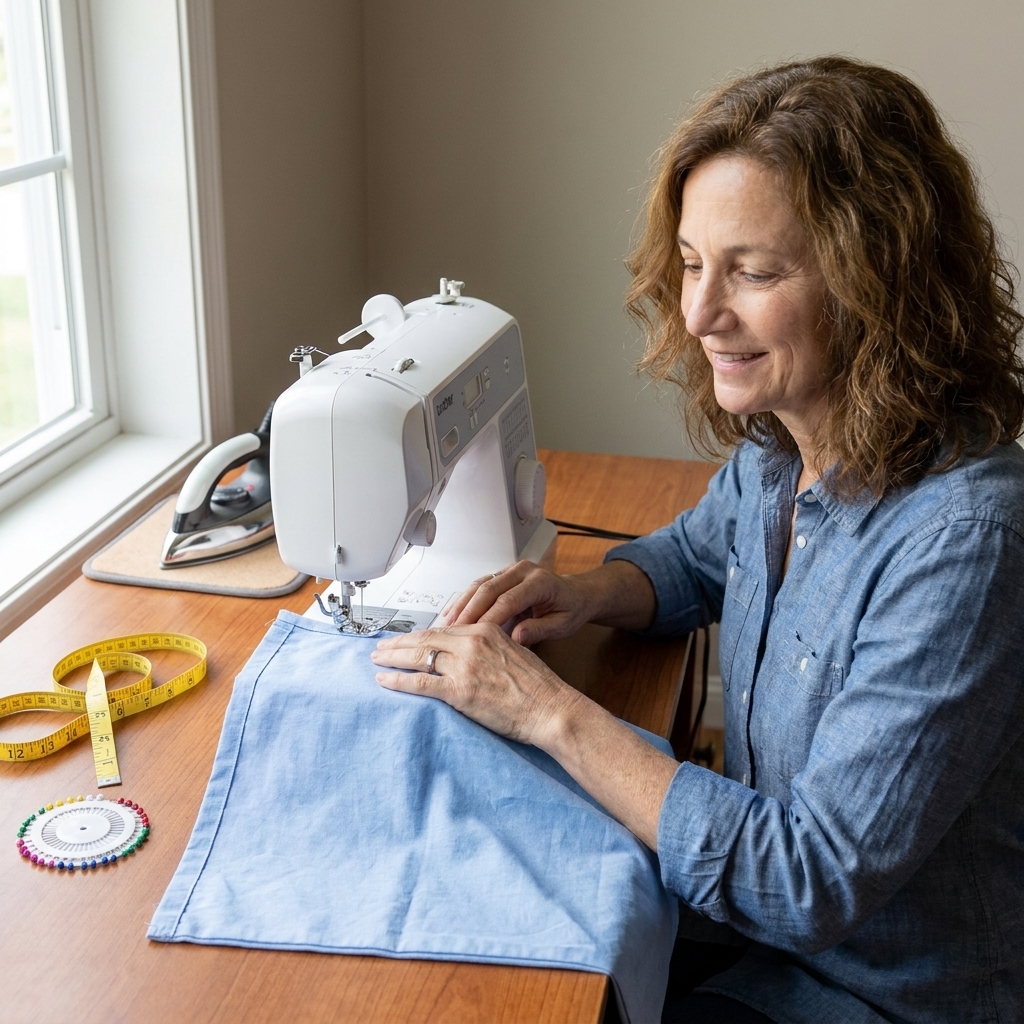
If you have ever turned the stitch selector dial and thought, “Why are there so many little lines,” you are in the right place. The good news is you can sew a surprising number of projects with just a few stitches. In this guide, we are focusing on the four you will reach for constantly as a beginner: straight stitch, zigzag stitch, blind hem stitch, and overcasting stitches.
I will show you what each stitch is for, how to set it up, and the beginner mistakes that make stitches look messy (so you can skip the frustration and keep the joy).
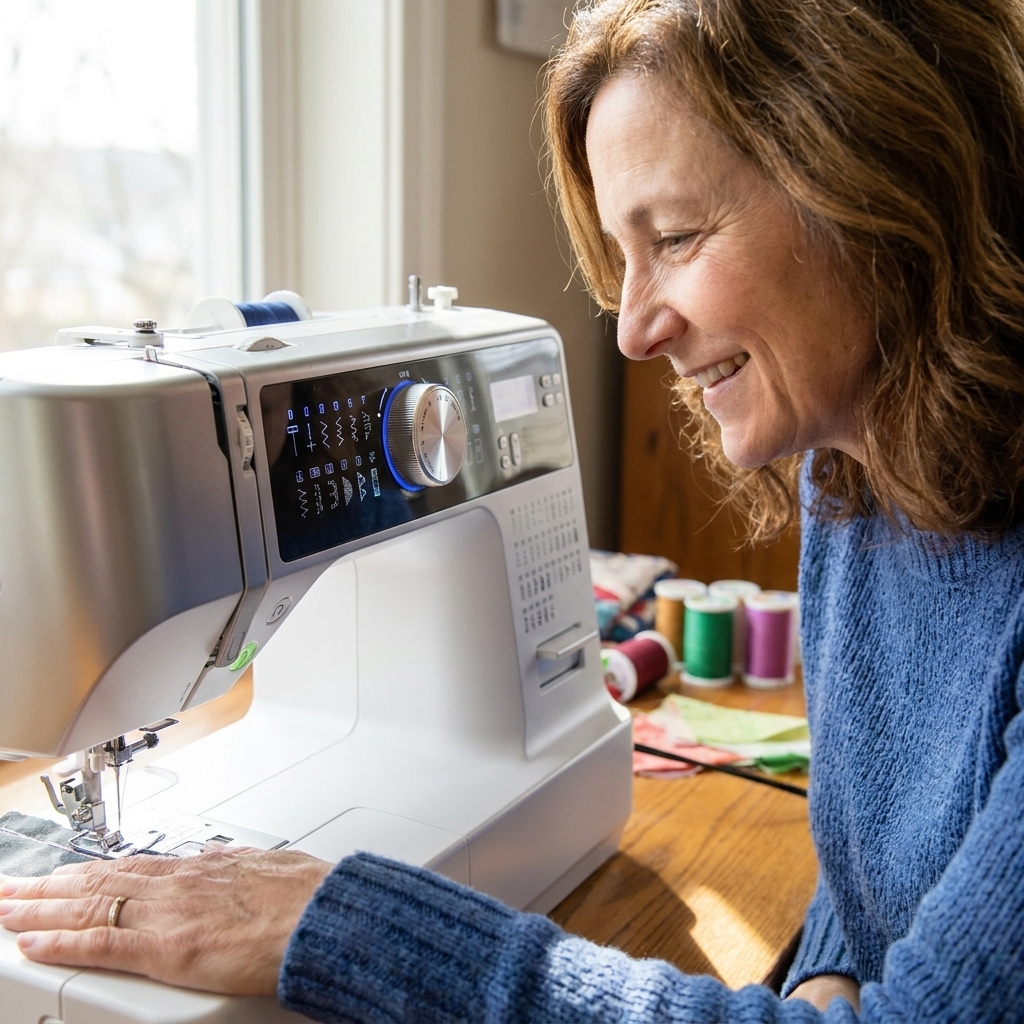
Before you pick a stitch
Most stitch problems are not actually “stitch” problems. They are setup problems. Do these three quick checks before you judge your machine.
- Use the right needle. A universal 80/12 is a friendly starting point for woven cottons. If you are sewing knits, switch to a ballpoint or stretch needle so you do not get skipped stitches.
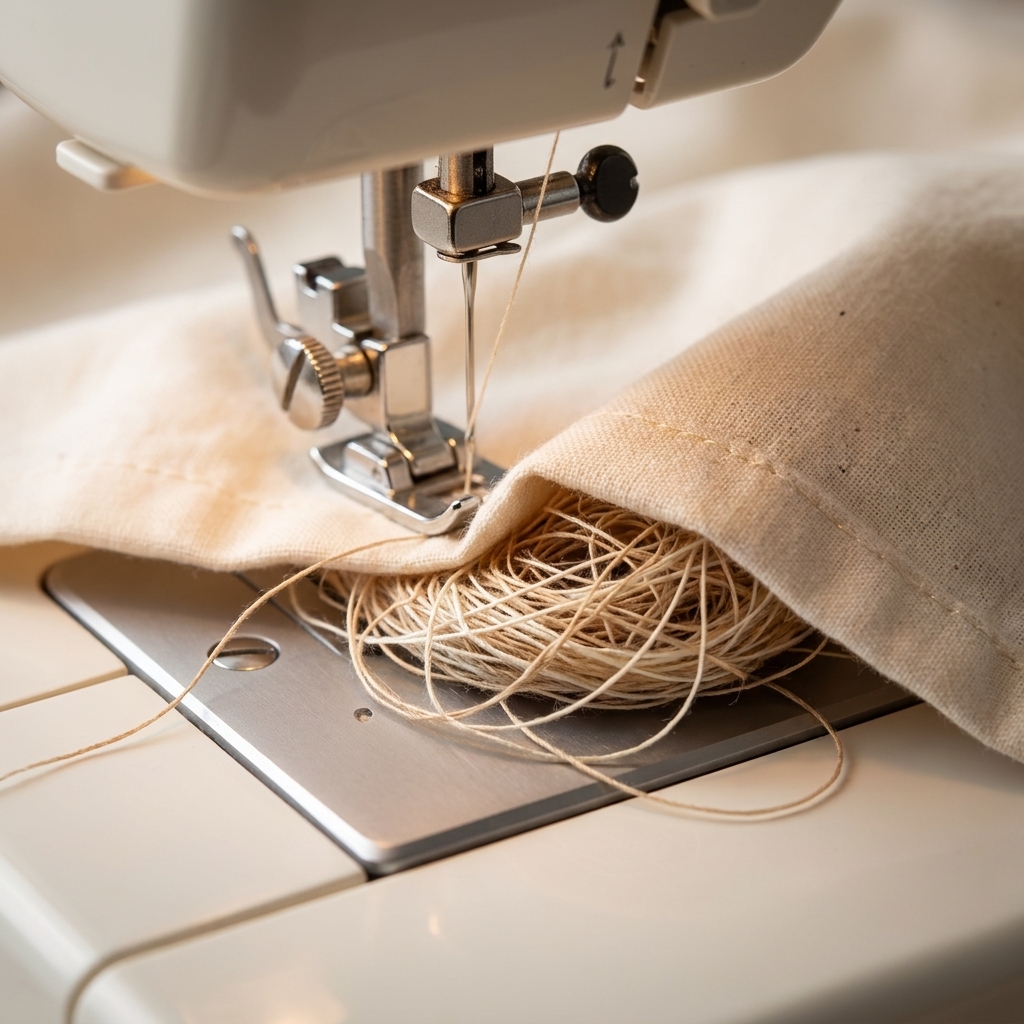
- Rethread with the presser foot up. Presser foot up opens the tension discs so the thread can sit correctly. This one step fixes a shocking number of birds’ nests.
- Test on scraps first. Use the same fabric layers you will sew in your project. Two layers behave differently than one.
One extra check that saves headaches: make sure you are using the correct bobbin type for your machine, and that it is wound smoothly and inserted in the right direction. Bobbin issues can mimic tension problems.
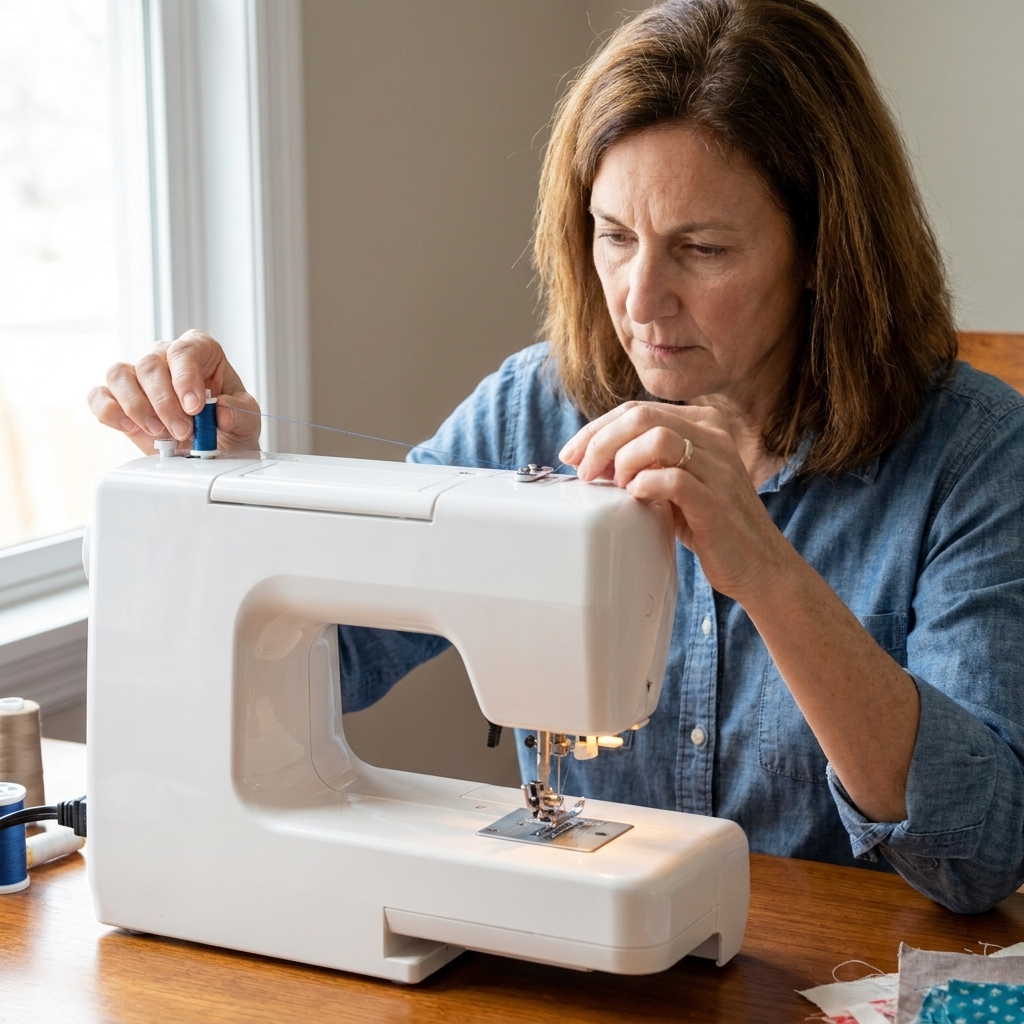
Straight stitch
The straight stitch is the workhorse. If you are sewing seams, topstitching, or quilting lines, you are probably using a straight stitch.
When to use it
- Seams on woven fabric (cotton, linen, denim, canvas)
- Topstitching around pockets, hems, and edges
- Staystitching curves like necklines to prevent stretching
- Basting when you set it extra long
How to set it up
- Stitch type: straight
- Stitch length: 2.5 mm is a great everyday default
- Stitch width: 0 (if your machine shows width for straight stitch)
- Tension: start at your machine’s default or auto setting (check your manual). On many machines, the default is around 4.
Quick guide to stitch length:
- 2.0 mm: slightly shorter for lightweight fabrics or curves
- 2.5 mm: everyday seams
- 3.0 to 3.5 mm: topstitching that you want to show
- 4.0 to 5.0 mm: basting you plan to remove
Fabric reality check: thicker fabric usually likes a slightly longer stitch length. Very lightweight fabric may need a scrap of tissue paper or a stabilizer under the seam to keep it from getting pushed down into the needle plate.
Beginner tips that make it look instantly better
- Guide with the seam allowance line, not the needle. Pick a line on your needle plate and keep the fabric edge there.
- Start slowly for the first 3 to 5 stitches. This prevents the fabric from diving into the needle plate hole.
- Hold the thread tails for the first few stitches. Gently hold both thread tails behind the presser foot as you start. This helps prevent tangles and birds’ nests on the underside.
- Backstitch at the beginning and end. 3 to 4 stitches is plenty.
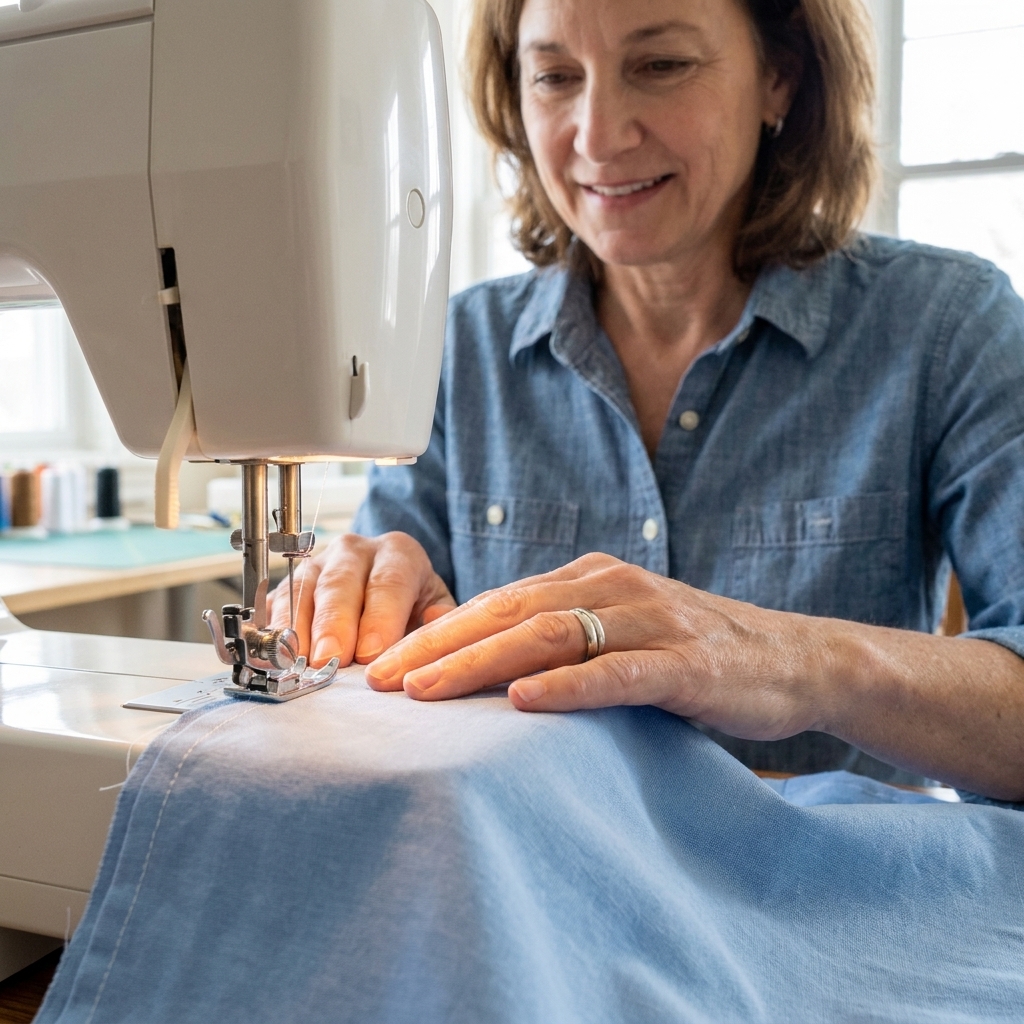
Zigzag stitch
The zigzag stitch is your flexible, problem-solving stitch. It stretches a bit, it can finish raw edges, and it can even stand in for specialty stitches when you are starting out.
When to use it
- Finishing raw edges on woven fabric to reduce fraying
- Sewing knits if you do not have a stretch stitch (a narrow zigzag can stretch with the fabric)
- Applique edges (often satin stitch, which is basically a very dense zigzag)
- Attaching elastic in some beginner-friendly methods
How to set it up
Zigzag has two main controls: width (how wide it swings) and length (how close together the swings are).
- Everyday zigzag for seam finishing: width 3 to 4 mm, length 1.5 to 2.5 mm
- Narrow zigzag for knits: width 0.5 to 1.0 mm, length 2.0 to 2.5 mm
If your fabric tunnels or puckers, lengthen the stitch a little and check that you are not pulling the fabric.
One quick caveat: a narrow zigzag is a great beginner option for many knits, but very stretchy or “bouncy” knits may still ripple or feel wavy. If that happens, try your machine’s stretch stitch (if it has one), a walking foot, or a scrap-test with a slightly longer length.
Two common ways to use zigzag
1) Zigzag to finish an edge
- Sew your seam with a straight stitch first.
- Press the seam allowances open or to one side.
- Set your zigzag width so the right swing lands just off the fabric edge and the left swing lands on the fabric.
- Stitch along the raw edge without stretching the fabric.
2) Narrow zigzag for knit seams
- Place knit fabric right sides together.
- Use a ballpoint or stretch needle.
- Sew with a narrow zigzag so the seam can stretch when you pull it over your head or hips.
- Test by gently stretching the seam. If threads pop, increase stitch width slightly.
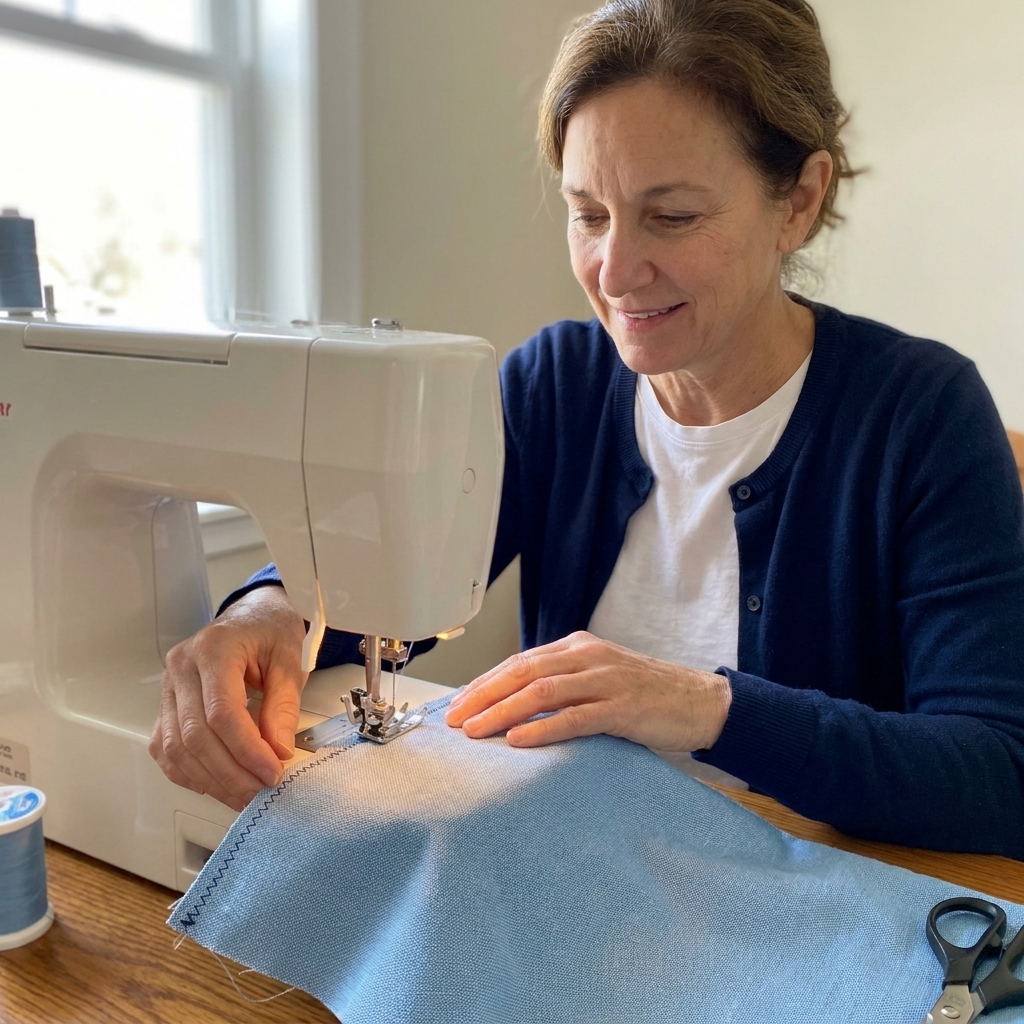
Blind hem stitch
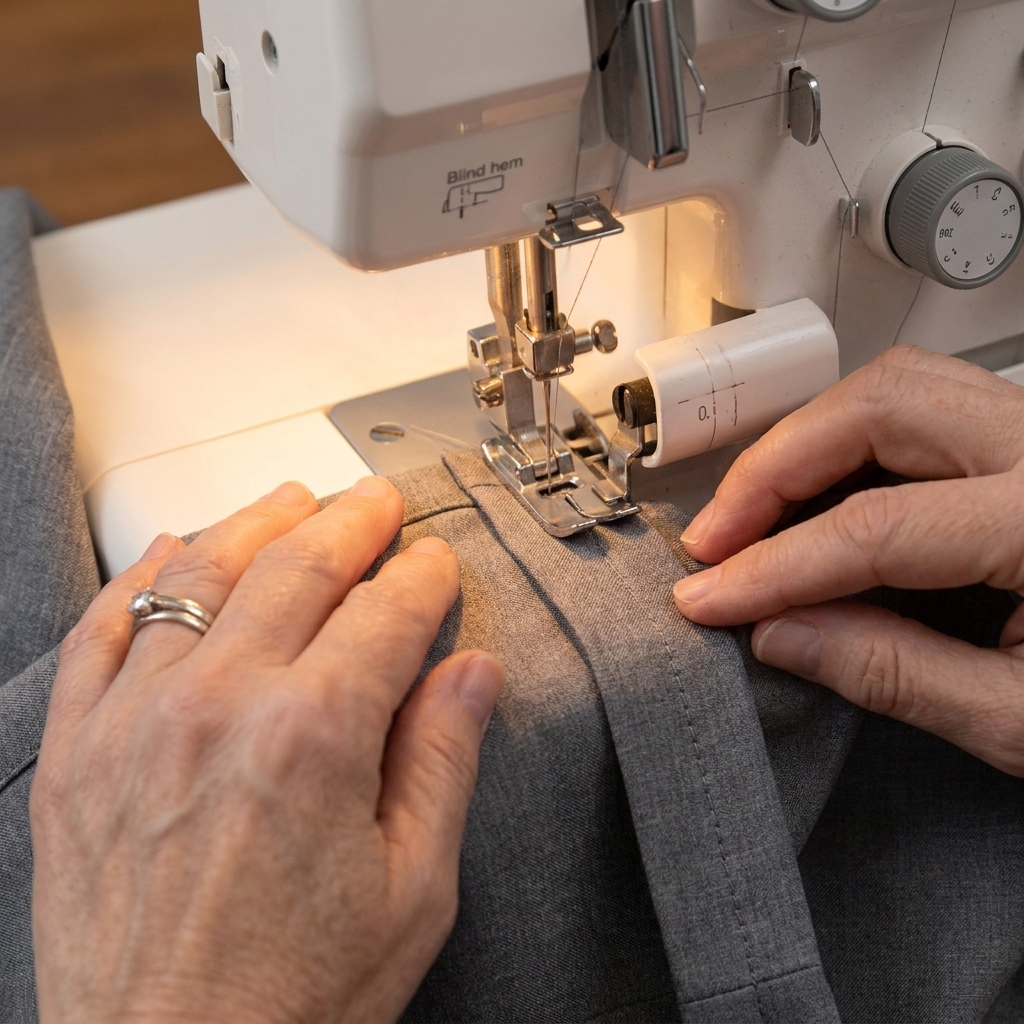
The blind hem stitch is the little magic trick that lets you hem with stitches that are almost invisible from the outside. It is most useful for dress pants, skirts, and curtains when you want a clean, professional finish without visible topstitching.
What it looks like
On the inside of the hem, it looks like a straight stitch with an occasional wide “bite.” That bite catches just a thread or two of the garment fabric. On the outside, you should barely see tiny dots spaced apart.
When to use it
- Hems on woven garments like trousers and skirts
- Home decor hems like curtains
- When you want a nearly invisible hem but do not want to hand sew
How to sew a blind hem
- Finish the raw edge of your hem allowance first (zigzag or overcasting stitch works great).
- Press the hem up to the final hem depth.
- Fold it back so most of the garment is to the left, and a small “lip” of the hem sticks out to the right. You are creating a fold line where the needle will barely catch the garment fabric.
- Select blind hem stitch on your machine.
- Use a blind hem foot if you have one. The guide in the center helps you ride right along that fold.
- Orient the fabric so the fold line runs against the guide, and the needle’s wider swing lands on the fold line. On most machines, you sew with the wrong side facing up so you can see and control that fold, but follow your manual if it shows the opposite for your model.
- Move the needle position if needed so the wide bite lands right on that fold line.
- Sew slowly. You want the bite to catch only a couple threads. Too much bite and you will see it from the outside.
- Unfold and press when you are done. A little steam helps the hem settle beautifully.
Beginner mistakes (and easy fixes)
- You can see big stitches on the outside: the bite is too deep. Refold so less fabric is caught, or move the needle slightly away from the garment side.
- Hem feels wavy: you may be pulling the fabric or pressing too hard while sewing. Guide gently and let the feed dogs do the work.
Overcasting stitches
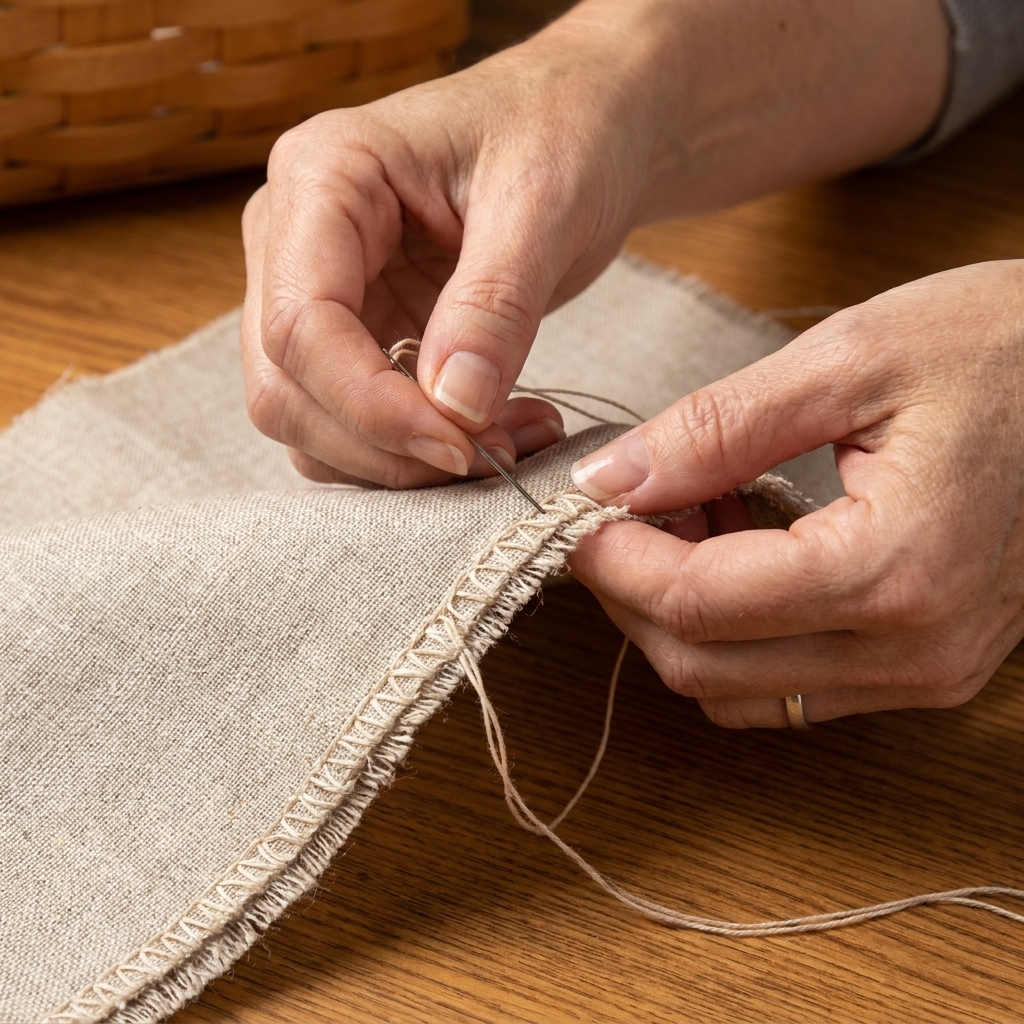
Overcasting stitches are designed to wrap thread over the raw edge of fabric to help prevent fraying. They are the home sewing machine’s “best effort” version of what a serger does. They do not trim the fabric like a serger, but they can still give you a tidy, durable finish.
When to use them
- Finishing seam allowances on woven fabrics that fray
- Adding durability to raw edges (especially on fabrics that shed threads easily)
- Cleaning up the inside of beginner projects like tote bags, pillow covers, and pajama pants
How to set it up
Machines vary, but overcasting stitches usually look like a zigzag with extra little straight stitches built in. For best results:
- Use an overcast foot if your machine came with one. It often has a little bar or guide that helps form the stitch right on the edge.
- Trim the edge neat first. A clean cut makes a clean finish.
- Align the fabric edge so the stitch wraps right over it, not far inside it.
Two beginner-friendly ways to use overcasting stitches
1) Finish seam allowances after sewing
- Sew the seam with a straight stitch.
- Press the seam allowances open or to one side.
- Overcast each raw edge, keeping the stitch right on the edge.
2) Overcast edges before sewing
- Overcast each raw edge first.
- Sew the seam with a straight stitch.
- Press and you are done. The inside will look tidy without extra steps.
Little reality check from a friendly seam ripper fan: if your first overcast line looks wobbly, you did not fail. Edge finishing is fussy because you are sewing right on the edge. Slow down and give your hands something to guide, like the edge guide on your needle plate.
Two good alternatives to know about: pinking shears can reduce fraying on some wovens, and French seams fully enclose raw edges for a super clean finish. You can still do a lot with zigzag and overcasting, but it is nice to know you have options.
Which stitch should I use?
| Goal | Best beginner stitch | Suggested settings | Notes |
|---|---|---|---|
| Sew a basic seam on woven fabric | Straight stitch | Length 2.5 mm | Backstitch at start and end |
| Topstitch a hem or pocket edge | Straight stitch | Length 3.0 to 3.5 mm | Consider a longer stitch for a cleaner look |
| Finish a raw edge quickly | Zigzag stitch | Width 3 to 4 mm, length 1.5 to 2.5 mm | Set width so it swings over the edge |
| Sew a knit seam without popping stitches | Narrow zigzag | Width 0.5 to 1.0 mm, length 2.0 to 2.5 mm | Use a ballpoint or stretch needle |
| Hem trousers with nearly invisible stitches | Blind hem stitch | Machine preset, adjust needle position as needed | Blind hem foot helps a lot |
| Neat inside finish without a serger | Overcasting stitch | Machine preset | Overcast foot helps a lot |
Troubleshooting: when stitches look wrong
Loops on the underside
This is most often an upper threading issue, not bobbin tension. Rethread the top with the presser foot up, and make sure the thread is clicked into the take-up lever.
If it is still looping, also check that your bobbin is wound smoothly, inserted in the correct direction, and that you are using the correct bobbin for your machine. A bobbin that is not seated correctly can cause instant chaos.
Puckered seam
- Lengthen the stitch slightly.
- Check that you are not pulling the fabric.
- Use a new needle. A dull needle can drag fabric.
Skipped stitches
- Change your needle. For knits, switch to ballpoint or stretch.
- Slow down a little, especially over thick spots.
- Make sure the presser foot is fully lowered.
Thread keeps breaking
- Check that the needle is inserted all the way up and facing the correct direction.
- Try a fresh needle and good quality thread.
- Make sure your spool can unwind smoothly and is not catching.
A simple practice plan
If you want your hands to feel steadier fast, do this on two cotton scraps:
- Straight stitch: sew three lines, one slow, one medium, one a bit faster. Notice how your control changes.
- Zigzag: finish one raw edge using width 3.5 mm and length 2.0 mm.
- Blind hem: fold a pretend hem and sew a short section, then unfold and check the outside.
- Overcasting: overcast the edge of one seam allowance and see how it differs from zigzag.
Keep your best scrap as a reference. I did this for myself years ago, and I still pull it out sometimes when I have not sewn in a while.
FAQ
Do I need all these stitches to start sewing?
Nope. You can start with a straight stitch and a zigzag and make plenty of projects. Blind hem and overcasting are wonderful next steps when you want cleaner finishes.
Is zigzag the same as overcasting?
Not exactly. Zigzag can finish edges, but an overcasting stitch is designed to wrap the thread over the edge more securely, often with extra straight stitches built in for stability.
What stitch should I use for hemming?
For a visible hem (like jeans-style topstitching), use a straight stitch with a slightly longer length. For a nearly invisible hem on trousers or skirts, use a blind hem stitch.
My machine has lots of decorative stitches. Should I use them?
Decorative stitches are fun, but they are dessert, not dinner. Get comfortable with straight and zigzag first. Once those feel easy, decorative stitches become a treat instead of a headache.