If your sewing machine feels a little like a mysterious box with knobs, hooks, and a spool pin, you are in excellent company. Threading is one of those skills that looks scary until you do it a few times, and then it becomes as routine as tying your shoes.
The good news is that most home machines, no matter the brand, follow the same basic path. Once you understand the “why” behind each step, you can thread almost anything: Brother, Singer, Janome, Juki, Kenmore, Bernette, basic mechanical models, and many computerized ones too.
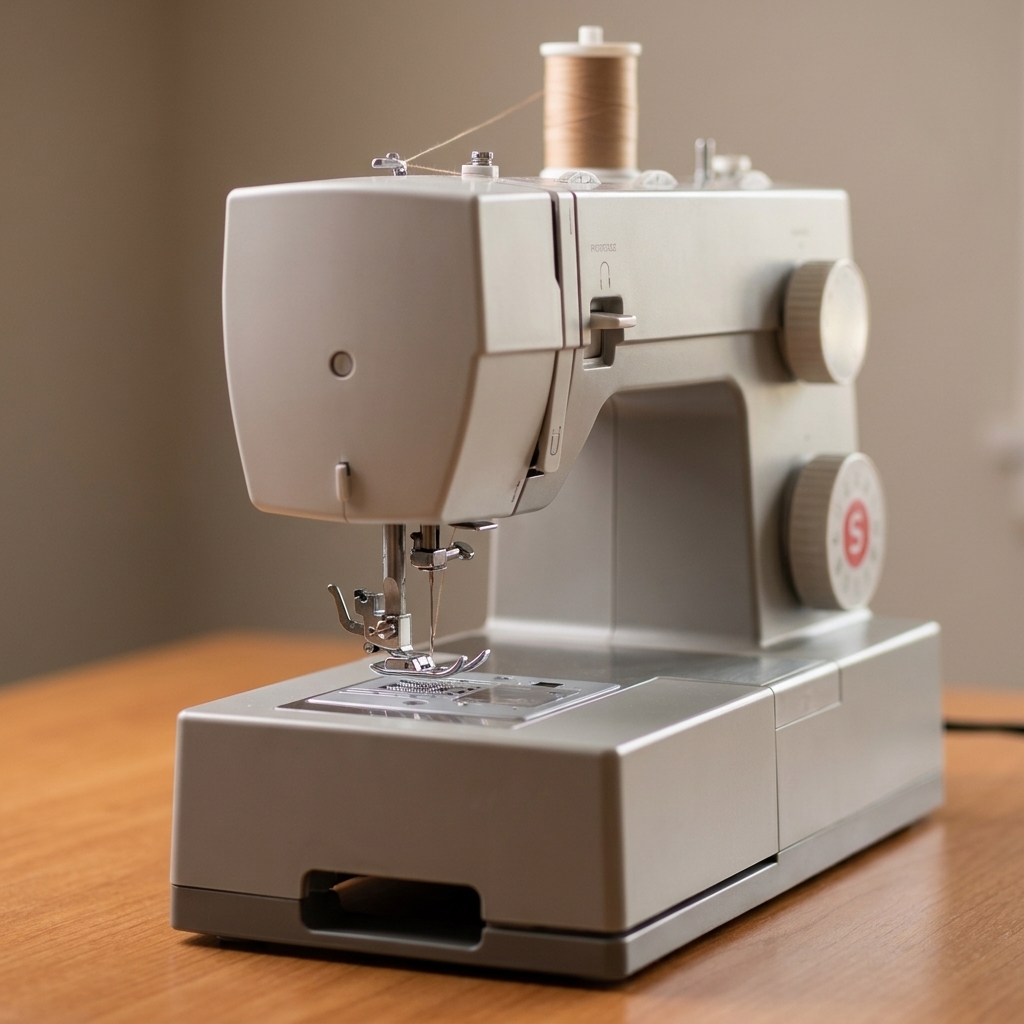
Grab a cup of tea, set your seam ripper nearby (always a sign of wisdom, not failure), and let’s get your machine happily stitched up.
Before you start: the 60-second setup
Threading goes smoother when the machine is in its “ready” position. This tiny checklist prevents most beginner tangles and bird nests.
- Turn the machine off (especially if you are new or have a foot pedal that loves surprises).
- Raise the presser foot. This opens the tension discs so the thread can seat correctly.
- Raise the needle to the highest position using the handwheel (turn it toward you). On many machines you can also tap the needle up button.
- Do not force the handwheel. If it feels stuck, stop and check for tangled thread, a jammed bobbin area, or the needle hitting the plate.
- Use a new needle if you are troubleshooting. A bent or dull needle can mimic threading problems.
- Use good thread. Old, fuzzy, bargain-bin thread breaks easily and sheds lint into the tension area.
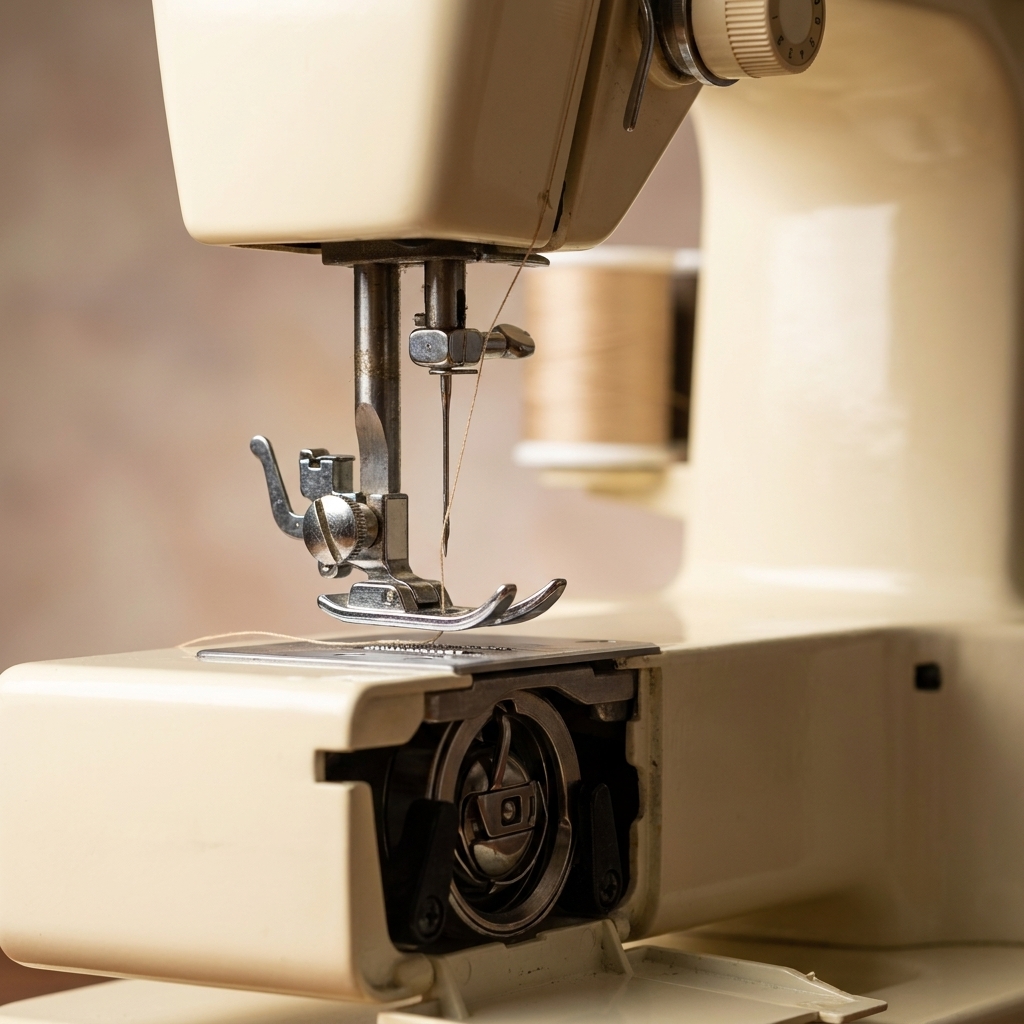
My favorite beginner rule: Thread the machine with the presser foot up, and sew with the presser foot down. If you remember only one thing today, make it that.
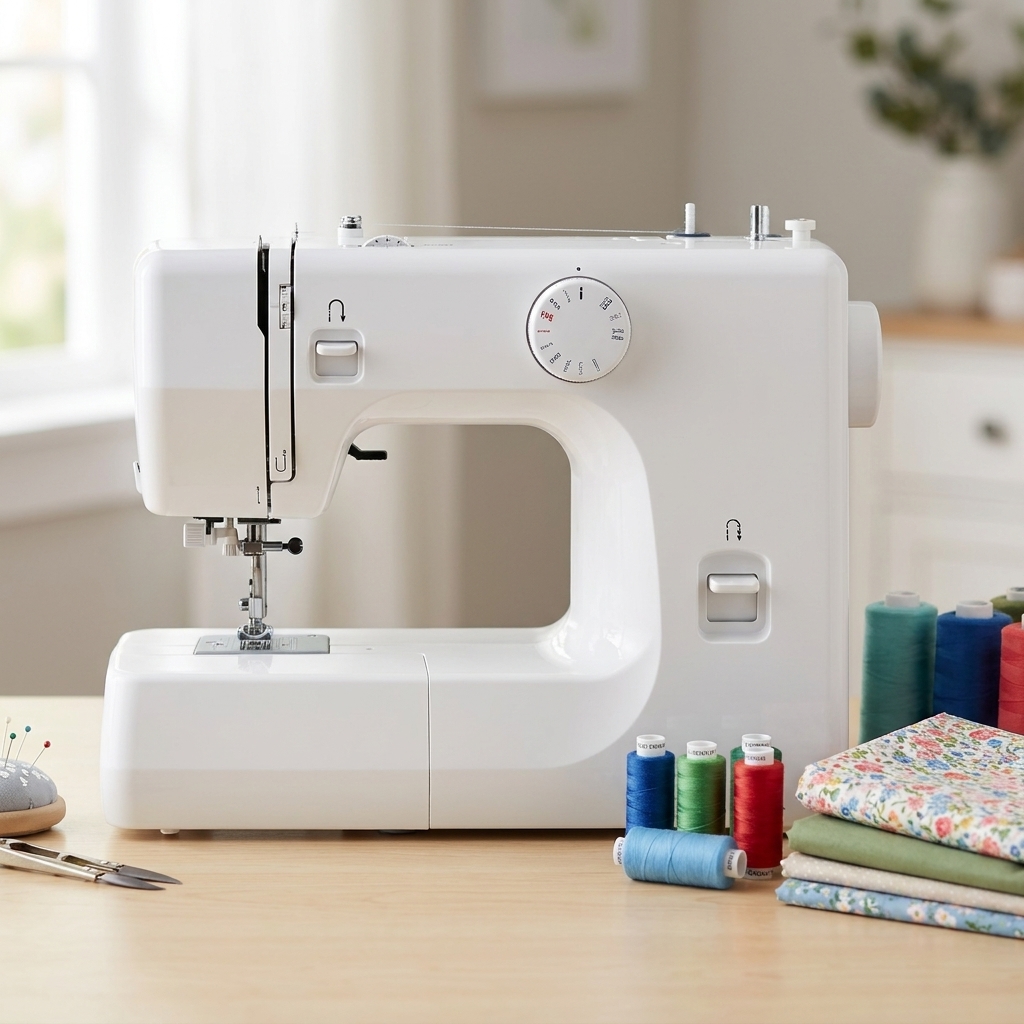
Meet the parts you will touch
You do not need to memorize machine anatomy, but it helps to know what you are aiming for.
- Spool pin: holds the top thread spool.
- Spool cap (on many machines): keeps the spool from wobbling.
- Thread guide(s): little hooks, loops, or slits that steer thread along the path.
- Tension discs: where the thread gets “held” with the right amount of squeeze.
- Take-up lever: the moving arm that pulls thread up and down as you stitch.
- Needle clamp: holds the needle, usually with a screw.
- Bobbin: bottom thread spool.
- Bobbin case / drop-in bobbin area: where the bobbin sits.
Step-by-step: thread the upper thread
These steps fit the majority of home lockstitch machines. Your exact guides might look a little different, but the order is usually the same.
1) Put the spool on the spool pin
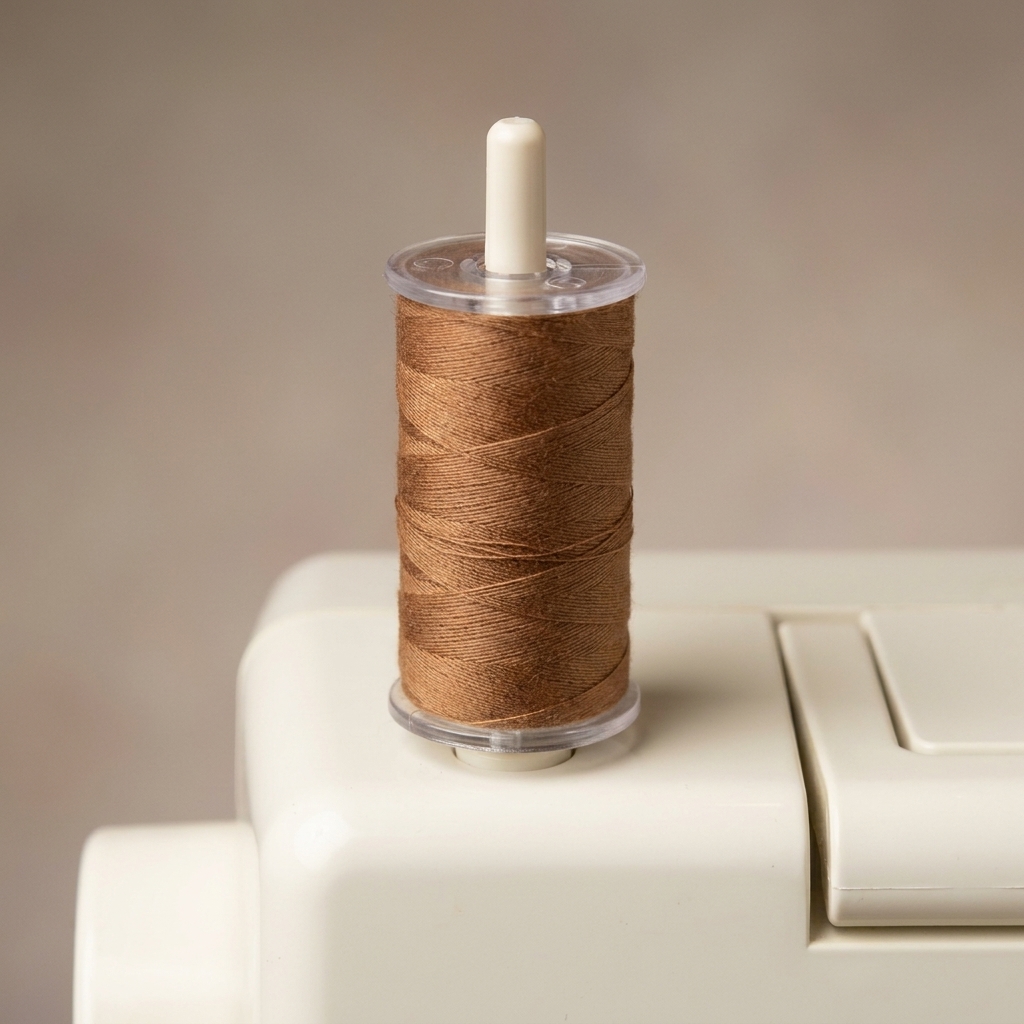
Place your thread spool on the spool pin so it unwinds smoothly without snagging.
A quick spool tip: Cross-wound spools (the thread crisscrosses) often feed best off the end (especially on horizontal pins). Stack-wound spools (neat straight layers) often feed best off the side (often on vertical pins). The goal is simple: smooth, consistent unwinding.
If your machine uses a spool cap, add it so the spool stays steady, especially at higher speeds.
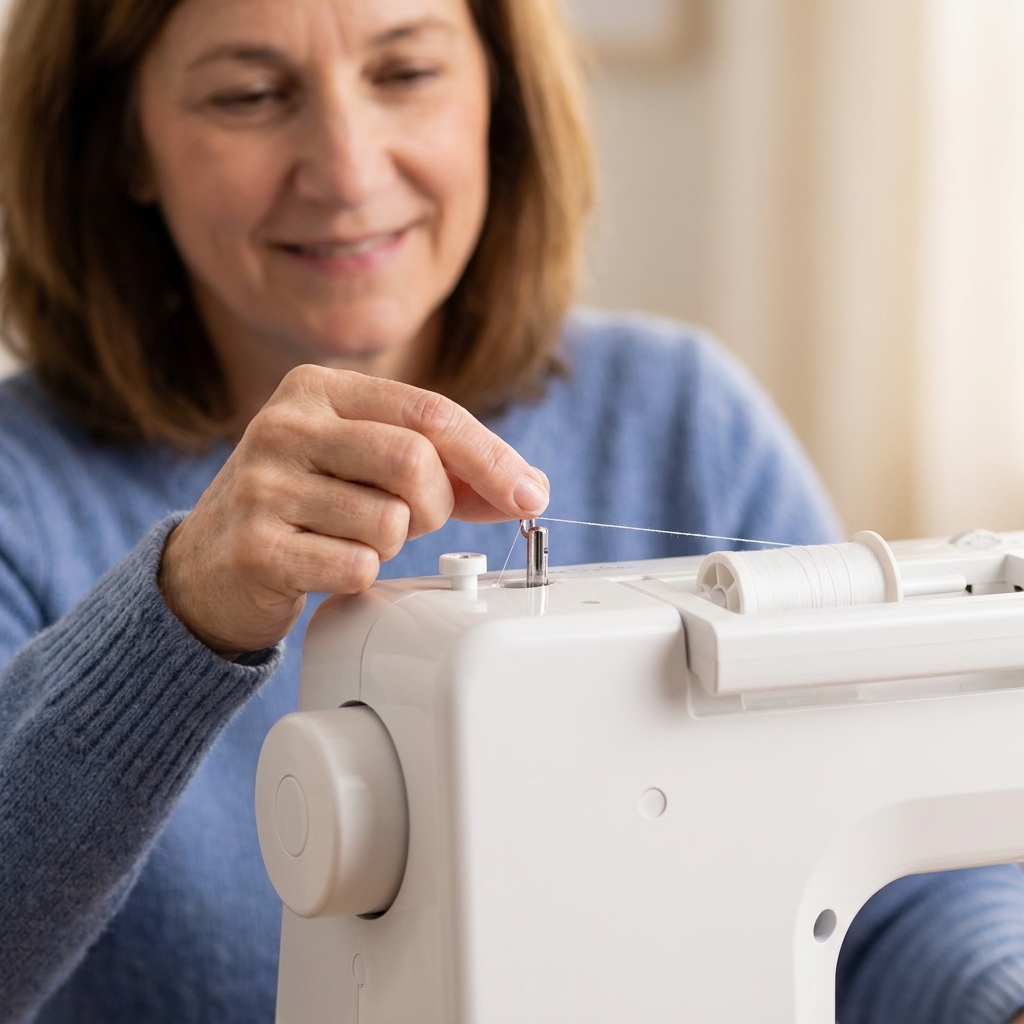
2) Find the first thread guide
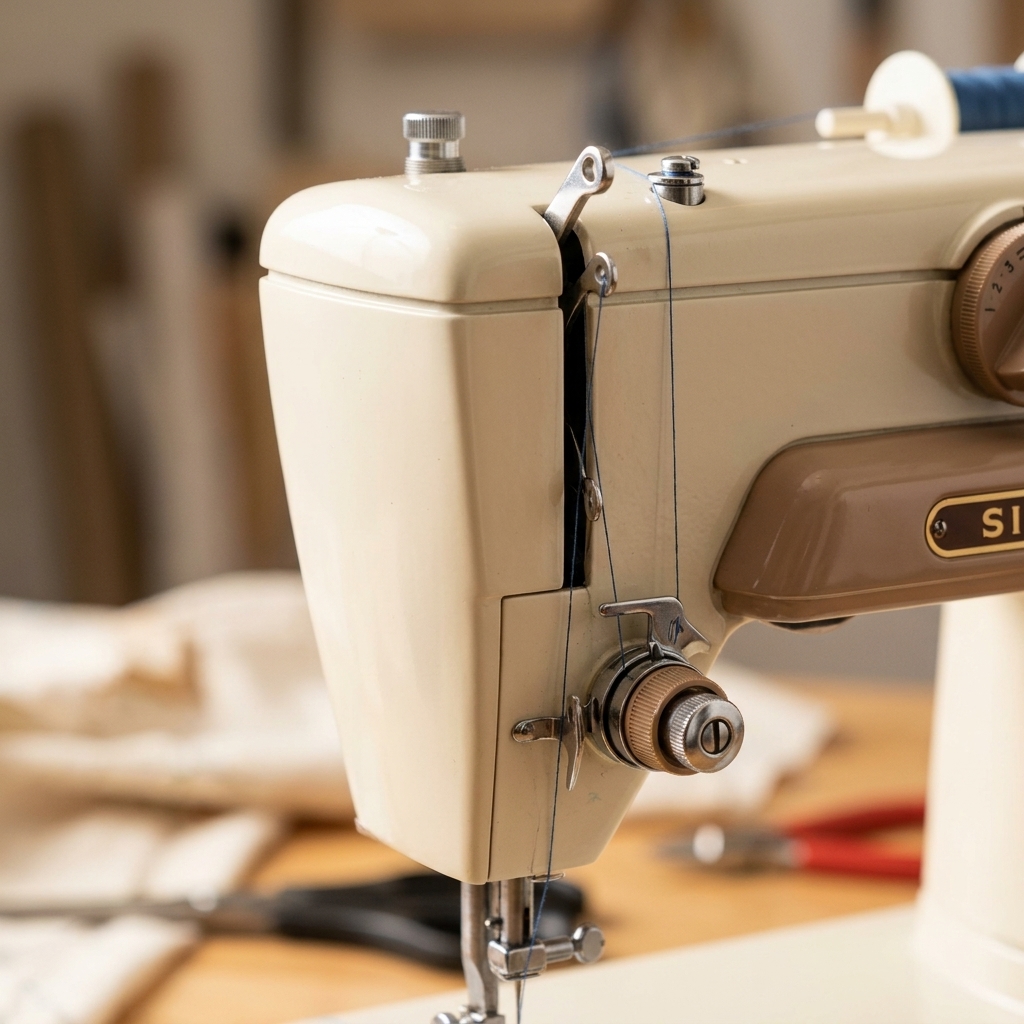
Look for a small hook or loop near the top of the machine, often on the top left or top center. Pull the thread through that guide.
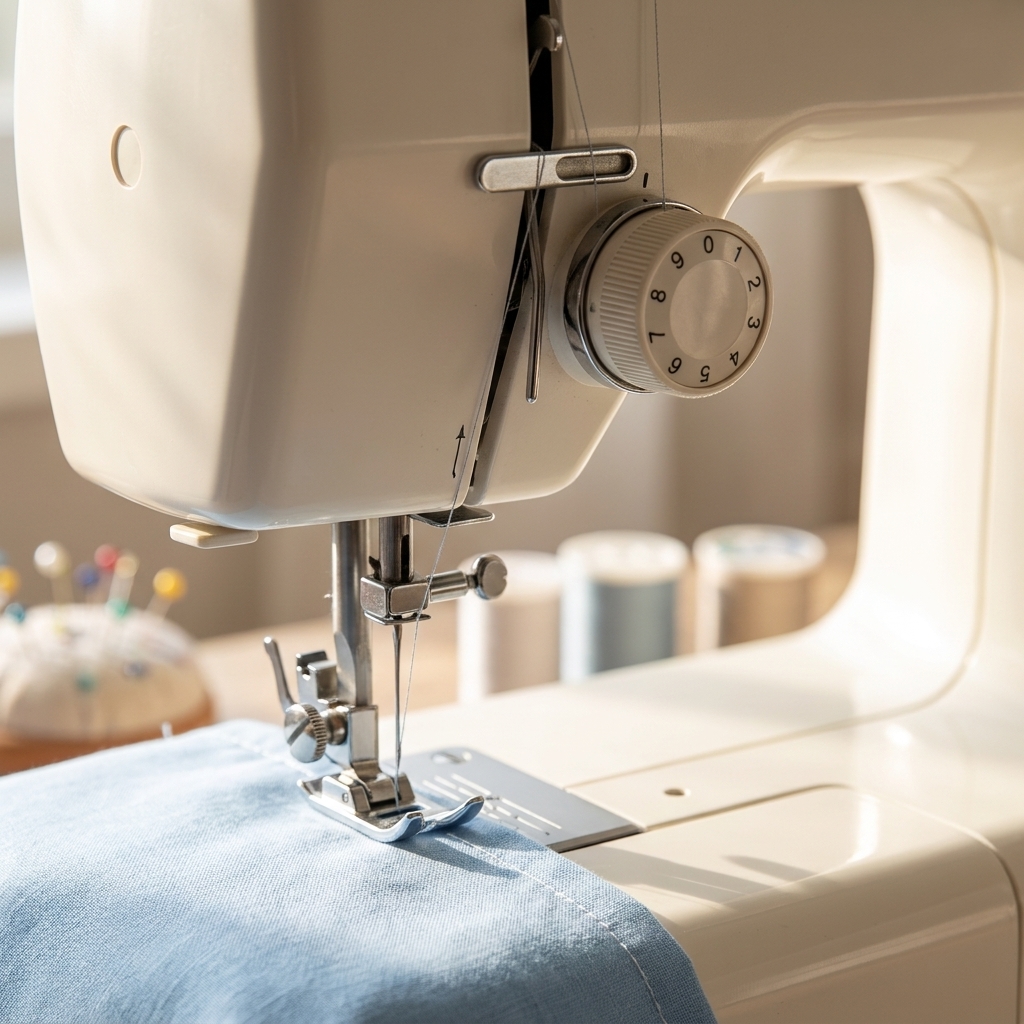
3) Go down and around the tension area
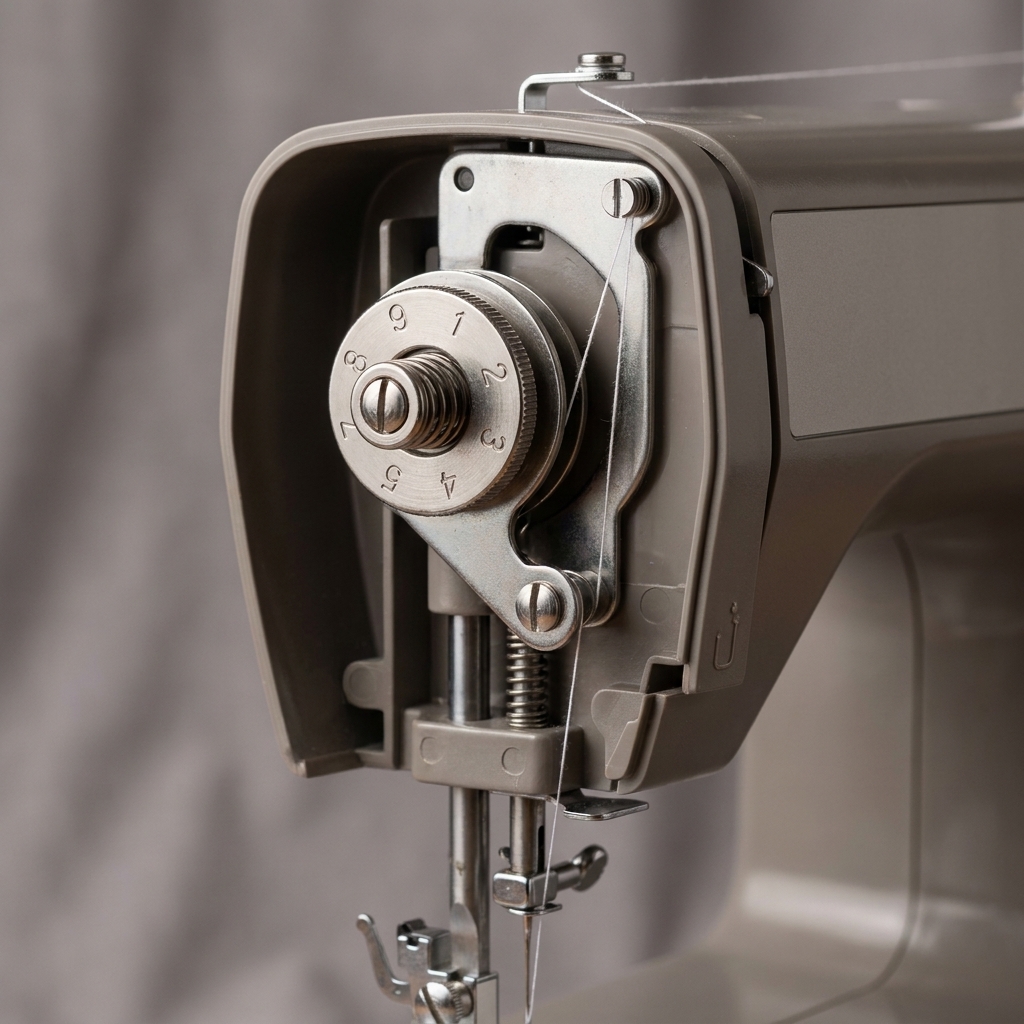
This is the step beginners accidentally skip when the presser foot is down. With the presser foot up, bring the thread down the channel toward the tension system.
On many machines you will follow arrows or a printed path: down one side, then back up the other.
4) Catch the take-up lever
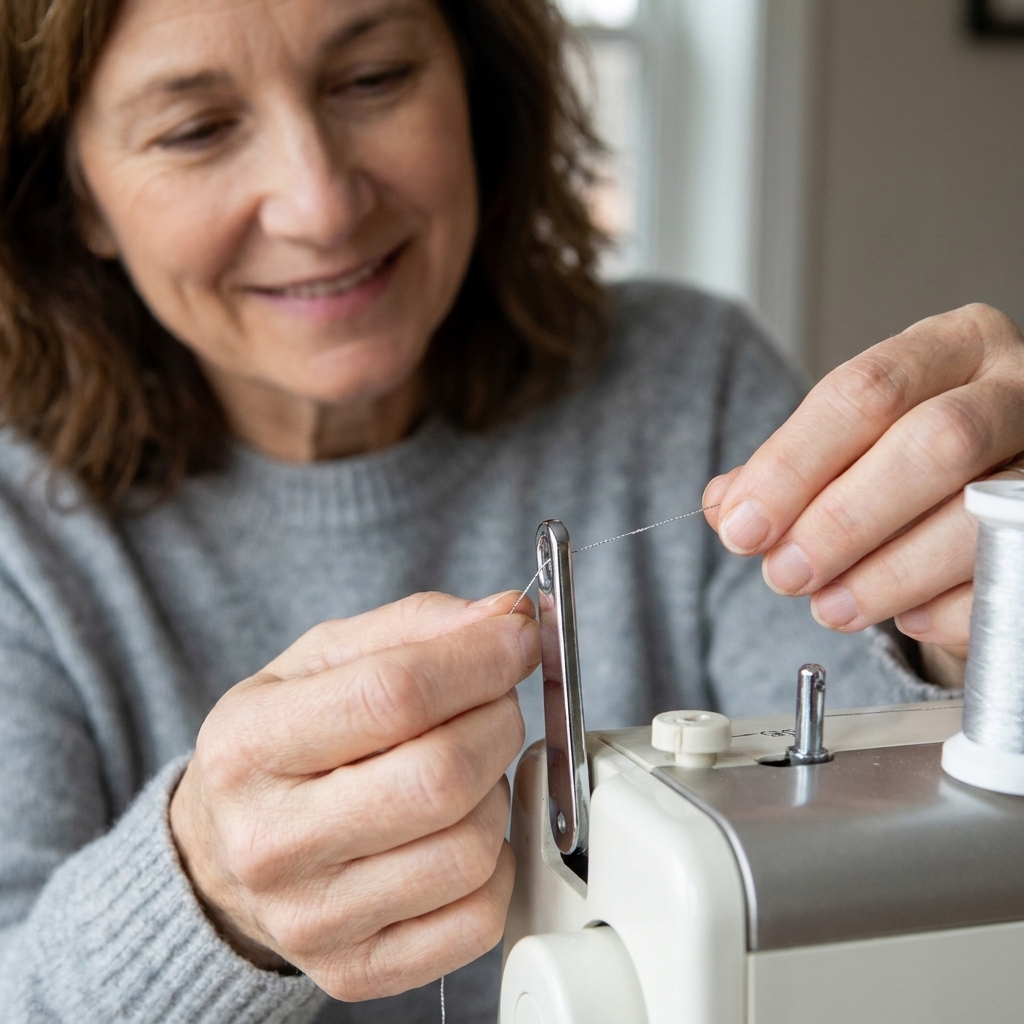
The take-up lever is the little arm that goes up and down when you turn the handwheel. You must get the thread into the take-up lever, not just past it.
If you cannot see it, turn the handwheel toward you until the lever is at the top and easy to reach.
5) Thread down to the needle-area guides
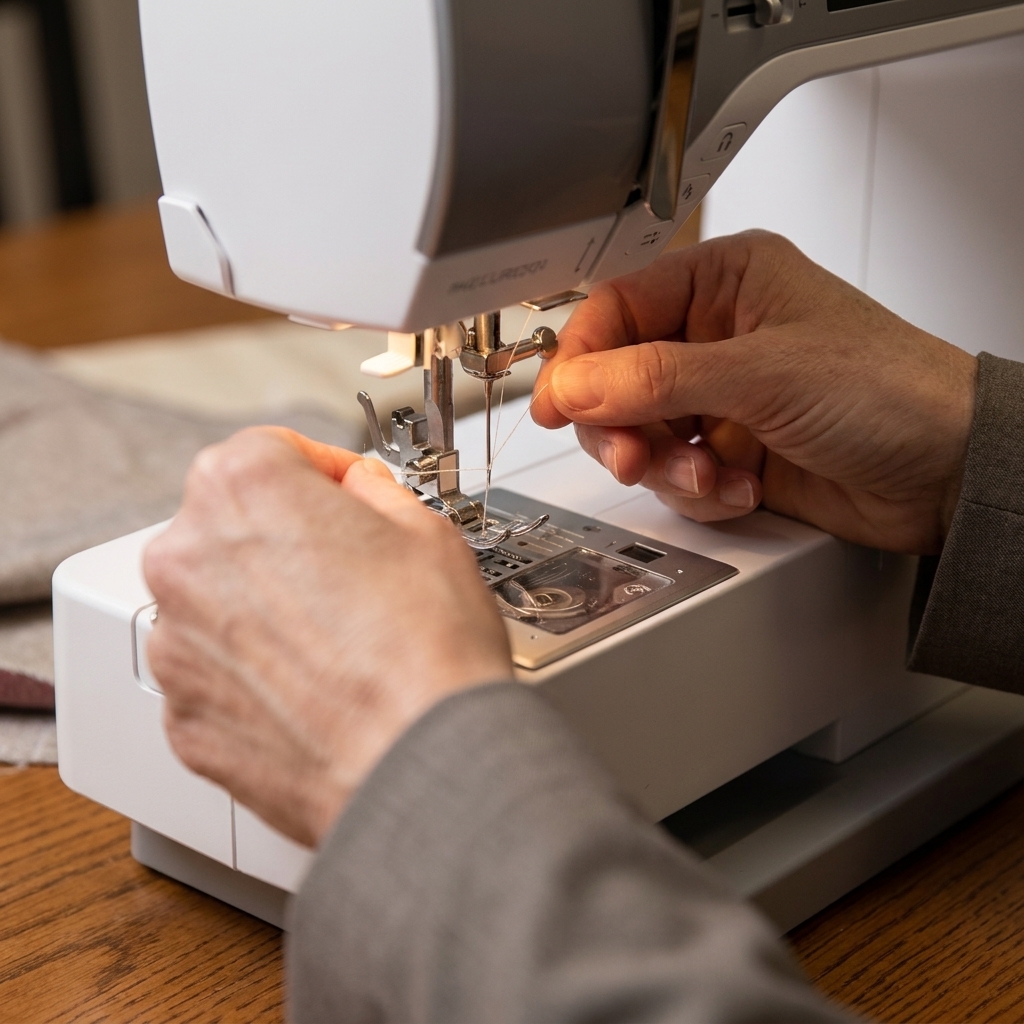
After the take-up lever, bring the thread back down through any remaining guides near the needle. There is often a small guide above the needle clamp. Use it. It keeps the thread from whipping around and unthreading itself.
6) Thread the needle (direction matters)
Many machines thread the needle front to back, but plenty thread left to right. If your manual, needle bar diagram, or machine markings say otherwise, follow those. (They know your model better than I do.)
Pull a 4 to 6 inch thread tail through the needle so it does not slip out right away.
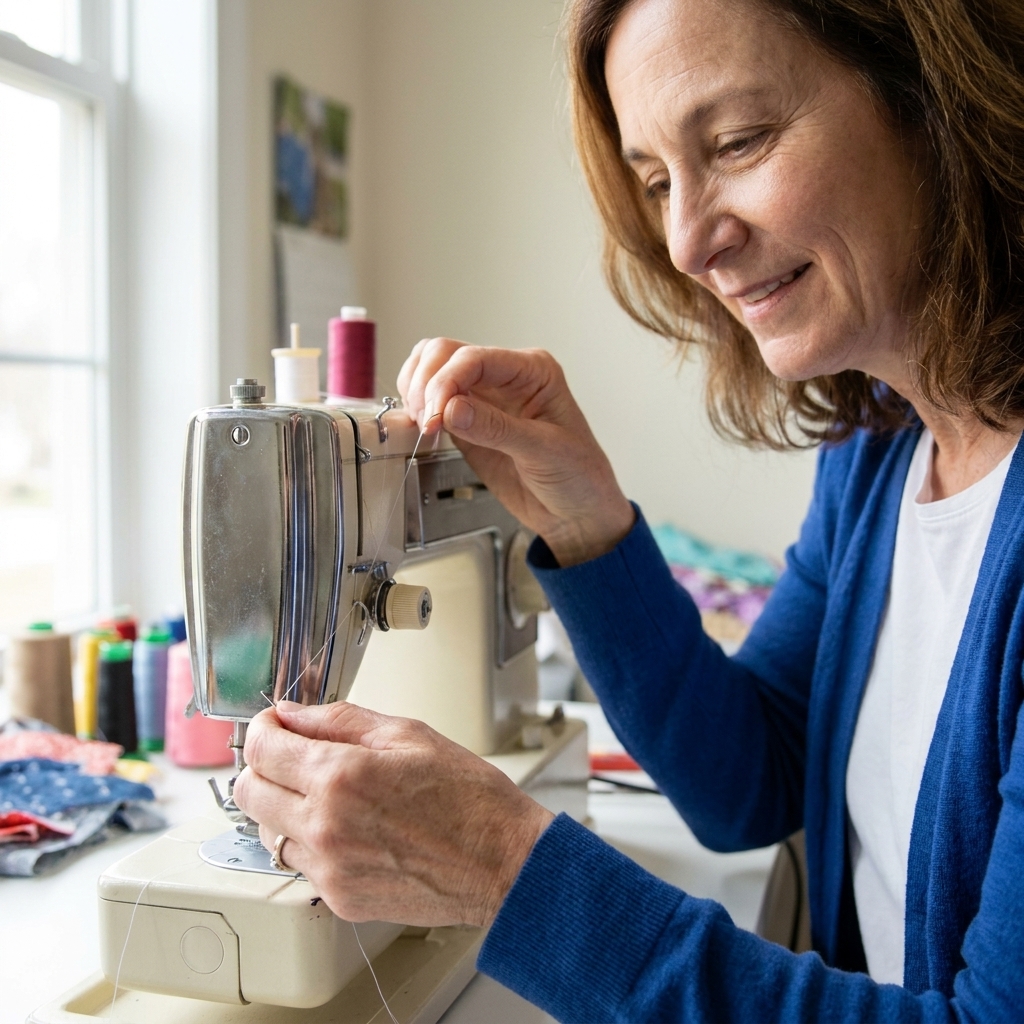
7) If you have an automatic needle threader
Automatic needle threaders are wonderful, and also extremely picky. The key points:
- Needle must be at the correct height (often the highest position, depending on the machine).
- Use a compatible needle size (very tiny needles can be tricky).
- Make sure the thread is seated in the small hook path of the threader.
If it fails, do not assume you are failing. Re-seat the thread and try again slowly.
Bobbin basics: wind it neatly first
A lot of “my machine hates me” moments are really “my bobbin is wound like a tiny tumbleweed.” A nicely wound bobbin feeds smoothly and makes better stitches.
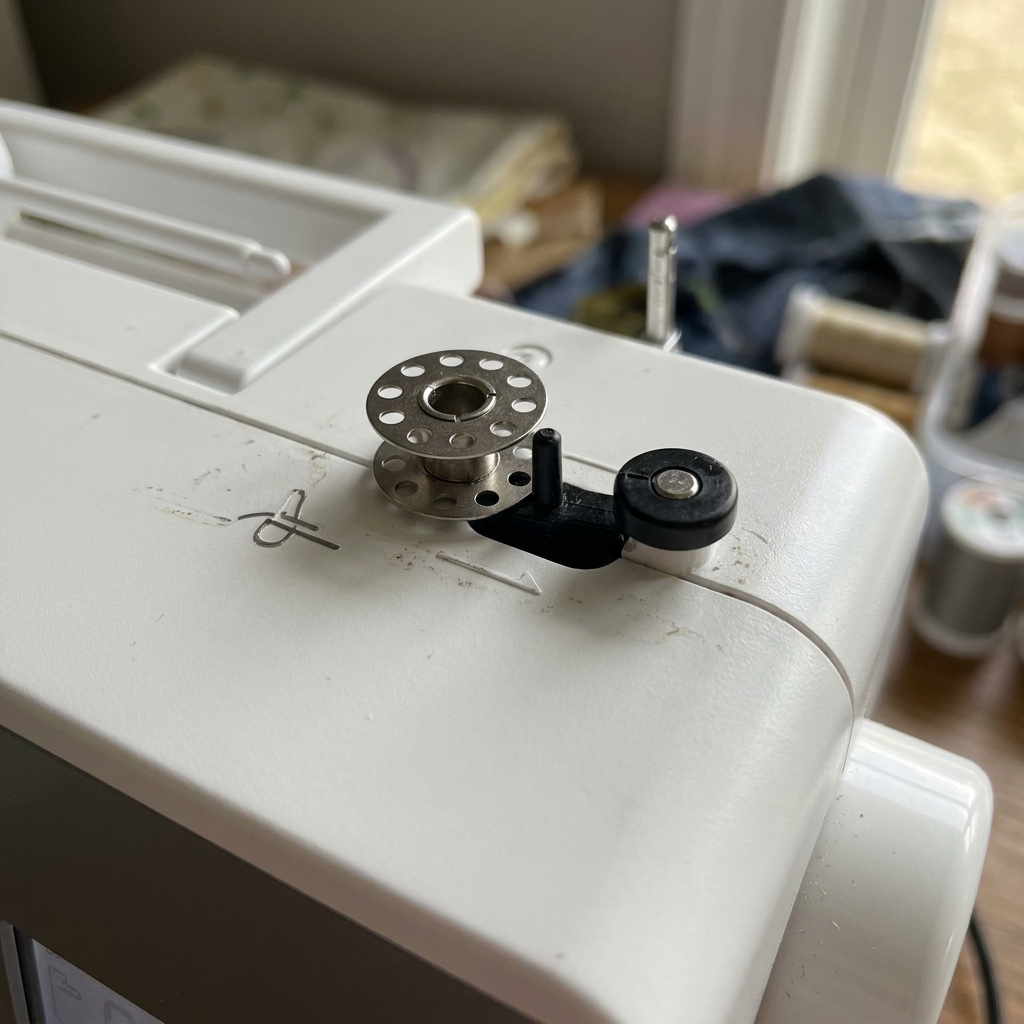
- Wind at a medium speed. Very fast winding can make some threads behave badly, but the more common issue is uneven winding when the bobbin-winder thread guide is missed.
- Fill evenly. If it piles up on one side, re-thread the bobbin-winder path and try again.
- Do not overfill. Stop when it is close to the rim, not bulging.
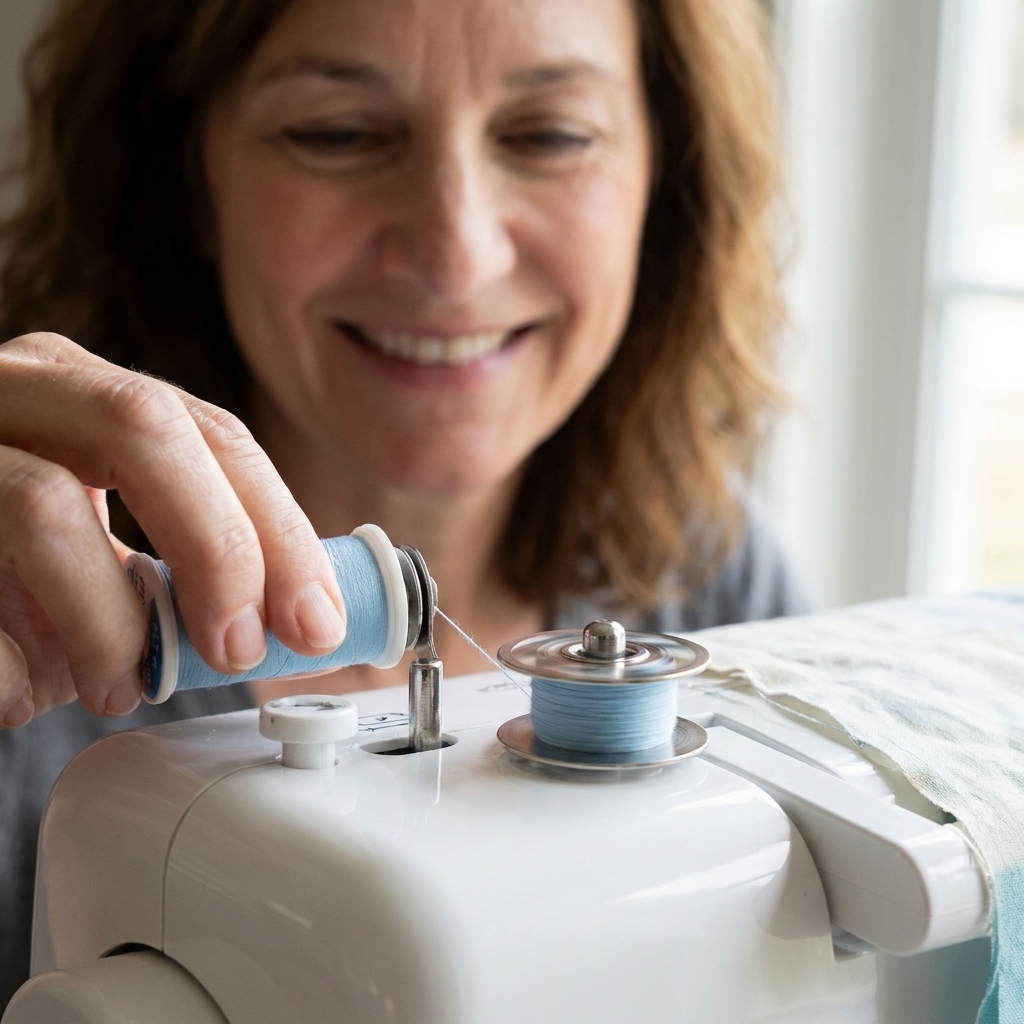
Load the bobbin
Most home machines use one of these bobbin setups: drop-in (top-loading) or front-loading (removable bobbin case). I will walk you through both.
Option A: Drop-in (top-loading) bobbin
This is common on many newer machines. Your bobbin sits under a clear cover plate on the bed of the machine.
- Raise the needle to the highest position.
- Open the bobbin cover.
- Place the bobbin in the case following the arrow or diagram printed near the bobbin well.
- Pull the thread into the slit and follow the groove until it seats under the tension spring.
- Leave a 4 to 6 inch tail, then close the cover.
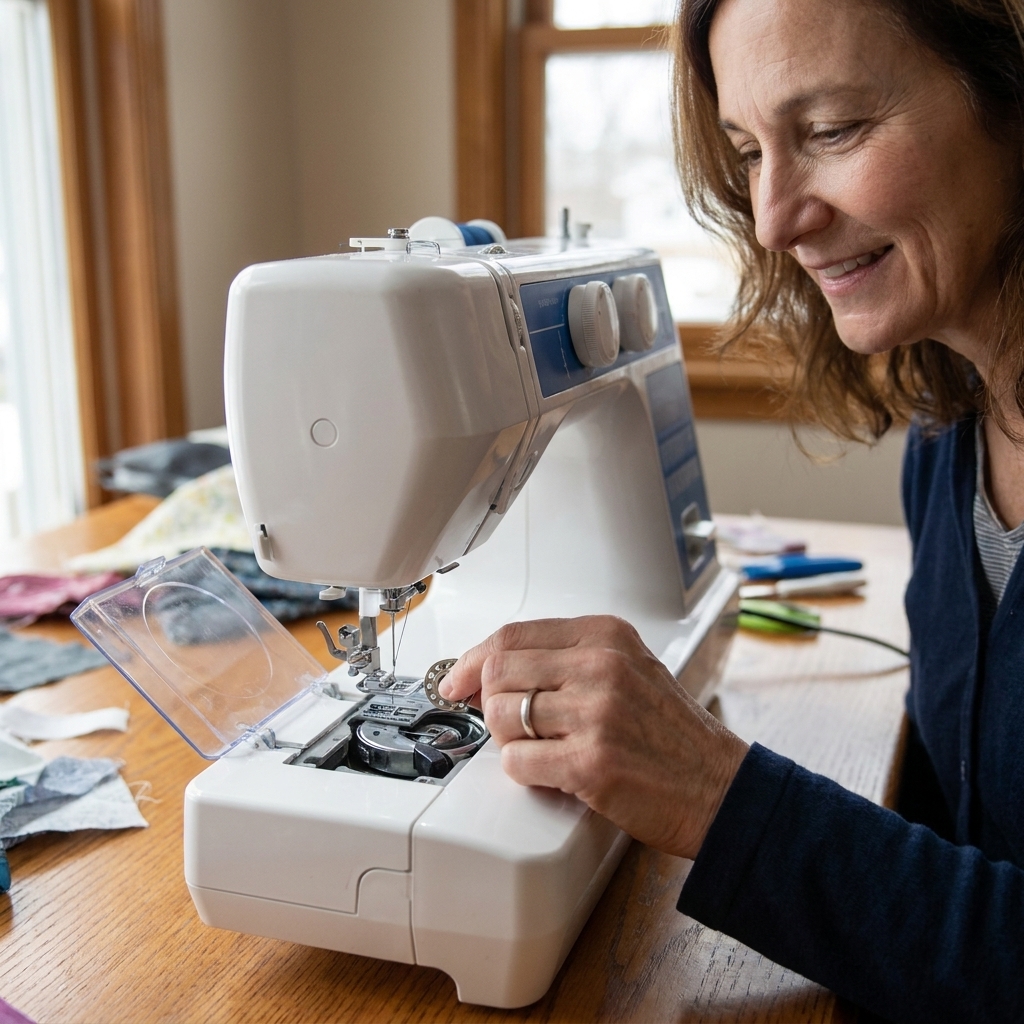
Beginner tip: If the thread does not slide into that little groove with gentle tension, it is not seated. Lift the bobbin out and try again. Forcing it usually creates a jam later.
Option B: Front-loading bobbin (removable bobbin case)
With this style, you remove a bobbin case and insert the bobbin into it.
- Open the front area (you may remove an accessory tray or open a front door).
- Take out the bobbin case.
- Insert the bobbin into the case so it turns the correct direction for your model.
- Pull the thread through the slot and under the tension spring on the bobbin case.
- Hold the bobbin case by its latch and insert it back into the machine until it clicks into place.
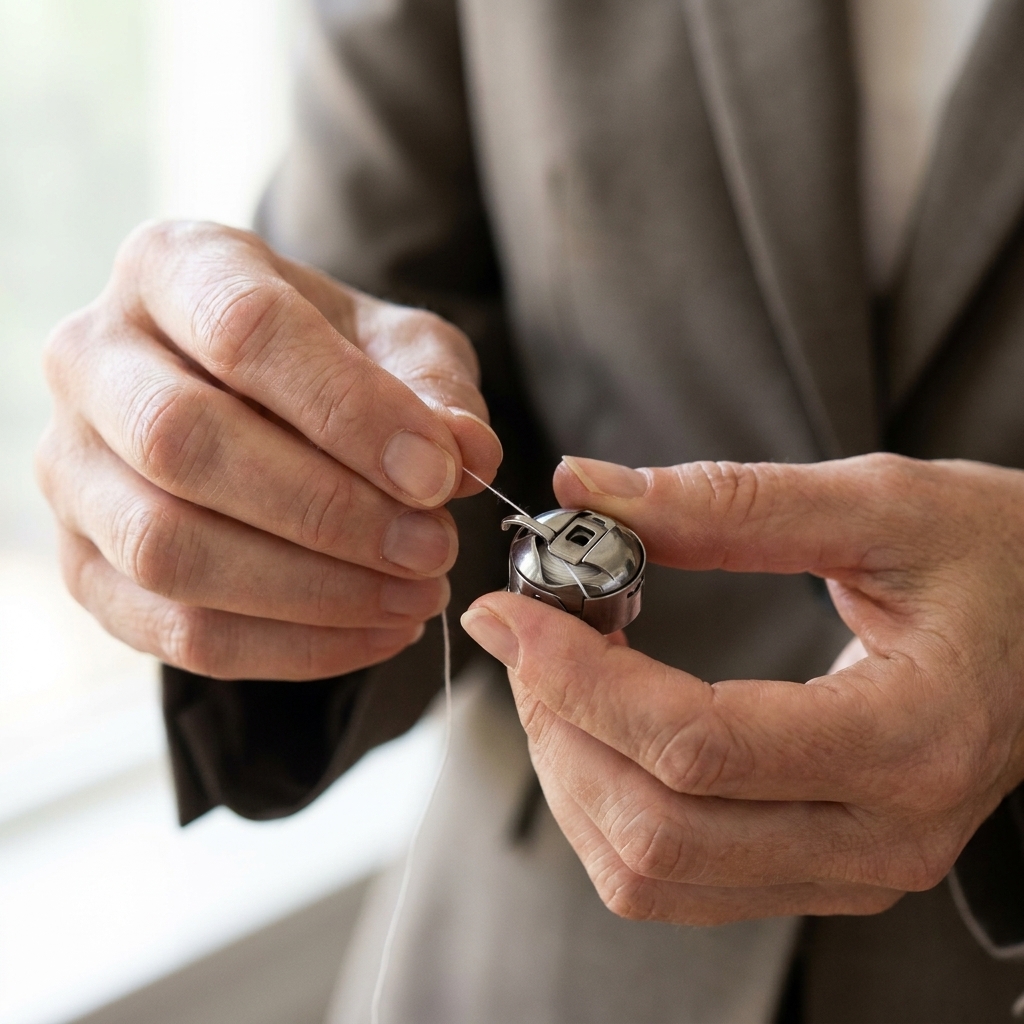
One more small thing that matters: Use the correct bobbin type for your machine (your manual may call it Class 15, 15J, 66, L, and so on). The wrong bobbin can cause chronic tension issues and mysterious jams.
Bring up the bobbin thread (recommended)
Some drop-in bobbin machines can start sewing without pulling up the bobbin thread first, but I still like doing it because it prevents tangles on the first stitch.
- Hold the top thread tail gently with your left hand.
- Turn the handwheel toward you one full turn so the needle goes down and comes back up.
- Pull the top thread tail to bring up a loop of bobbin thread.
- Use a pin, your fingers, or small scissors to pull the bobbin loop out fully.
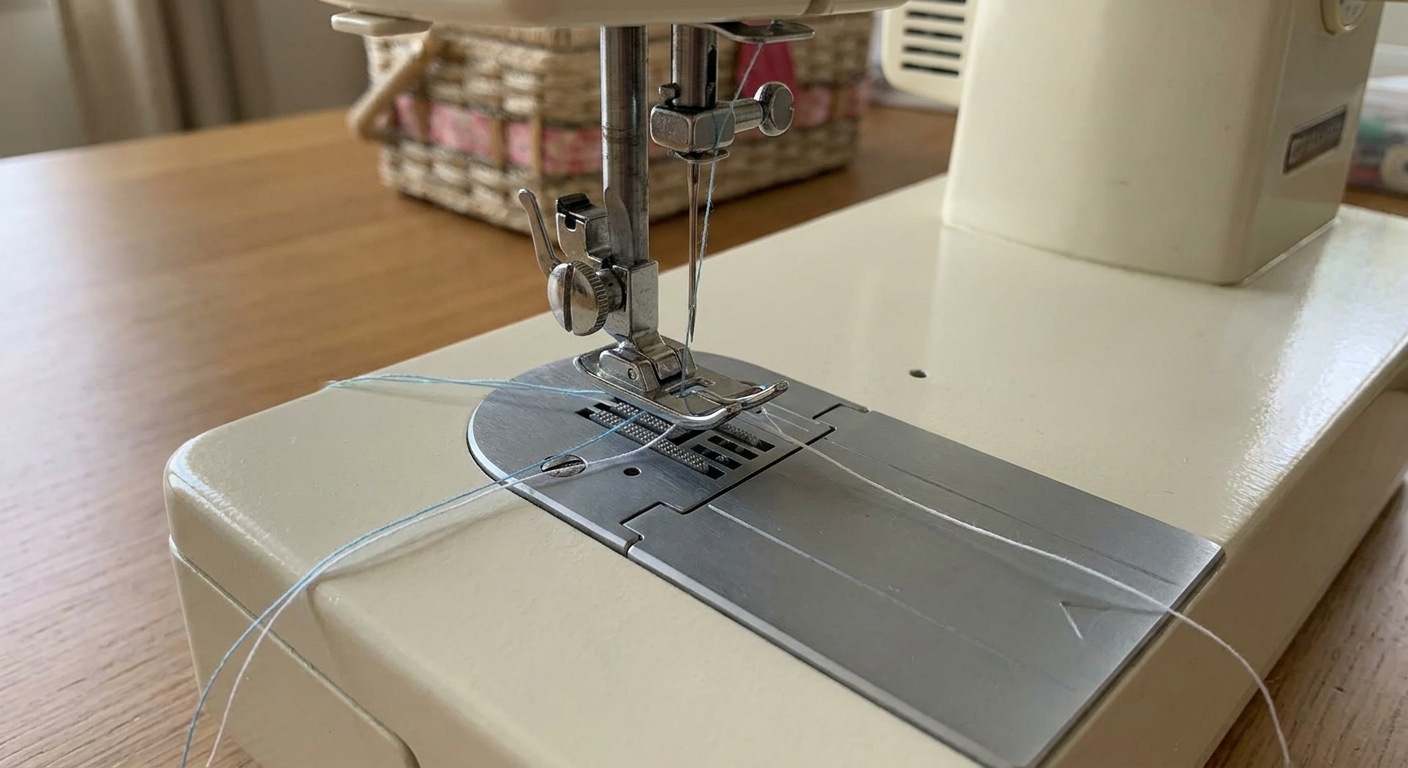
- Place both thread tails under and behind the presser foot.
Quick “did I thread it right?” test
Before you sew on your real project, do a 30-second confidence check.
- Presser foot up: Pull the top thread. It should pull freely.
- Presser foot down: Pull the top thread again. It should have noticeable resistance.
- Handwheel test: Turn the handwheel toward you. The needle should move smoothly without snagging.
- Two tails check: Make sure you have both upper and bobbin thread tails under the presser foot before you begin.
If something feels “stuck,” stop and re-thread. Re-threading is faster than unpicking a wad of knots.
Common beginner mistakes (and easy fixes)
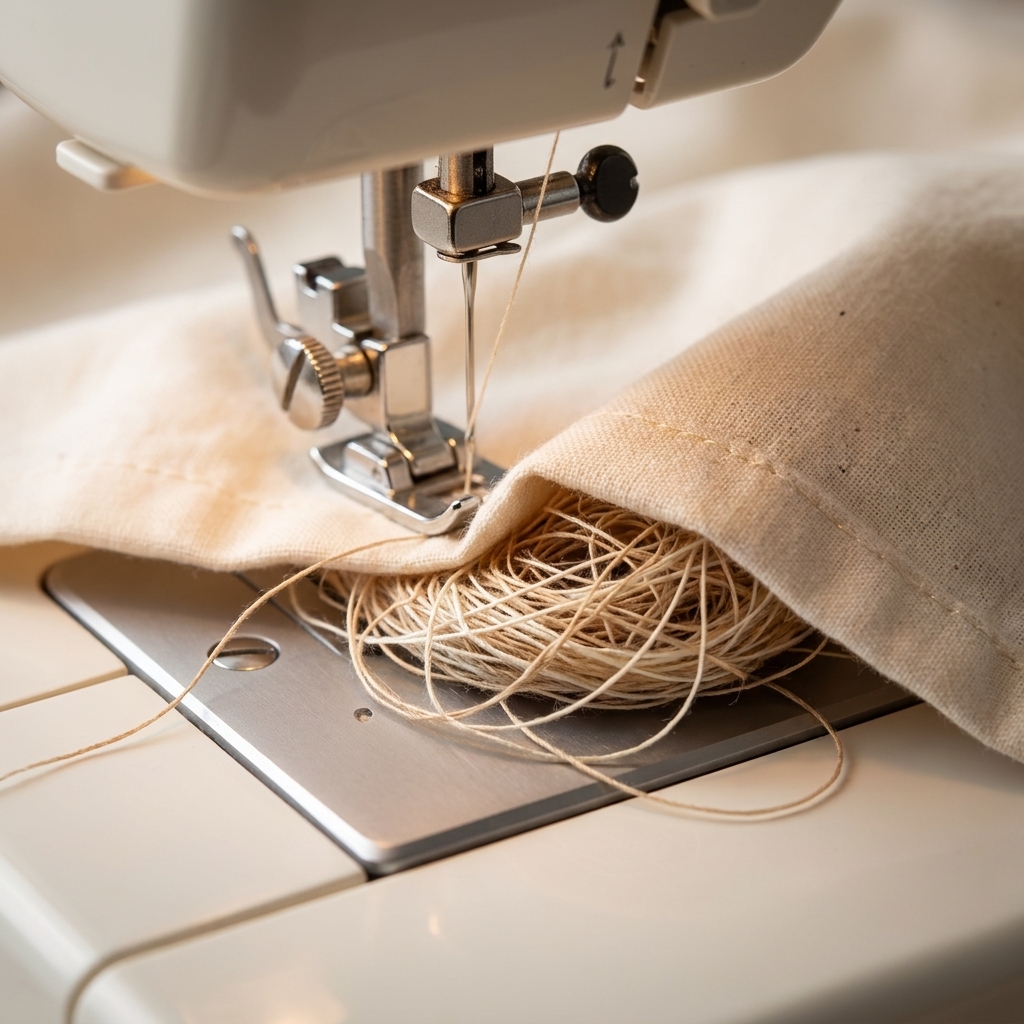
Bird nest under the fabric
Usually means: The top thread is not seated in the tension discs, or you started sewing with thread tails loose.
- Re-thread the top with the presser foot up.
- Hold both thread tails for the first 2 to 3 stitches.
- Make sure you are sewing with the presser foot down.
Thread keeps breaking
Usually means: Incorrect threading path, old thread, wrong needle size, or the thread is catching on the spool.
- Re-thread completely, including the take-up lever.
- Try a fresh needle (a size 80/12 universal is a good general start).
- Try a different spool orientation or a spool cap that fits better.
Skipped stitches
Usually means: Needle issues first, then threading.
- Change the needle and make sure it is inserted fully and facing the correct direction (the flat side goes to the back on many machines, but check your manual).
- Re-thread the top and re-seat the bobbin thread in its groove.
Loops on the top of the fabric
Usually means: A top and bobbin tension mismatch, or the bobbin thread is not seated correctly.
- First, re-seat the bobbin thread in its groove and confirm the bobbin is inserted the correct direction.
- Re-thread the upper path with the presser foot up.
- If it is still looping, then make a small upper-tension adjustment and test on a scrap (tiny changes, one number at a time).
Loops on the bottom of the fabric
Usually means: The top thread is not in tension, often from threading with the presser foot down.
- Raise the presser foot and re-thread the entire top path.
- Confirm the thread is in the take-up lever.
- If you have re-threaded and it is still loopy, check the upper tension setting and return it to the default range for your machine.
Brand notes
I promised “any brand,” and I meant it in the practical sense: the overall path is shared across most home machines. The quirks are in the little details.
- Drop-in bobbin direction varies. Always follow the arrow or diagram printed near the bobbin area if you have one.
- Needle threading direction varies. Look for a tiny diagram on the needle bar, a marking near the needle, or the manual.
- Thread guides may be hidden. Some computerized machines have a guide tucked behind a cover or near the top handle, and some have a built-in threading diagram under a top lid.
- Horizontal spool pins often prefer a spool cap and a smooth, snag-free unwind.
If you are unsure, look for a printed threading path with numbers or arrows on your machine. Manufacturers often put the whole story right on the front panel.
Threading checklist
- Machine off
- Needle up
- Presser foot up to thread
- Spool on pin + spool cap if needed
- First guide
- Down into tension path
- Up into take-up lever
- Down through needle-area guides
- Thread needle, pull tail 4 to 6 inches
- Bobbin wound evenly, inserted correctly, thread seated in groove
- Bring up bobbin thread (recommended)
- Both tails under presser foot, hold for first stitches
FAQ
Do I thread the machine with the presser foot up or down?
Up. Presser foot up opens the tension discs so the thread can slip between them. If you thread with the foot down, the thread often sits outside the tension system and you get loose, loopy stitches and tangles.
Why does my machine stitch fine and then suddenly nest underneath?
The top thread can pop out of a guide, or you may have started with short tails that got sucked down. Re-thread the upper path, re-seat the bobbin thread, and start again holding both tails for the first few stitches.
Do I need to pull the bobbin thread up every time?
Not always, but it is a great beginner habit. It reduces the chance of a snarl on the first stitch, especially on lightweight fabric.
My stitches look weird. Should I adjust tension right away?
Not first. Re-thread the top with the presser foot up and re-seat the bobbin. Threading fixes the majority of tension-looking problems without touching the dial. If it still looks off after re-threading, then make a small tension adjustment and test on scrap fabric.
What if I lost my manual?
Search your machine model number online. Most brands host free PDF manuals. In the meantime, the steps in this guide will get you very close on most home machines.
A gentle final reminder
If you have to re-thread three times in a row, you are not “bad at sewing.” You are learning a new little routine, and machines are fussy in the same way recipes are fussy: the order matters.
Thread with the presser foot up, stitch with it down, and keep your seam ripper within arm’s reach like the loyal sidekick it is. You have got this, one stitch at a time.