If you have ever looked at a zipper and thought, “That tiny metal thing is going to ruin my whole project,” welcome. You are in exactly the right place. A standard centered zipper is one of the most useful beginner skills because it works for simple pouches, pencil cases, pillow covers, and lots of skirts and dresses. And the best news is this: a zipper is just two straight seams with a little planning.
I am going to walk you through the whole process slowly, including the tiny steps tutorials love to skip. Keep your seam ripper nearby, make a cup of tea, and we will do this one stitch at a time.
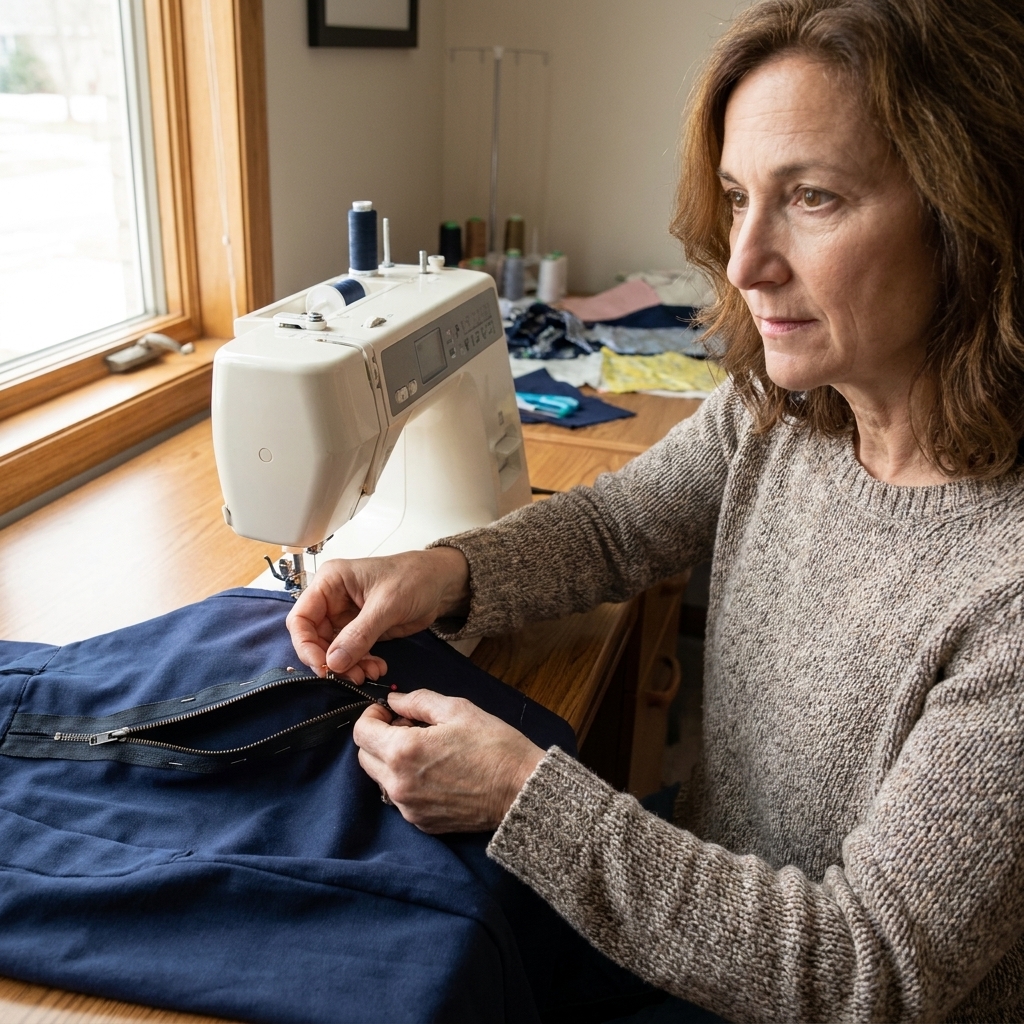
What a centered zipper is
A centered zipper is the classic zipper installation where the zipper teeth sit right in the middle of the opening and you get one line of stitching on each side. It is the go-to method for beginner pouches and many simple garment patterns.
This tutorial assumes:
- You have a regular zipper (not invisible).
- Your fabric opening is a straight seam (like the middle of a pouch or the center back of a skirt).
- You will sew a temporary seam first, then replace part of it with the zipper.
Tools and supplies
- Zipper: closed-end for pouches, or as your garment pattern calls for
- Fabric pieces: two pieces that will be sewn together where the zipper goes
- Thread: all-purpose thread
- Zipper foot: the narrow foot that lets you stitch close to the zipper teeth
- Seam ripper: your best friend, not a sign of failure
- Pins or clips: pins tend to work better around zippers
- Fabric marker or chalk: optional, but helpful
- Iron and ironing board: pressing is half the secret to a nice zipper
- Wonder tape (wash-away basting tape): optional, but amazing for slippery fabrics
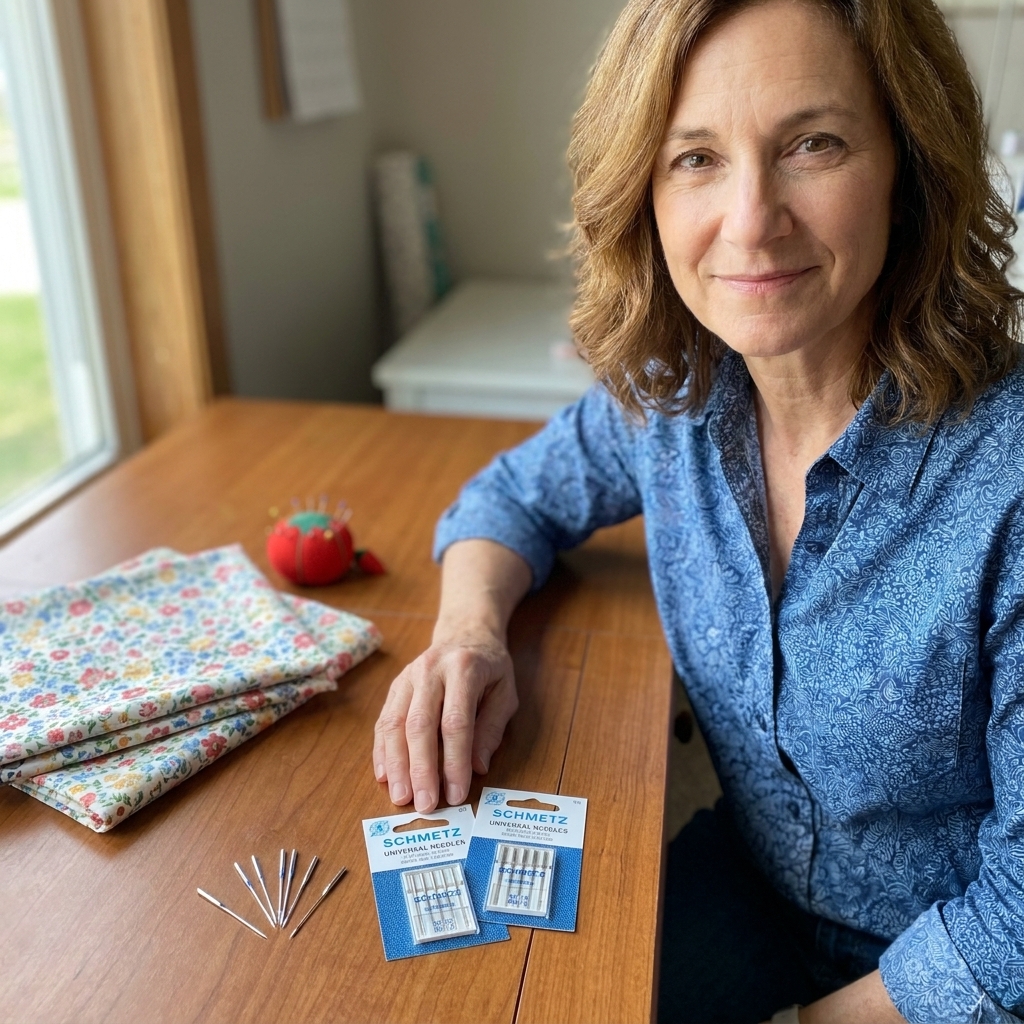
Needle tip: For lightweight woven fabrics, a universal 80/12 is usually fine. For denim or canvas, consider a 90/14. If your stitches look loopy or skip, swap the needle first. It fixes more problems than you would think.
Zipper tip: Nylon coil zippers are very forgiving. Metal teeth are less forgiving, so stitch a hair farther from the teeth and go slowly.
Before you start
Pick the zipper length
For a pouch, choose a zipper that is at least as long as your opening, or slightly longer. A slightly longer zipper is often easier because the pull can sit out of your stitching path.
For garments, follow your pattern. If you are installing into an existing seam, the zipper should cover the opening plus a little extra at the top so it feels secure.
Know your seam allowance
Centered zippers work with any seam allowance, but your markings and stitching should match your pattern. Garments are often 5/8 inch (1.6 cm). Bags and pouches are often 3/8 to 1/2 inch (1 to 1.3 cm).
Do a quick scrap test
If you are nervous, you are normal. Stitch a 6 inch (15 cm) practice zipper into two fabric scraps first. It takes five minutes and saves a lot of unpicking.
Step by step
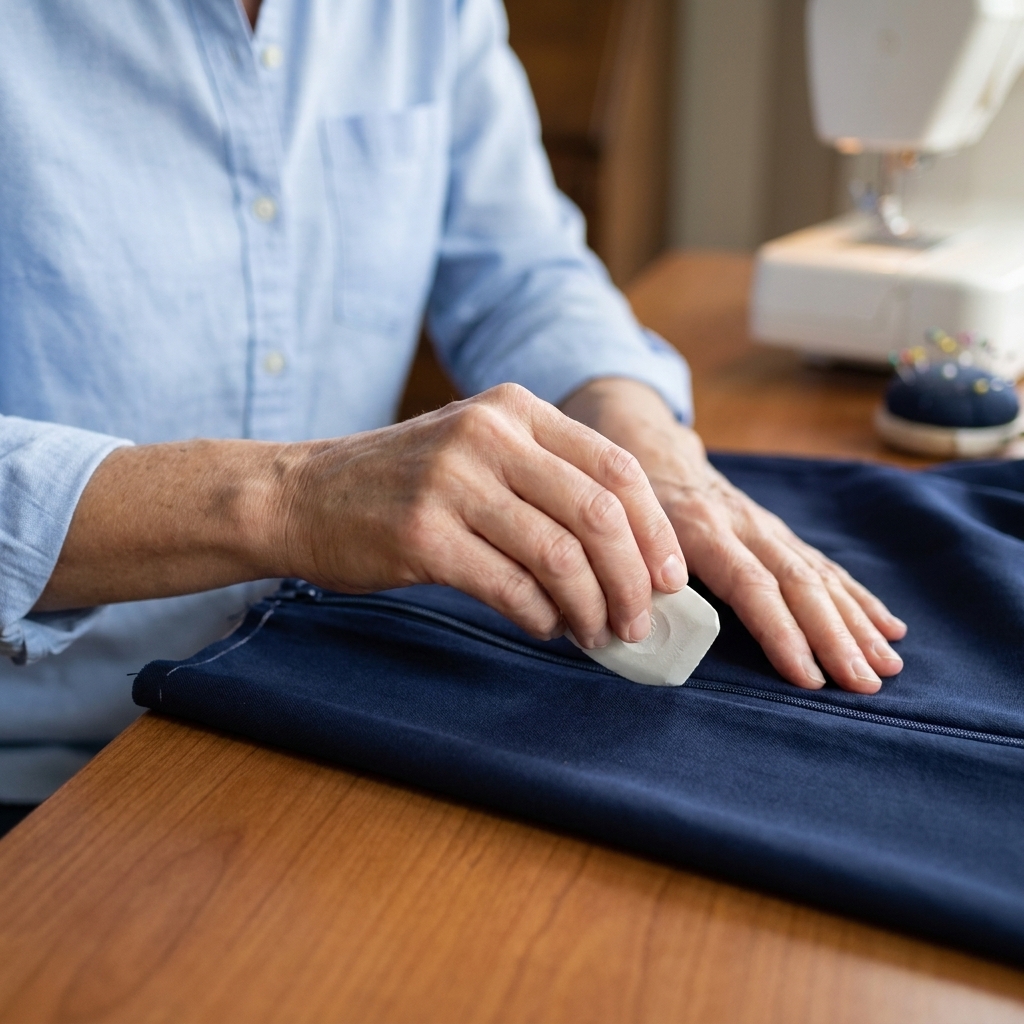
Step 1: Mark the opening
Put your fabric pieces right sides together and line up the edge where the zipper will go.
Beginner note: When this tutorial says seam line, it means the line where your stitches will go, not the raw cut edge. If you need to, lightly draw your seam allowance line in chalk first so your marks land in the right place.
If your pattern provides notches, transfer them. If not, do this simple method:
- Figure out the zipper’s functional opening length. On a closed-end zipper, that is usually between the top stops and the bottom stop. On a separating zipper, it is the section that opens above the box and pin. On continuous zipper tape, you decide where you want the opening to start and stop.
- On your fabric seam line, mark where the zipper should start and stop.
- Add about 1/2 inch (1.3 cm) above the zipper start for a tidy top edge, especially on pouches.
Step 2: Sew the seam with basting
You will sew the seam closed first, then open it back up where the zipper goes. This keeps everything aligned.
- Set your machine to a normal stitch length (around 2.5 mm).
- Sew from the bottom of the seam up to the bottom zipper mark.
- Backstitch a couple stitches to secure.
- Switch to a long basting stitch (around 4 to 5 mm).
- Sew from the bottom zipper mark up to the top zipper mark.
- Switch back to normal stitch length and finish the seam to the top. Backstitch.
Why baste? Because basting stitches are easy to remove, and they hold the seam perfectly closed while you place the zipper.
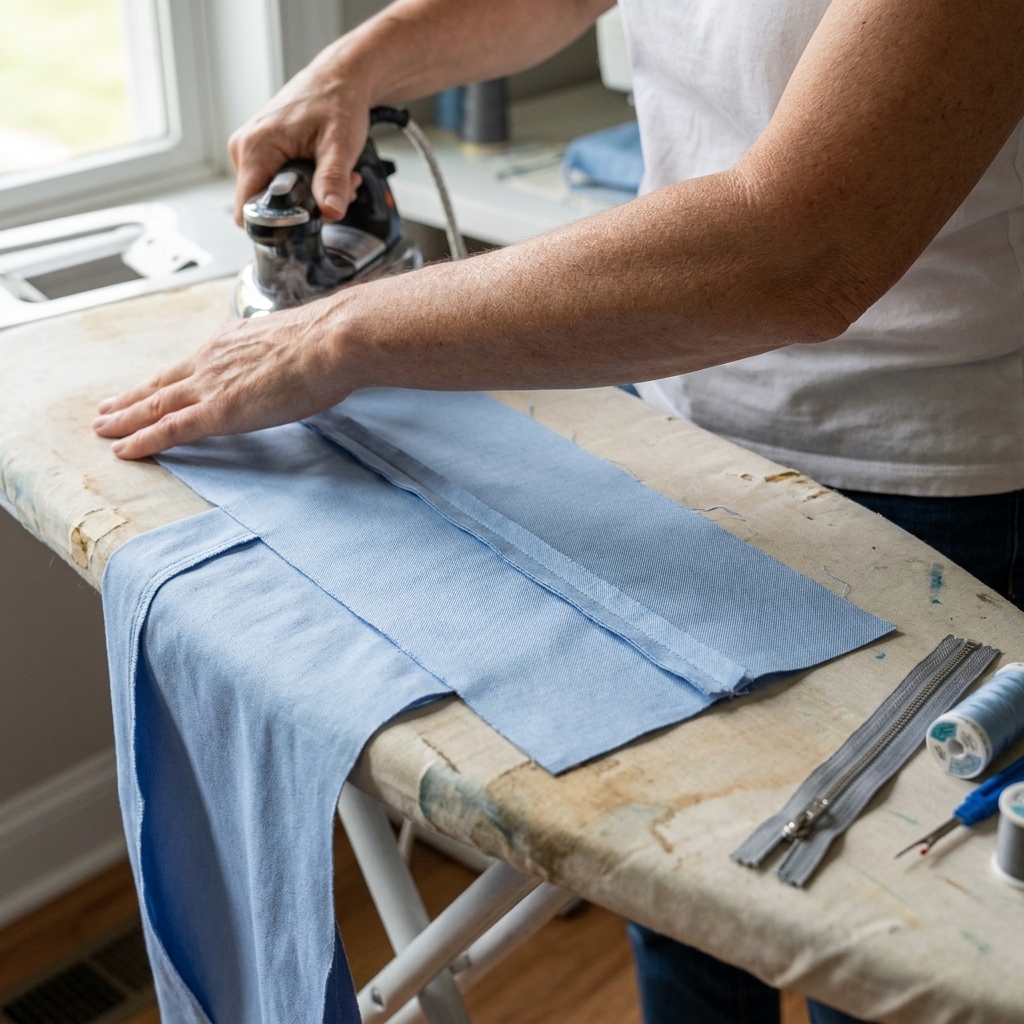
Step 3: Press the seam open
This is where beginners level up fast. Pressing makes your zipper look intentional, not wiggly.
- Press the seam flat first (as sewn) to set the stitches.
- Then open the fabric and press the seam allowances to each side.
If your fabric can handle steam, use it. If not, a dry press works too. Just go slow.
Step 4: Position the zipper
Turn the fabric so the wrong side is facing up. Keep the seam allowances pressed open.
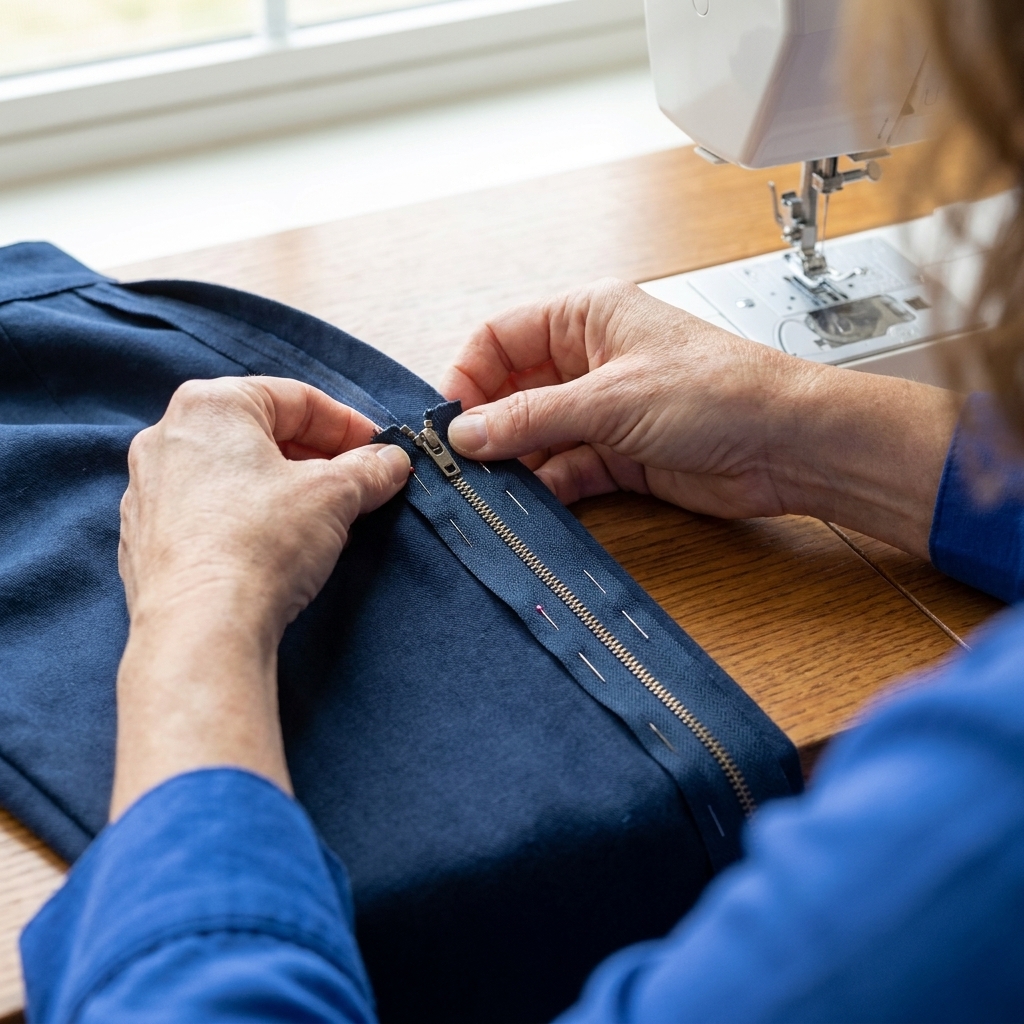
- Lay the zipper face down under the seam so the zipper teeth run directly under the seam line.
- For many pouches, place the zipper top stop about 1/2 inch (1.3 cm) below the raw top edge so you have room to finish the top neatly. For garments, match your pattern’s zipper start point and seam allowance.
- Pin the zipper in place from the wrong side, pinning through seam allowances and zipper tape.
Pinning tip: Place pins perpendicular to the seam line. It makes them easier to remove as you sew.
Step 5: Stitch from the right side
Flip your fabric so the right side is facing up. You should see a clean, basted seam line down the center.
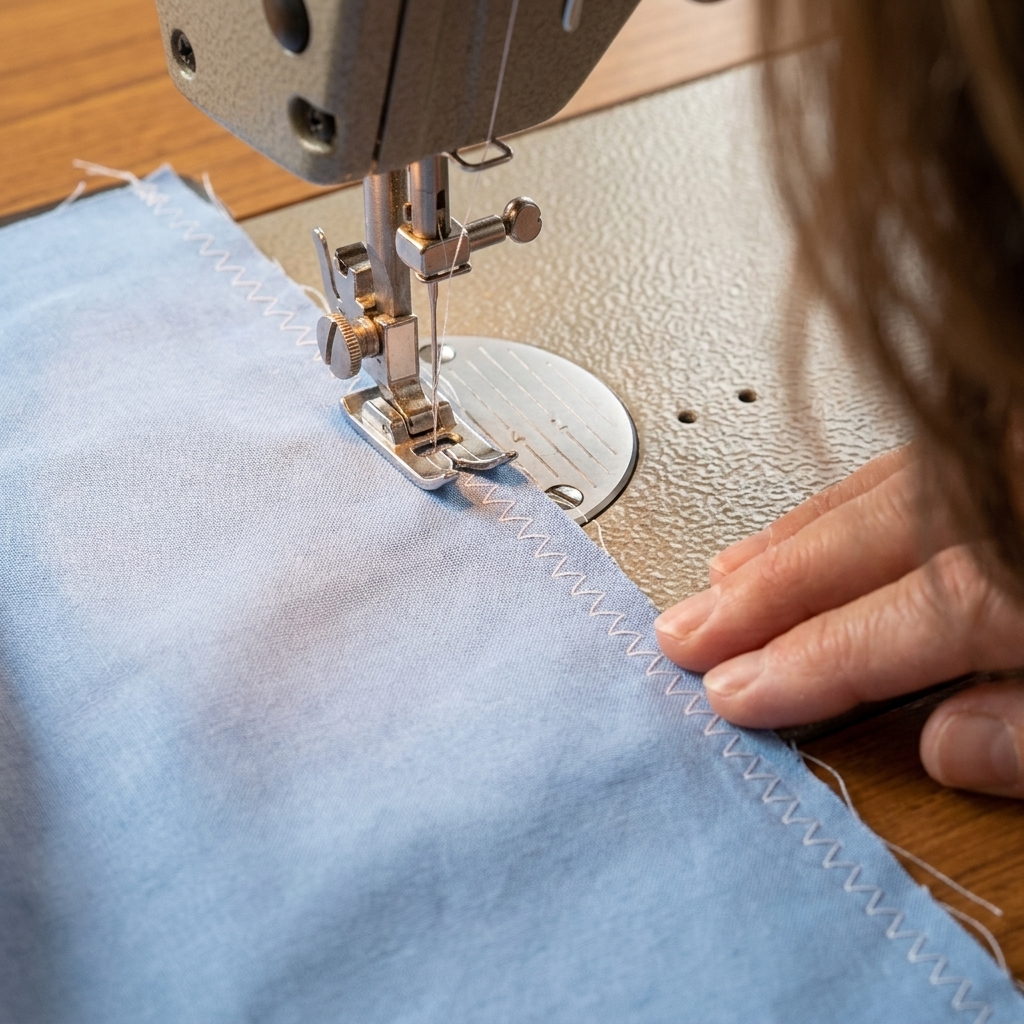
Swap to your zipper foot. Depending on your machine, you may also need to move your needle position left or right so you can stitch close to the zipper without the foot bumping the teeth.
- Starting at the top, stitch down one side of the zipper, using your pattern’s topstitch distance. If you do not have a pattern, about 1/4 inch (6 mm) from the center seam is a common starting point.
- When you get near the zipper pull, stop with the needle down.
- Lift the presser foot and slide the zipper pull past the needle if needed, then keep sewing.
- At the bottom, secure the zipper. For many pouches, you can pivot across the bottom with a few stitches, then sew back up the other side. For garments, follow your pattern here, since some designs stop stitching at a specific point or use a bar tack instead of a crosswise pivot.
- Sew up the other side to the top and backstitch to secure.
Slow is professional. This is one of those times where sewing slowly is not just allowed, it is the whole trick.
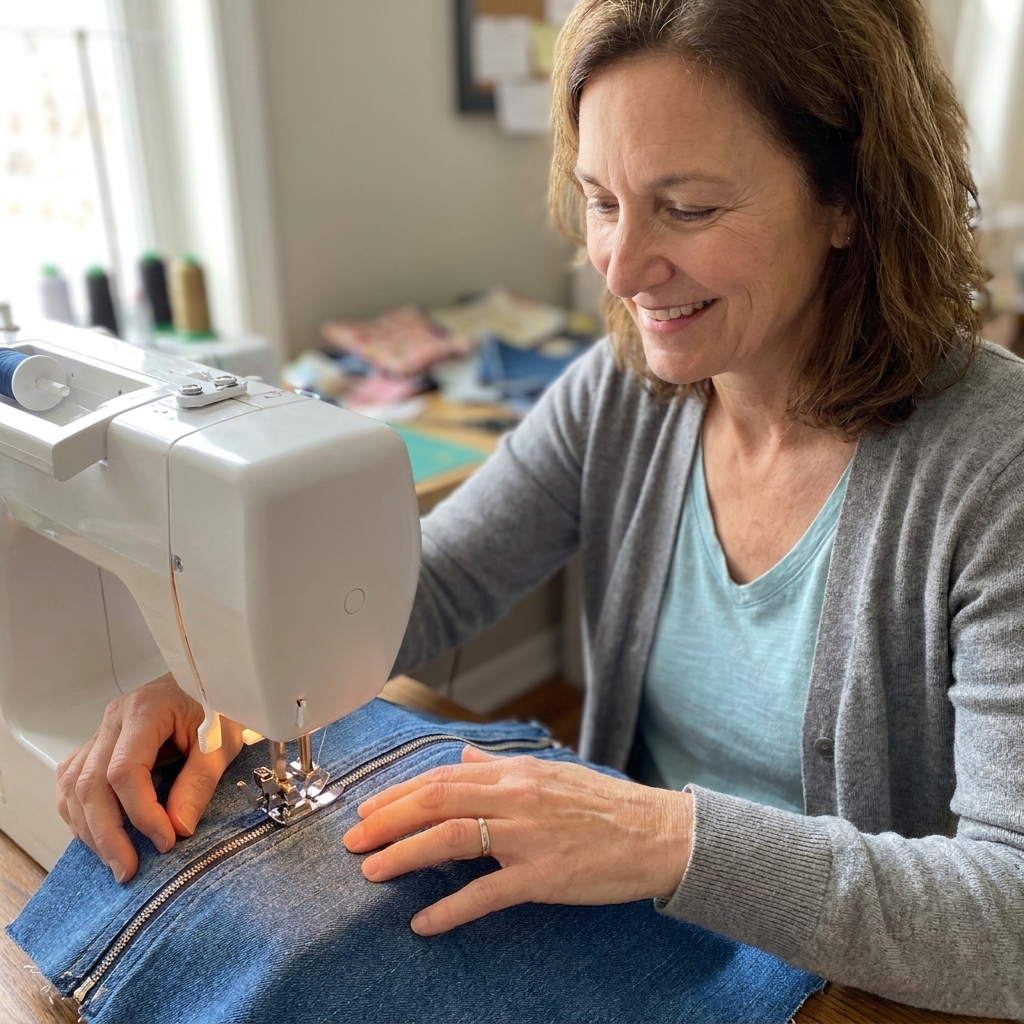
Step 6: Open the basted seam
Now for the satisfying part.
- Turn your project to the right side.
- Use a seam ripper to carefully remove only the long basting stitches over the zipper.
- Go slowly so you do not nick the zipper tape.
Give it one more press from the right side, using gentle heat appropriate for your fabric.
Neat finish options
Add new zipper stops
If your zipper is a bit long for a pouch, you can stitch across the zipper tape where you want it to stop, usually just below the top edge. Use a short stitch length and sew back and forth a few times.
Important: Do not cut too close to your new stitching. Leave at least 1/2 inch (1.3 cm) of tape above it so the stop stays secure.
If your zipper has nylon coil teeth, you can often trim the excess tape and lightly melt the very end of the tape with caution (keep heat away from your fabric), or zigzag the cut end to reduce fraying. If your zipper has metal teeth, do not sew or cut through the teeth. Remove extra teeth above your new stop with pliers, then trim the tape.
Finish seam allowances
For woven fabrics that fray, finish your seam allowances so the inside stays tidy. You can:
- Zigzag the raw edges
- Use pinking shears
- Serge, if you have a serger
Troubleshooting
My zipper looks wavy
- Cause: fabric stretched while sewing, or not pressed well.
- Fix: press the seam open before installing; use pins or wonder tape; sew slowly without pulling the fabric.
- Prevention: for lightweight fabric, fuse a narrow strip of lightweight interfacing along the seam allowance where the zipper will sit.
I cannot stitch past the zipper pull
- Fix: stitch until you are a couple inches away, needle down, presser foot up, zip it past the needle, presser foot down, keep going.
My stitching line is crooked
- Fix: totally normal. Unpick just the crooked section and resew it. You do not have to redo the whole zipper.
- Prevention: draw two guideline lines on the right side with chalk before sewing.
My needle hit the zipper teeth
- Fix: stop immediately, hand turn the wheel to move away, and reposition slightly farther from the teeth.
- Tip: if your needle is bent or makes a ticking sound after, replace it.
Pouch quick notes
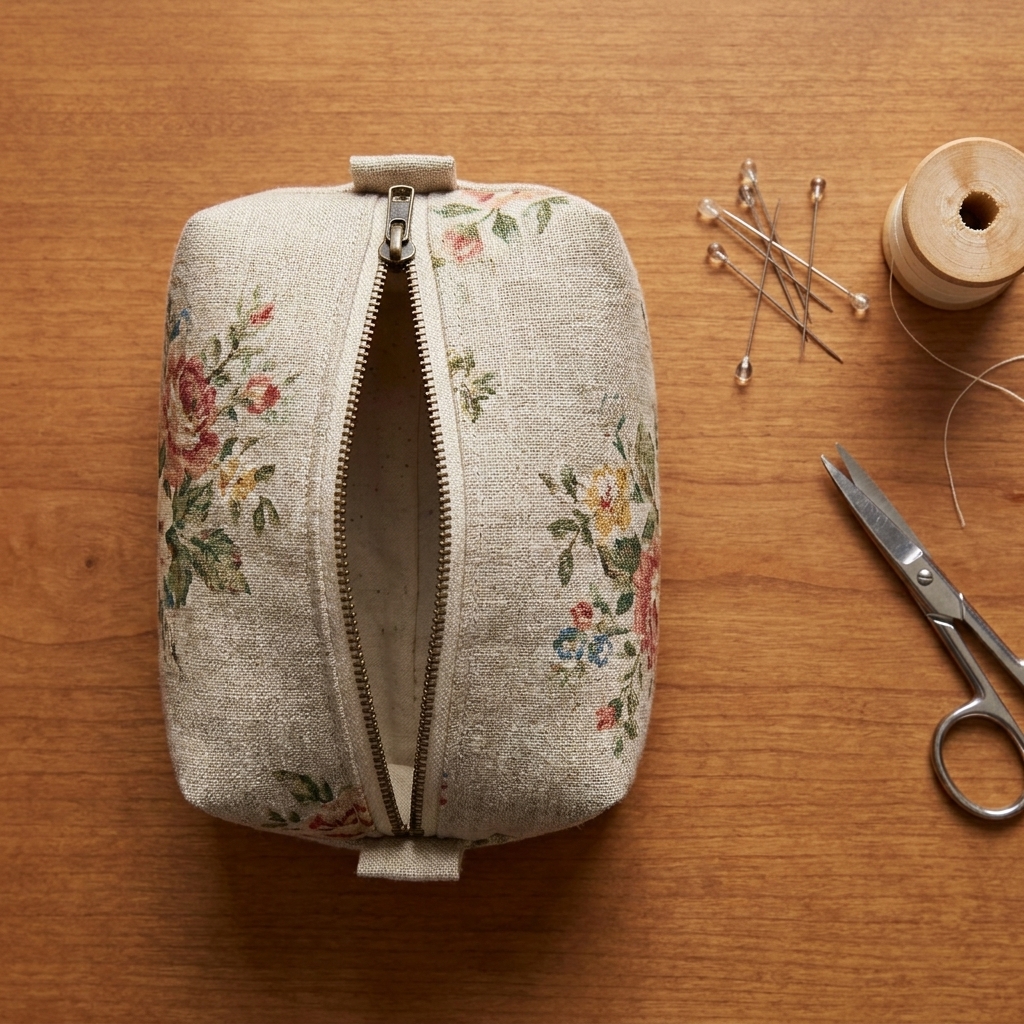
If your first zipper project is a simple pouch, here are two little details that make life easier:
- Install the zipper before you sew the pouch sides. Flat fabric is easier than a tube.
- Open the zipper halfway before sewing around the pouch. Otherwise you cannot turn it right side out. Everyone forgets once. It is a rite of passage.
FAQ
Do I need a zipper foot?
It helps a lot. You can sometimes manage with a narrow regular foot, but a zipper foot makes it easier to stitch close to the teeth without bumping them.
Should I hand baste instead of machine basting?
You can, especially on slippery fabric, but machine basting is faster and works well for most beginner projects. Wonder tape is also a fantastic shortcut.
Can I sew a centered zipper with knit fabric?
You can, but it is trickier because knits stretch. If you are new, start with woven cotton first. If you do use knit, add interfacing to stabilize the seam allowance.
What if my zipper is longer than my opening?
For a pouch, longer is usually fine. You can stitch new zipper stops where you want the zipper to end, then trim the extra tape carefully. For garments, it is best to match the pattern recommendation.
One last pep talk
Your first zipper does not need to look like it came from a factory. It needs to open, close, and sit neatly enough that you feel proud. If you have to unpick a line and redo it, that is not messing up. That is sewing. Even after twelve years, my seam ripper still gets plenty of attention.
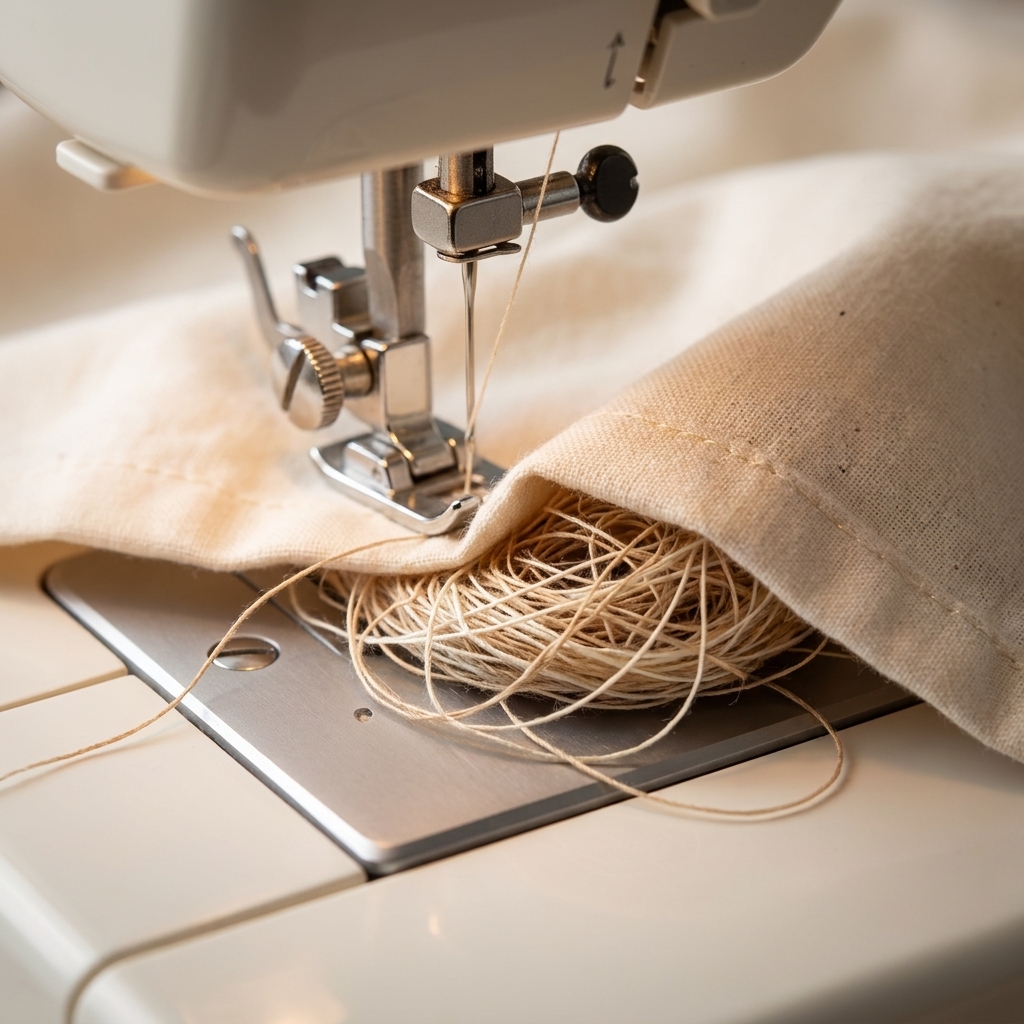
When you are ready for the next step, try the same method on a lined pouch, then graduate to an invisible zipper. You have officially joined the “I can sew a zipper” club, and yes, the membership comes with thread nests.