If you have a growing pile of “too small to toss, too pretty to ignore” fabric scraps, welcome. This is a safe space. Scrap sewing is one of my favorite ways to practice without the pressure of a big garment project, and it is also the fastest route to that lovely feeling of I made something!
Below are 15 quick, functional, beginner-friendly projects that play nicely with small pieces. Many can be finished in about an hour (often less once you get rolling), and several are perfect “first projects” if you are still getting comfortable with your machine.
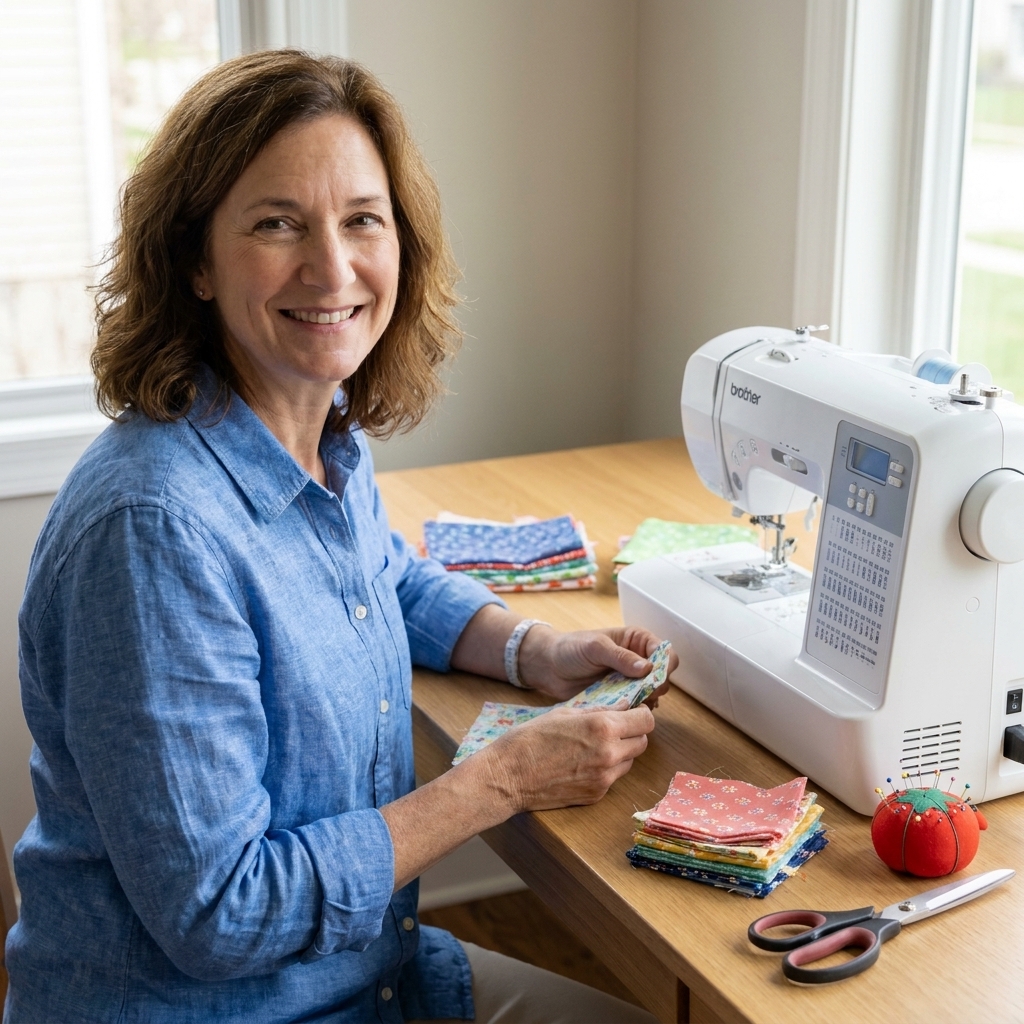
Before you start: scrap sewing made easy
My favorite beginner scrap rules
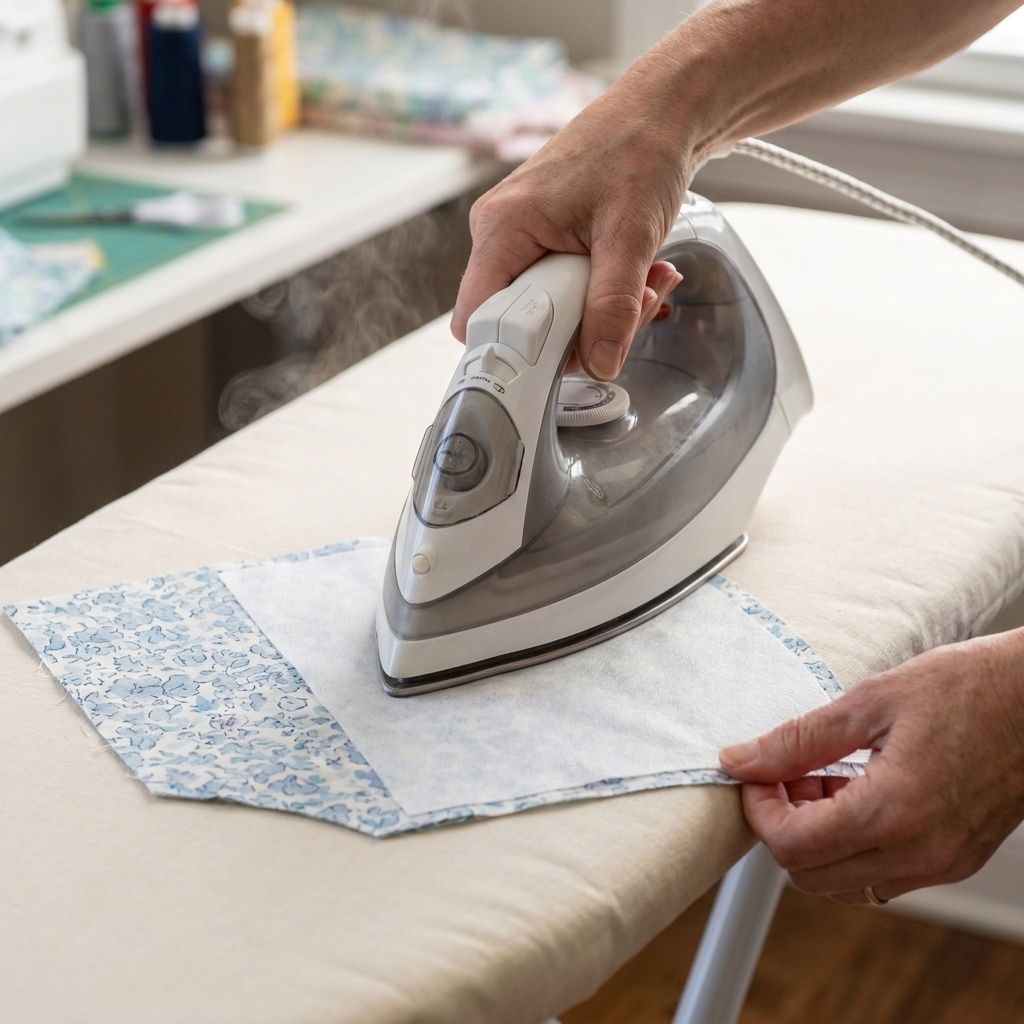
- Press first. Wrinkly scraps sew like grumpy little noodles. A quick press makes everything easier.
- Square up the edges. Trim one straight edge before you measure or cut.
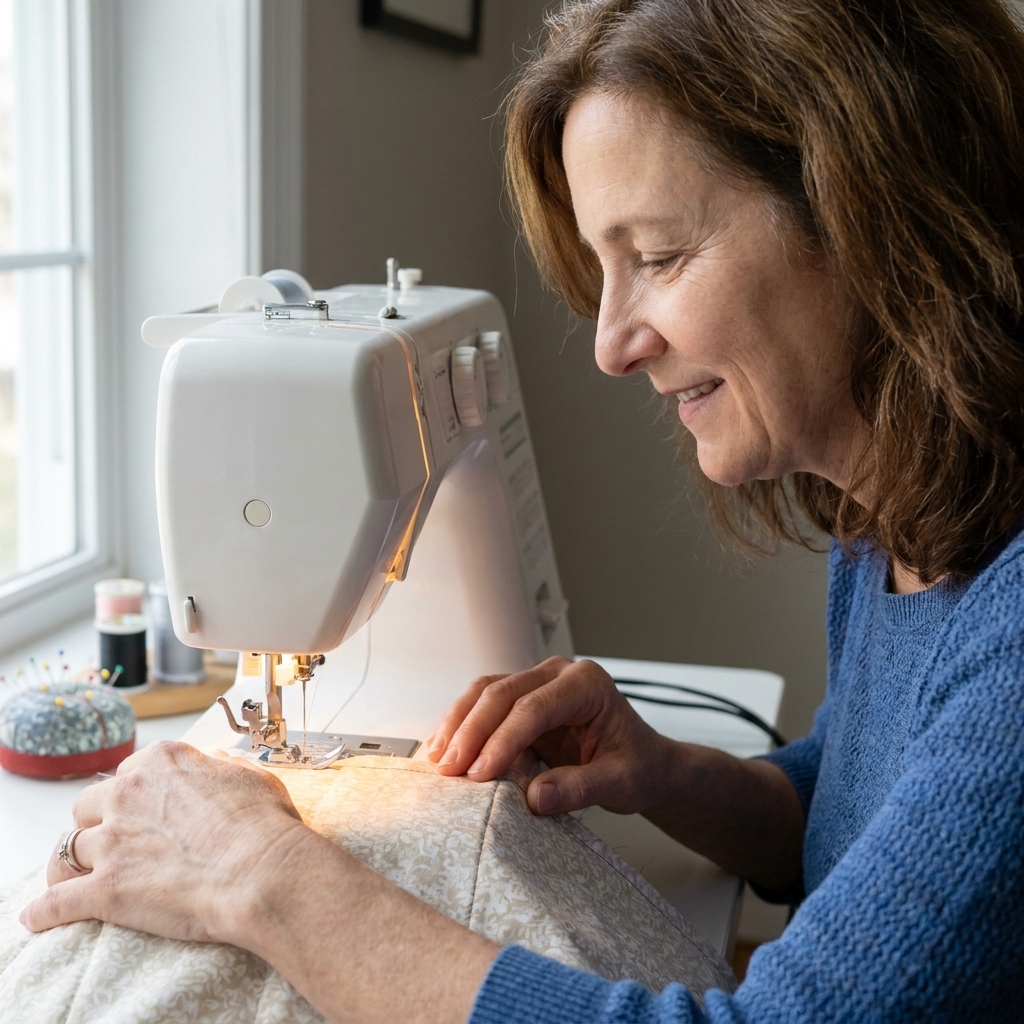
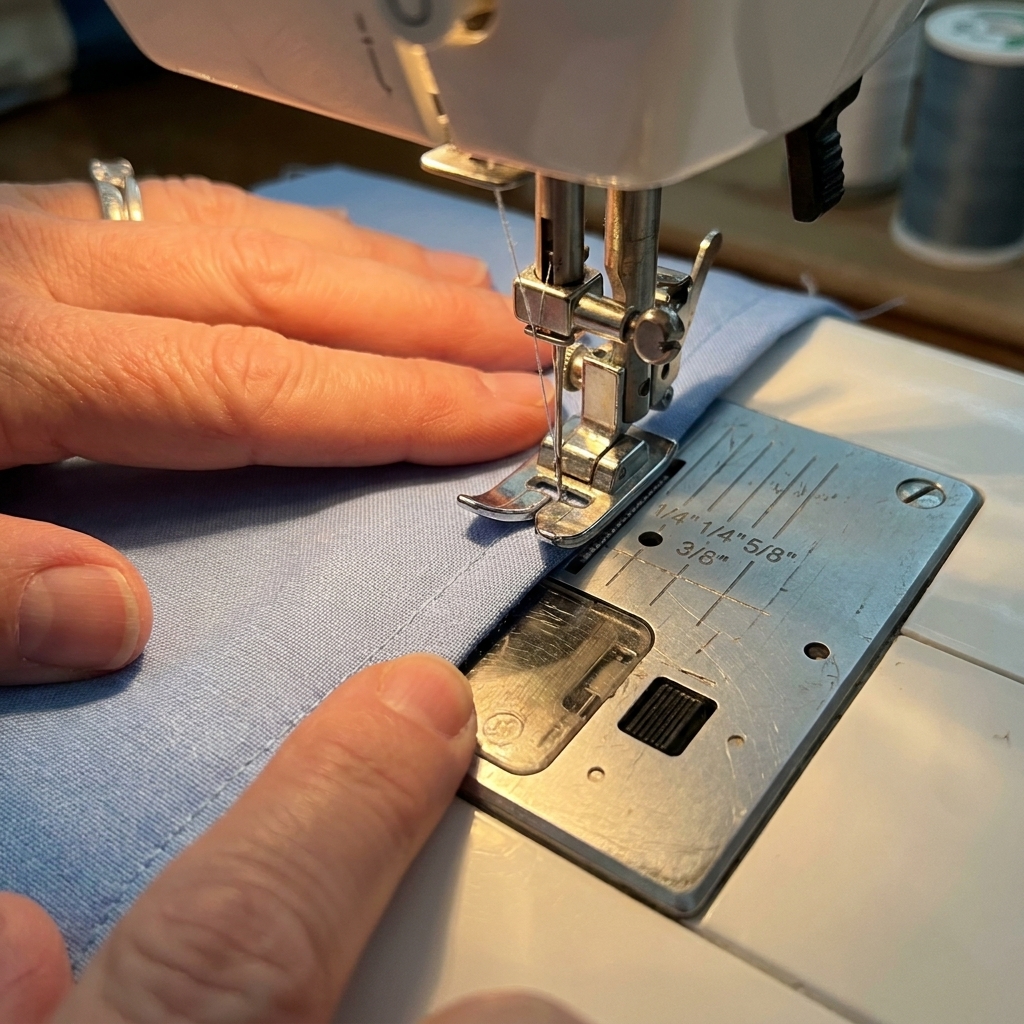
- Use a longer stitch at first. Try 2.8 to 3.0 mm for woven cottons while you are learning. It is easier to seam rip if you need to, and you will. For seams that will take real stress (like straps), you can switch back to a standard stitch length (around 2.2 to 2.5 mm).
- Pick one fabric type per project. Quilting cotton with quilting cotton is beginner bliss. Mixing stretchy knits with wovens is advanced chaos.
- Lightweight interfacing is your secret helper. If a scrap is flimsy, fuse interfacing and suddenly it behaves.
Materials notes
- Seam allowance: If I do not specify, assume a 1/4 in seam allowance for small projects.
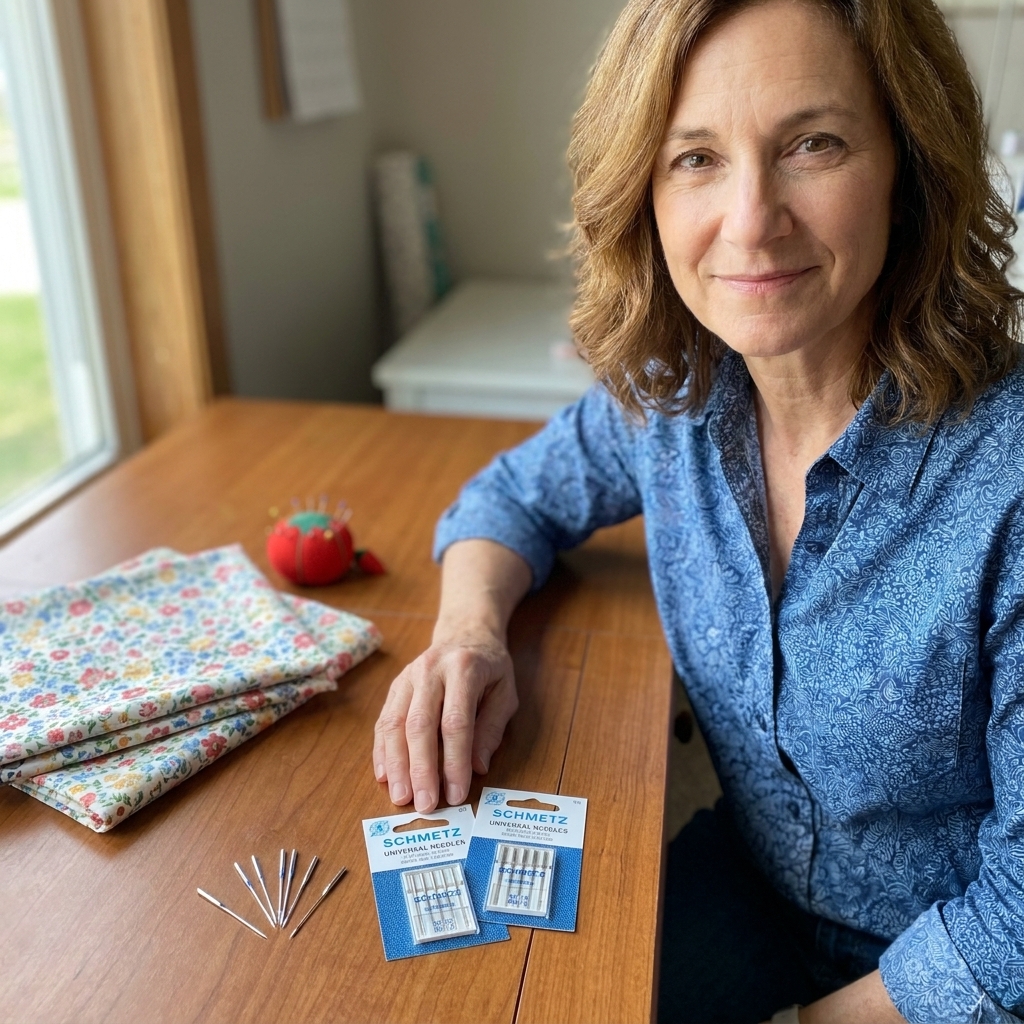
- Needles: Universal 80/12 is a solid default for quilting cotton. Microtex is lovely for crisp wovens. Ballpoint or stretch needles are for knits.
- Pressing basics: Press seams flat first to set the stitches, then press them open or to one side.
- Prewash: If it will be washed (makeup pads, towel toppers, pouches), prewash scraps if you can. Also, dark cottons can bleed, so do not mix them with light fabrics unless you know they are colorfast.
Scrap safety notes
- Microwave projects: Use 100% cotton fabric, 100% cotton thread, and 100% cotton batting labeled microwave-safe. Some “cotton” batting is blended or resin-treated. Also avoid metal trims, labels, or foil-like prints.
- Hot tools: Tiny scraps love to scoot. Use pins or clips, and keep fingers clear of the needle. Slow sewing is still sewing.
Quick tool list
You do not need fancy gadgets. This whole list can be done with a basic machine, scissors or a rotary cutter, pins or clips, an iron, and thread. Optional upgrades: a seam gauge, washable fabric marker, and a walking foot if your machine has one.
15 quick scrap-busting sewing projects
1) Two-scrap coaster (reversible)
Why it is great for beginners: Straight lines, tiny seams, and instant usefulness.
Scrap size: Two squares about 5 in × 5 in (or any size you like).
- Place right sides together, sew around with a 1/4 in seam, leaving a 2 in gap. Backstitch at the start and end of the gap so it does not pop open while you turn.
- Trim corners (and if your fabric is bulky, trim the seam allowance down slightly), turn right side out, press.
- Topstitch close to the edge to close the gap.
Clara tip: If your corners look a little lumpy, poke them out gently with a chopstick or a blunt turning tool. No stabbing your coasters into submission.
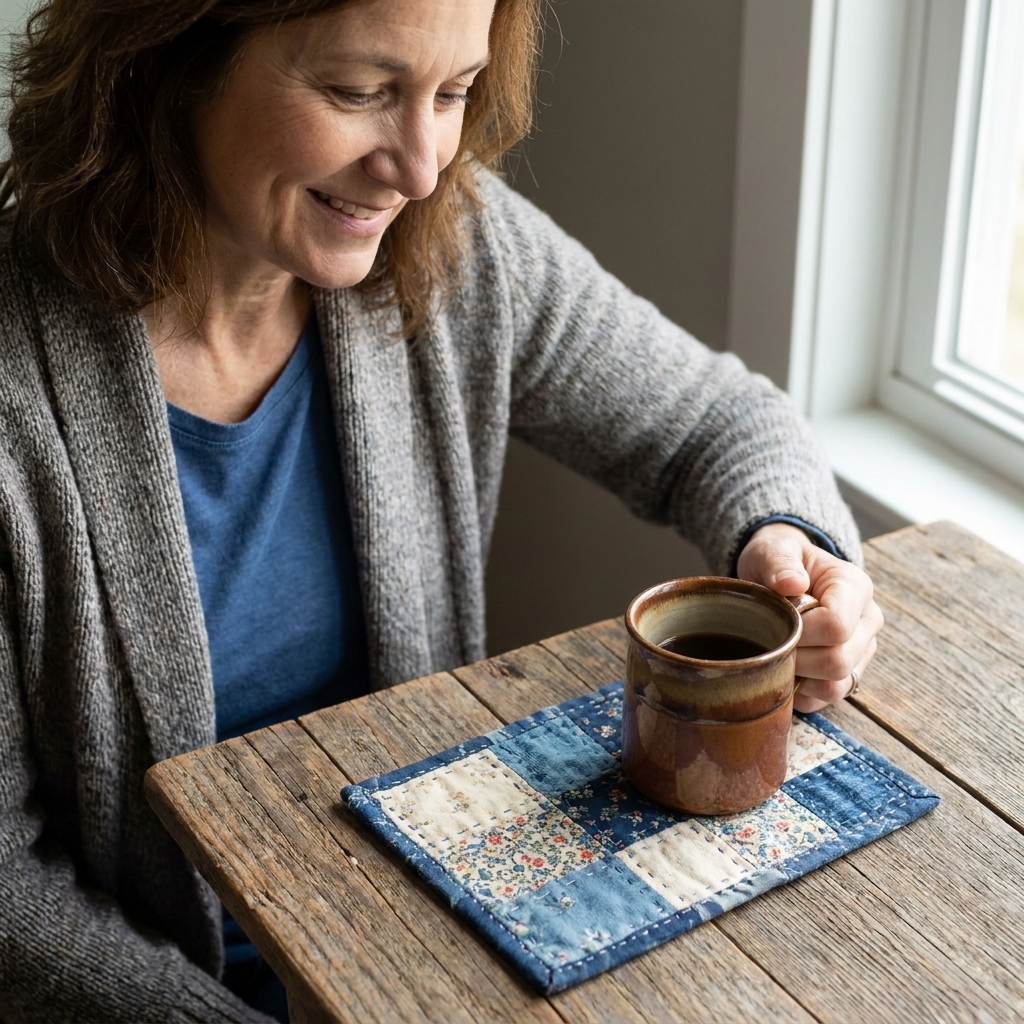
2) Patchwork mug rug
Why it is great: Practice piecing without committing to a quilt.
Scrap size: Several rectangles, plus backing and optional batting.
- Sew scraps into a simple strip set (same-height pieces), then press seams.
- Easy finish option: Put your patchwork top and backing right sides together, stitch around, leave a turning gap, turn, press, topstitch. Add batting if you want by quilting the top to batting first, then treat that as your “top.”
- Quilty finish option: Make a little quilt sandwich (top, batting, backing), quilt a few lines, then bind the edges.
3) Fabric key fob wristlet
Why it is great: Teaches turning, pressing, and topstitching in one tidy loop.
Scrap size: One strip about 3 in × 12 in, plus interfacing.
- Fuse interfacing to the wrong side.
- Fold long edges to center, then fold in half again and press (like bias tape, but not on the bias).
- Topstitch both long edges.
- Loop through a key ring, fold raw ends in, stitch closed with a box or an X-box.
4) Lavender sachet (or drawer freshener)
Why it is great: Tiny pillow skills, low-stakes finishing.
Scrap size: Two rectangles about 4 in × 6 in.
- Sew right sides together, leave a turning gap.
- Turn, press, fill with dried lavender (or cedar chips).
- Ladder stitch the opening closed by hand, or topstitch on the machine.
5) Book or notebook corner bookmark
Why it is great: A quick triangle project that feels like magic when it fits.
Scrap size: Two squares about 5 in × 5 in.
- Sew squares together, turn, press.
- Fold into a triangle and stitch along the open edge to create a pocket.
- Slip onto a book page corner.
6) Simple pin cushion
Why it is great: The classic “I own a sewing machine now” project.
Scrap size: Two squares about 4 in to 5 in.
- Sew around, leave a gap.
- Turn and stuff firmly with fiberfill or scrap threads.
- Hand stitch or topstitch the opening closed.
Clara tip: Stuff it more than you think. A squishy pincushion that caves in will happily eat your pins.
7) Lined coin pouch (open top)
Why it is great: A pouch without zipper stress. Yes please.
Scrap size: Two outer pieces and two lining pieces about 6 in × 8 in.
- Sew outer pieces right sides together, leave a gap in one side seam for turning (about 2 in). Repeat for lining, but leave a larger gap (about 3 in).
- Put outer inside lining right sides together, match top edges, sew around the top edge.
- Turn through the lining gap, press, topstitch the top edge, then close the lining gap.
- Optional closure: Add a snap, sew-on Velcro, or a button and elastic loop near the top edge.
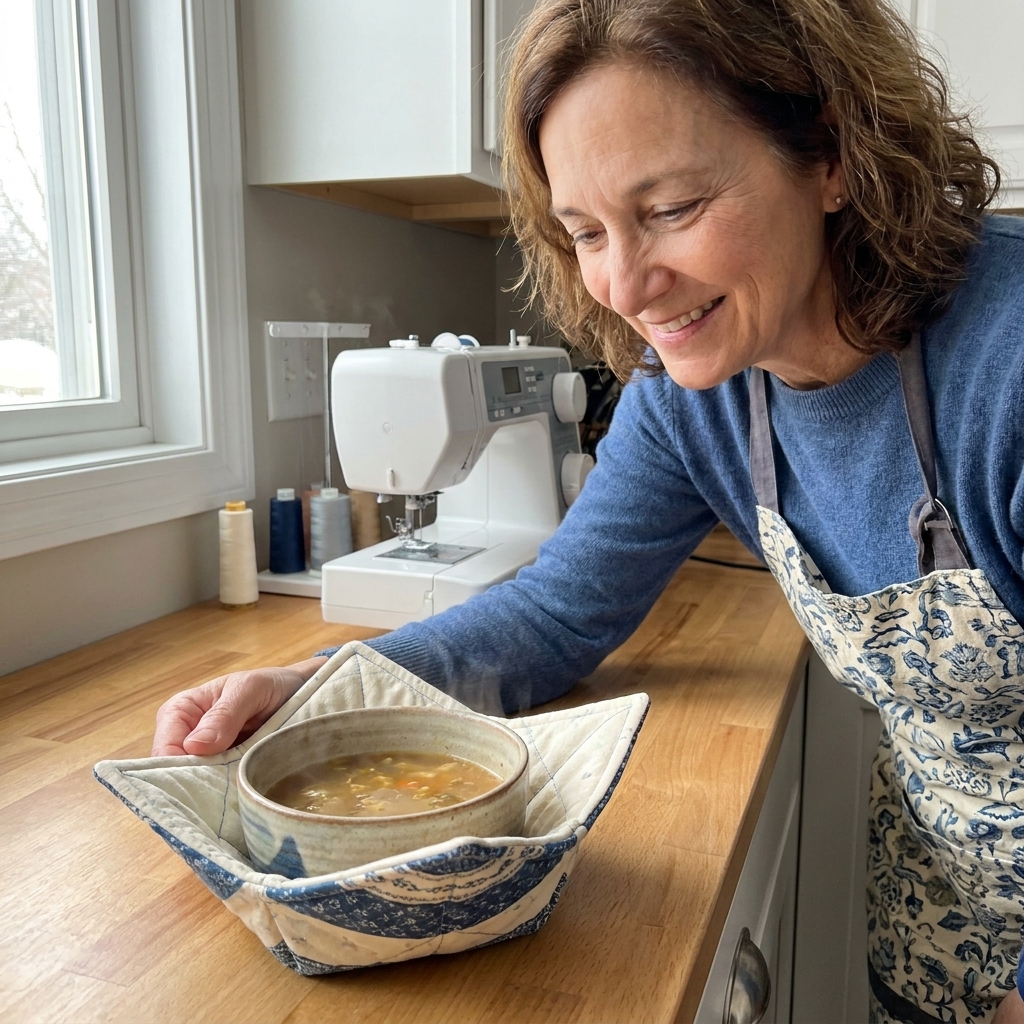
8) Heat-safe bowl cozy (microwave option)
Why it is great: Practical, giftable, and a fun way to practice curved seams.
Scrap size: Two cotton fabric squares about 10 in × 10 in and two 100% cotton batting squares.
- Quilt fabric to batting with a few simple lines (straight lines are perfect).
- Mark darts in the center of each side and stitch them. If you do not have a template, a beginner-friendly dart is about 1 in wide and 2 in long. Repeat on both quilted pieces.
- Put pieces right sides together, sew around, turn, topstitch.
Important: If you plan to microwave it, use 100% cotton fabric, 100% cotton thread, and 100% cotton batting labeled microwave-safe. Skip metallic thread, metal tags, and anything synthetic.
9) Reusable makeup remover pads
Why it is great: Teaches turning small circles and topstitching.
Scrap size: Two circles per pad, about 3 in to 4 in wide.
- Use soft cotton, flannel, or terry scraps if you have them.
- Sew around, leave a small gap, clip curves.
- Turn, press, topstitch.
10) Cable cord wrap
Why it is great: Tiny, satisfying, and a perfect excuse to practice sewing on hook-and-loop tape.
Scrap size: One rectangle about 2.5 in × 7 in plus interfacing.
- Fuse interfacing, then hem or bind the short ends.
- Sew hook-and-loop tape to opposite ends.
- Wrap up chargers and earbuds like an organized person.
11) Scrappy bunting flags
Why it is great: Batch sewing builds speed and confidence.
Scrap size: Triangles about 6 in tall (any size works).
- Cut two triangles per flag (front and back).
- Sew right sides together, turn, press, topstitch.
- Stitch flags onto bias tape or twill tape, spacing them evenly.
12) Hanging kitchen towel topper (button or snap)
Why it is great: Functional and beginner-friendly, especially if towels always slip off your oven handle.
Scrap size: One strip about 5 in × 12 in plus interfacing, and part of a towel.
- Cut a towel in half (you can often get two toppers from one towel, depending on the towel size).
- Gather the cut edge and sandwich it into the strip.
- Fold strip over, stitch, then add a button and buttonhole, or a snap.
13) Fabric gift card envelope
Why it is great: A quick little fold-and-stitch project that looks fancy.
Scrap size: About 6 in × 8 in.
- With the 8 in side as the width, hem one 8 in edge. This will be the top opening of your pocket.
- Fold the two side edges in a little (about 1/4 in to 3/8 in) and stitch them down to keep the sides neat.
- Fold the bottom edge up to form a pocket that fits a gift card (about 3 in to 3.5 in tall), then stitch the sides.
- Fold the remaining top flap down. Add a snap, button, or ribbon tie to close.
14) Mini crumb zipper pouch (wide zipper tabs)
Why it is great: Your first zipper, but with training wheels.
Scrap size: Enough crumbs to make two rectangles about 6 in × 9 in, plus lining.
- Piece crumbs into two flat panels and press seams open.
- Add wide zipper tabs so you are not fighting the zipper pull at the ends.
- Sew zipper between outer and lining pieces, then stitch around the pouch.
Clara tip: If zippers make your palms sweaty, baste first with a long stitch. Then sew again with your normal stitch length. Seam ripper stays nearby for moral support.
15) Scrap-strip headband (woven cotton)
Why it is great: Fast, cute, and a great learning-curves project.
Scrap size: One strip about 4 in × 20 in (adjust for fit), plus optional elastic.
- Sew strip into a tube, turn, press.
- Twist at the front for a knotted look, or keep it flat.
- If using elastic: Leave a small opening at each end. Insert elastic, stitch elastic ends down securely, then close the openings with a neat topstitch.
- If tying: Finish the ends neatly (a small hem works) and tie at the back.

Choosing the right scraps
Best beginner fabrics
- Quilting cotton: Stable, easy to press, and forgiving.
- Cotton flannel: Soft and cozy, great for pads and sachets.
- Canvas or denim scraps: Great for key fobs and cord wraps, just use a denim needle.
Scraps that can be tricky at first
- Very slippery fabrics like satin.
- Stretchy knits without the right needle or practice.
- Bulky layers like multiple seams stacked in tiny projects.
If you really want to use a tricky scrap, pair it with interfacing and go slow. Slow sewing is still sewing.
Beginner finishing tricks
- Press every seam as you go. This is half of professional-looking sewing.
- Topstitch with intention. Stitch close to the edge and keep it consistent.
- Trim corners and clip curves. Less bulk, nicer shape.
- Use a turning tool like a chopstick or blunt point to push corners out gently.
Mini FAQ
How small is too small for sewing scraps?
If a piece cannot be held flat under your presser foot, it is usually too small to sew by itself. But it can still be used in patchwork panels, crumb piecing, stuffing pincushions, or as tiny appliqué accents.
What is the fastest scrap project if I am truly brand new?
Coasters, a sachet, or a pincushion. They are basically straight seams, and you will learn turning and pressing right away.
Do I need a serger for these?
Nope. A regular sewing machine is perfect. If your fabric frays a lot, use a simple zigzag stitch on raw edges, or choose projects with enclosed seams like lined pouches.
How do I organize scraps so I actually use them?
Sort by size, not by color. I like three bins: crumbs (tiny), useful (hand-sized), and big enough for something (fat-quarter-ish). The moment you sort by size, projects suddenly match your pile.
Your next tiny win
Pick one project that solves a real-life problem for you, like a cord wrap for your charger, or a key fob you will actually grab every day. Sew it once, then sew a second one right away. The second one is where your confidence shows up.
And if you sew something inside out, backwards, or with the pocket facing the wrong direction, congratulations. You are officially sewing. Grab the seam ripper, take a sip of tea, and try again one stitch at a time.