A bucket hat is one of my favorite confidence-boosting sewing projects because it looks impressive, but it is really just three shapes sewn carefully: a top, a side band, and a brim. And when you make it reversible, you get two hats in one, plus all the seams are tucked inside so the finish looks tidy even if you are still making friends with your sewing machine.
This tutorial walks you through a beginner-friendly method for a fully lined reversible bucket hat using basic woven fabrics. Go slowly, press as you go, and keep your seam ripper nearby like a loyal little helper.
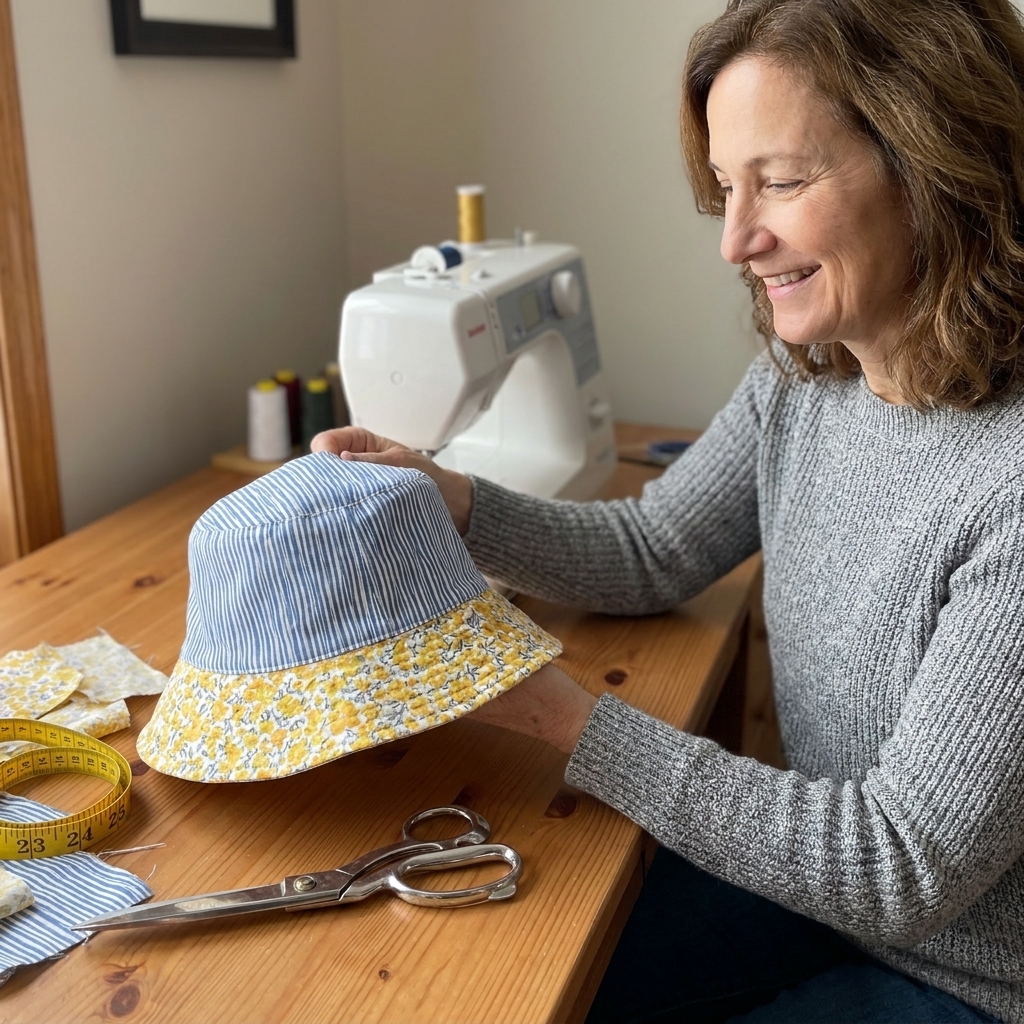
What you will get
- Free printable bucket hat pattern (adult size, with an easy way to adjust)
- Step-by-step instructions for a fully lined reversible finish
- Beginner tips for curved seams, topstitching, and clean edges
Skill level: Confident beginner
Time: About 2 hours (first time may take 1 to 3 hours)
Seam allowance: 3/8 in (1 cm) unless noted
Materials and tools
Fabrics
- Outer fabric: 1/2 yard (0.5 m) woven cotton, canvas, linen, or lightweight denim
- Lining fabric: 1/2 yard (0.5 m) woven cotton or similar weight
- Optional interfacing: Lightweight to medium-weight fusible interfacing for the brim if you want extra structure
Notions
- Matching thread
- Fabric scissors or rotary cutter
- Pins or sewing clips
- Marking tool (chalk or washable pen)
- Iron and ironing board
- Measuring tape
Nice-to-have
- Walking foot (helps if your layers want to scoot)
- Edge stitching foot (makes topstitching feel much easier)
Fabric note: Choose non-stretch woven fabric for your first hat. Knits are stretchy and fussy here. Save those for later when you like a challenge.
Before you start
Wrap a measuring tape around your head where the hat will sit, usually across the forehead and above the ears. Write that number down.
The included printable pattern is drafted for an adult head and fits most people, but heads are wonderfully unique. If your measurement is significantly smaller or larger, scroll down to the Adjust the fit section before cutting.
Free printable pattern
Your bucket hat pattern has three main pieces:
- Crown (top): one circle
- Side band: one long rectangle (may be split into two pieces on paper)
- Brim: one donut-shaped piece (may be split into two halves on paper)
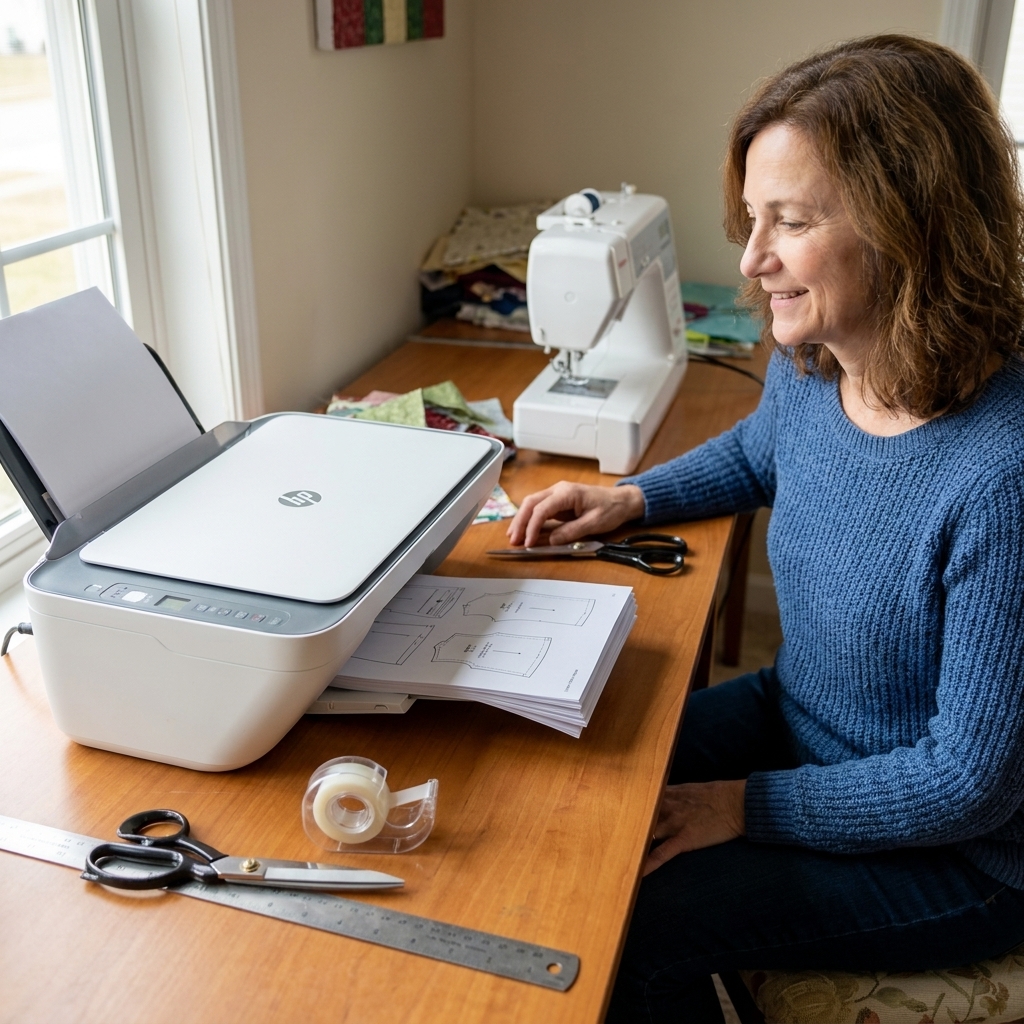
Download the free printable pattern using the pattern button or link on this page. If you do not see it, refresh the page and look near the top of the post.
Printing tips
- Print at 100% / Actual Size.
- If your file includes a test square, measure it before you cut anything.
- Tape pages together carefully and trim where needed so the lines meet cleanly.
Cutting layout tip: If your brim pattern is large, you can fold fabric and cut on the fold to save space. Just keep it smooth and un-wrinkled so the brim stays even.
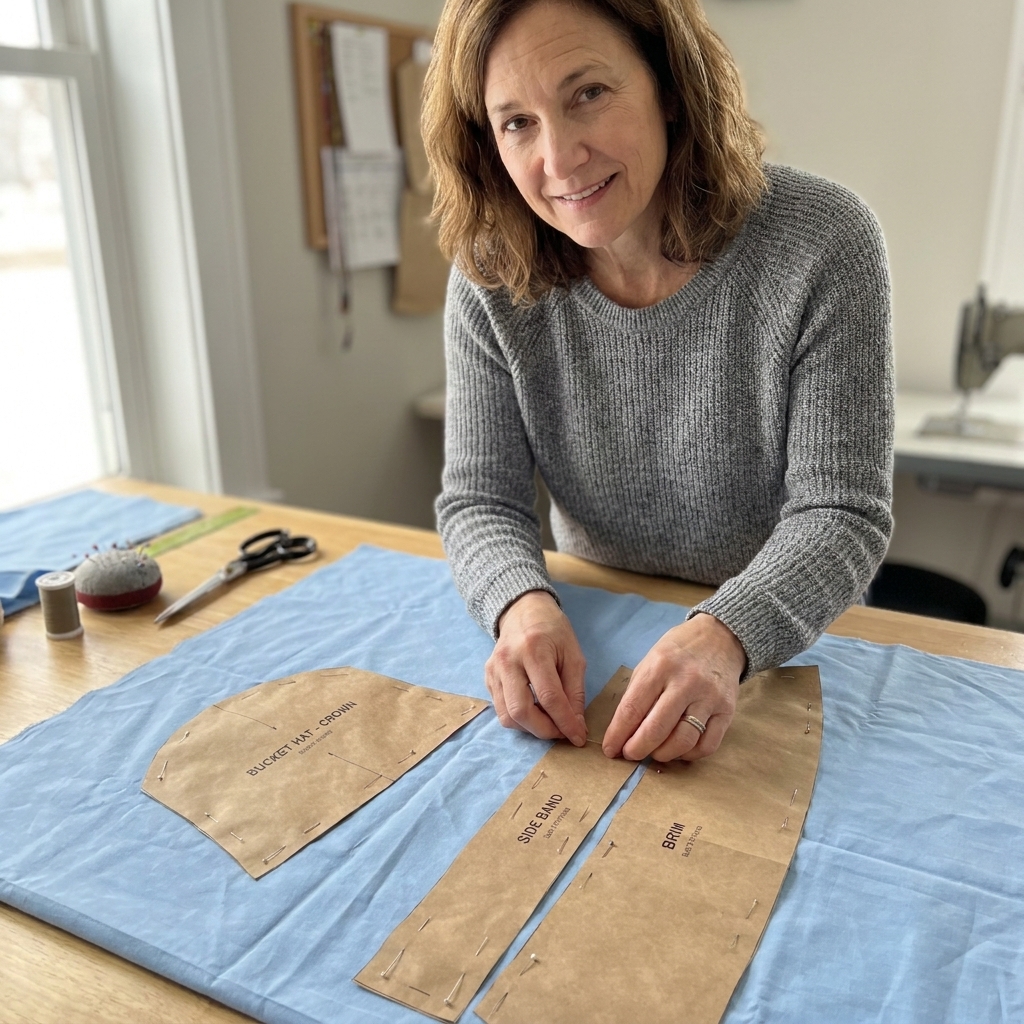
Cutting
Cut the following from outer fabric:
- Crown: cut 1
- Side band: cut 1 (or 2 if the pattern is split)
- Brim: cut 1 (or 2 halves to make 1 brim)
Cut the following from lining fabric:
- Crown: cut 1
- Side band: cut 1 (or 2)
- Brim: cut 1 (or 2 halves to make 1 brim)
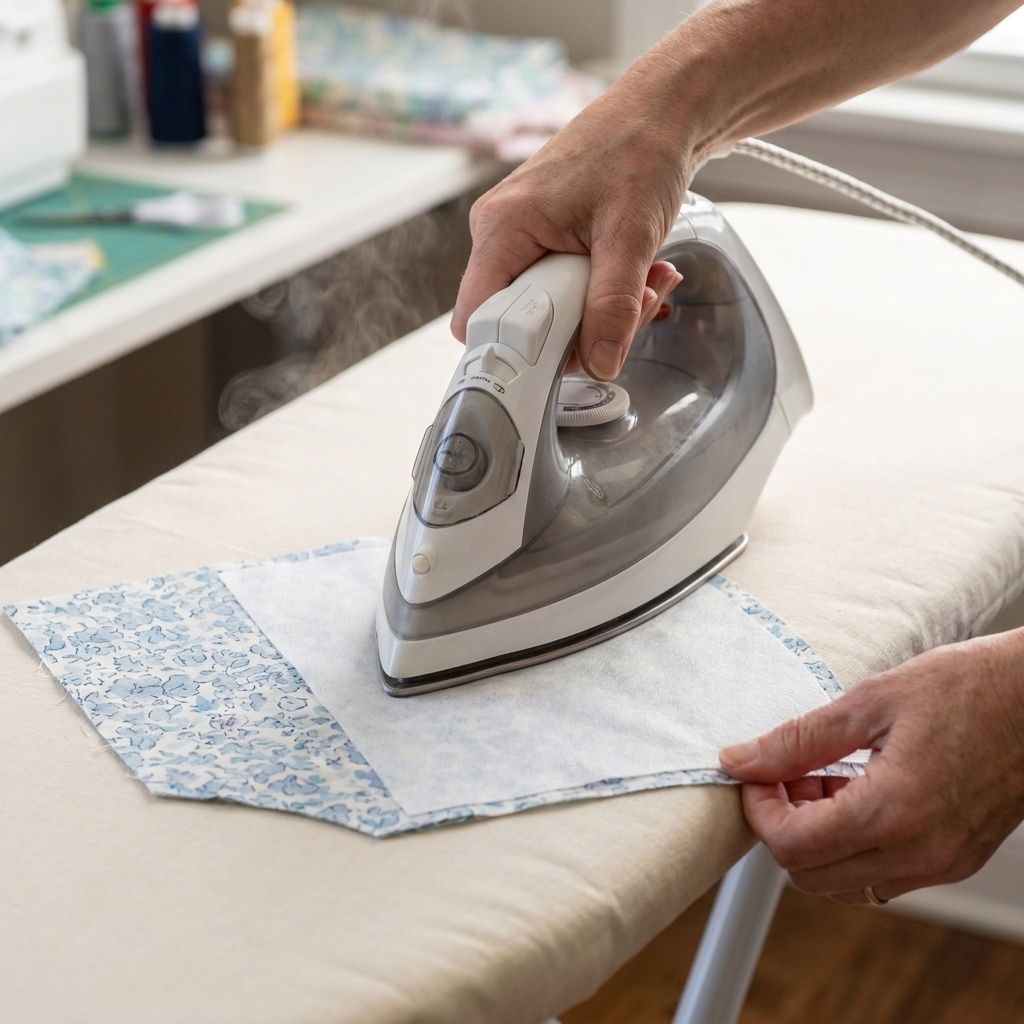
Optional interfacing: Cut 1 brim from fusible interfacing and fuse it to the wrong side of the outer brim. If you want a firmer hat, fuse interfacing to both the outer brim and the lining brim.
Mark your notches
Beginner secret: notches are the difference between a calm sewing session and a slightly sweaty one.
- Mark the quarter points on the crown circle (fold in half, then in half again, and lightly notch or mark).
- Mark quarter points on the top edge of the side band.
- Mark quarter points on the inner circle of the brim.
Sew the hat
1) Sew the side band into a loop
Take the outer side band. Fold it right sides together, match the short ends, and sew. Press the seam open.
Repeat for the lining side band.
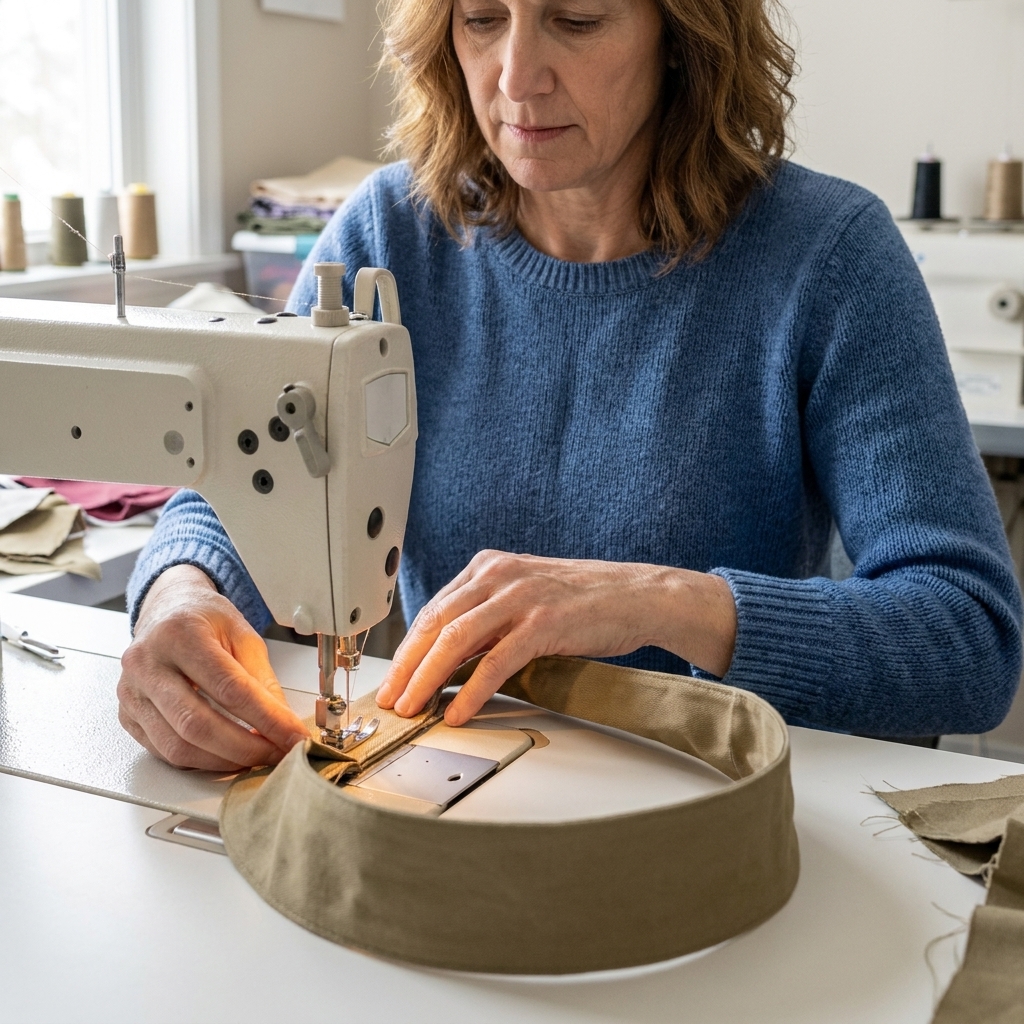
2) Attach the crown to the side band
This is a curved seam, which sounds scary, but you can absolutely do it.
- With the outer pieces: pin the crown circle to the top edge of the side band, right sides together. Match your quarter marks first, then fill in with more pins.
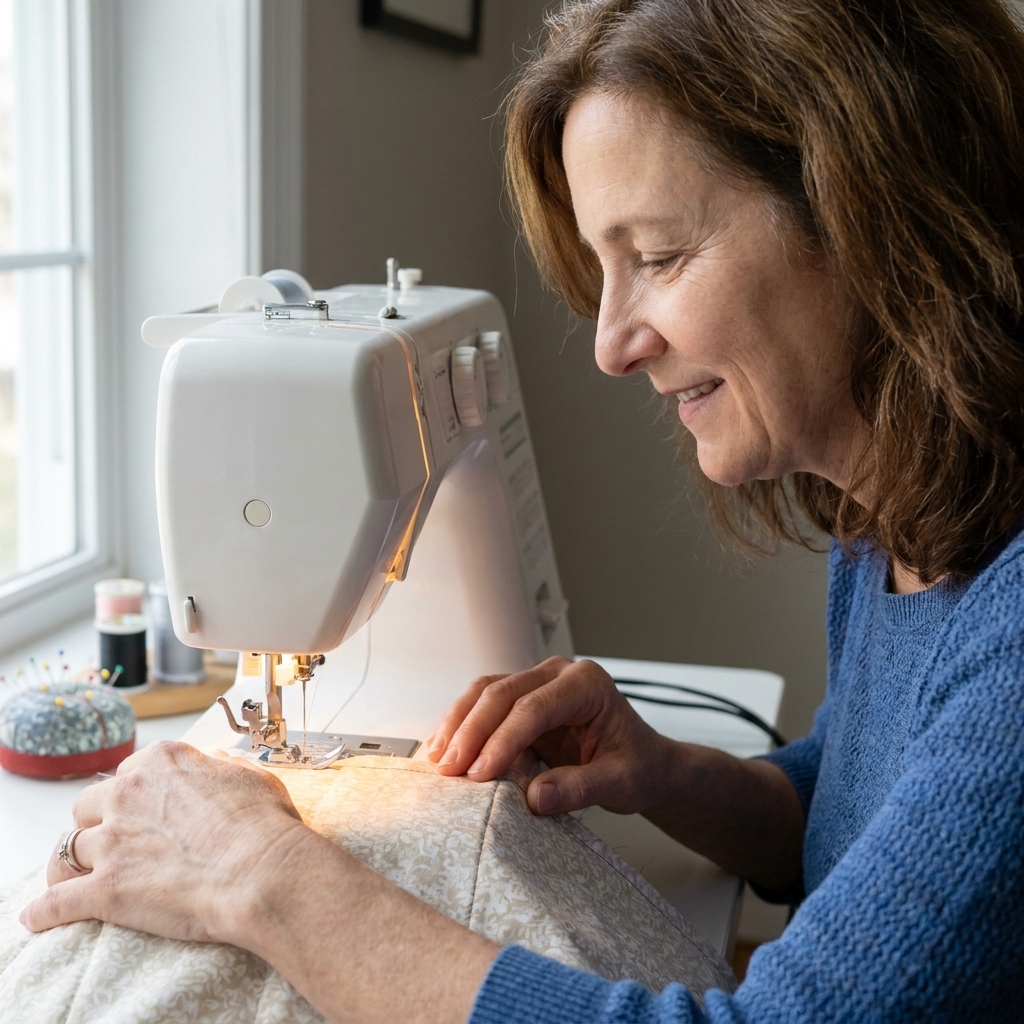
- Sew slowly around the circle. Stop with the needle down every few inches to adjust.
- Clip the seam allowance around the curve (small snips up to, not through, the stitching). This helps it lay flat.
- Press the seam toward the side band.
Repeat for the lining crown and lining side band.
If your fabric puckers: You probably need more pins, slower stitching, or slightly more clipping. Also, a good press fixes a lot of crimes.
3) Prep the brim (single layer for now)
For a reversible hat, the brim is finished by sewing the outer brim to the lining brim at the very end. So at this stage, we keep each brim as a single layer.
- If your brim pattern is split into halves, sew the halves together for the outer brim and press the seams open. Repeat for the lining brim.
- Mark quarter points on the inner circle of both brims (fold gently, finger press, and mark).
- If you are using interfacing, fuse it now and press well so the brim stays smooth and cooperative.
Brim tip: A careful press here makes the rest of the hat feel twice as easy.
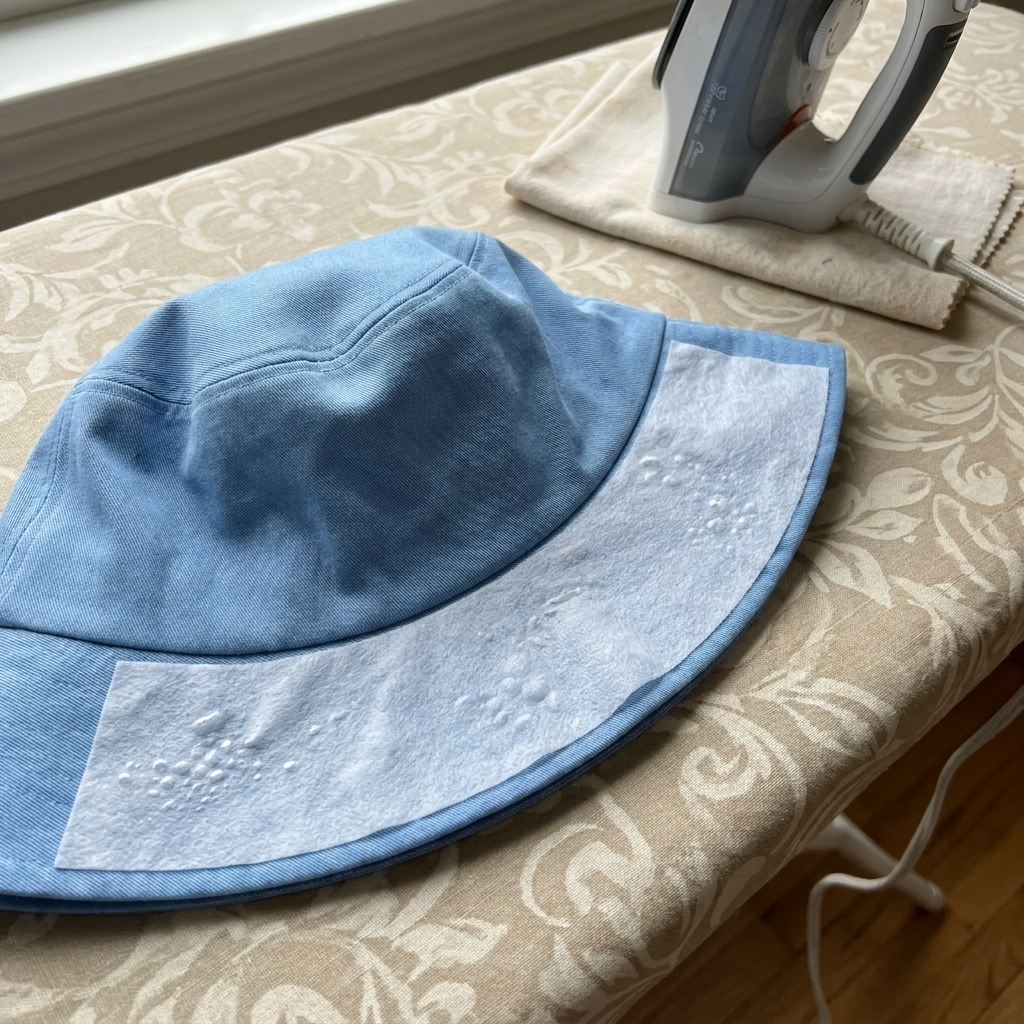
4) Brim stitching (optional)
Traditional bucket hats often have rows of topstitching on the brim.
Easiest timing: Do it after Step 7, once the hat is turned right side out and the brim edge is pressed crisp. If you prefer sewing with fewer layers under the machine, you can also stitch a few rows after Step 5, when each brim is attached to its hat, but before you join outer and lining together.
Beginner-friendly trick: Use painter’s tape on your machine bed as a guide for consistent spacing.
5) Attach the brim to the outer hat and lining hat
Now you will attach each single-layer brim to its matching hat.
- Take the outer hat (crown + side band) and the outer brim. Match the brim inner circle to the bottom edge of the outer side band, right sides together.
- Line up the side band seam with a brim seam for a neat look (if your brim has seams).
- Pin at quarter points, then pin the rest.
- Sew all the way around the inner circle.
- Clip seam allowance around the curve.
- Press the seam toward the brim so the brim wants to roll down and sit nicely. If your fabric is bulky, grading the seam allowance helps, too.
Repeat with the lining hat and the lining brim.
6) Put the two hats together
This is the reversible magic, and it works because the brim outer edge is still raw on both layers.
- Turn the outer hat right side out.
- Keep the lining hat wrong side out.
- Slide the outer hat inside the lining hat so right sides are together and the brim layers line up.
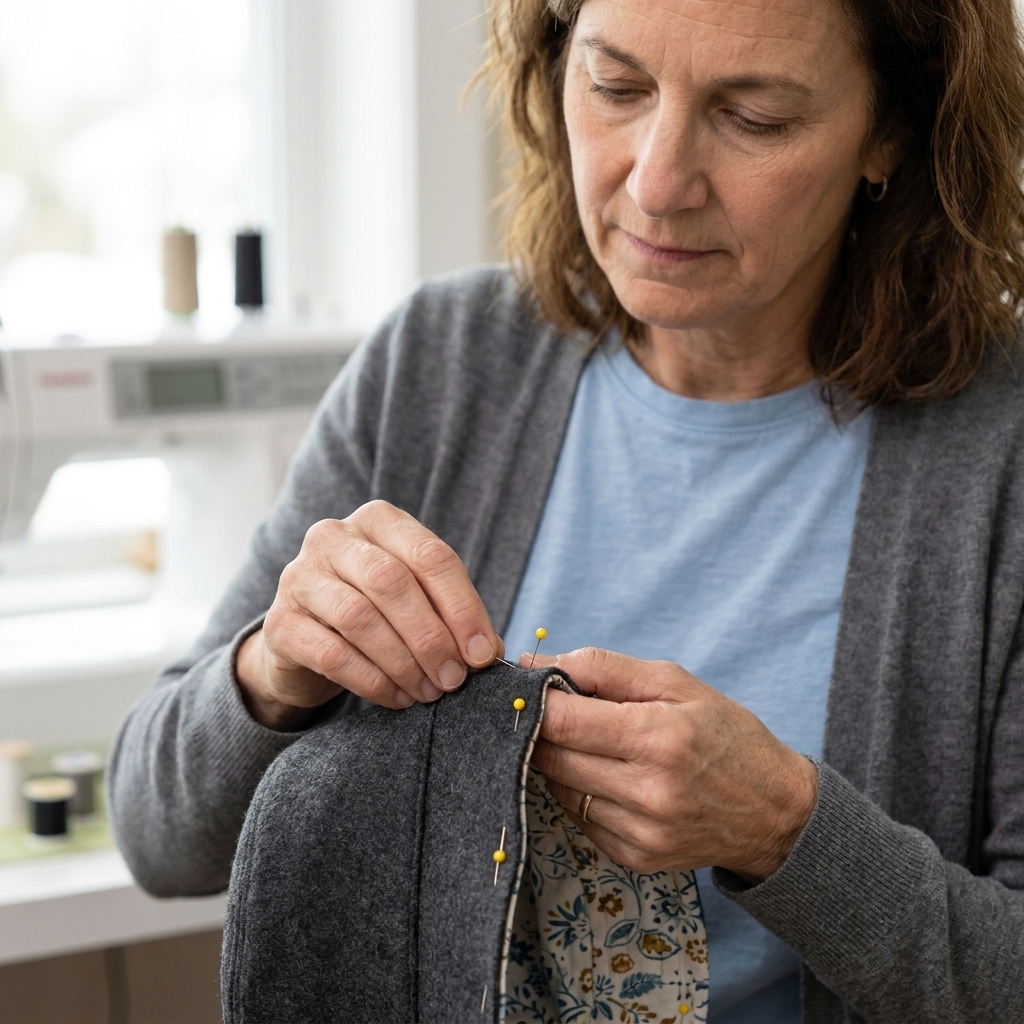
- Match seams (side band seams and any brim seams), then pin all the way around the outer edge of the brim.
- Sew around the brim outer edge, leaving a 4 in (10 cm) opening for turning. Place the opening near the back or close to a seam so it is easy to find later and less likely to show.
7) Turn and finish
- Pull the hat right side out through the opening.
- Push the brim edge out neatly and press the brim seam very well.
- Fold the raw edges at the opening inside and press them into place.
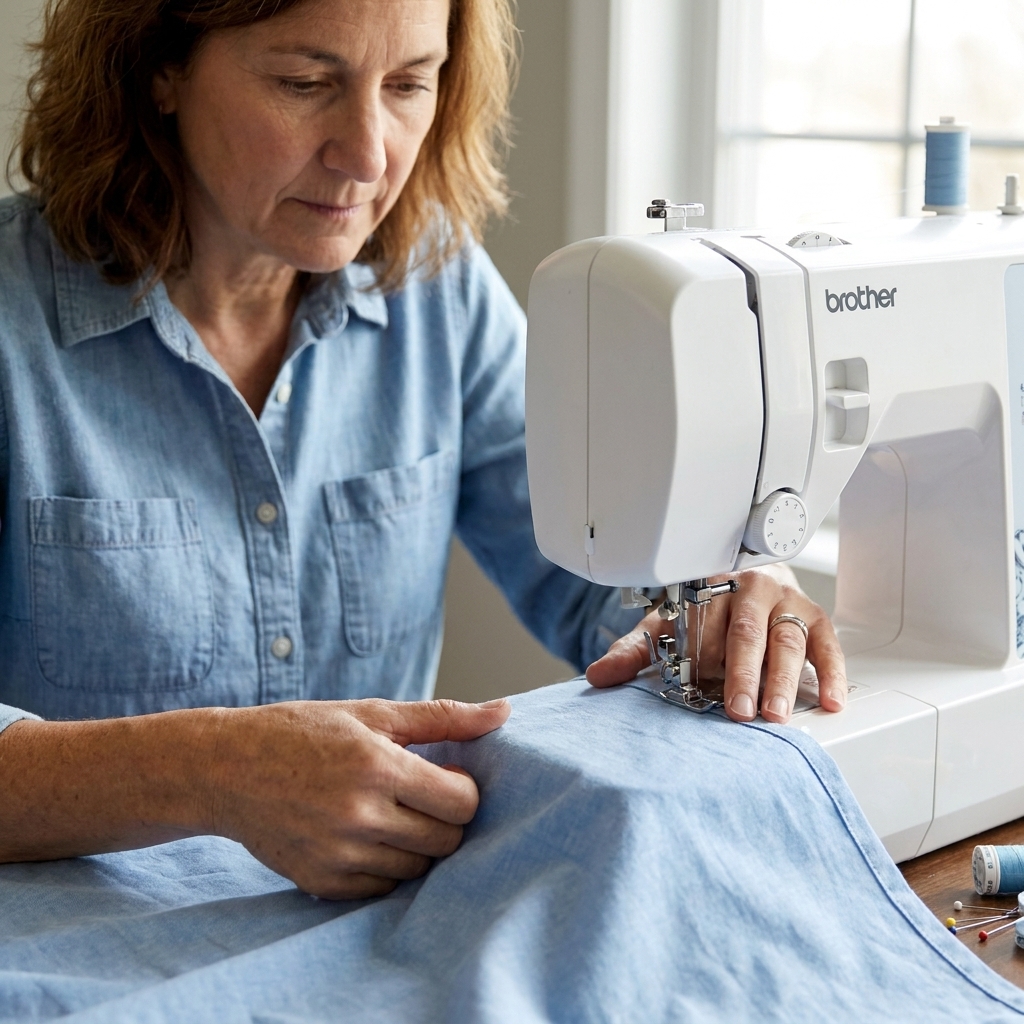
- Topstitch around the brim outer edge about 1/8 in (3 mm) from the seam, closing the opening as you go. Go slowly over seams and keep your stitch length a bit longer for a polished look (around 3.0 mm).
Want that classic bucket hat brim? Keep going and add more rows of stitching around the brim, spaced about 3/8 in to 1/2 in (1 to 1.25 cm) apart. Usually 4 to 8 rows looks great. Stop about 3/8 in (1 cm) before the inner brim seam to keep the seam area less bulky.
Final press: Flip it to both sides and press again. You just made a reversible hat. That deserves a crisp finish.
Adjust the fit
The fit of a bucket hat comes from the side band length. If you need to size up or down, you usually only need to adjust that piece.
Quick method
- Measure your head where the hat will sit.
- Add 1/2 in (1.25 cm) for a little ease so it is comfy.
- That number is your finished circumference at the seam line (the circle that will sit around your head).
Simple formula (with 3/8 in seam allowance):
Cut side band length = (head measurement + 1/2 in ease) + 3/4 in seam allowance
That extra 3/4 in accounts for the two short ends you sew together (3/8 in + 3/8 in).
To change the band: Add or subtract length evenly at the side band ends, then re-sew it into a loop. Keep the crown and brim as-is for small changes (about 1/2 in to 1 in total circumference change).
If you need a bigger change: Increase or decrease the crown circle and the brim inner circle by the same amount so everything still matches. If that sentence made your brain squeak, start with the side band adjustment first. Most of the time it is enough.
Fabric choices
Beginner-friendly picks
- Quilting cotton (easy to sew, easy to press)
- Cotton canvas (sturdier and holds shape nicely)
- Linen or linen blends (press often, but looks lovely)
- Lightweight denim or chambray
Extra structure options
- Fusible interfacing on the brim
- Stiffer fabric for the outer layer and softer cotton for the lining
Skip for your first hat: slippery rayon, very thick upholstery fabric, or anything stretchy.
Troubleshooting
My brim looks wavy
- Press more firmly and use steam if your fabric allows.
- Make sure you clipped the curved seams at the brim inner circle.
- Check that you did not stretch the brim edge while sewing. Let the feed dogs do the work.
I have puckers where the crown meets the side band
- Add more pins and sew slower.
- Match quarter points first, always.
- Clip the seam allowance after sewing so it can relax.
The hat is too tight
- Let out the side band seam slightly if you have seam allowance to spare.
- Next time, add a bit more ease to your side band length.
The hat is too loose
- Take in the side band seam by a small amount.
- Or add a hidden strip of elastic inside the seam where the brim meets the side band. It is a handy little fix.
Optional upgrades
- Chin strap: Add twill tape or cording caught into the brim seam at the side seams.
- Vent eyelets: Add small metal eyelets to the side band before assembling (practice on scraps first).
- Patch pocket inside: A tiny lining pocket is cute and useful for a key or lip balm.
Care
Most woven cotton bucket hats can be machine washed cold and air dried. If you used fusible interfacing, skip high heat, and consider testing a fabric and interfacing scrap first to make sure it does not bubble or loosen after washing. A quick press brings it back to crisp.
Beginner FAQ
Do I need a serger?
Nope. This method is fully lined, so the raw edges are hidden inside. Your regular sewing machine is perfect.
What stitch length should I use?
A normal straight stitch length (around 2.5 mm) is great for seams. For topstitching, a slightly longer stitch (around 3.0 mm) looks polished.
Can I make this in kids sizes?
Yes. Use the same construction steps and adjust the side band length to the child’s head measurement plus a little ease. For a much smaller size, you will also want to reduce the crown circle and brim inner circle to match.
Why do we clip curves?
Because fabric is flat and curves are not. Clipping lets the seam allowance spread so your hat can turn and lie smoothly instead of fighting you.
One last pep talk
If this is your first time sewing a hat, expect a few moments where the fabric feels like it has opinions. That is normal. Pin more than you think you need, press at every step, and remember that unpicking a seam is not failure. It is just sewing with a second chance.
When you finish, flip it to the other side and take a victory lap around your living room. Two hats in one is always worth celebrating.