Sharp corners and smooth curves look like “advanced sewing,” but they are really just a handful of small habits done in the right order. If you have ever turned a corner and ended up with a weird little bump, or tried to sew a curve that turned into a wavy mess, you are in the right place. We are going to tackle two skills that show up everywhere in beginner projects: pivoting for crisp corners and clipping and notching for curves that lie flat.
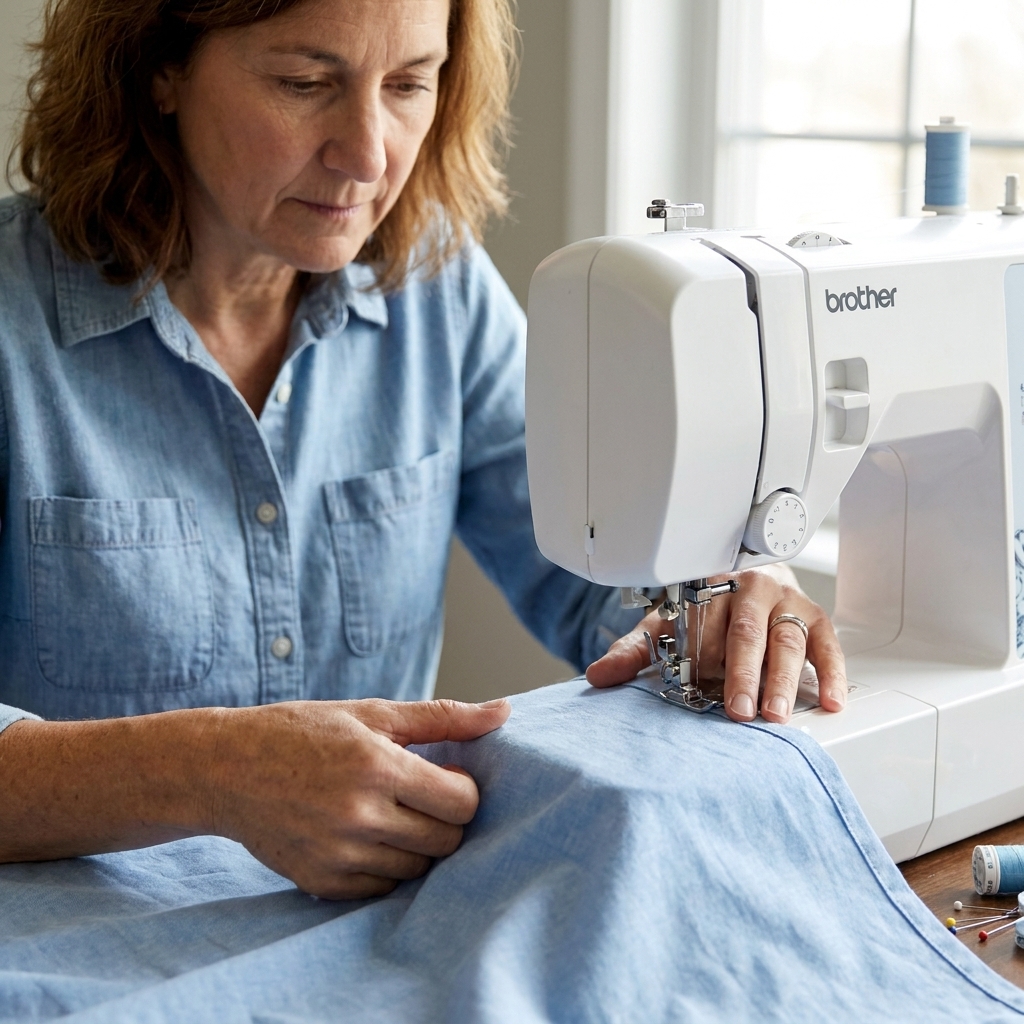
Grab your seam ripper, take a breath, and remember: messy corners are not a personality flaw. They are just a step you have not practiced yet.
Why corners and curves look off
Most corner and curve problems come from one of these:
- The fabric shifted while you turned or stitched.
- The seam allowance could not relax after turning, so it buckled or pulled.
- You stitched too fast to steer accurately.
- You turned before securing the exact corner point, so your corner is rounded.
The good news is that each one has a simple fix. Let’s start with corners.
Sharp corners with pivoting
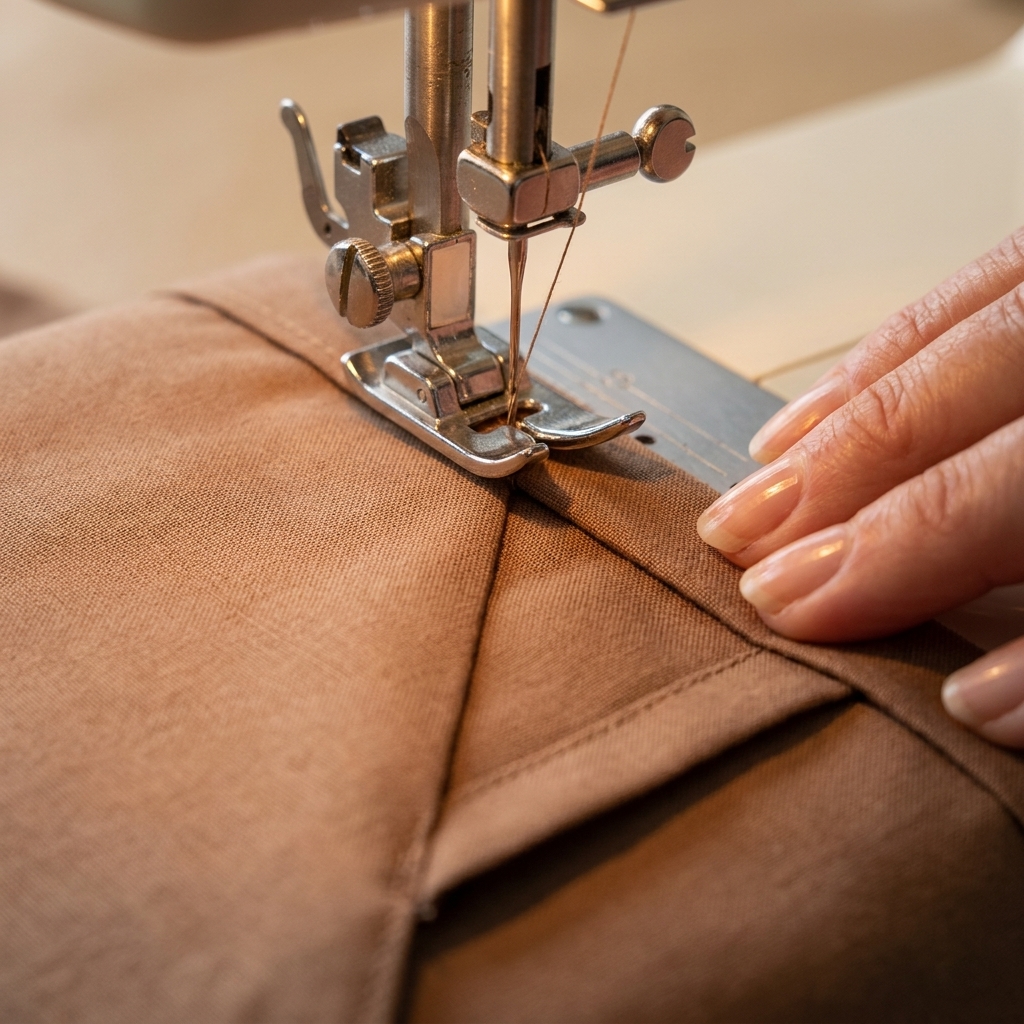
Pivoting sounds fancy, but it means one thing: stop with the needle down, lift the presser foot, rotate the fabric, then keep sewing. The needle acts like a little anchor so your corner lands exactly where it should.
When to pivot
Pivot any time your seam needs to change direction, like:
- Square potholders and placemats
- Tote bag bottoms
- Pillow covers
- Necklines with a V shape
- Patch pockets
Step by step: a clean pivot
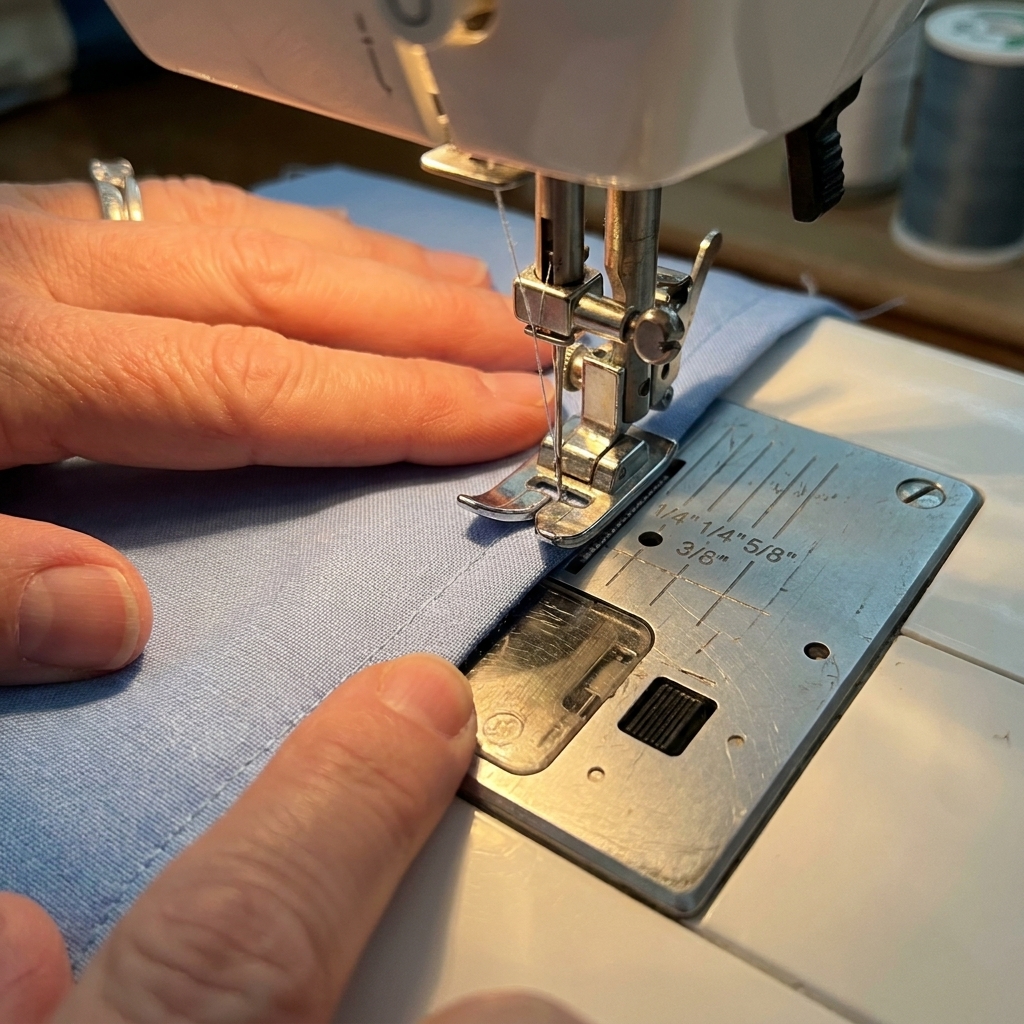
- Mark or mentally note your seam allowance. If your pattern says 5/8 inch, keep an eye on that guide line on your machine.
- Sew toward the corner slowly. In the last inch, reduce your speed. Accuracy beats speed every time.
- Stop with the needle down at the turning point. This is where the two seam lines should meet, meaning your needle stops the seam allowance distance from both raw edges. Take one stitch at a time if needed.
- Keep the needle down and lift the presser foot. The fabric can now rotate without shifting your stitching line.
- Rotate the fabric to line up the next seam. Use the seam guide on your machine to get the new direction straight.
- Lower the presser foot and continue sewing. Start with two or three slow stitches while keeping your hands lightly on the fabric, so nothing scoots.
Make the corner crisp after turning
Pivoting gives you a neat stitched corner, but the turned corner depends on what you do next.
1) Trim the seam allowance
If you are sewing something that will be turned right side out, the fabric inside that corner can get bulky. Trimming helps it flip into a point instead of a blob.
- Trim the corner diagonally across the point, leaving a scant 1/8 inch to 3/16 inch from the stitching. Do not cut into the stitches.
- If your fabric is thick (canvas, fleece, quilted layers), grade the seam by trimming one seam allowance layer shorter than the other. Less bulk, smoother corner.
2) Turn and push the point gently
Turn your item right side out, then use a point turner, a chopstick, or the blunt end of a knitting needle to nudge the corner out. If you stab too hard you can poke through the stitching, so think “coax,” not “jab.”
3) Press for polish
Pressing is what makes a homemade corner look finished. Use steam if your fabric likes it, and press from both sides when possible.
Common corner issues
- My corner looks rounded. You probably pivoted with the needle up, or you stopped short of the true turning point. Try stopping one stitch at a time as you approach the turn.
- I got a little pucker at the corner. You might have stitched past the turning point then pivoted. Unpick just the last few stitches and resew, pivoting right at the corner.
- The point will not turn out sharp. Trim a little closer (without cutting stitches), and reduce bulk with grading. Loosely woven or thick fabric often needs a bit more margin than a crisp cotton.
Smooth curves that lie flat
Curves are less about muscle and more about preparation. Two things matter most:
- Control while stitching (slow speed, steady hands, and gentle guiding)
- Clipping or notching after stitching so the seam allowance can spread or overlap when turned
Stitch curves slowly
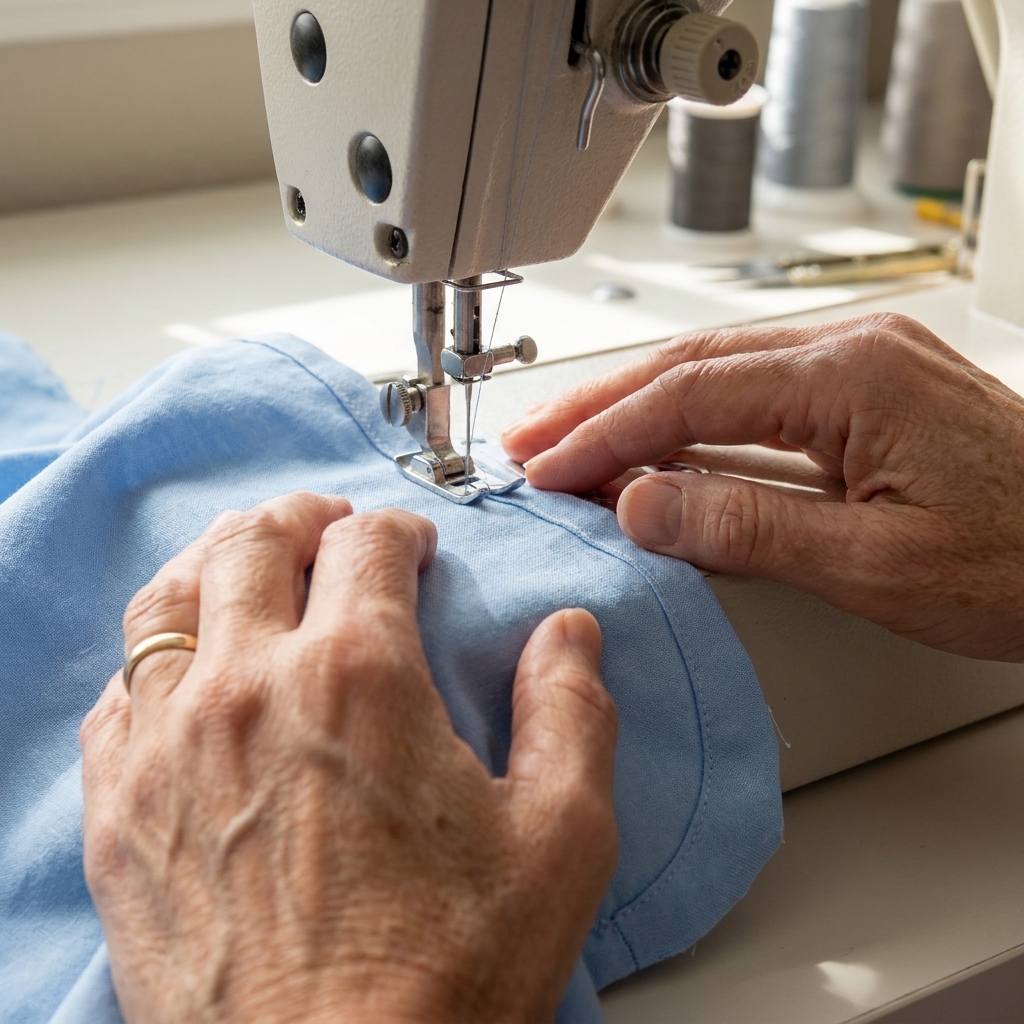
When you sew a curve, do not try to “turn the fabric” all at once. Instead:
- Shorten your stitch length slightly for tight curves as a starting point (try 2.0 to 2.2 mm). Very lightweight fabrics may prefer a touch longer to avoid puckers, and heavy fabrics sometimes do better a bit longer too.
- Keep the fabric flat on the machine bed. Let the feed dogs do the pulling.
- Guide, do not yank. Your hands are there to steer, not to tug the fabric through.
- Steer smoothly. For most curves, simply slow down and steer continuously. For extremely tight curves, you can pivot in tiny steps: stop with the needle down, lift the presser foot, rotate a hair, lower and sew a few stitches, repeat.
Clipping vs notching
This part is the secret sauce for curves.
- Clip seam allowances on inside curves (concave curves). Think: the curve caves inward, like a neckline scoop or the inside of a C shape.
- Notch seam allowances on outside curves (convex curves). Think: the curve bumps outward, like a rounded pocket edge.
Why? When you turn the fabric right side out, seam allowances need room to move. Inside curves need to spread apart (clips). Outside curves need to lose extra width so they do not bunch up (notches).
One quick note to prevent confusion: some curves are not meant to lie perfectly flat. A sleeve cap, for example, is often eased to fit an armhole, so it is a different job than clipping and turning an edge.
How to clip an inside curve
- Sew the curve. Then press the seam flat as sewn. This sets the stitches and makes the next steps easier.
- Make small clips into the seam allowance. Clip perpendicular to the seam, spacing them about 1/4 inch to 1/2 inch apart, and go closer together on tighter curves.
- Stop before the stitching. Leave about a scant 1/8 inch to 3/16 inch uncut depending on fabric and seam stress. If you cut through your stitches, the seam can split when turned.
- Turn and press. The curve should relax and lie flat.
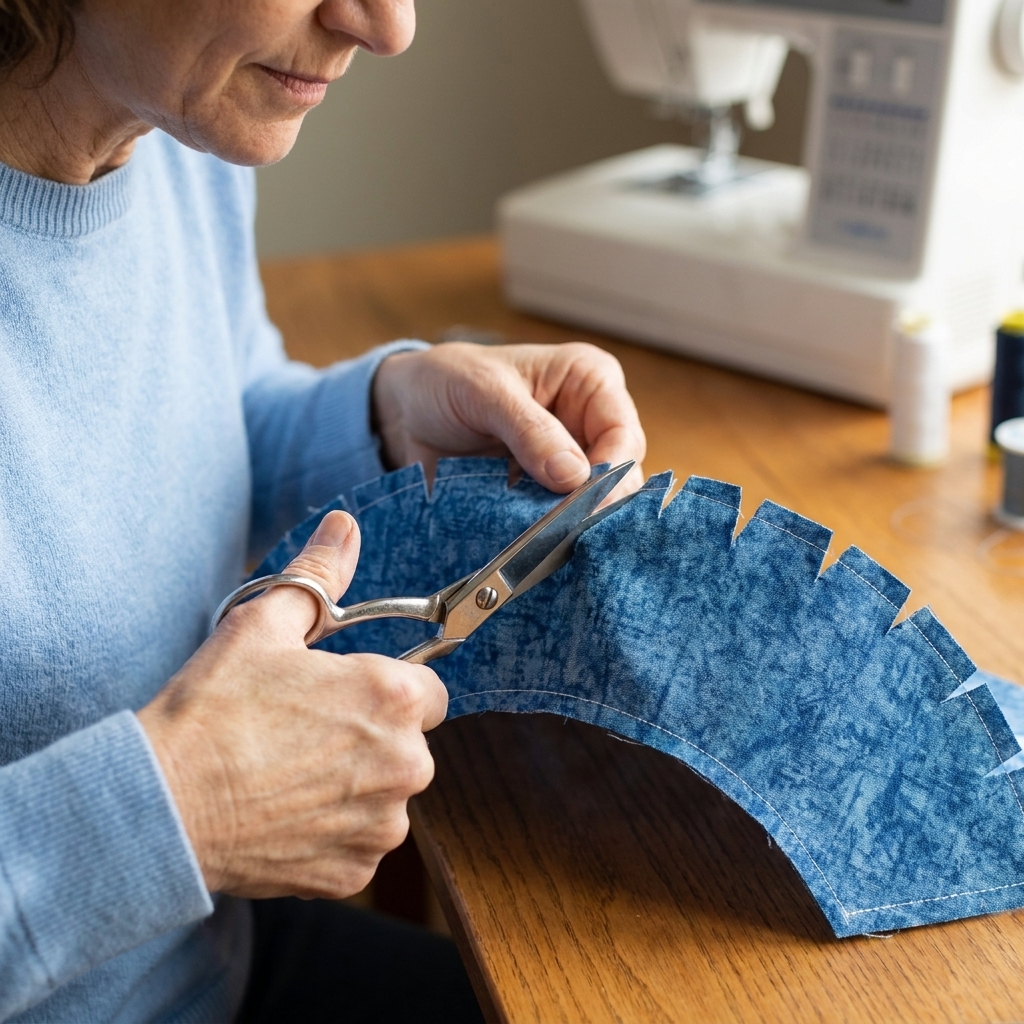
How to notch an outside curve
- Sew the curve and press the seam flat as sewn.
- Cut tiny wedges out of the seam allowance. Each notch is like a small V shape removed from the seam allowance.
- Keep the stitching intact. Leave about a scant 1/8 inch to 3/16 inch from the stitch line.
- Turn and press. With the extra fabric removed, the curve can round smoothly without ripples.
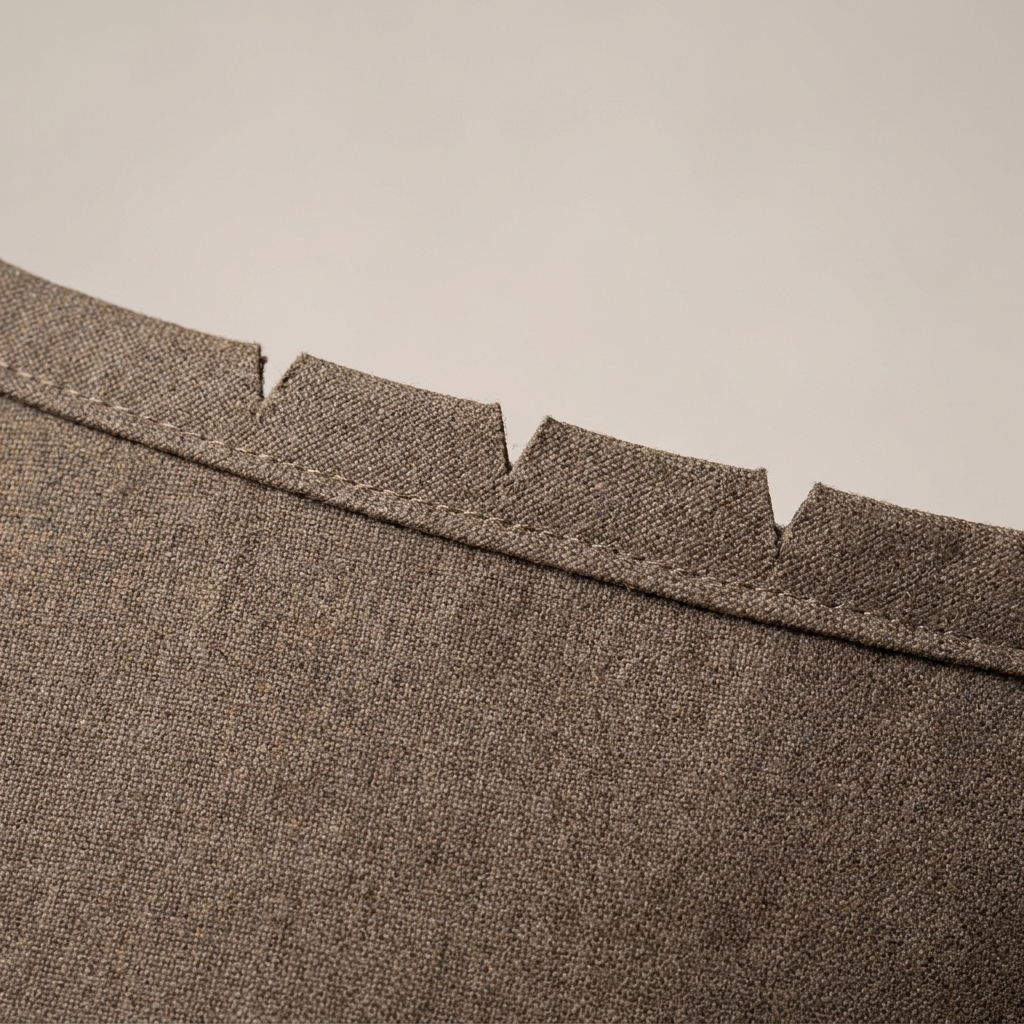
Option: pinking shears
If you own pinking shears, they can be a quick alternative on some fabrics, especially for gently curved seams that will be turned. They are not a perfect substitute for careful clipping on tight inside curves, but they can reduce fraying and bulk in a hurry.
Bonus: understitching
If you are sewing a facing or lining around a curved edge (like a neckline), understitching is magic. It helps the facing roll to the inside and keeps the curve crisp.
- After sewing the seam, press the seam allowances toward the facing.
- From the right side of the facing, stitch a line 1/8 inch away from the seam, catching the seam allowances underneath.
- Turn the facing inside and press.
This is one of those “small step, big payoff” techniques.
Helpful extra: staystitching
If a curve is on the bias and likely to stretch (many necklines are), run a line of staystitching just inside the seam allowance before you assemble. It helps the curve keep its shape while you handle it.
Pressing makes it better
I know pressing can feel like the boring part, but it is often the difference between “I made this!” and “Wait, you made that?”
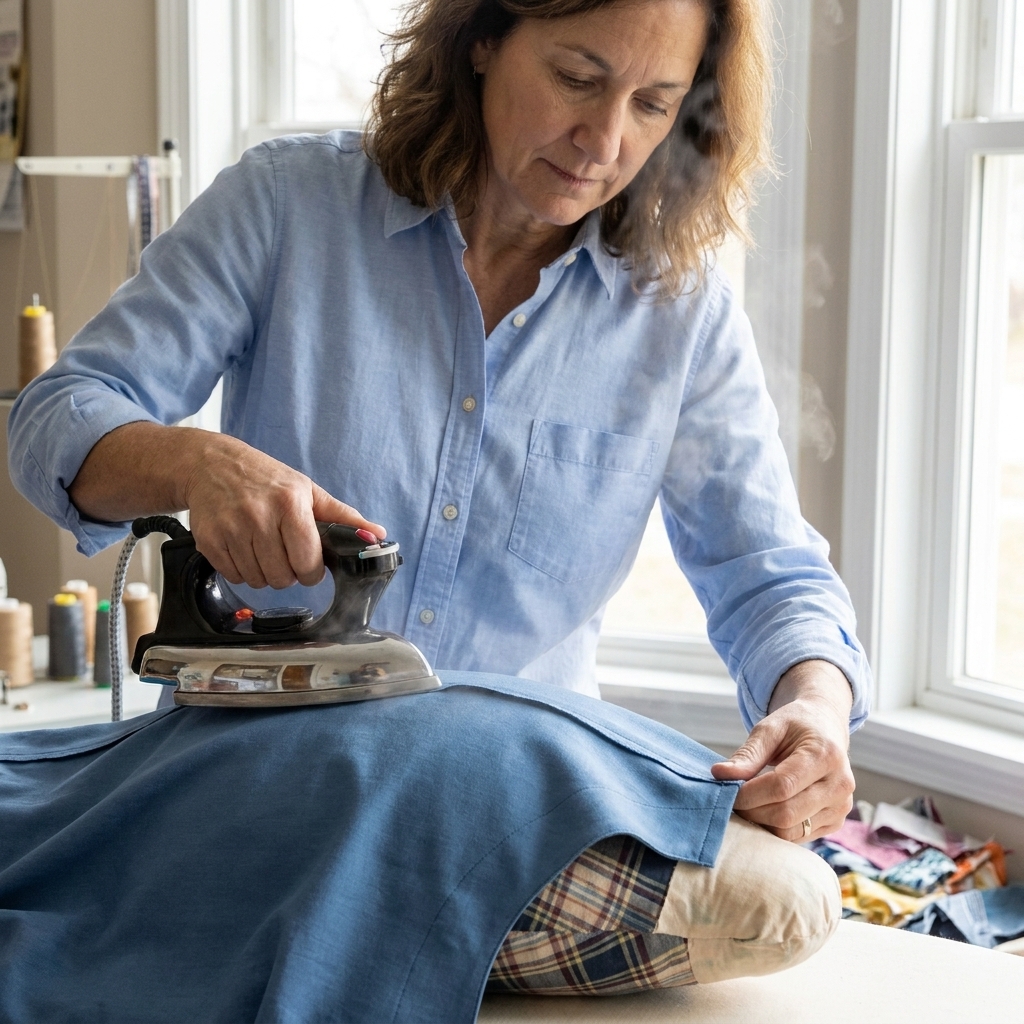
- Press as you sew. Press seams flat first to set stitches, then press them open or to one side.
- Use the right tool. A tailor’s ham (or a tightly rolled towel) helps curves keep their shape while pressing.
- Let the fabric cool. Fabric holds shape better when it cools flat after steam.
Practice mini projects
If you want to build this skill fast, practice on scraps first, then try one of these:
- Square coaster: four corners, lots of pivot practice, easy to turn and press.
- Rounded pocket: one outside curve to notch and topstitch.
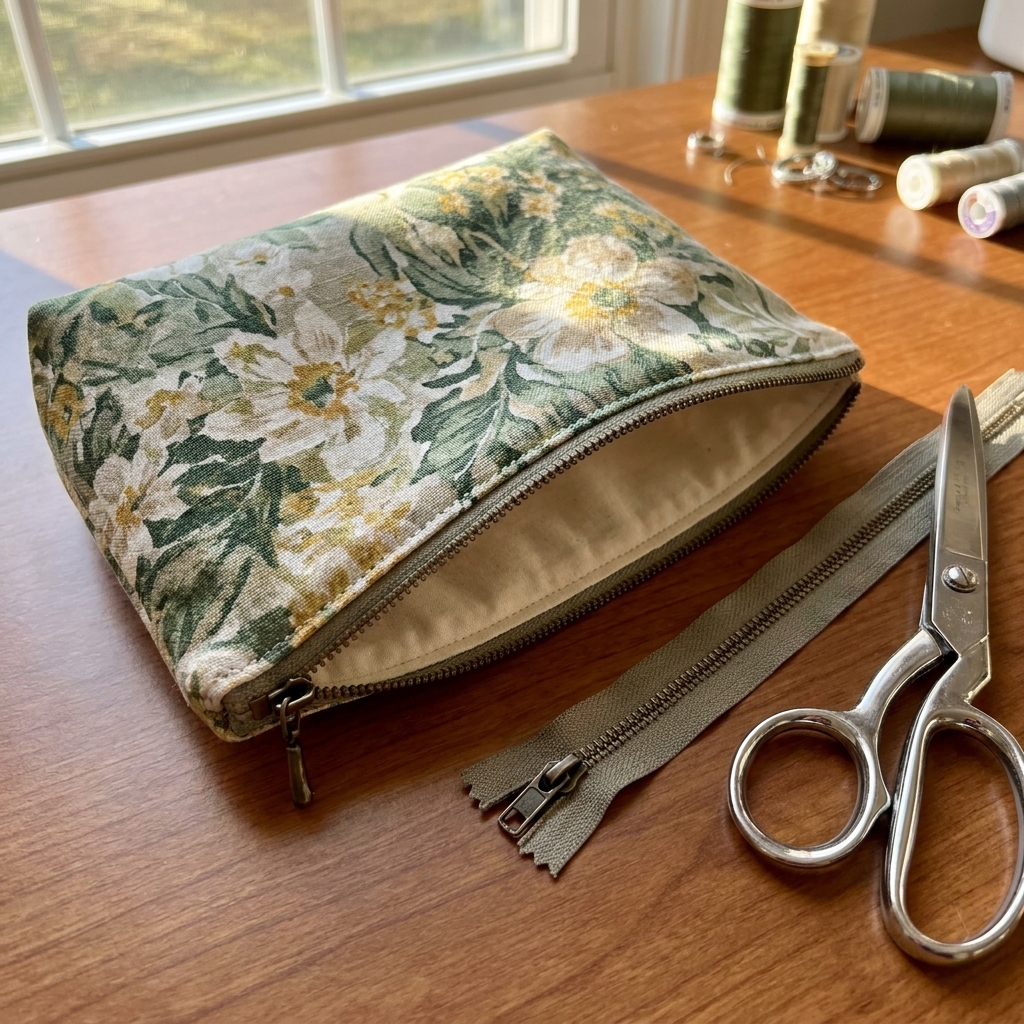
- Simple drawstring pouch with a curved bottom: gentle curve plus turning and pressing.
Tip: Use a high-contrast thread on scrap fabric while you practice. It makes it easier to see what is happening and learn faster.
Troubleshooting checklist
If your corner is not sharp
- Did you stop with the needle down before turning?
- Did you trim the corner close enough without cutting stitches?
- Is the fabric too bulky and does it need grading?
- Did you press after turning?
If your curve looks wavy or puckered
- Did you stitch too fast, or pull the fabric while sewing?
- Did you clip inside curves or notch outside curves appropriately?
- Are your clips close enough together for a tight curve?
- Would a slightly different stitch length help on your fabric?
If the seam splits after clipping
- You likely clipped into the stitches. Reseam that area and clip again, stopping a scant 1/8 inch to 3/16 inch from the stitch line.
- Consider stitching that curve with a slightly shorter stitch length for a stronger seam.
FAQ
How close should I clip to the stitching?
Aim for a scant 1/8 inch to 3/16 inch from the stitch line. Use a little more distance for loosely woven fabrics or high-stress seams, and a little less when you need the curve to relax a lot.
Do I need to backstitch at corners?
Usually, yes at the beginning and end of a seam. At the pivot point itself, you do not need to backstitch. Keeping the needle down and pivoting cleanly is what matters.
What if my machine leaves a little knot of stitches when I pivot?
Slow down as you approach the corner, and stop exactly with the needle down. If your machine has trouble starting after a pivot, hold your thread tails for the first couple of stitches and take those stitches slowly.
Can I sew curves without clipping?
You can sew them, but they often will not turn nicely. Clipping and notching is what lets the seam allowance relax so the curve lies flat and smooth.
One last pep talk
Corners and curves are not a talent test. They are a repetition test. The first corner you pivot might be wobbly. The fifth will be better. And by the time you have made a couple of pouches or a tote bag, you will be pivoting and clipping without even thinking about it. If something goes weird, grab your seam ripper, fix the last few stitches, and keep going. That is what sewing looks like in real life.