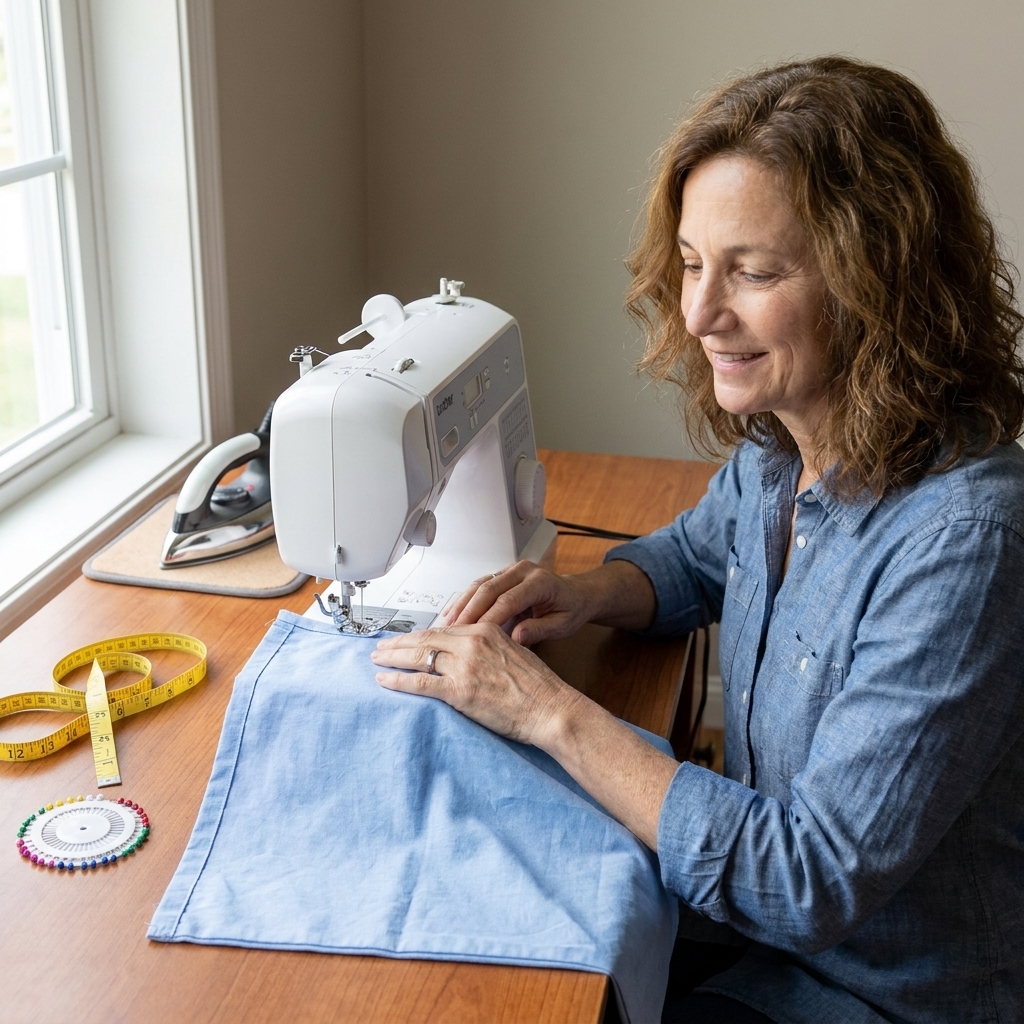
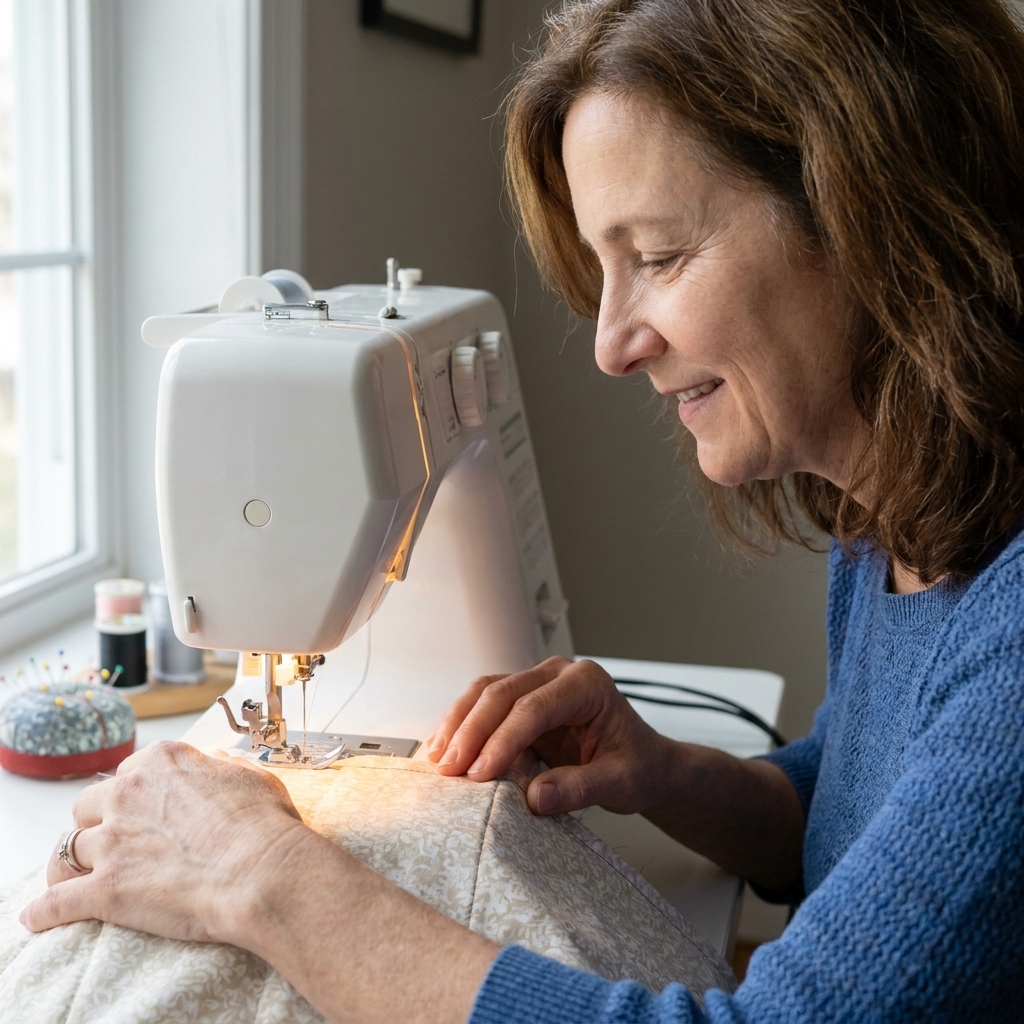
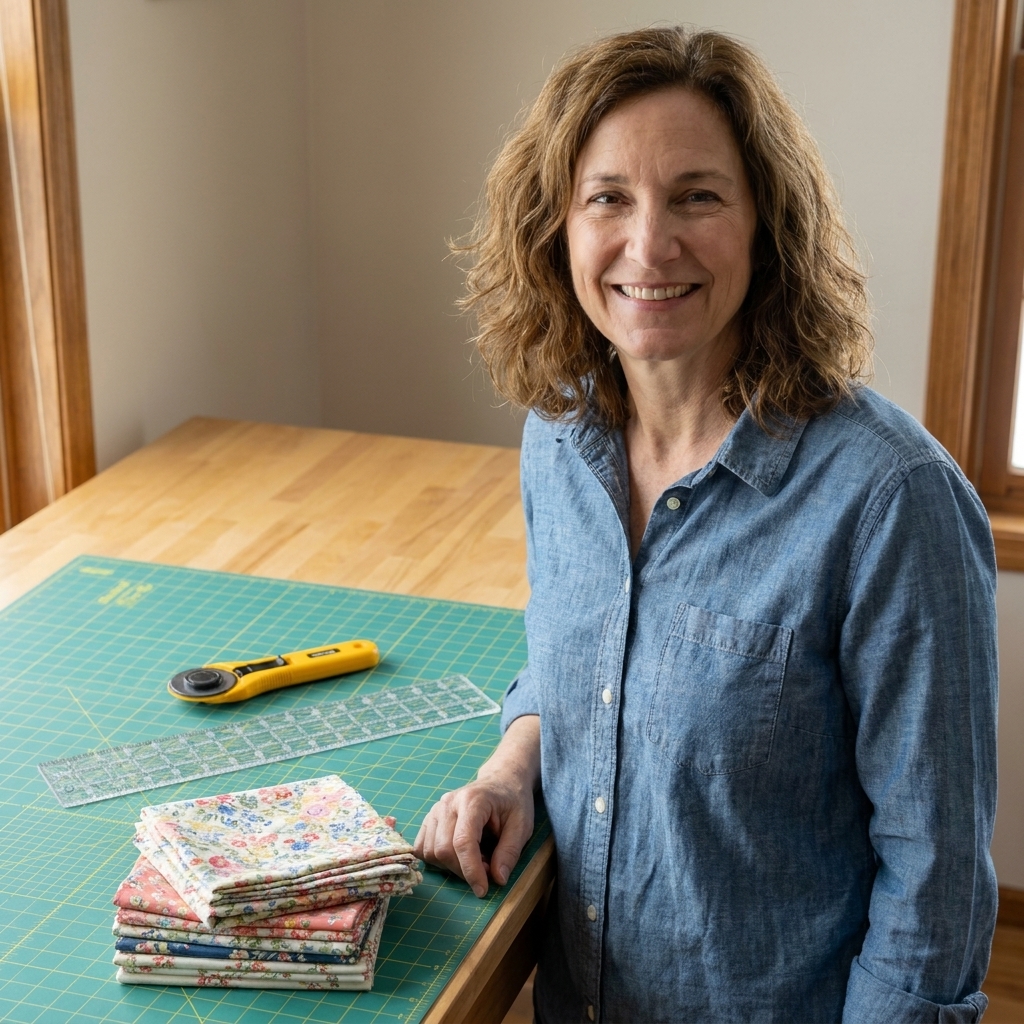
Cloth napkins are one of my favorite beginner sewing wins because they teach you three skills you will use forever: cutting straight, sewing a steady seam, and pressing like you mean it. And the best part is the corners. A mitered corner looks fancy, but it is really just a tidy fold that removes bulk so your napkins stack nicely and wash well.
We are going to make sturdy, everyday napkins with a classic double-fold hem and crisp mitered corners. No confusing jargon. No guessing. Just one stitch at a time.
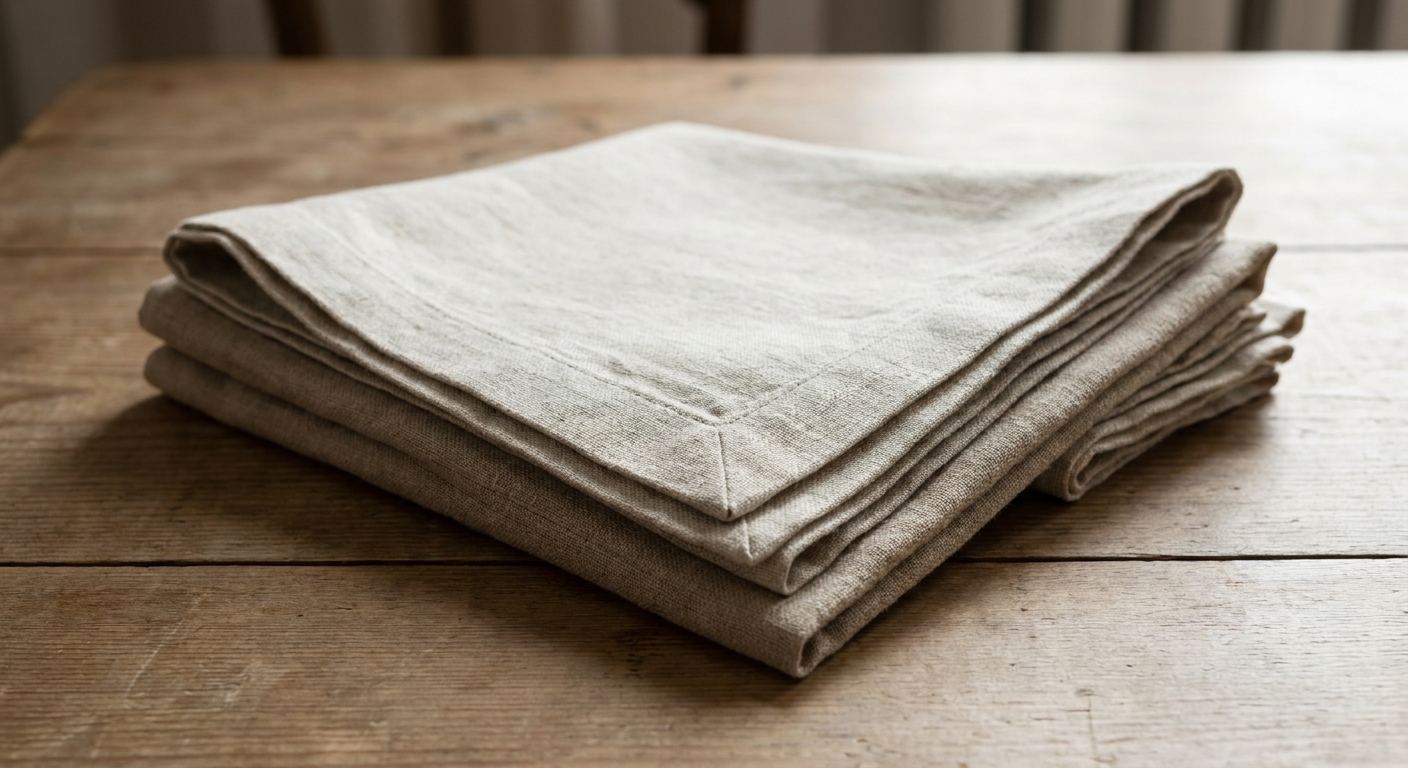
What you will need
- Fabric: Quilting cotton, cotton-linen blend, linen, or flannel. For your first set, quilting cotton is the easiest to handle.
- Thread: All-purpose polyester or cotton thread.
- Cutting tools: Fabric scissors or rotary cutter and mat.
- Measuring: Clear ruler and a tape measure or quilting ruler.
- Marking: Washable fabric marker or tailor’s chalk.
- Pressing: Iron and ironing board. A spray bottle helps.
- Pins or clips
- Sewing machine with a universal needle (size 80/12 is a great default).
Helpful but optional: A point turner or chopstick for poking corners into shape while pressing, and a walking foot if your fabric is thick or shifty.
Best fabric choices for napkins
If you want napkins that feel good on your face and survive real life, aim for medium weight natural fibers.
- Quilting cotton: Beginner-friendly, easy to press, affordable, tons of prints. Slightly more casual.
- Cotton-linen blend: Lovely texture, less wrinkly than pure linen.
- Linen: The classic. Pressing matters more, and it will wrinkle, but it gets softer with every wash.
- Flannel: Cozy for fall and winter, great for kids, slightly bulkier corners.
Skip for now: super slippery satin, very stretchy knits, or anything loosely woven that frays like it is trying to win an award.
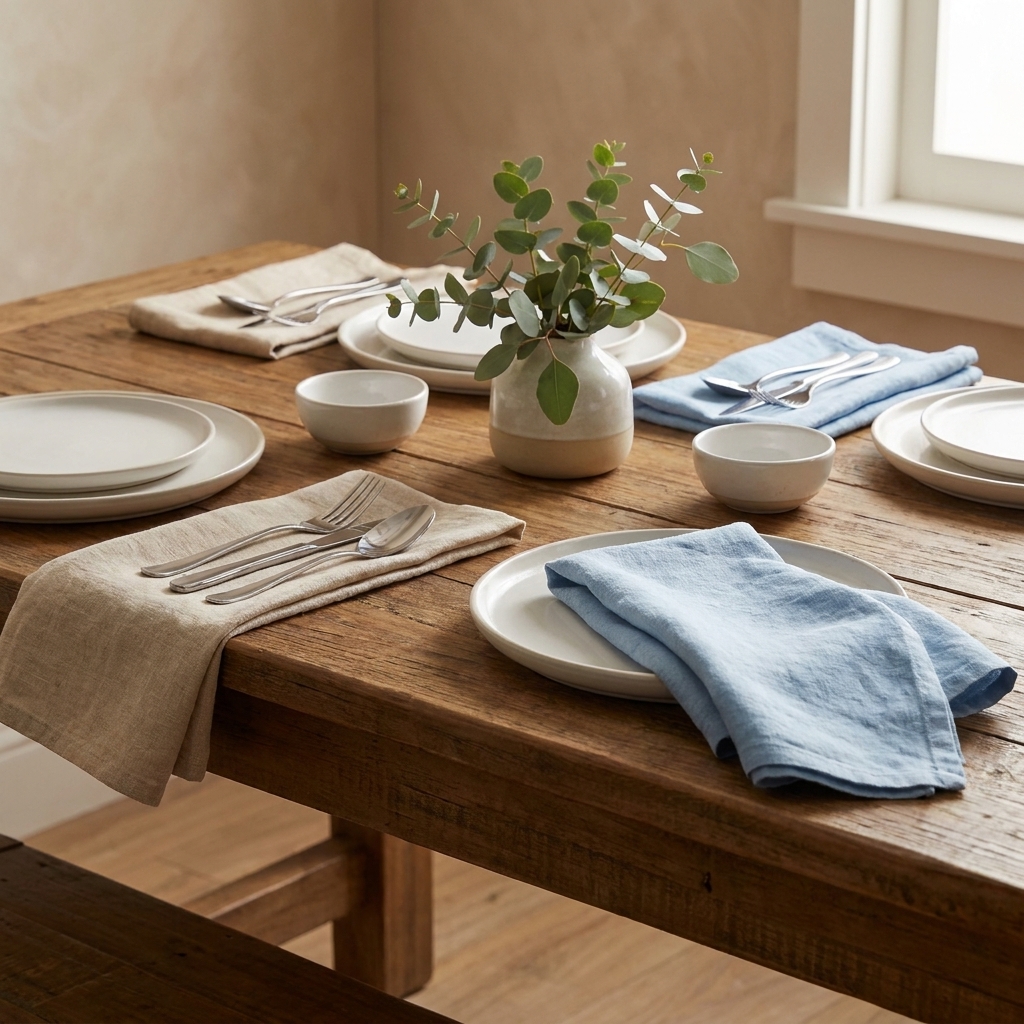
Choose your napkin size
You can make napkins any size you like. Here are common, beginner-friendly options:
| Napkin type | Cut size | Finished size |
|---|---|---|
| Cocktail | 11 in x 11 in | About 9 in x 9 in |
| Lunch or everyday | 18 in x 18 in | About 16 in x 16 in |
| Dinner | 20 in x 20 in | About 18 in x 18 in |
The finished size depends on your hem. In this tutorial we will use a 1/2 inch double-fold hem. That means you fold up 1/2 inch, then 1/2 inch again, so you use 1 inch per edge. Since each side of the napkin has two edges per dimension (left and right, top and bottom), the napkin finishes about 2 inches smaller in both width and height.
Easy rule: Finished size = cut size minus 2 inches.
Cut your fabric neatly
Clean cutting is half the secret to corners that behave.
- Prewash and dry your fabric the way you plan to wash the napkins later. This prevents surprise shrinking.
- Press the fabric before cutting. Wrinkles create wonky edges.
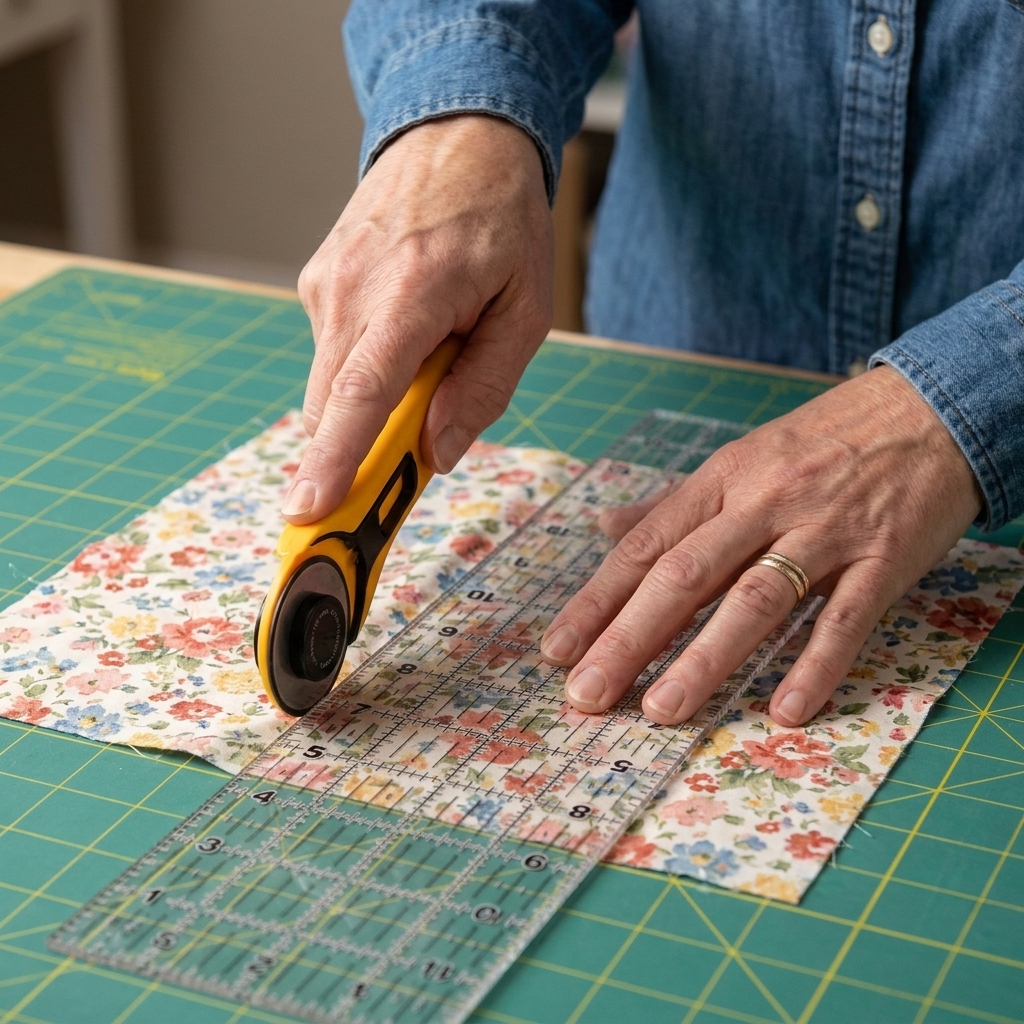
- Square it up: If you are using a rotary cutter, line the grain up with your mat grid. If you are using scissors, use a ruler and mark your square before cutting.
- Cut one napkin at a time until you feel confident. Accuracy matters more than speed.
Beginner tip: If your fabric has a selvage edge, do not use it as one side of the napkin. Cut it off first. Selvage does weird things in the wash.
Set up your machine
- Stitch length: 2.5 mm (a great all-purpose length)
- Needle: Universal 80/12 for most cottons, 90/14 if fabric is thicker
- Thread: All-purpose (matching thread hides wobbles best, but contrast can look bold and intentional)
- Foot: Regular presser foot is fine
If your stitches look loopy on the underside, rethread the machine before you adjust tension. Rethreading often fixes beginner stitch drama.
Press the hem first
We are making a double-fold hem: fold once to hide the raw edge, then fold again to tuck everything in neatly.
- Wrong side up: Place the napkin wrong side facing you.
- First fold: Fold one edge over 1/2 inch to the wrong side. Press.
- Second fold: Fold over another 1/2 inch so the raw edge is hidden. Press again.
- Repeat on all four sides.
You can press one side at a time, or do the first fold all the way around, then the second fold all the way around. Either way is fine. The iron does the heavy lifting here.
Perfect mitered corners
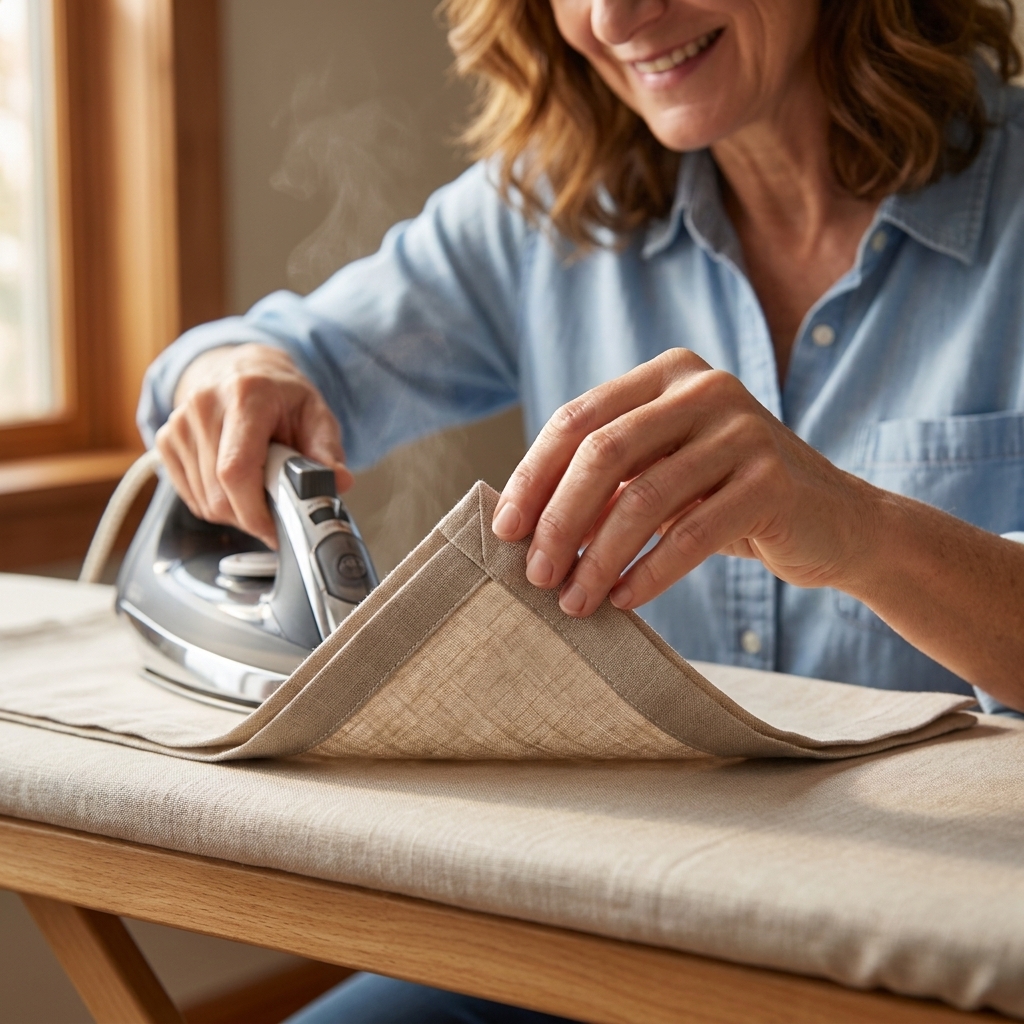
A mitered corner happens when those double folds meet in a way that removes the bulky stack of fabric. Here is my beginner-friendly method that does not require special tools.
Step 1: Unfold one corner
Pick a corner. Unfold the pressed hems on the two sides that meet at that corner so your fabric lies flat again in that area. You will still see your crease lines.
Step 2: Mark a guide
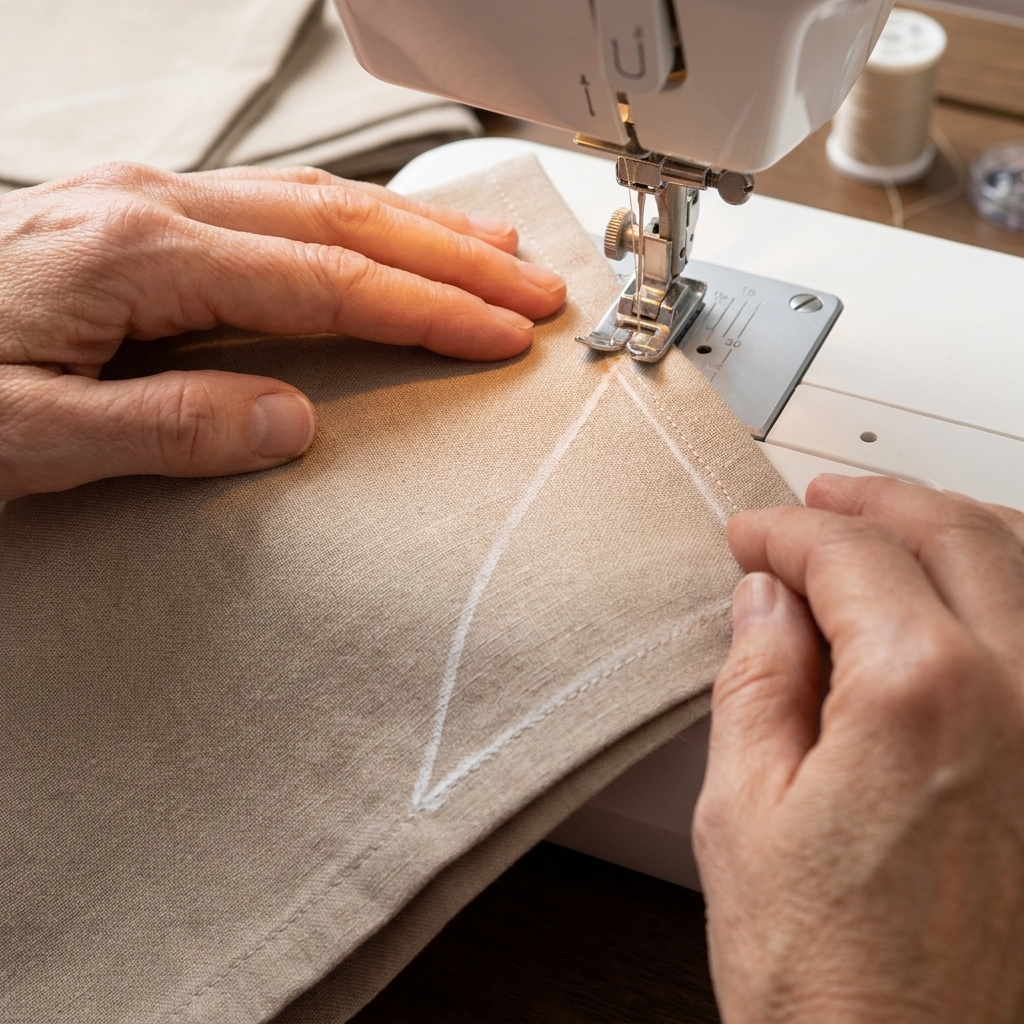
On the wrong side of the fabric, measure from the raw corner point (the actual cut corner, not the crease). Mark a dot 1 inch from the corner along each of the two raw edges. Then draw a straight line connecting those two dots. That line should cut across the corner.
Why 1 inch? Because we folded 1/2 inch twice. 1/2 + 1/2 = 1 inch. This keeps the corner perfectly matched to your hem size.
Step 3: Fold right sides together
Bring the corner up so the two edges meet, right sides together. Match the hem crease lines so they line up. Your marked line should be visible on top.
Step 4: Sew the line
Stitch directly on your marked line. Backstitch a couple of stitches at the start and end. Keep it steady, not fast.
Step 5: Trim and press
Trim the seam allowance to about 3/8 inch. Then trim the very tip at an angle to reduce bulk, but do not cut through your stitches. If your fabric frays a lot, you can zigzag the raw edge first, but most cottons are fine if you handle them gently.
Press the seam open with your iron, then turn the corner back out so it becomes a neat point. Use a point turner or chopstick to nudge it into shape. Do not stab through your fabric. Gentle nudges only.
Step 6: Refold the hem
Refold the double-fold hem along the crease lines you already pressed. The corner should click into a clean miter. Press again.
Repeat for all four corners.
Sew the hem
Now we lock in those beautiful corners.
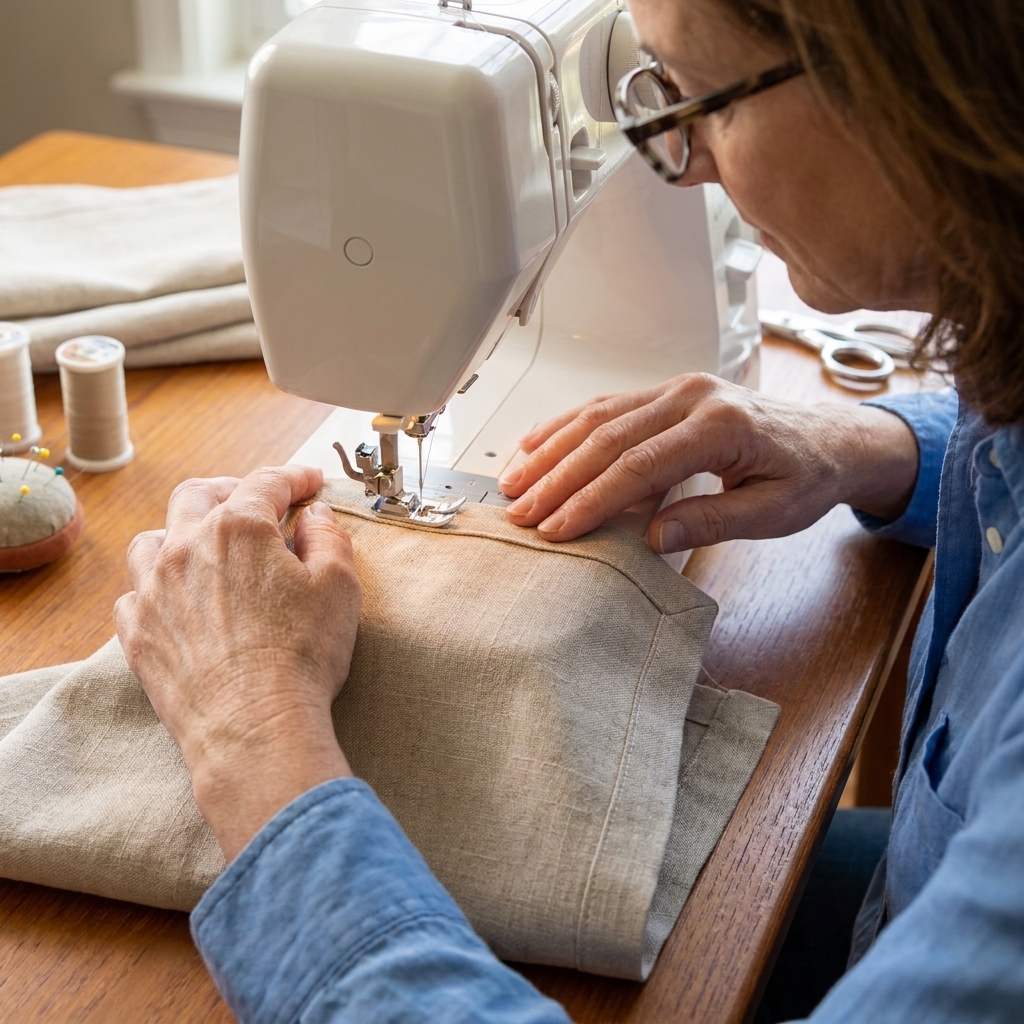
- Pin or clip the hem in place, especially near corners.
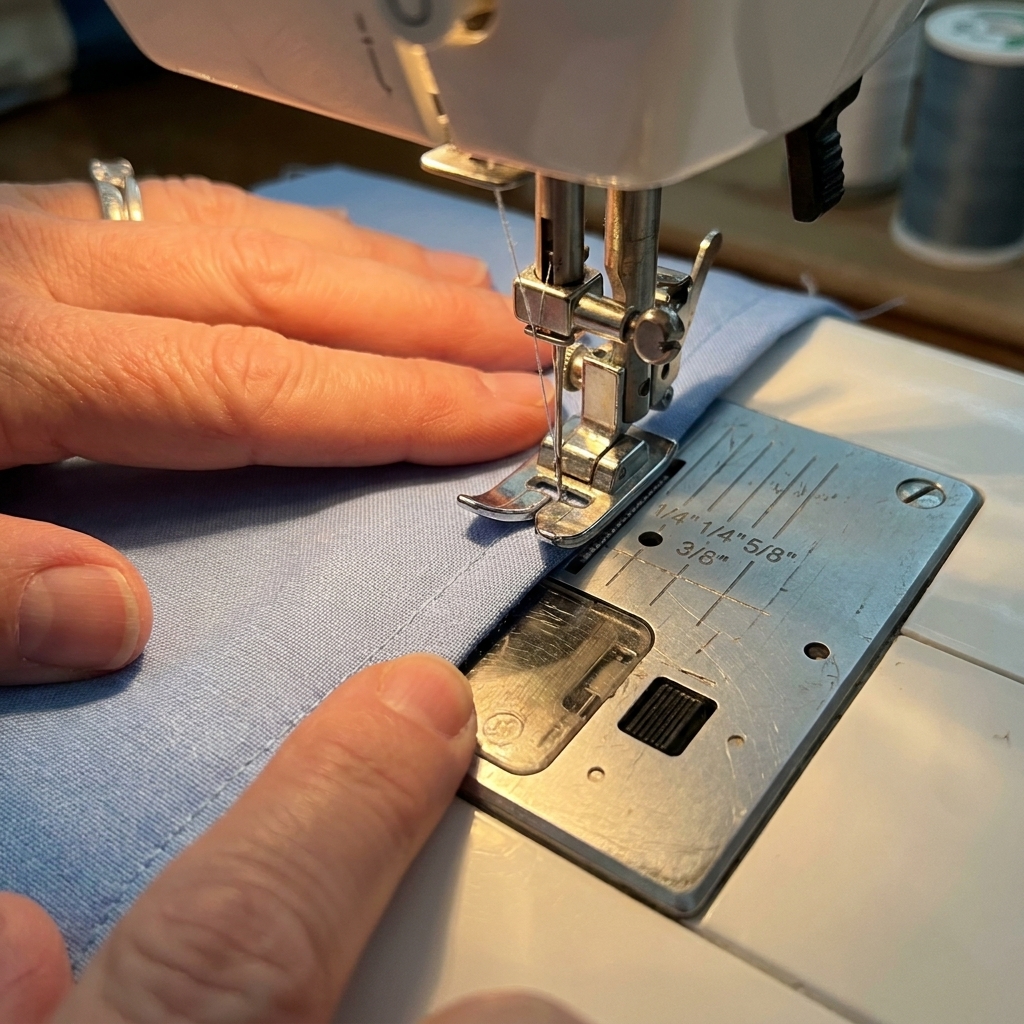
- Stitch close to the inner folded edge of the hem, about 1/8 inch from the fold. Anywhere in the 1/8 to 1/4 inch range can look great. If you are unsure, test on a scrap first and pick what feels easiest to keep consistent.
- Approach corners slowly. Stop with the needle down about 1/4 inch before the corner, pivot, then continue.
- Backstitch at the beginning and end.
My favorite trick: Start sewing in the middle of one side, not at a corner. Corners already have enough going on.
Final press
Give each napkin a good press, especially at the corners. Pressing is not just for looks. It helps the napkin hold its shape after washing.
If your fabric is linen, a little steam and a firm press will make those miters look extra crisp. If you are using quilting cotton, a dry press often works beautifully.
Common hiccups
My corners are bulky
- Trim the diagonal seam allowance down to about 1/4 inch, or just a hair under, and trim the tip again if needed.
- Press the seam open before turning.
- If your fabric is thick, you can also grade the seam allowance by trimming one layer slightly shorter than the other.
- Use a slightly smaller hem next time, like 3/8 inch twice, for lighter corners.
My corner point looks blobby
- You may be sewing a little off the marked line. Draw the line clearly and stitch right on it.
- When turning, nudge the point out gently and then press firmly.
My hems do not meet evenly
- Make sure the crease lines line up before you sew the diagonal seam.
- Press your first and second folds accurately. Measure the first napkin, then copy it.
My fabric is wavy
- Lengthen your stitch slightly to 2.8 or 3.0.
- Do not pull the fabric through. Let the feed dogs do their job.
- Press after sewing. Many waves relax with steam.
I sewed the corner wrong
Welcome to the club. Grab your seam ripper, take a sip of tea, and unpick that tiny diagonal seam. It is a five-minute fix and it is exactly how you learn.
Optional upgrades
- Topstitch thread: Use a slightly thicker thread for a decorative look, especially on solids.
- Corner hang loop: Add a small folded ribbon loop into one corner before stitching the hem.
- Monogram tag: Sew a tiny fabric label into one side hem.
- Two-tone napkins: Use two fabrics and sew them like a simple pillowcase, then finish with a topstitched edge. Save this for napkin number five, not napkin number one.
Care and washing
- Wash warm or cold with similar colors.
- Dry on low or line dry to reduce wrinkles.
- Press while slightly damp for the easiest ironing session.
- Trim loose threads early. They love to show up right when guests arrive.
Quick FAQ
How much fabric do I need?
It depends on napkin size, fabric width, and how much you need to square up.
- Rule of thumb for 18 inch napkins: 1 yard of 44 to 45 inch wide fabric often yields four napkins, but it can be a tight layout if the usable width is less after the selvage or if you need extra squaring.
- For a set of 6 to 8 (18 inch cut squares): plan on 1 1/2 to 2 yards to keep cutting stress low, especially with prints you want to align.
Do I need a serger?
Nope. The double-fold hem fully encloses the raw edges, so a basic sewing machine is all you need.
What is the easiest size for beginners?
18 inch squares are my sweet spot. They are large enough to feel like a real napkin, but not so large that they are annoying to press and handle.
Can I make these with fat quarters?
Yes, and it is a fun way to get a mixed set. A fat quarter is about 18 in x 22 in, so you can cut one 18 in square from each fat quarter for a nice everyday size. With the 1/2 inch double-fold hem in this tutorial, that finishes at about 16 in square.
One last encouragement
If your first mitered corner is a little wonky, you are doing it right. Corners are where sewing teaches patience. By napkin three, your hands will start to remember the folds, and by napkin six, you will wonder why they ever felt intimidating.
If you make a set, press them into a tidy stack and enjoy that little spark of pride every time you set the table. Handmade does not have to be perfect to be wonderful.