If you have ever wanted to try quilting but felt intimidated by fancy patterns and tiny pieces, pot holders are your sweet spot. You get the satisfying look of quilting, you practice neat straight lines, and at the end you have something genuinely useful. We are going to make a simple square quilted pot holder using Insul-Bright (an insulated batting) and a straightforward binding that does not require any quilting magic tricks.
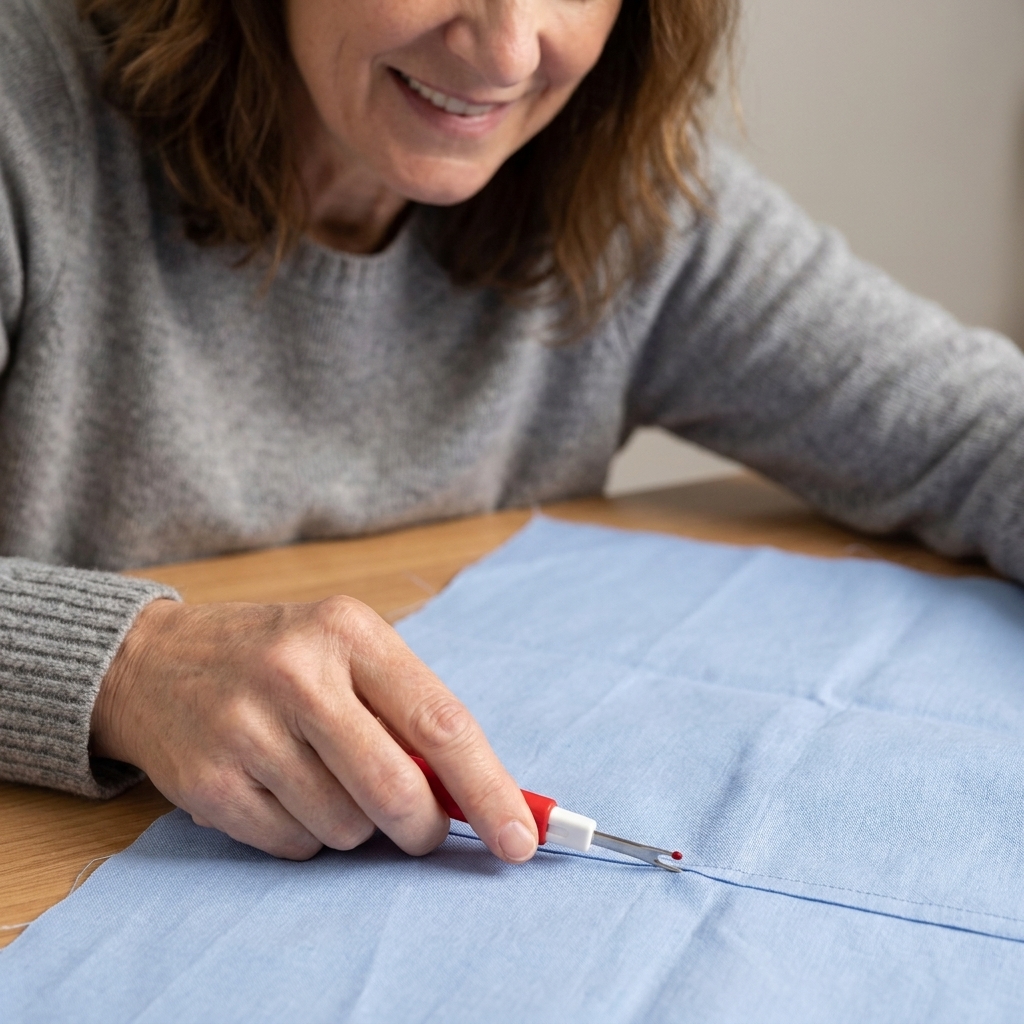
And yes, you are allowed to be best friends with your seam ripper during this project. That is not failure. That is sewing.
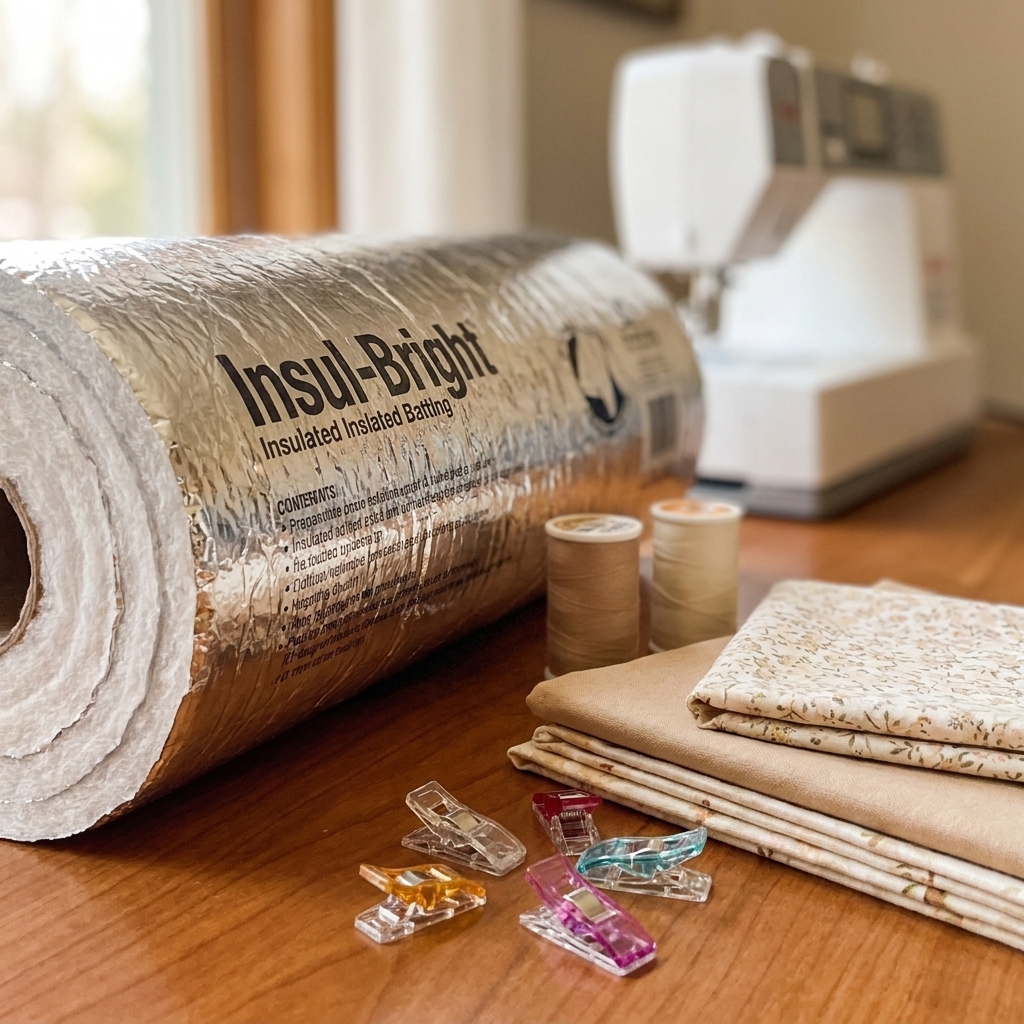
What makes Insul-Bright different
Insul-Bright is an insulated batting that includes a reflective, metalized layer. That reflective layer helps reduce heat transfer, which is why it is popular for pot holders, oven mitts, and casserole carriers.
A few beginner-friendly truths
- It does not replace common sense. This is for briefly handling hot cookware, not for holding a ripping hot cast-iron pan for a full minute while pondering your life choices.
- Dry matters. A damp pot holder can let heat travel fast and steam can burn. Use pot holders dry.
- It can feel a bit crinkly. That is normal because of the reflective layer.
- It likes to be quilted. Stitching through the layers helps keep everything stable and prevents shifting over time.
- Do not microwave it. Per manufacturer guidance, items made with Insul-Bright should not go in the microwave because of the reflective metalized layer.
- Keep it away from open flame. Pot holders are for pans and handles, not for grabbing something sitting over a burner.
Supplies and fabric choices
You can keep this project as simple or as scrappy as you like. For beginners, I recommend using quilting cotton because it presses well and behaves nicely under the presser foot.
You will need
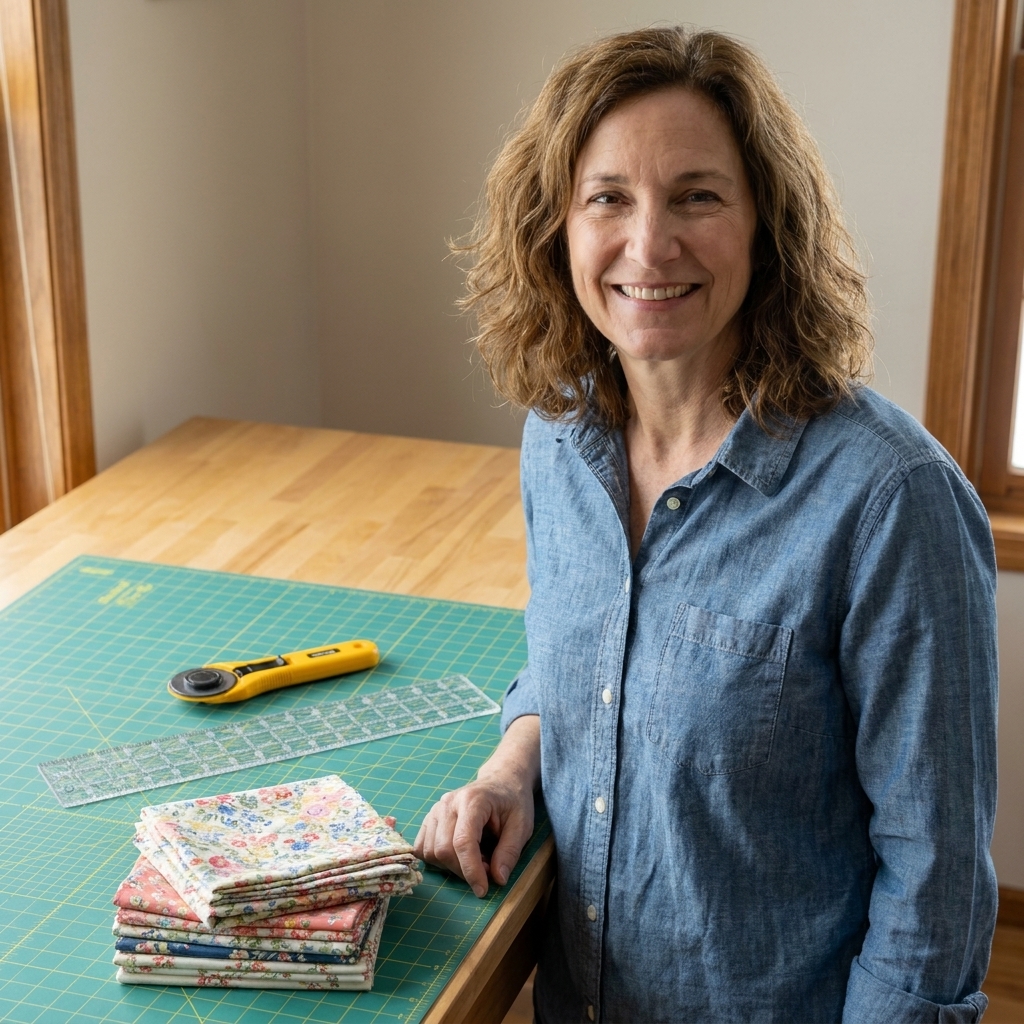
- Cotton fabric: two squares, each 9 in x 9 in (front and back)
- Insul-Bright: one square 9 in x 9 in
- Optional extra batting (cotton or cotton blend): one square 9 in x 9 in for extra thickness
- Binding fabric: one strip 2.5 in x 40 in (or piece together scraps to equal about 40 inches)
- Thread: cotton thread is a great choice for high-heat projects; all-purpose polyester is also commonly used for pot holders
- Tools: scissors or rotary cutter and ruler, pins or clips, iron and ironing board, marking tool, sewing machine
About prewashing
Prewashing is optional. If you want your pot holder to stay the same size after the first wash, prewash and press your cotton fabric. Many people do not prewash Insul-Bright and simply quilt it as-is. If you do prewash the batting, follow the package directions.
About the layers (and a quick safety note)
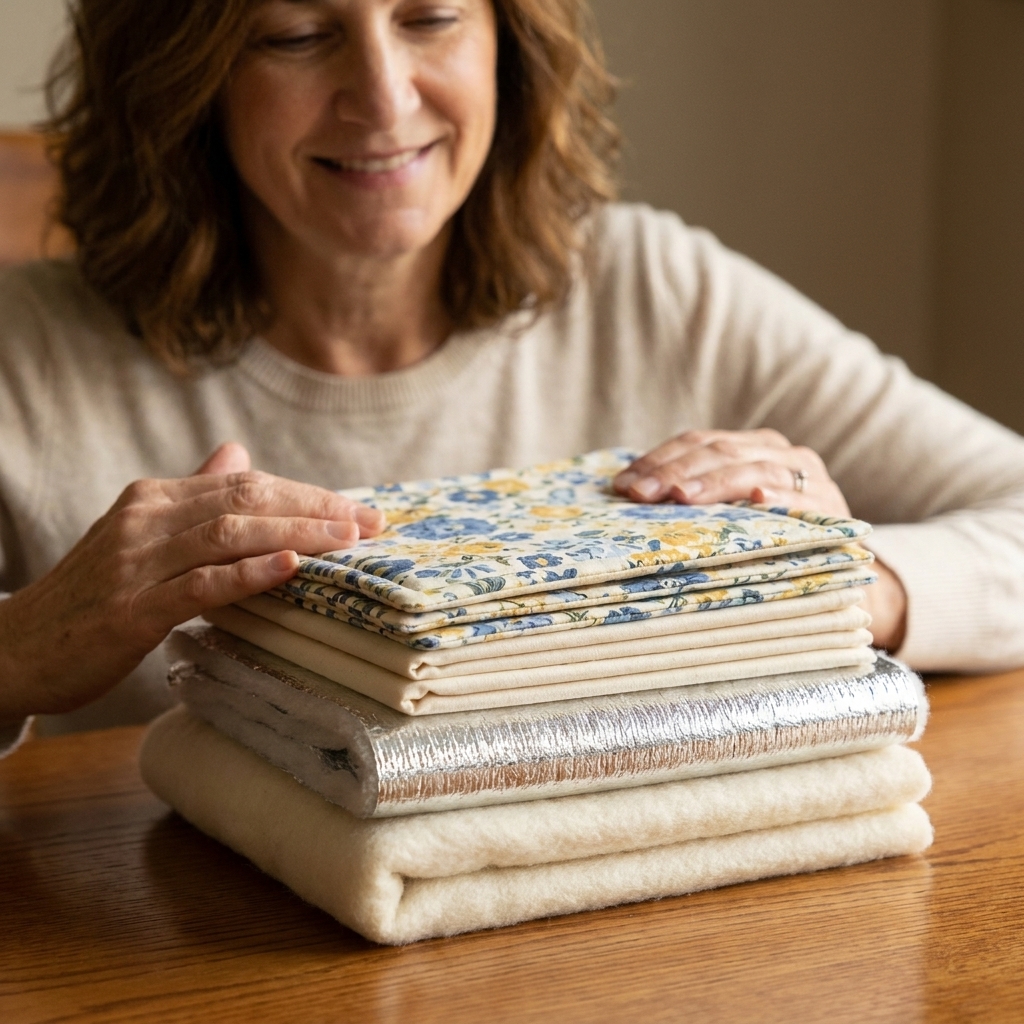
For everyday pot holders, I like this stack:
- Top fabric (pretty side)
- Insul-Bright
- Optional cotton batting (for padding)
- Bottom fabric (pretty side)
Important: The Insul-Bright manufacturer notes that insulation works best with a bit of loft and air space. In real life, quilting through the layers is still standard for pot holders because it stabilizes the sandwich and prevents bunching. The trick is to avoid quilting so densely that you flatten it into a stiff tile. Straight lines spaced about 1 to 2 inches apart are a nice beginner balance.
Cutting and prep
Step 1: Cut your squares
Cut:
- Two fabric squares at 9 in x 9 in
- One Insul-Bright square at 9 in x 9 in
- Optional: one cotton batting square at 9 in x 9 in
If your squares are slightly bigger, that is okay. You can trim after quilting. Slightly smaller is harder because the layers can shift and leave gaps at the edges.
Step 2: Press your fabrics
Give both fabric squares a good press. Wrinkles turn into accidental tucks when you quilt, and nobody needs that kind of surprise.
Make the quilt sandwich
Step 1: Layer everything
Lay your bottom fabric right side down. Add the optional cotton batting (if using), then Insul-Bright, then the top fabric right side up.
Step 2: Secure the layers
Use quilting safety pins or Wonder Clips around the edges. If you pin, keep pins inside the edge by at least 1 inch so they are not directly in your binding seam later.
Step 3: Mark simple quilting lines
For your first pot holder, keep it easy:
- Mark lines 1 to 2 inches apart, either straight across or in a grid.
- If you want a grid, mark one direction first. You can stitch those lines, then mark the crosswise lines after.
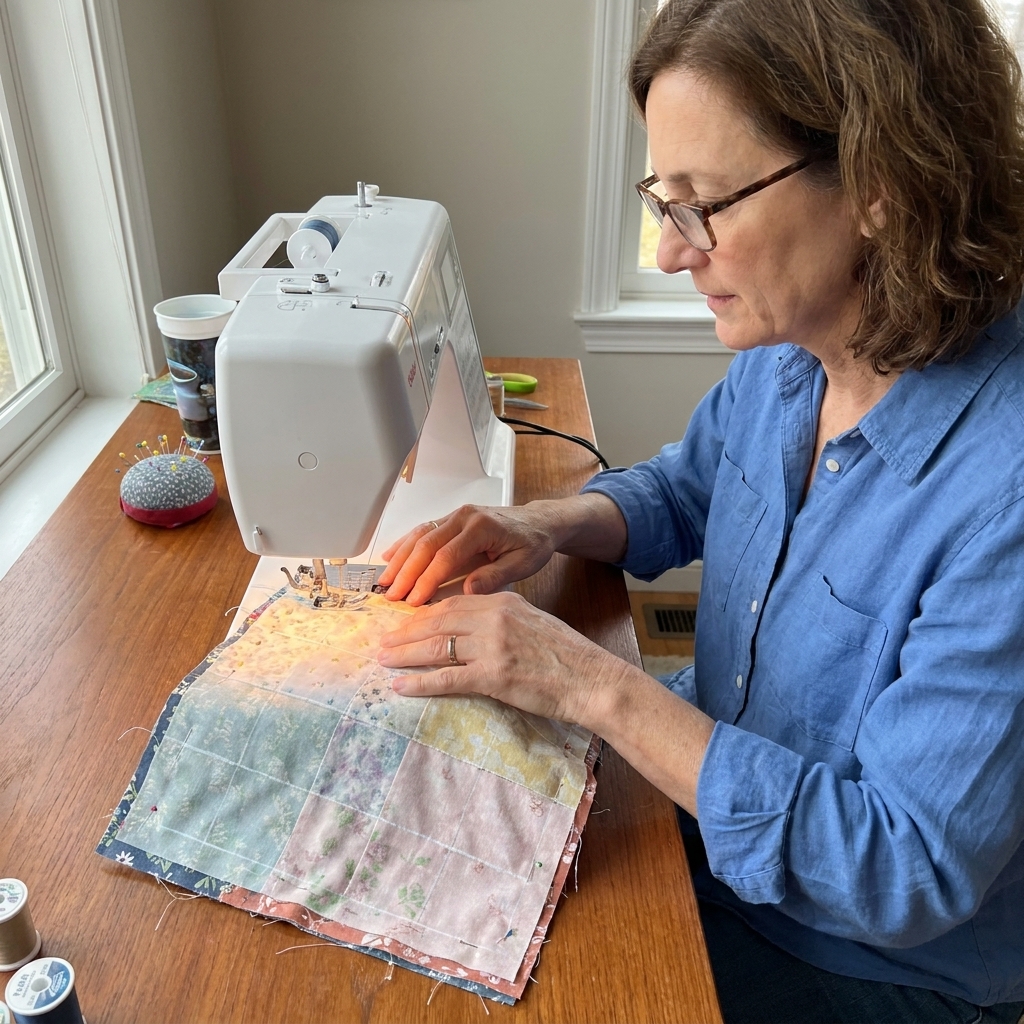
Straight-line quilting
This is where your pot holder starts to look like a real quilt, and it is honestly so satisfying.
Machine settings to keep things calm
- Stitch length: 3.0 mm is a great starting point for quilting lines.
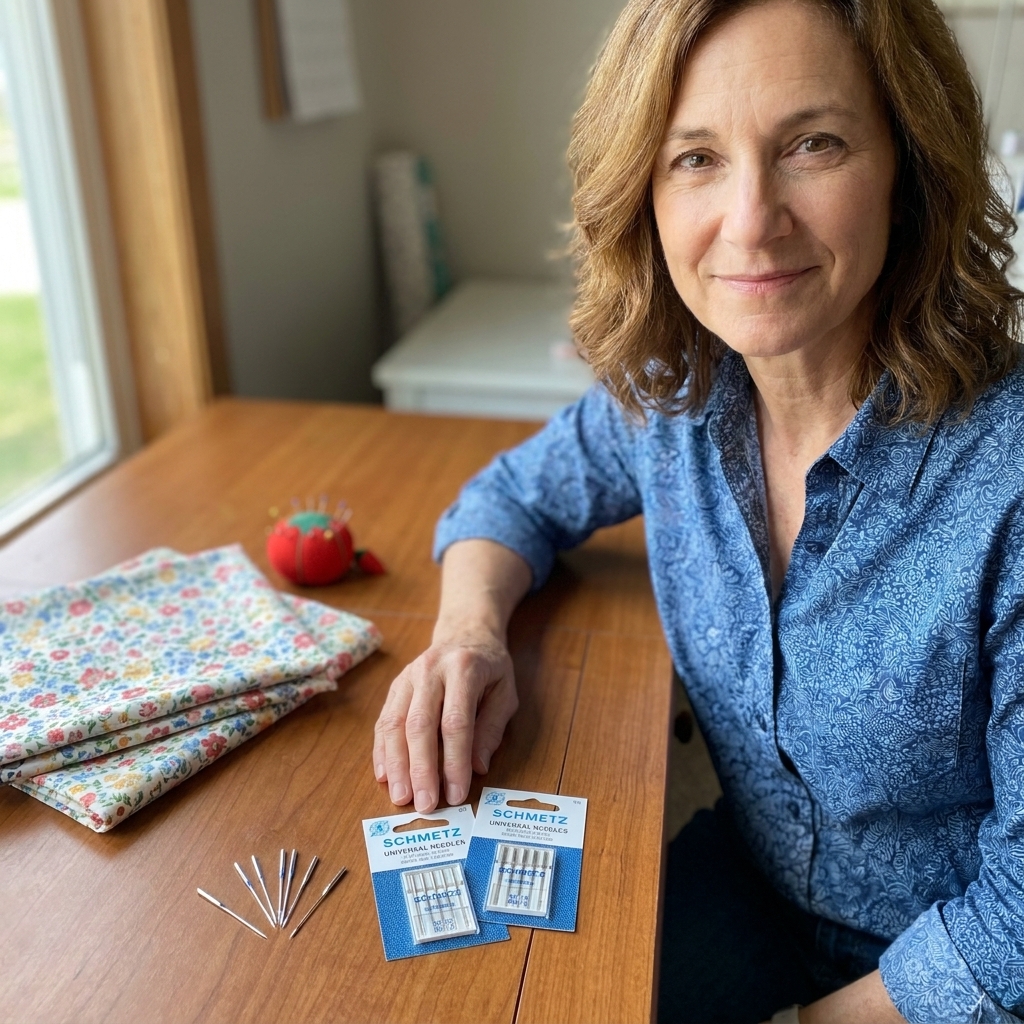
- Needle: A fresh universal 80/12 works well for quilting cotton. If your stack feels thick, try 90/14.
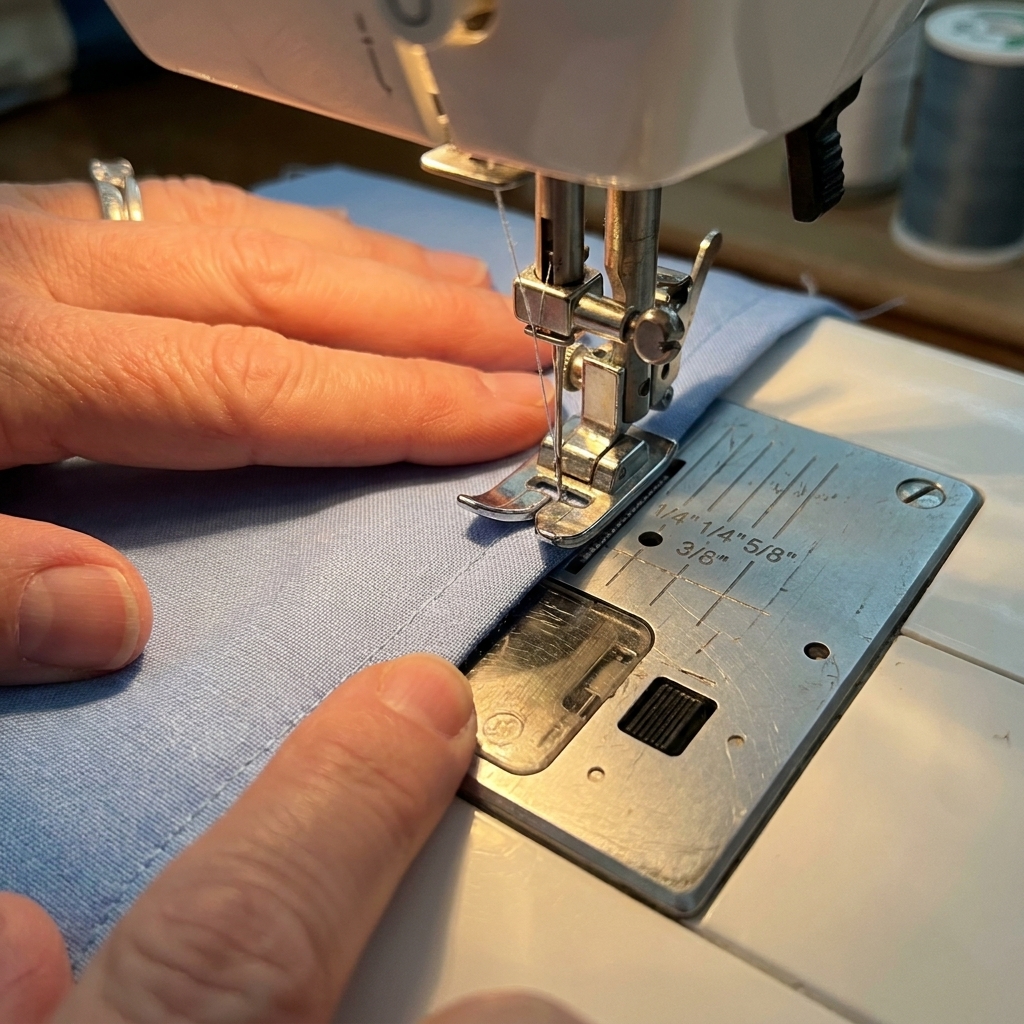
- Walking foot: Nice to have, not required. If you have one, use it. If you do not, go slow and keep the layers supported.
Step-by-step quilting
- Start near the center and work outward. This helps prevent ripples.
- Stitch on your marked line. Backstitch 2 to 3 stitches at the start and end, or leave tails and tie them off. Either is fine for a pot holder.
- Smooth the fabric as you go. Do not pull. Just guide.
- Keep the quilted piece flat on the table so the weight does not drag and create puckers.
Trim it up
After quilting, trim your pot holder down to a neat square, like 8.5 in x 8.5 in or 8 in x 8 in. The exact size does not matter. What matters is that all layers are even.
Binding the edges
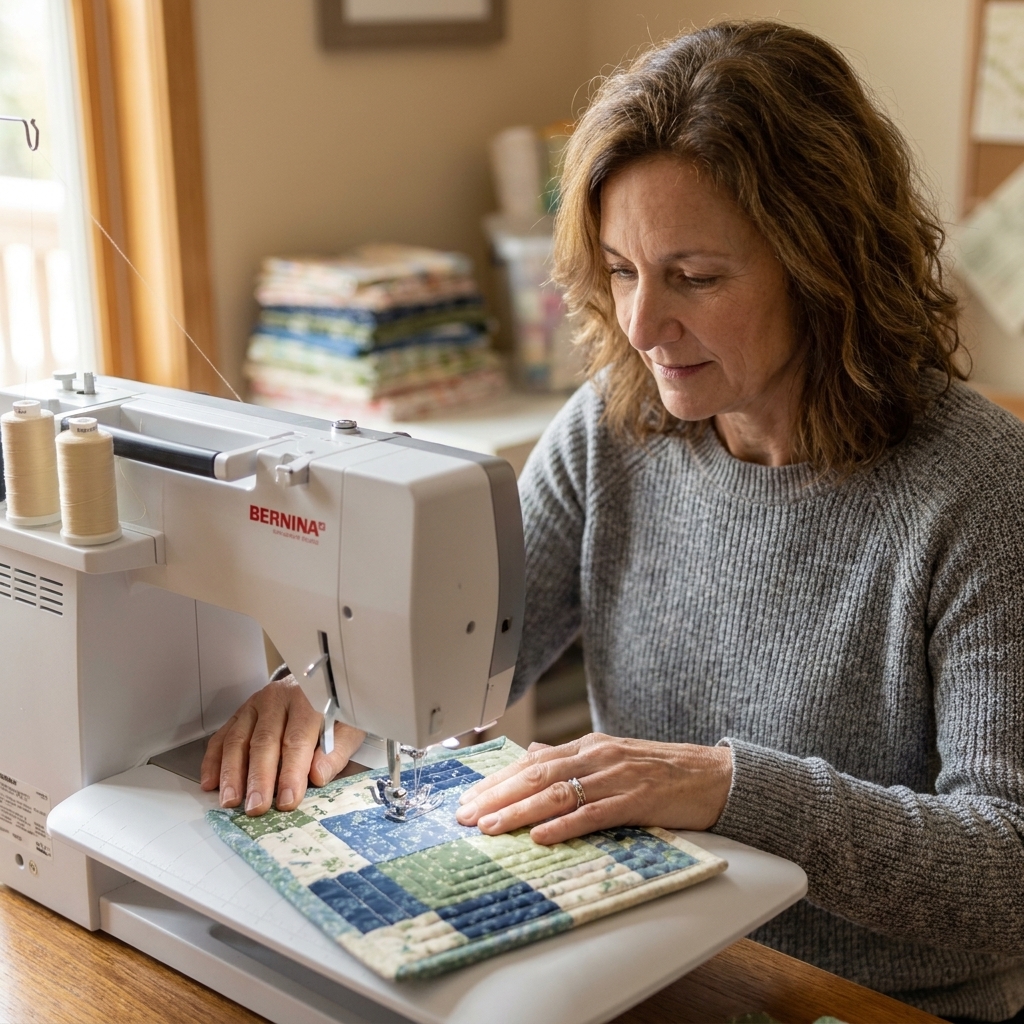
Binding looks fancy, but it is just folded fabric that hugs the raw edge. We are going to use double-fold (French-fold) binding, which is the classic quilt-style binding made from a 2.5 inch strip folded in half.
Step 1: Make your binding strip
Use a 2.5 inch wide strip about 40 inches long.
If you are piecing scraps, sew strips together end-to-end with a diagonal seam (like quilt binding) to reduce bulk. Press seams open.
Step 2: Press the binding
Press the strip in half lengthwise, wrong sides together, so you have a long folded strip.
Step 3: Attach binding to the back first
Place the raw edges of the binding along the raw edge of the pot holder on the back side. Align raw edges, folded edge toward the center. Clip in place.
Sew with a 1/4 inch seam allowance all the way around, using mitered corners:
Mitered corner made simple
- Sew until you are 1/4 inch from the corner.
- Stop with needle down, then sew off the edge at a 45 degree angle to the corner.
- Fold the binding up so it points away from the pot holder, making a straight line with the next edge.
- Fold it back down so the fold aligns with the top edge and the raw edges align with the next side.
- Start sewing again at the top edge with a 1/4 inch seam allowance.
Your first miter might look a little lumpy. That is normal. The second one always looks better. Sewing has a sense of humor like that.
Step 4: Join the binding ends
When you get back near where you started, stop with about 3 inches unsewn so you have room to work. Overlap the binding tails by 2.5 inches (the width of your binding strip) and trim if needed. Open the tails, place them right sides together, and sew them with a diagonal seam (like you did when piecing strips). Press the seam open, refold the binding, then sew the last gap closed.
Clip threads and take a second to press the binding along each side. Crisp folds make the next step calmer.
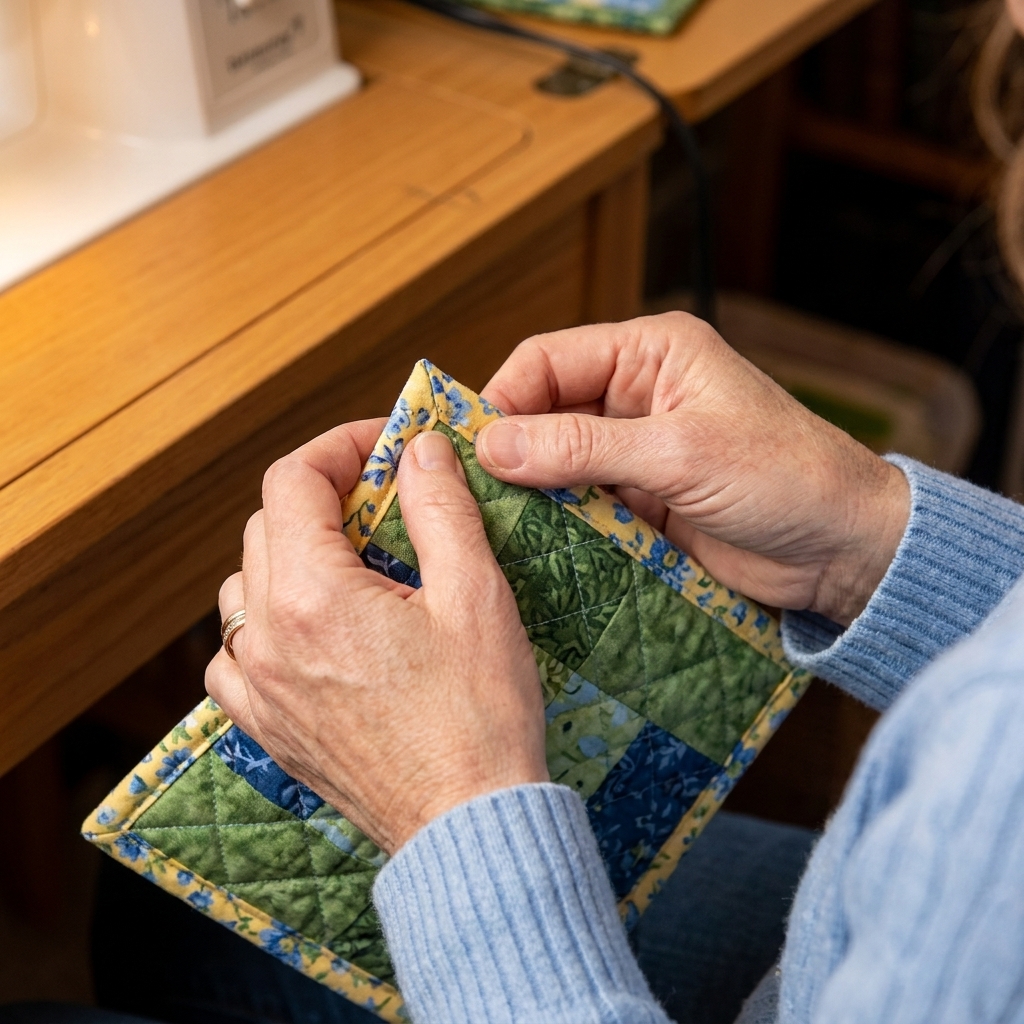
Finish the binding
Step 1: Wrap binding to the front
Flip the binding over the raw edge to the front side. The folded edge should cover your previous stitching line. Clip all the way around.
Step 2: Stitch it down
From the front, edgestitch close to the folded edge of the binding (about 1/8 inch). Go slowly at corners and keep checking that the binding is covering the seam line underneath.
Corner tip: When you reach a corner, stop with needle down, fold the next side of binding into a neat miter, then keep stitching. If the corner feels bulky, use your fingers to massage it flat before stitching over it.
Optional: add a hanging loop
If you want a loop, cut a 2.5 in x 5 in strip, fold it like binding, stitch it, then tuck the raw ends into the binding at one corner before you stitch that corner down. A loop is also a great way to hide a corner that did not turn out exactly like your dreams.
Press and test
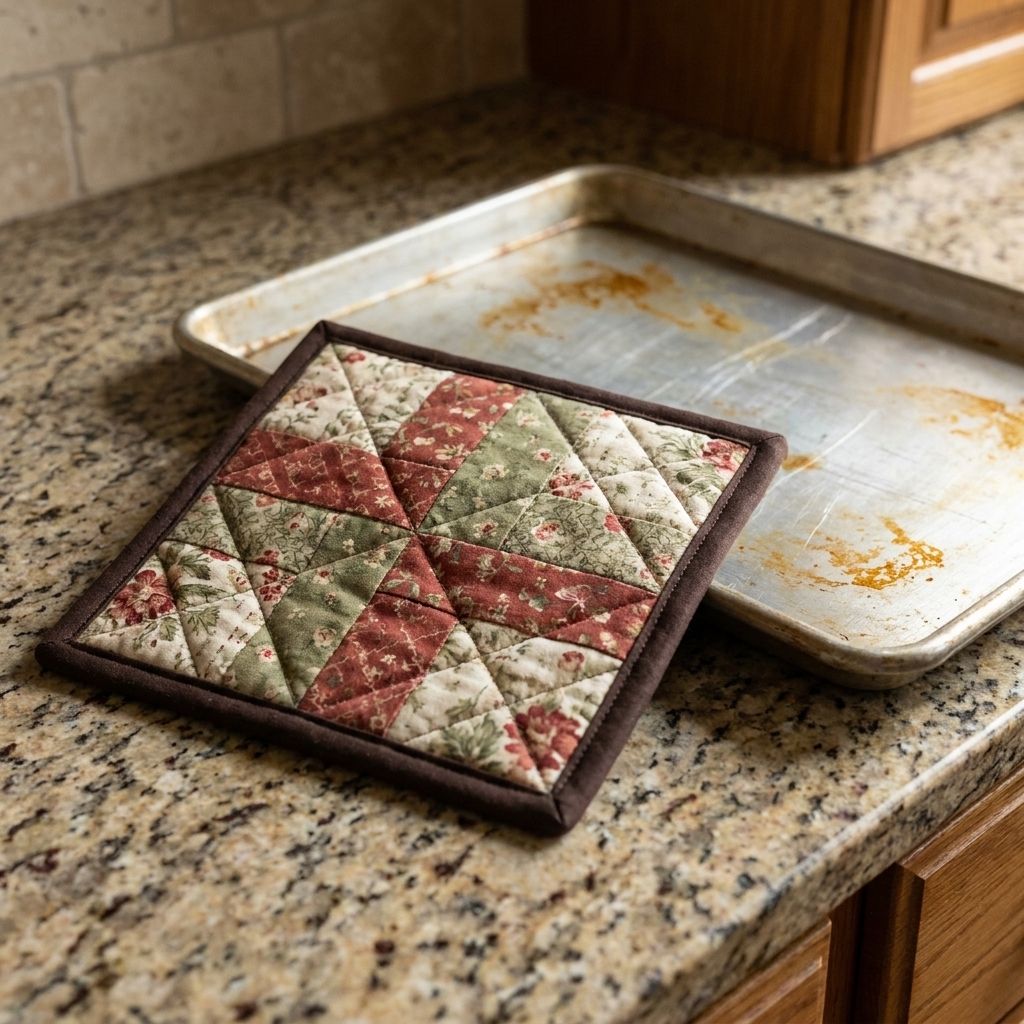
Give your finished pot holder a final press. Use a medium heat and avoid hovering the iron too long in one spot, since the reflective layer can bounce heat back toward the iron.
When you test it, start with something warm, not scorching hot. You are checking comfort and thickness, not auditioning it for superhero duty.
Troubleshooting
My quilting lines look wobbly
Welcome to the club. Draw thicker guide lines, slow down, and lengthen your stitch to 3.0 to 3.5 mm. Also, look a few inches ahead of the needle instead of staring directly at it.
The layers shifted and my edges do not match
This is why we trim after quilting. Quilt first, trim second, bind third. You did nothing wrong.
My corners are bulky
Trim seam allowances at the corners (carefully) and consider using fewer layers next time. Pressing the binding folds sharply before stitching also helps a lot. If you are battling a particularly chunky spot, trim away excess batting from the seam allowance only, not from the finished body of the pot holder.
My stitches skipped through the thick spot
Change to a fresh needle (90/14 if needed), slow down, and try a hump jumper or a folded scrap of fabric behind the presser foot to level it as you go over bulky seams.
Care and use notes
- Wash: Cool or warm wash is fine for most cottons. Air dry or low heat.
- Avoid microwave use: Insul-Bright includes a reflective metalized layer. Follow manufacturer guidance and keep it out of the microwave.
- Replace when worn: If your pot holder gets thin, scorched, or stiff, it has earned retirement.
Quick size variations
- Smaller: 7 in squares make cute trivet-style pads.
- Bigger: 10 in squares give more hand coverage.
- Two-handed hot pad: Make a rectangle like 8 in x 12 in and quilt it the same way.
Beginner FAQ
Do I need two layers of Insul-Bright?
For most everyday kitchen tasks, one layer is plenty, especially if you also include one layer of cotton batting for padding. If you regularly handle very hot cookware, you can experiment with two layers, but expect a thicker, stiffer project that can be harder to bind neatly.
Can I use fleece as batting instead?
I do not recommend it for pot holders. Fleece is synthetic and can melt. Stick with Insul-Bright plus cotton batting for heat-related projects.
Can I sew this without a walking foot?
Absolutely. Pin well, start quilting near the center, and keep the project supported so it does not drag off the table.
What if my binding does not fully cover my stitching line on the front?
Unpick a short section (hello again, seam ripper), re-wrap the binding so it covers the line, and clip closer together. Tiny fixes are how clean finishes are made.