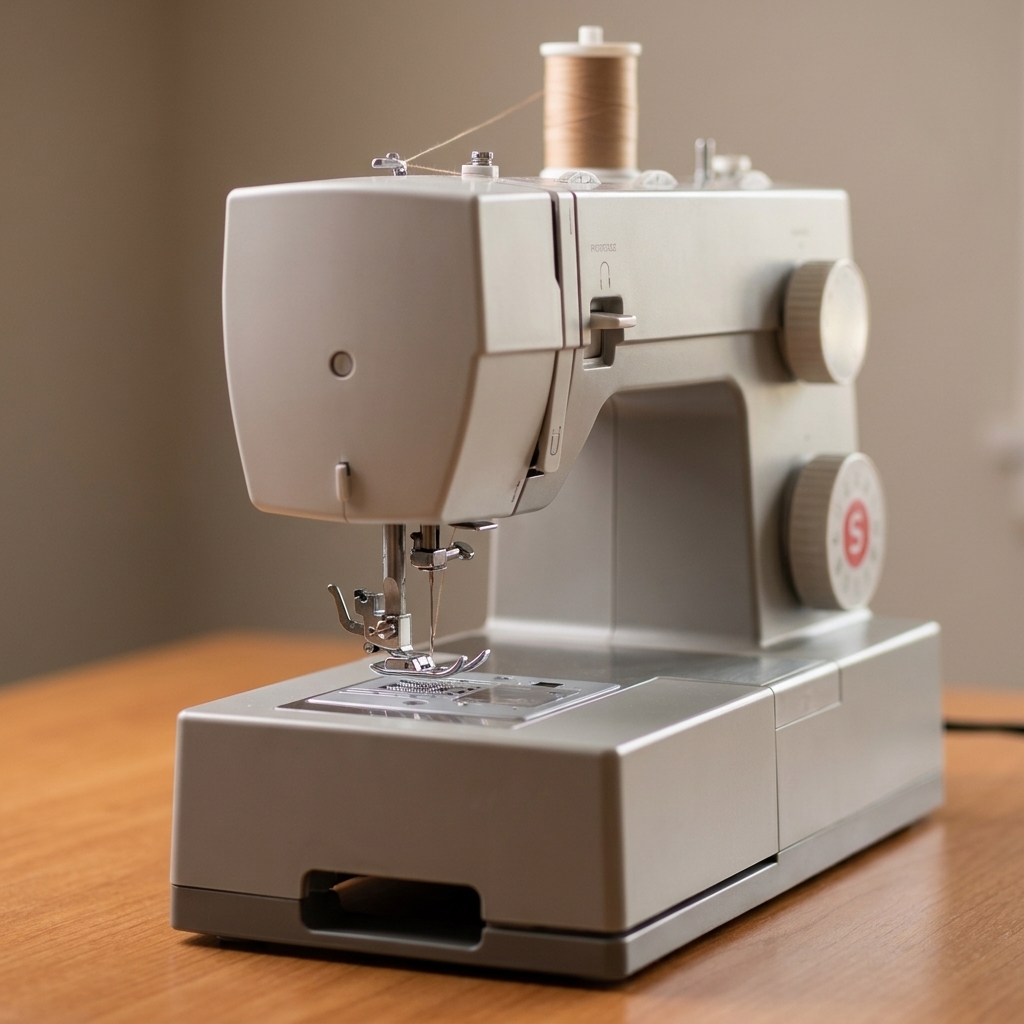
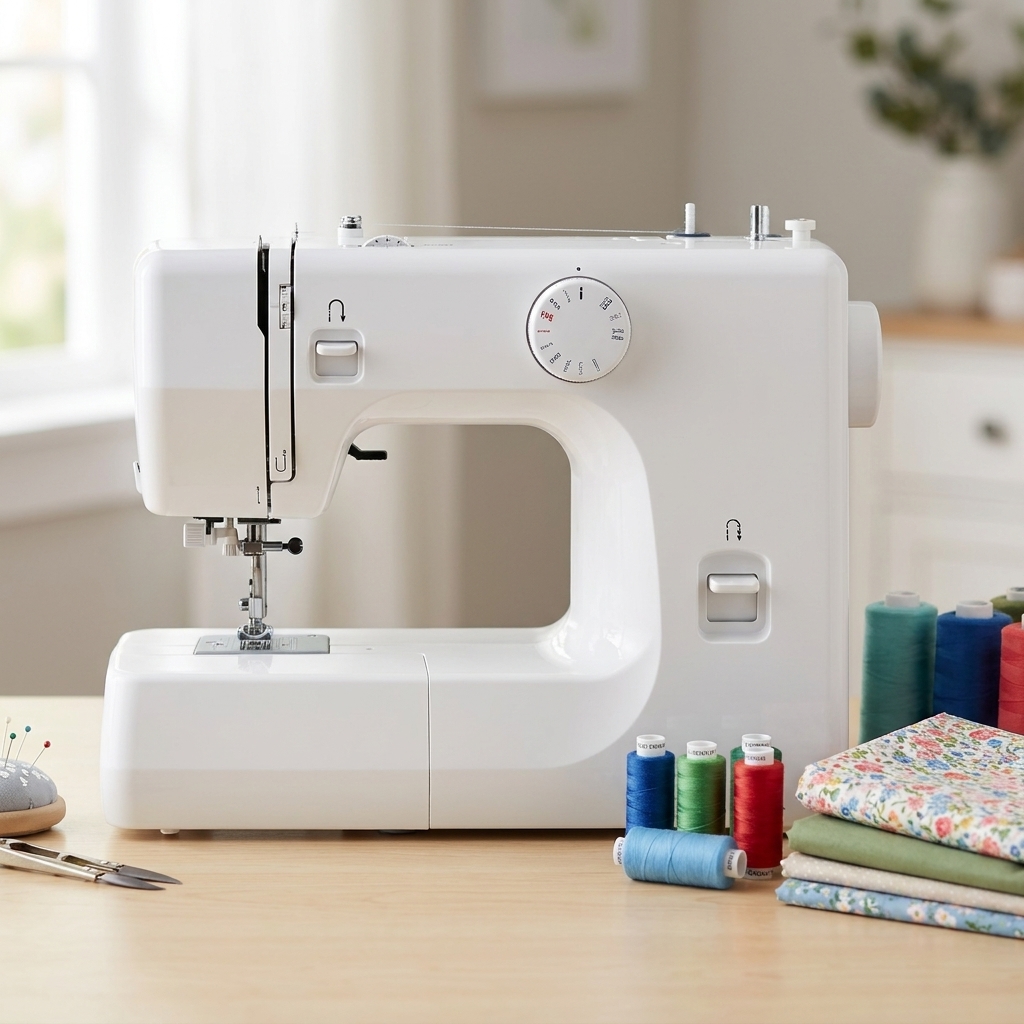
If you've ever watched a sewing tutorial and thought, “Okay, but where's the presser foot lever on my machine?” you're in the right place. Sewing machines look complicated because they pack a lot of tiny helpers into one box. Once you know what each part is called and what it actually does, everything gets calmer fast.
This guide walks you through the most common parts you'll find on modern beginner machines. Yours might look a little different, but the jobs are usually the same. Keep this page open next to your machine, point to each part as you find it, and you'll be speaking “sewing machine” in no time.
The top of the machine
Most of the “thread handling” parts live up top. This is where your thread starts its journey before it becomes a stitch.
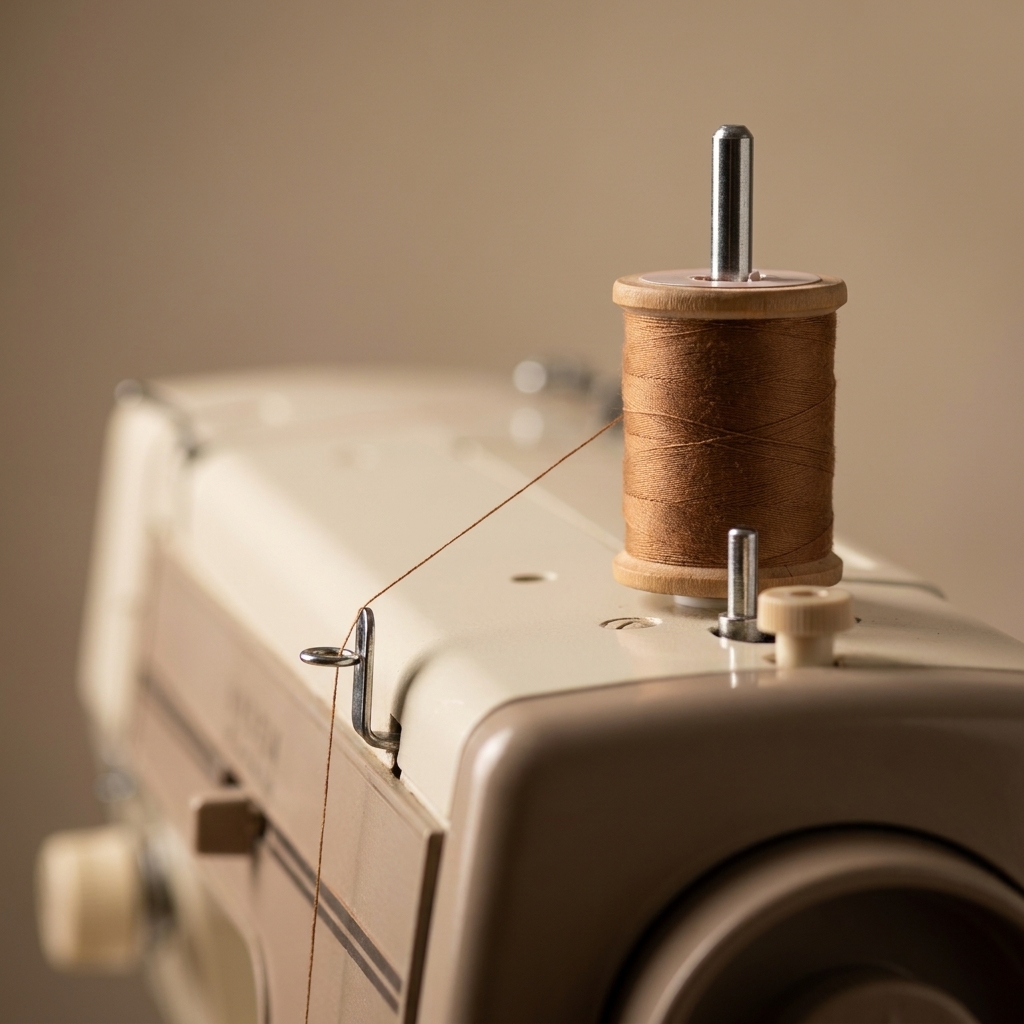
Spool pin
The spool pin holds your spool of thread. Some machines have a vertical pin, some have a horizontal pin, and many have two (handy for bobbin winding or twin needles).
- What it does: Lets thread unwind smoothly.
- Beginner tip: If you have a horizontal pin, use the correct spool cap so the spool doesn't wobble.
Spool cap (for horizontal spool pins)
This little cap sits at the end of a horizontal spool pin and keeps your spool from sliding around.
- What it does: Stabilizes thread feed and helps prevent snags.
- Beginner tip: A too-small cap can let the spool jump. A too-large cap can rub and cause tension issues. “Just right” usually looks like it sits close to the spool without squeezing it.
Thread guide(s)
Thread guides are small hooks, loops, or channels the thread passes through. There are usually several, starting near the spool and continuing down toward the needle.
- What they do: Keep thread traveling in the right path and at the right angle.
- Beginner tip: Skipping a guide is a classic reason for thread breakage and weird tension.
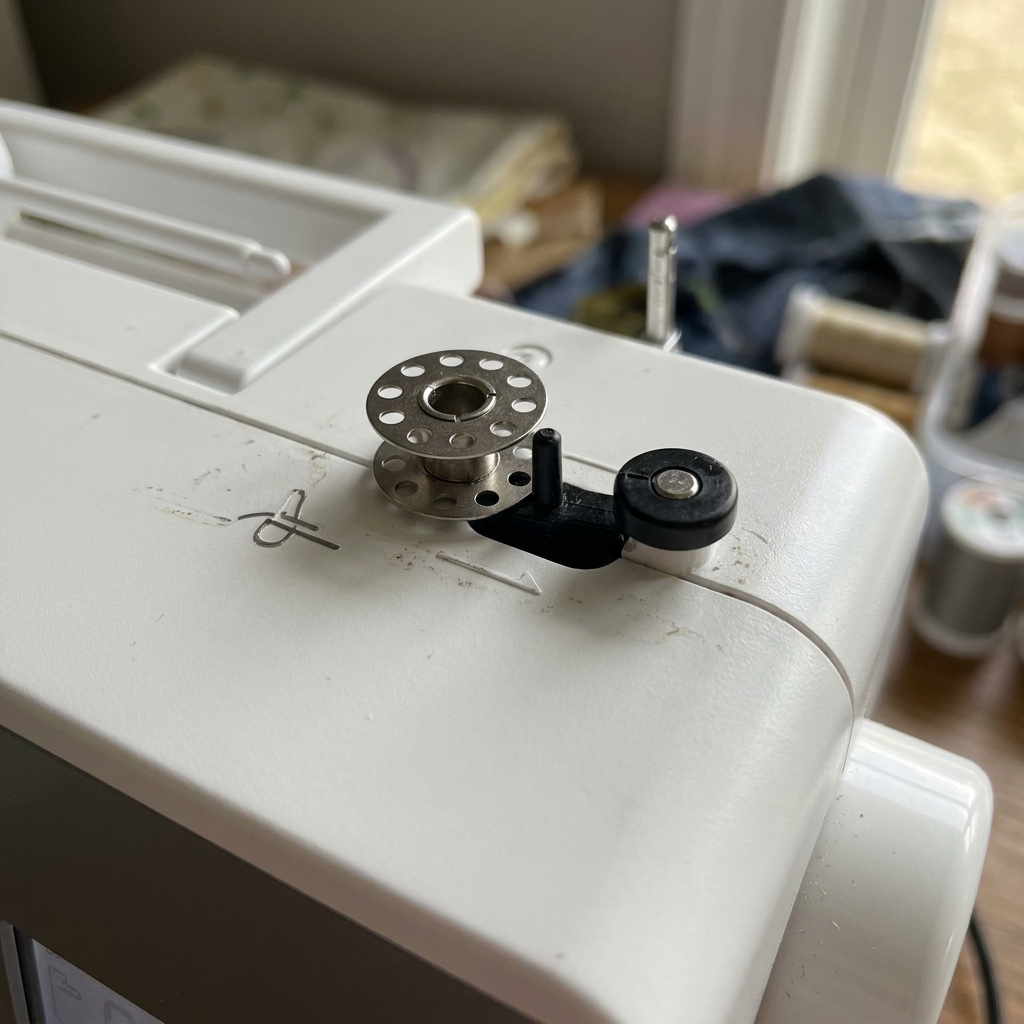
Bobbin winder
This is the little spindle where you place an empty bobbin to fill it with thread.
- What it does: Winds thread evenly onto the bobbin.
- Beginner tip: Most machines require you to push the bobbin winder to the side to engage it. If your needle isn't moving while winding, that's normal on many models.
Bobbin winding tension disc (or guide)
Near the bobbin winder you'll usually see a small disc or guide specifically for winding.
- What it does: Adds light tension so the bobbin winds neatly, not loosely.
- Beginner tip: A lumpy bobbin can cause uneven stitches and annoying tangles underneath.
The front controls
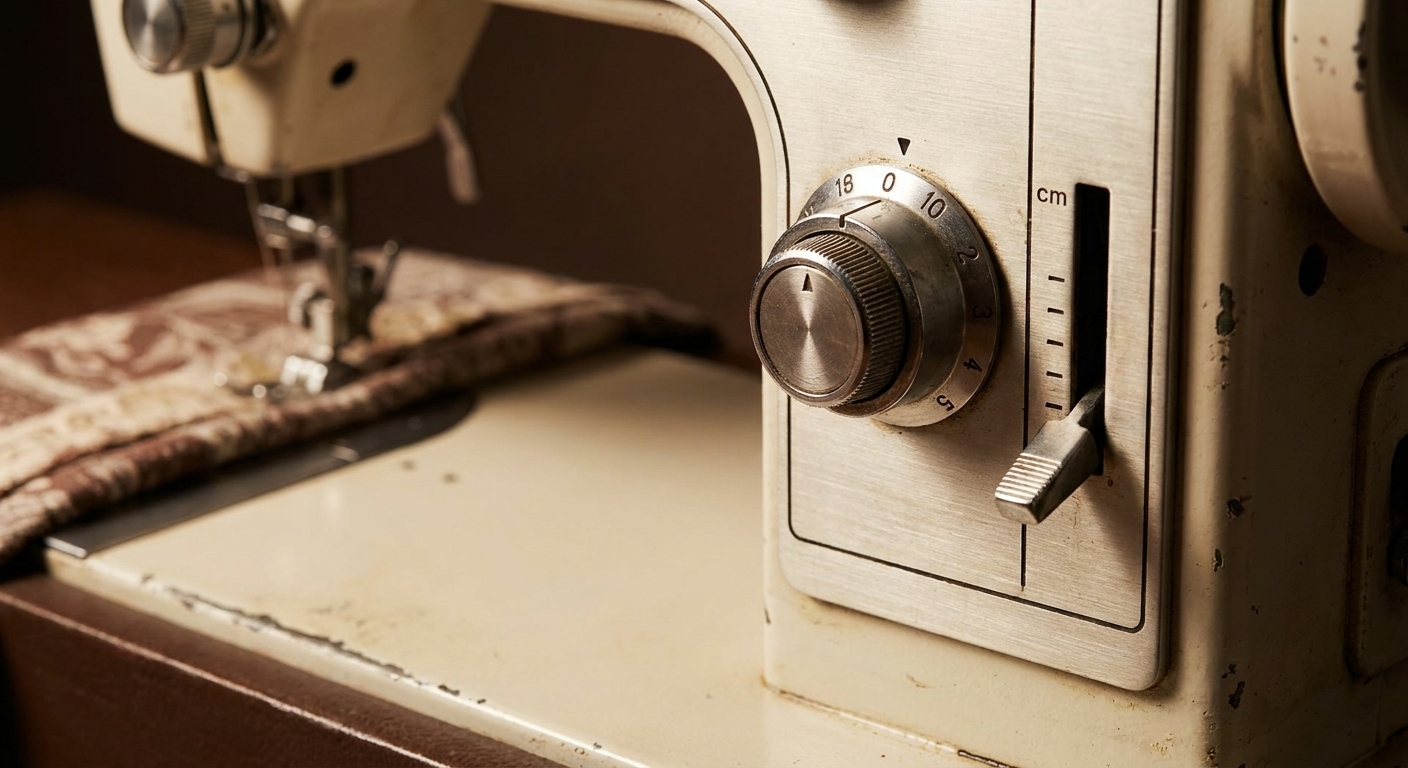
This is the “decision-making” area: stitch type, stitch size, speed, and sometimes needle position. Your exact layout will depend on your model, but these are the usual suspects.
Power switch
Often on the right side of the machine near where the cord plugs in.
- What it does: Turns the machine on and off.
- Beginner tip: Turn it off when changing needles, changing presser feet, or cleaning around the bobbin area.
Stitch selector (dial, buttons, or touchscreen)
This control chooses your stitch. On simple machines it's a dial with pictures. On computerized machines it may be buttons and a screen.
- What it does: Selects straight stitch, zigzag, buttonhole, stretch stitches, and more.
- Beginner tip: When you're learning, you can do a lot with just straight stitch and zigzag.
Stitch length control
Stitch length controls how long each stitch is. Higher numbers usually mean longer stitches.
- What it does: Changes stitch length for basting, seams, and gathering.
- Easy starting point: A length around 2.5 mm is a common everyday setting for woven fabric seams.
Stitch width control (mainly for zigzag stitches)
Stitch width controls how wide a zigzag or decorative stitch swings side to side.
- What it does: Adjusts zigzag width and many specialty stitches.
- Beginner tip: On many machines, if you're using a straight stitch, keep width at 0 unless your machine auto-adjusts. On some models, this control is ignored in straight stitch or doubles as needle position.
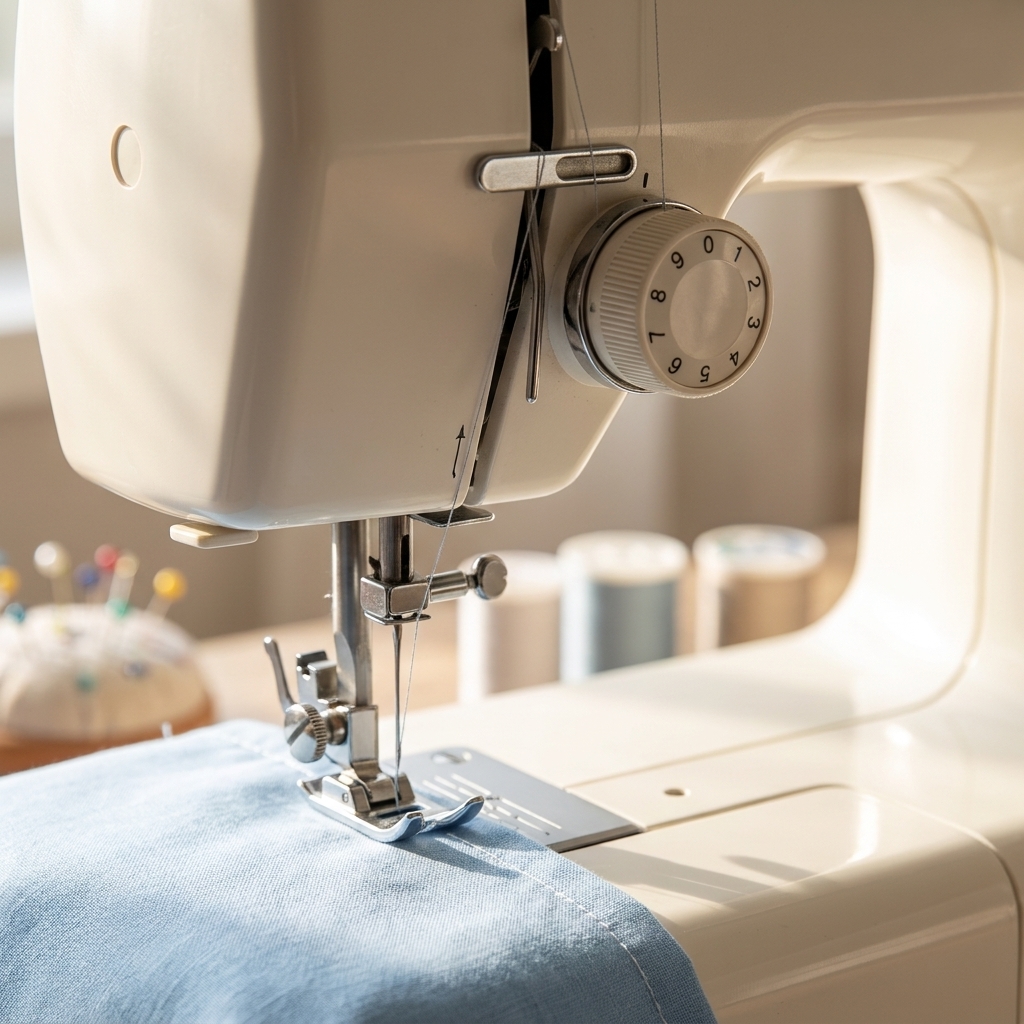
Tension dial (upper thread tension)
This is one of the most misunderstood parts, so let's make it friendly. Tension controls how tightly the top thread pulls against the bobbin thread inside the fabric.
- What it does: Balances top and bottom thread so the stitch “locks” inside the fabric layers.
- What to look for: If you see loopy thread on the underside, it's often an upper threading problem first, not a tension emergency.
- Beginner tip: Re-thread with the presser foot up before touching the tension dial. Presser foot up opens the tension discs so thread can seat correctly.
Reverse lever or reverse button
Reverse is how you stitch backward to secure your seam at the beginning and end.
- What it does: Reverses feed direction so fabric moves toward you.
- Beginner tip: Most seams need just a few reverse stitches, not an entire marathon backward.
Start/stop button (common on computerized machines)
Some machines can sew without the foot pedal. You press start to sew and press again to stop.
- What it does: Starts and stops stitching with a button instead of a pedal.
- Beginner tip: Pair this with the speed control slider if you have one. It's a calm way to practice straight seams.
Needle position and needle stop (some machines)
Some machines let you move the needle left or right, choose where the needle stops (up or down), or offer a separate needle up/down button.
- What it does: Helps with topstitching, zippers, and pivoting.
- Beginner tip: “Needle down” is wonderful for turning corners because it anchors the fabric while you pivot.
Speed control slider (common on computerized machines)
This sets the maximum speed, even if you press the foot pedal all the way down.
- What it does: Keeps the machine from taking off like a startled rabbit.
- Beginner tip: Slide it slower while you practice straight seams. Confidence first, speed later.
Light or LED lamp
This is the built-in light that shines on the needle area so you can actually see what you're doing.
- What it does: Illuminates the stitching area.
- Beginner tip: If your machine seems fine but everything looks dim, check whether the light has a separate switch or setting. On older machines, bulbs can burn out and be replaceable.
The needle area
This is the business end of the machine. If your stitches look odd, you usually end up troubleshooting something in this zone: threading, needle, presser foot, or bobbin area.
Take-up lever
The take-up lever moves up and down as you sew, feeding and pulling back the top thread.
- What it does: Maintains proper top-thread flow and helps form each stitch.
- Beginner tip: Always thread the take-up lever. Missing it can create instant thread nests underneath.
Needle
The needle carries the top thread down through the fabric so it can loop with the bobbin thread.
- What it does: Pierces fabric and delivers thread to form stitches.
- Beginner tip: A dull or bent needle causes skipped stitches, puckers, and popping sounds. If something feels off, change the needle first. It's the cheapest fix.
- Simple rule: Match needle type to fabric. Universal needles work for many wovens. Ballpoint or stretch needles help with knits.
Needle clamp and needle clamp screw
This holds the needle in place. The screw tightens the clamp so the needle doesn't slip.
- What it does: Secures needle at the correct height and orientation.
- Beginner tip: Most home machine needles install with the flat side facing a specific direction (often toward the back). Check your manual for your model.
Needle clamp thread guide
Right near the needle clamp, there's often a tiny guide (sometimes just a small hook) the thread is meant to pass through on its way to the needle.
- What it does: Keeps the thread lined up so stitches form smoothly.
- Beginner tip: This is one of the easiest guides to miss. If your thread keeps popping out of the needle or snapping, double-check this spot.
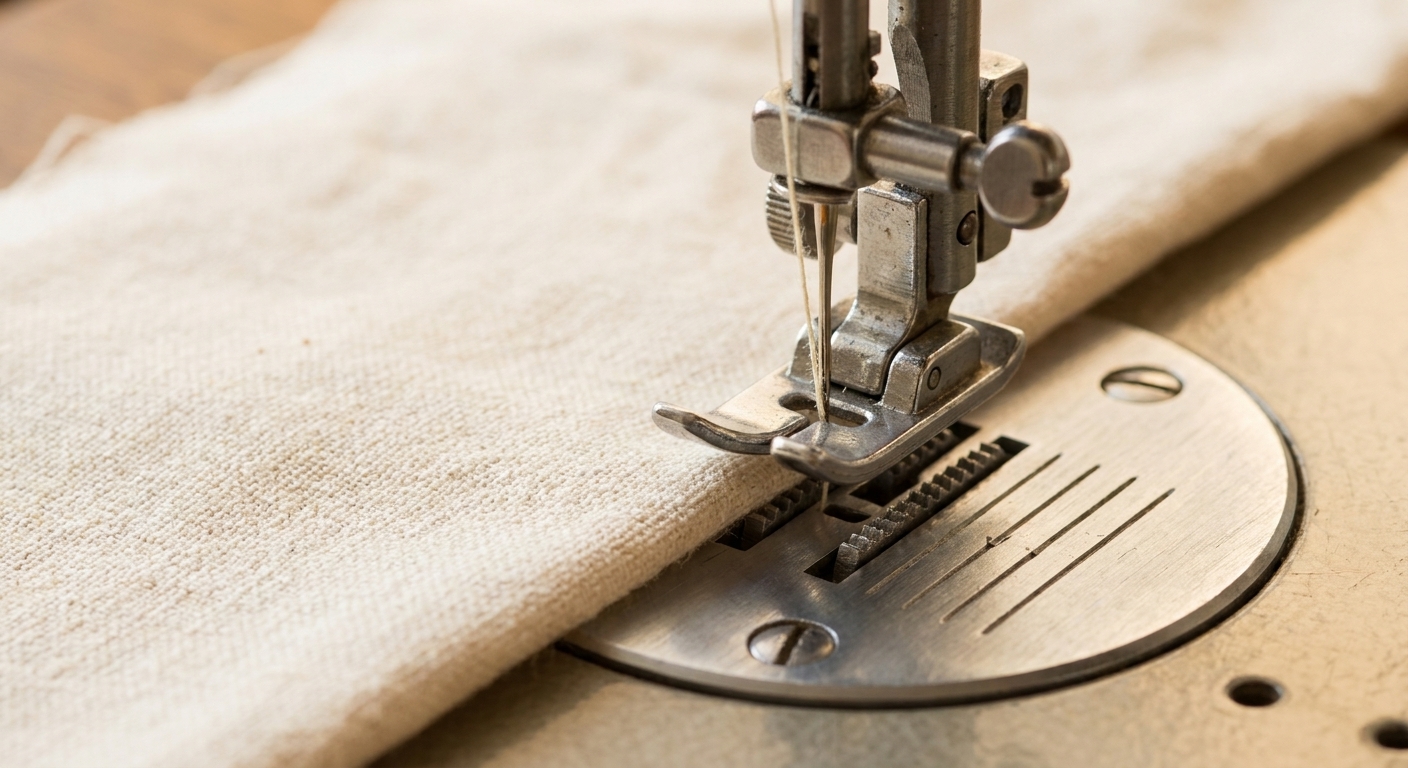
Presser foot
The presser foot is the removable metal piece that holds fabric against the feed dogs while you sew.
- What it does: Controls fabric movement and helps keep stitching even.
- Beginner tip: Start with your all-purpose foot. Later you can add zipper feet, buttonhole feet, and walking feet, but you don't need them all on day one.
Presser foot holder (ankle) and presser foot shank
The holder is the part the presser foot snaps onto. The shank is the vertical piece that connects the holder to the machine.
- What they do: Keep the presser foot aligned and stable.
- Beginner tip: If you buy extra feet, make sure they match your machine system (low shank is very common).
Presser foot release and presser foot screw
Many machines have a small release lever or button behind the presser foot holder that lets you pop a snap-on foot off quickly. Some feet (or some machines) use a screw-on style instead.
- What they do: Help you remove or attach presser feet safely.
- Beginner tip: If a foot won't snap on, raise the presser foot lever, line the bar up carefully, then lower the lever to click it into place. No forcing needed.
Presser foot lever (lifter)
This lever raises and lowers the presser foot.
- What it does: Applies pressure to hold fabric while sewing.
- Beginner tip: Thread the machine with the presser foot up. Sew with it down. If you try to sew with it up, you'll get messy stitches and fabric that refuses to feed.
Presser foot pressure adjustment (some machines)
Some machines let you adjust how firmly the foot presses on the fabric.
- What it does: Helps feed tricky fabrics like thick quilts or stretchy knits.
- Beginner tip: If your fabric is stretching out or waving, reducing pressure can help.
Needle plate (throat plate)
The metal plate under the presser foot. It has a needle hole and often seam allowance markings.
- What it does: Supports fabric and provides guides for straight sewing.
- Beginner tip: Keep it clean. Lint loves hiding around the needle hole.
Feed dogs
Feed dogs are the little metal teeth that pop up through the needle plate and move the fabric as you sew.
- What they do: Pull fabric from front to back in tiny steps.
- Beginner tip: Your job is to guide, not push or pull. Let the feed dogs do the work.
Drop feed control (some machines)
This control lowers the feed dogs for free-motion quilting, darning, or sewing on buttons.
- What it does: Disengages fabric feeding so you can move fabric manually.
- Beginner tip: If your fabric suddenly won't move while sewing, check whether the feed dogs were accidentally dropped.
Built-in needle threader (some machines)
This is a little lever mechanism that helps pull thread through the needle eye.
- What it does: Saves your eyes and patience.
- Beginner tip: It works best with good light, a fresh needle, and thread that isn't fuzzy.
Thread cutter
Many machines have a small blade on the side you can pull threads across. Some also have a second cutter near the needle plate or presser foot area.
- What it does: Cuts thread tails quickly.
- Beginner tip: Leave a little tail after cutting. Super-short tails can occasionally unthread the needle as you start sewing.
The bobbin area
If the top thread is the story you can see, the bobbin thread is the plot twist happening underneath. The goal is for the two threads to meet and lock inside the fabric, not fight on the top or bottom.
Bobbin
The bobbin is a small spool that holds the bottom thread.
- What it does: Supplies the lower thread for stitch formation.
- Beginner tip: Use the correct bobbin type for your machine. Bobbins can look similar but differ slightly in height or shape, and the wrong one can cause jams.
Bobbin case (front-loading machines)
On some machines, you insert the bobbin into a removable bobbin case, then place that into the machine.
- What it does: Holds the bobbin and controls bobbin thread tension.
- Beginner tip: If your bobbin case has a tiny tension screw, don't adjust it unless you truly know you need to. Most issues are caused by threading, lint, or the wrong bobbin direction.
Drop-in bobbin and bobbin cover (top-loading machines)
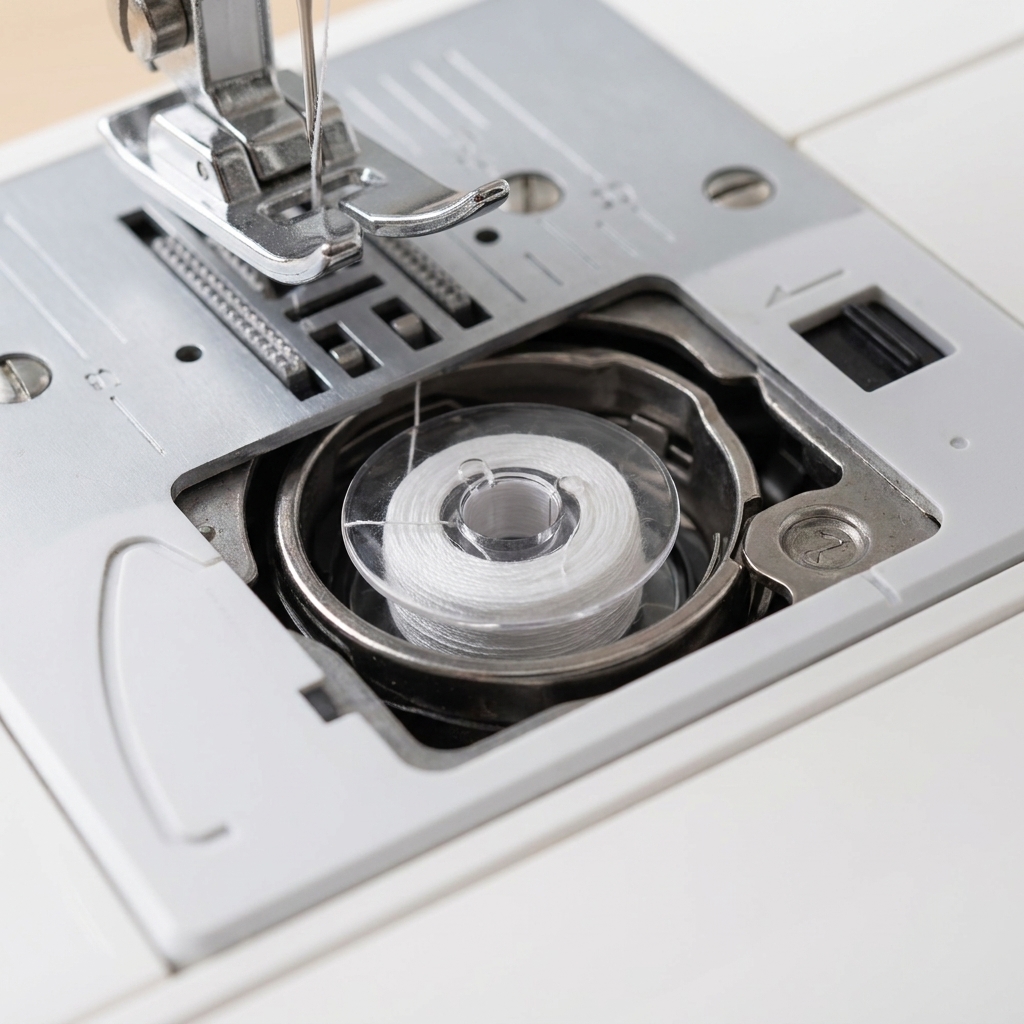
Many beginner machines use a drop-in bobbin that sits under a clear or semi-clear cover near the needle plate.
- What it does: Lets you see how much bobbin thread is left.
- Beginner tip: Follow the arrows for thread direction exactly. The direction matters.
Hook (rotary or oscillating hook)
This is the moving part that catches the loop of top thread and helps form the stitch with the bobbin thread.
- What it does: Interlocks top and bottom thread.
- Beginner tip: If you hear a sudden clunking or grinding, stop immediately, turn off the machine, and check for tangled thread in the hook area.
Bobbin race and shuttle area
This is the circular area where the hook mechanism lives.
- What it does: Houses the moving parts that create stitches.
- Beginner tip: Lint builds up here faster than you think, especially with fleece, flannel, and batting. A quick clean can solve a surprising number of problems.
The side and back
These parts help you control the needle and power the machine safely.
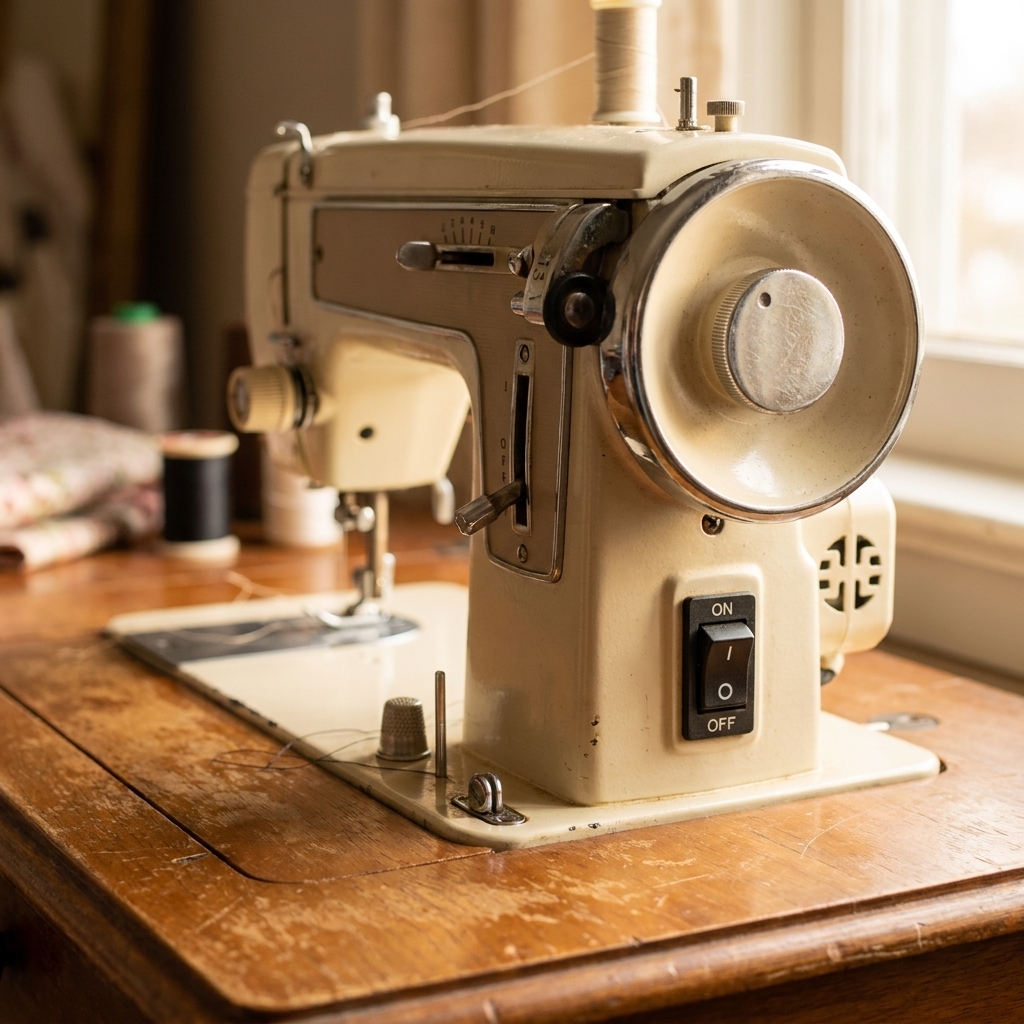
Handwheel
The handwheel is the big wheel on the right side of the machine. It raises and lowers the needle manually.
- What it does: Lets you place the needle precisely, stitch slowly, or free a jam gently.
- Beginner tip: On most home machines, you'll turn the handwheel toward you to lower and raise the needle. If you're not sure, check your manual, because turning it the wrong way can tangle thread.
Foot pedal
The foot pedal controls speed based on pressure, like a car accelerator but much less dramatic once you get used to it.
- What it does: Starts and controls sewing speed.
- Beginner tip: Practice pressing the pedal with your machine threaded but needle lifted above the fabric. You're training your foot without risking a wonky seam.
Power cord (and sometimes a separate foot pedal cord)
This is the cord that powers the machine, sometimes combined with the foot pedal cable.
- What it does: Provides power and connects pedal control.
- Beginner tip: If your machine won't turn on, check the cord connection at the machine. It can look plugged in but not be fully seated.
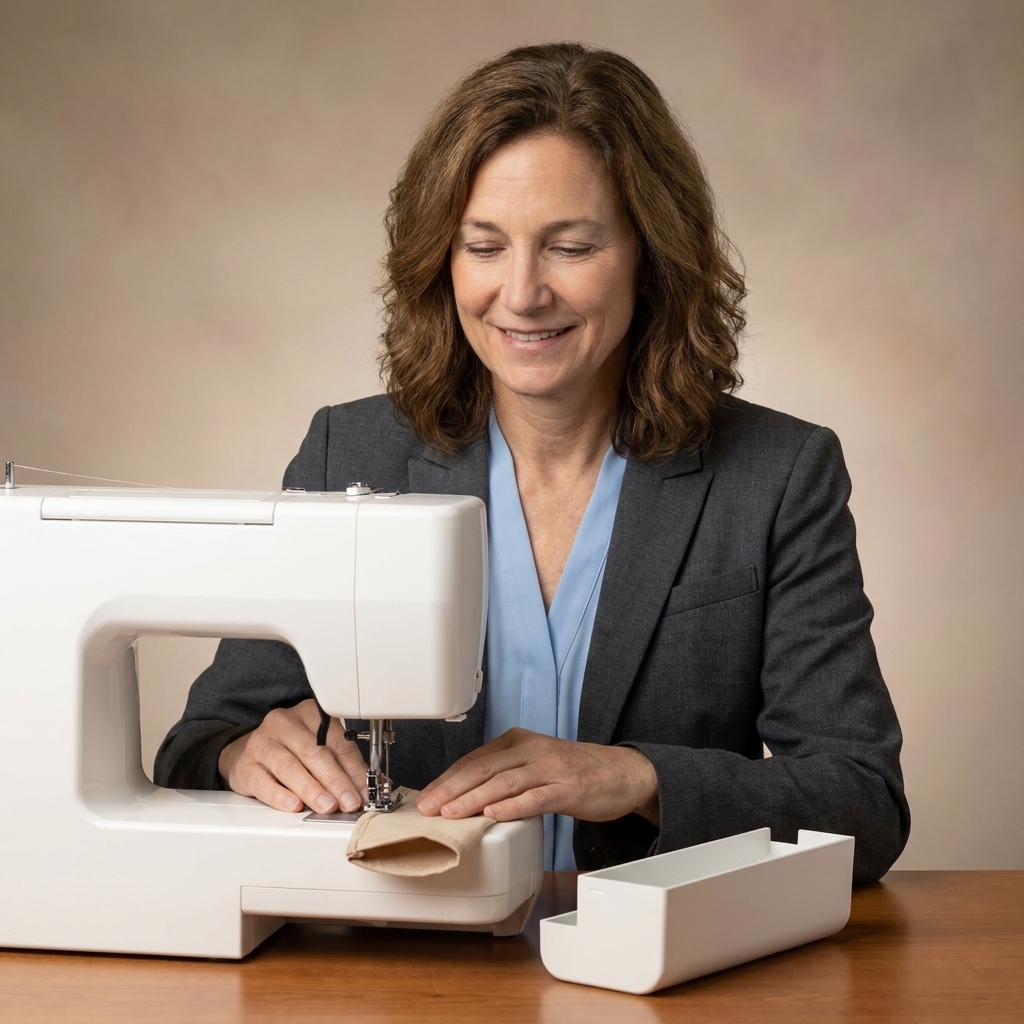
Accessory compartment (often part of the free arm)
Many machines store feet, bobbins, seam ripper, and needles in a little compartment that slides off.
- What it does: Keeps your small tools together.
- Beginner tip: Keep a tiny brush in there. Future-you will thank you when lint appears.
Free arm and flatbed
This is about the shape of the sewing surface, not just convenience. It changes how easily you can sew small tube-like items.
Flatbed
The flatbed is the full, flat sewing surface you use for most projects like pillowcases, tote bags, and quilt blocks.
- What it does: Supports fabric as you sew.
- Beginner tip: Support the weight of bigger projects so they don't drag and pull your stitches crooked.
Free arm
The free arm is the narrower arm that remains when you remove the accessory compartment.
- What it does: Lets you slide a sleeve, pant leg, or child-size neckline around the arm to sew in the round.
- Beginner tip: Free arm sewing feels wiggly at first. Go slow, and keep your fabric smooth so you don't accidentally stitch the back layer.
Quick cheat sheet
| Part | What it affects | If something goes wrong |
|---|---|---|
| Spool pin + thread guides | Smooth top thread delivery | Snags, breakage, uneven tension |
| Tension dial | Balance of top and bobbin thread | Loops on underside or top, puckers |
| Presser foot + lever | Fabric control and feeding | Fabric won't move, messy stitches |
| Needle | Piercing and stitch formation | Skipped stitches, thread breaks, holes |
| Feed dogs | Fabric movement | Uneven seam, fabric stalls if dropped |
| Bobbin + bobbin case | Lower thread supply and tension | Tangles under fabric, bird nests, jamming |
| Handwheel | Needle position control | Helps clear jams and sew precisely |
Beginner troubleshooting
I consider the seam ripper a loyal friend, not a scolding. Machines also have their moods. Here are the most common “something feels wrong” moments and which parts to check first.
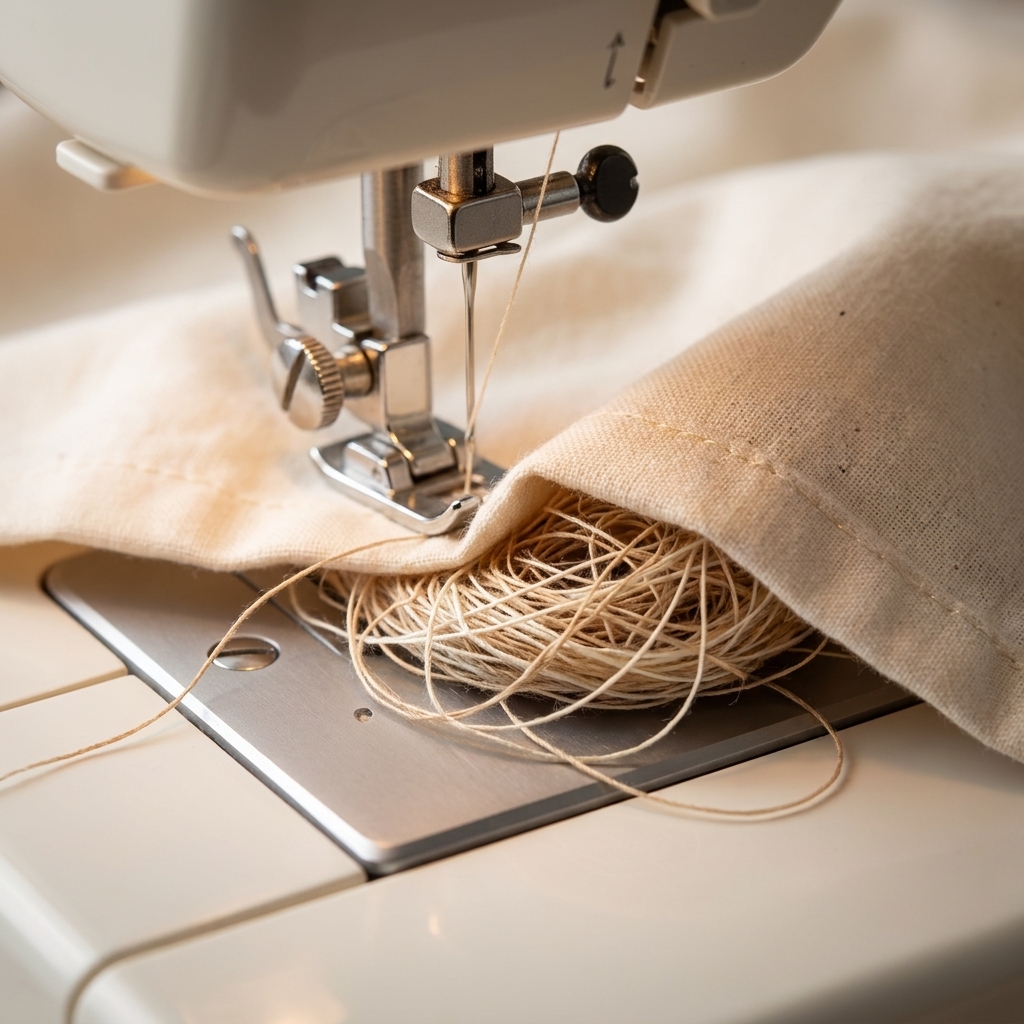
If you get a thread nest underneath (the classic bird nest)
- Re-thread the top thread with the presser foot up (tension discs open).
- Make sure the thread goes through the take-up lever.
- Check that the bobbin is inserted in the correct direction.
- Hold both thread tails for the first 2 to 3 stitches.
If your fabric won't move
- Make sure the presser foot is down.
- Check if the feed dogs are dropped.
- Reduce speed and don't push the fabric. Let the feed dogs pull it.
If stitches look uneven or are skipping
- Change the needle (a fresh needle solves so much).
- Confirm you're using the right needle type for the fabric (stretch needle for knits).
- Clean lint around the bobbin area and under the needle plate if your manual allows.
If your top thread keeps breaking
- Re-thread completely (again, presser foot up), and make sure you didn't miss a thread guide or the take-up lever.
- Check the needle for damage, and consider sizing up the needle if you're using thicker thread or fabric.
- Make sure the spool cap is the right size and installed correctly on a horizontal spool pin.
- Look for a snag point: a rough spot on the needle plate, presser foot, or hook area can shred thread.
If the machine is clunking or jammed
- Stop sewing immediately and turn the machine off.
- Use the handwheel gently to raise the needle if it's stuck.
- Remove tangled thread from the hook and bobbin area.
- Re-thread from the beginning. Slow and steady wins here.
FAQ
Do all sewing machines have the same parts?
Most home machines share the same core parts: spool pin, tension system, take-up lever, needle area, feed dogs, and a bobbin system. The difference is usually where the controls are located and whether they're manual dials or computerized settings.
What are the only parts I need to learn first?
If you want the quickest confidence boost, learn these first: spool pin, thread guides, take-up lever, tension dial, presser foot lever, reverse button, bobbin area, and handwheel. Those are the parts you'll touch every time you sew.
Is it normal to feel overwhelmed by the knobs?
Completely normal. Start with one stitch (straight stitch), one length setting, and one presser foot. You can make real projects with that small toolkit while you learn the rest.
Where can I find the names of parts on my exact model?
Your machine manual is the best source, even if it's just a PDF. Search your machine brand and model number plus the word “manual.” If you don't know your model number, check the back, underside, or near the power cord area for a label.
One last reminder
Your sewing machine isn't judging you. It's just a collection of parts doing tiny jobs in a specific order. The first time you can say, “Oh, that's the take-up lever,” you've already leveled up.
Keep practicing, keep your seam ripper nearby like a trusty sidekick, and take it one stitch at a time.