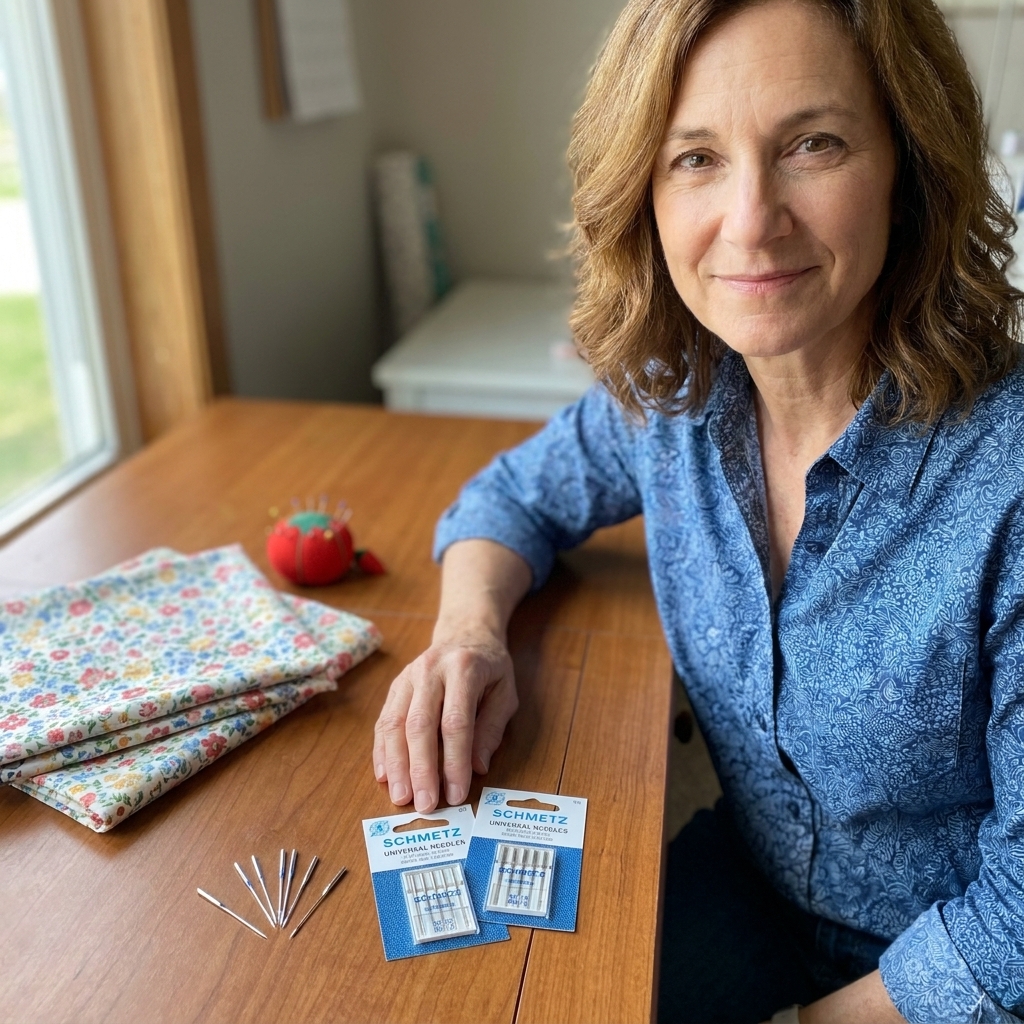
If your sewing machine has been acting a little cranky lately (skipping stitches, bunching thread, making a new mysterious noise), there is a good chance it is not “broken” at all. It is just dirty. Lint builds up in places you cannot see, and a dry hook race can sound like a tiny marching band.
The good news: basic machine maintenance is absolutely beginner-friendly. You do not need special powers or a technician badge. You just need a few simple tools, a calm five to fifteen minutes, and the willingness to say, “Okay, seam ripper, we might be friends, but today you can take a break.”
First, a quick reality check about oil
Some home machines need regular oiling. Some are designed to be oiled only by a technician. And some are happy with cleaning only. So before we talk about where to put a single drop of oil, we need one rule:
If your manual says “do not oil” or your machine is labeled “no oiling required,” skip oiling. Cleaning is still a big win.
If you do not have your manual, search your machine’s brand and model number plus the word “manual.” The model number is often on the back, bottom, or right side of the machine.
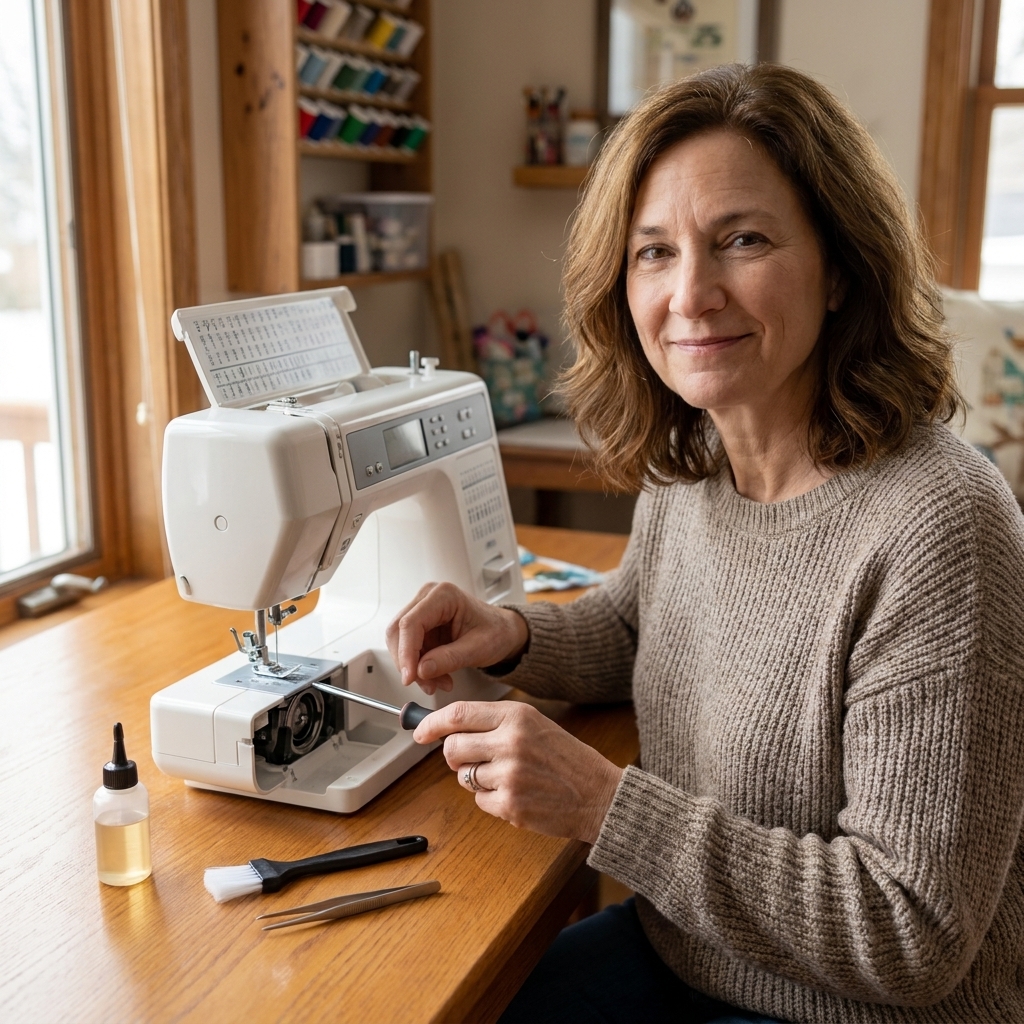
What you will need
- Your machine manual (even a PDF is perfect)
- A small nylon cleaning brush (often comes with the machine)
- A soft lint-free cloth or a clean cotton scrap
- Tweezers (great for grabbing thread bits)
- Sewing machine oil only, if your manual allows oiling
- A screwdriver (the one that came with your machine is ideal)
- Optional: a machine-safe mini vacuum attachment made for sewing machines, or a hand blower bulb
Be cautious with canned air. It often blasts lint deeper into the machine, and it can also push debris toward bearings or electronics. A brush plus tweezers is usually safer.
If you vacuum, keep it gentle and stick to a small attachment designed for machines. A full-size household vacuum can generate static, so this is one of those moments where the tiny purpose-built tool really does help.
Before you open anything
1) Unplug the machine
Turn it off and unplug it. You will be working near moving parts, and it is just safer.
2) Remove the needle and presser foot
This gives you space, and it helps prevent accidental pokes. If your needle has sewn through anything thick, is bent, or has been in there “for a while,” this is a great time to replace it.
3) Take off the bobbin cover and remove the bobbin
Set small parts in a little dish or mug so they do not wander off.
Step-by-step: clean the bobbin area
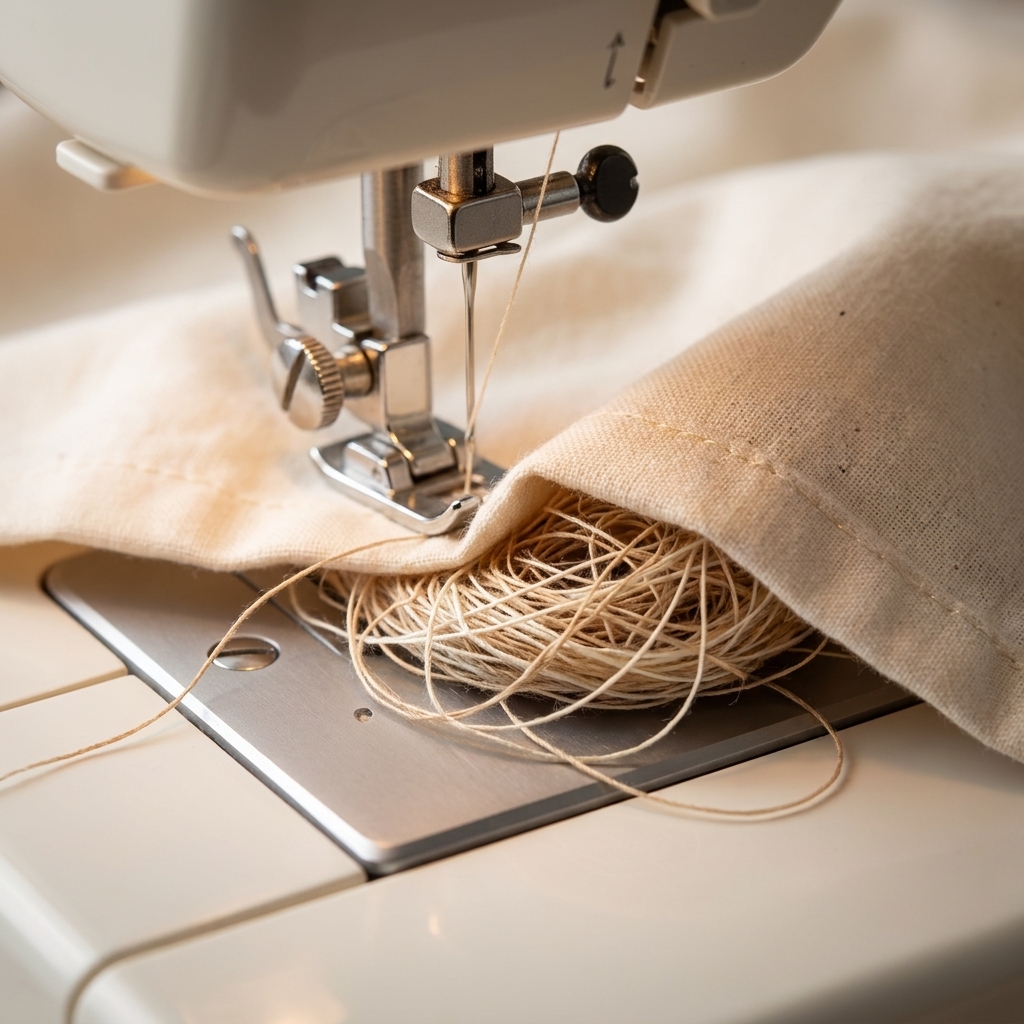
If your machine jams, birdnests, or makes clunky sounds, the bobbin area is usually the first place to check.
Top-loading (drop-in) bobbin machines
- Remove the needle plate if your manual recommends it. Usually this means loosening one or two screws.
- Lift out the bobbin area pieces only as directed by your manual. Some models have a removable plastic bobbin holder.
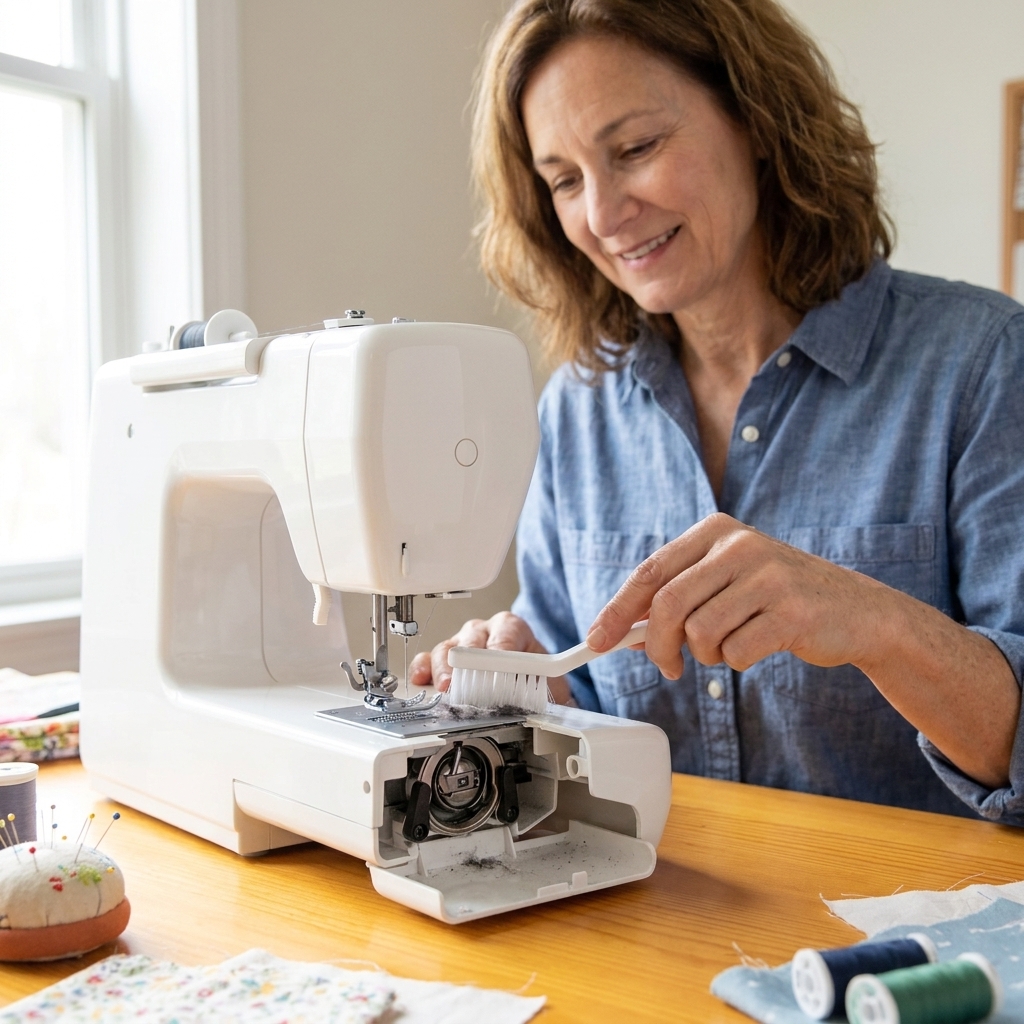
- Brush out lint from the feed dogs, corners, and around the hook.
- Remove stray thread with tweezers. If you find a wrapped thread nest around the hook, go slowly and do not yank.
- Wipe gently with a dry cloth. Avoid pushing dust into openings.
Front-loading bobbin machines
- Open the bobbin door and remove the bobbin case.
- Brush lint from the shuttle/hook area and feed dogs.
- Check for thread wrapped around the hook. This is a very common cause of sudden jamming.
- Reinsert the bobbin case exactly as it came out (a quick phone photo before you start can be a lifesaver).
While you are here, do a quick look-over of the bobbin case and bobbin. If you see deep scratches, cracks, or noticeable nicks, that can contribute to tension issues and shredding thread. Sometimes the fix is simply replacing a damaged bobbin or bobbin case.
Clean the feed dogs and needle plate
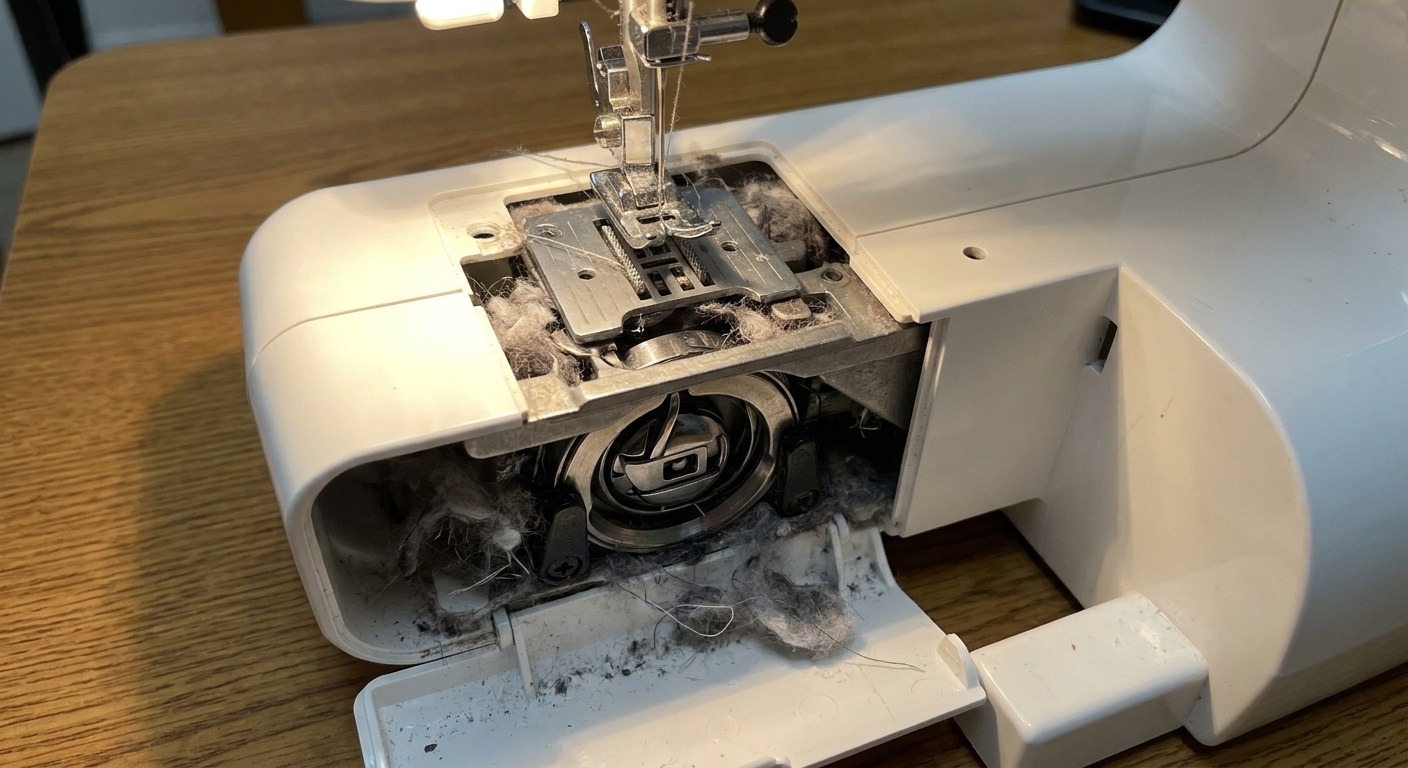
The feed dogs are the little metal teeth that pull fabric through. When they get packed with lint, your fabric can start feeding unevenly or feel like it is dragging.
- Brush between the feed dog teeth with a small nylon brush.
- Wipe the underside of the needle plate if you removed it. Lint loves to hide there.
- Check the needle plate hole. If you see needle burrs or a rough spot (from a needle strike), that can snag thread.
Minor burrs can sometimes be smoothed with very fine emery cloth, but be picky here. If you try this, remove the needle plate from the machine, go gently, and clean thoroughly afterward so no abrasive grit remains. If the damage is significant or you are unsure, replacing the needle plate (or letting a technician handle it) is the calmer option.
Clean the upper area
Yes, but keep it simple. Lint can cling around the thread path, take-up lever area, and anywhere fluff collects near the needle.
- Brush visible lint around the needle bar area, presser foot holder, and needle clamp. Do not disassemble anything.
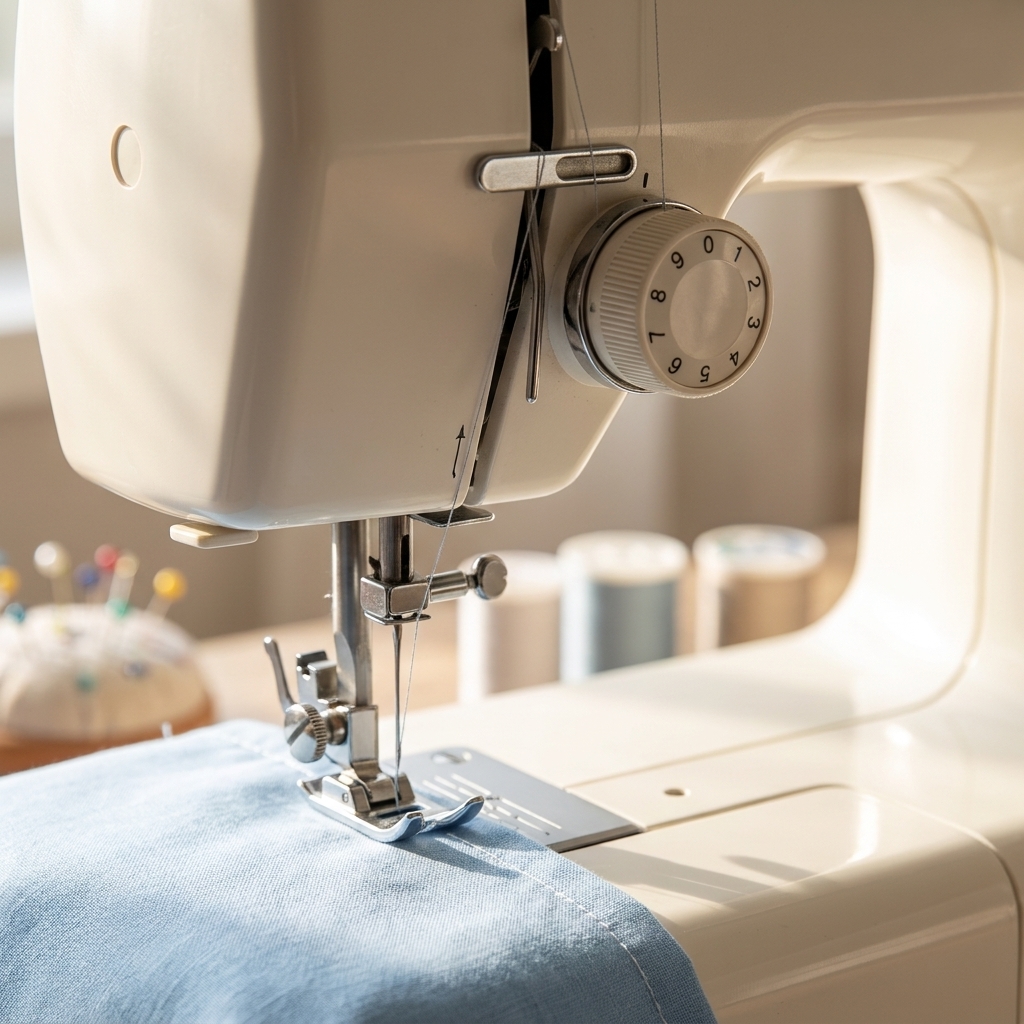
- Raise the presser foot (this opens the tension discs on many machines).
- Wipe the outside of the machine with a soft cloth.
Some people like to “floss” the tension area with unwaxed dental floss. That can help on certain machines, but it can also snag or shed fibers. Treat it as optional and only do it if your manual or manufacturer guidance specifically approves it. If you want a safer version, use actual sewing thread or a purpose-made cleaning cord, and be gentle.
Avoid poking inside the tension assembly with pins or metal tools. If tension issues persist after careful rethreading, that is a separate troubleshooting adventure.
Oiling: only if your manual says yes
If your machine is meant to be oiled, the manual will usually show exact oil points. Follow those. If the manual does not show oil points, do not guess.
Which oil should you use?
Use clear sewing machine oil only. Not household oil, not WD-40, not cooking oil (I say this with love because people try it).
How much oil?
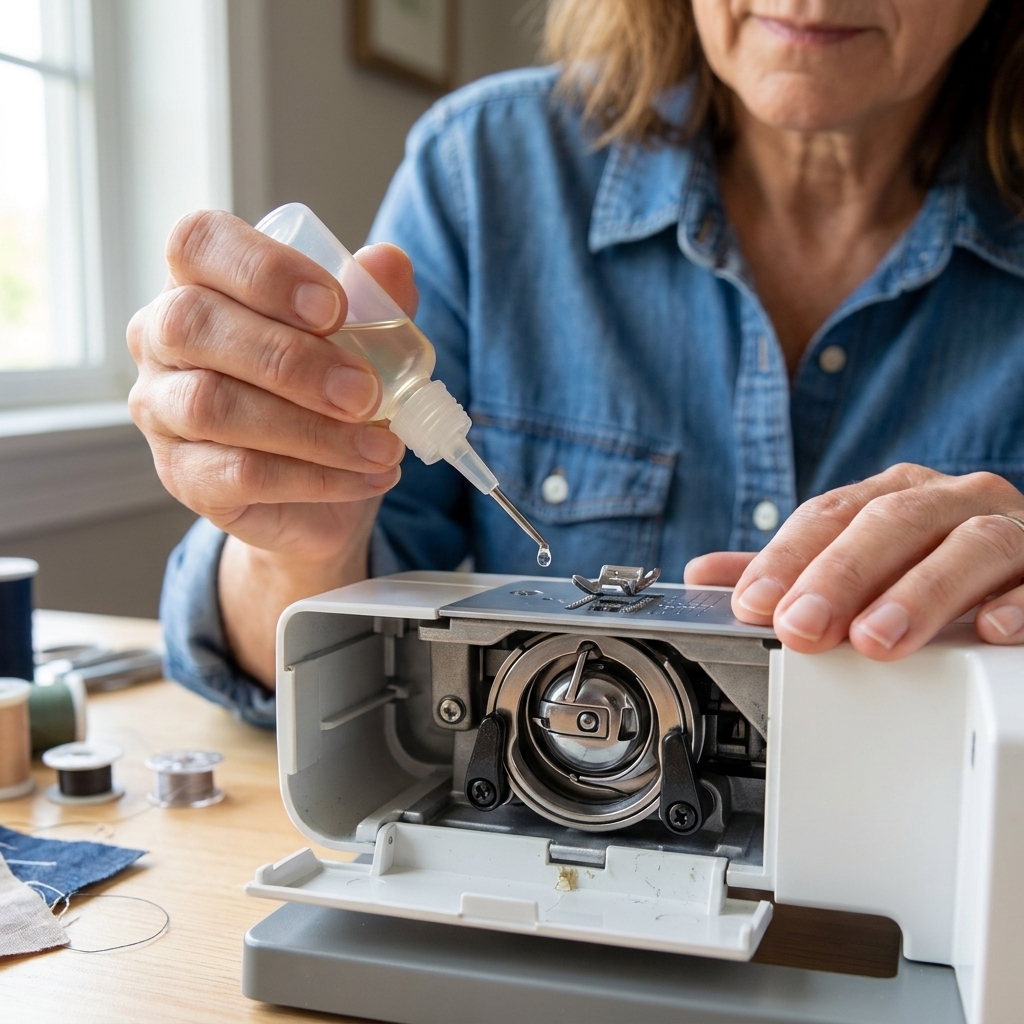
Almost always: one tiny drop. If you can see a puddle, it is too much.
Common oiling spot: the hook race
On many machines that allow owner oiling, a drop goes on the hook race in the bobbin area. Your manual will show you the exact spot. After oiling:
- Turn the handwheel toward you, in the normal sewing direction (follow your manual if it specifies direction).
- Wipe away any visible excess.
- Sew on scrap fabric for 20 to 30 seconds to soak up extra oil. Use fabric you do not care about, because the first stitches can leave a small oil mark.
Put it back together
Reassembly is where beginners often get flustered, so here is my no-stress order:
- Replace any bobbin area parts you removed (hook cover, bobbin holder, bobbin case).
- Reattach the needle plate and tighten screws snugly (not superhero tight).
- Insert the bobbin and thread it with the presser foot up.
- Install a new needle (flat side the correct direction for your machine) and tighten the needle clamp.
- Put the presser foot back on.
- Rethread the top thread with the presser foot up.
Then do a quick stitch test on scrap fabric with the thread and needle you plan to use. Most “mystery problems” after cleaning are simply a missed thread guide or a bobbin threaded the wrong direction.
How often should you clean and oil?
Cleaning schedule
These are general rules of thumb. Your manual wins if it gives different guidance.
- Light sewing: a quick bobbin-area brush every 2 to 4 projects
- Heavy sewing: a lint clean-out every 6 to 10 hours of sewing time
- High-lint fabrics (flannel, fleece, batting, terry): clean after each project, sometimes mid-project
Oiling schedule
This is entirely model-dependent. Some machines want a drop after a certain number of hours. Some want oil only after servicing. Follow your manual’s timing.
Common beginner mistakes
- Using canned air aggressively: It can pack lint deeper. A brush, tweezers, and gentle machine-safe vacuuming are usually better.
- Over-oiling: One drop is plenty. Excess oil attracts lint, which turns into gritty paste.
- Oiling the wrong places: If it is not in your manual, skip it. Modern machines have plastic and sealed parts that do not want oil.
- Forgetting to change the needle: A fresh needle fixes more problems than it gets credit for.
- Cleaning with the machine plugged in: Unplug first, always.
When to call a technician
Home cleaning is wonderful, but it has limits. Consider professional service if:
- You hear grinding or metal-on-metal sounds that do not improve after cleaning
- The handwheel feels stuck or very tight
- The machine is skipping stitches no matter what needle and thread you try
- Tension is wildly inconsistent after careful rethreading
- You see broken needle fragments inside the machine
- It has been years since a service and you sew often
Think of a tune-up like taking your car in for an oil change. It is not a failure. It is maintenance.
Quick FAQ
Can I use rubbing alcohol to clean my sewing machine?
For most general cleaning, a dry brush and cloth are safest. If you need to remove sticky residue on a metal needle plate, a tiny amount of rubbing alcohol on a cloth can help, but keep liquids away from internal parts and plastic components. When in doubt, stick to dry cleaning and check your manual.
Why does my machine jam right after I cleaned it?
Usually it is a rethreading issue: the presser foot was down while threading, the thread missed a guide, the bobbin is in backwards, or the bobbin thread is not seated in the tension slot. Re-thread top and bobbin slowly, with the presser foot up, and test again.
What is that fuzzy felt piece near the bobbin area?
Some machines have a small felt wick or pad designed to hold oil or catch lint. Do not remove it unless your manual specifically tells you to.
My machine says “self-oiling.” Do I still clean it?
Yes, absolutely. “Self-oiling” does not mean “self-de-linting.” Regular lint removal helps prevent jams and keeps stitches consistent.
A small habit that pays off
I know cleaning your machine is not as exciting as sewing a new tote bag. But it is one of those tiny habits that makes everything else easier. The stitches look better, the machine sounds happier, and you spend less time wrestling thread nests.
When you are done, consider popping a cover over the machine (even a simple dust cover or a clean pillowcase). Less dust and pet hair in the first place means less drama later.
Put on a kettle, grab your brush, and give your machine a little love. It has been working hard for you.