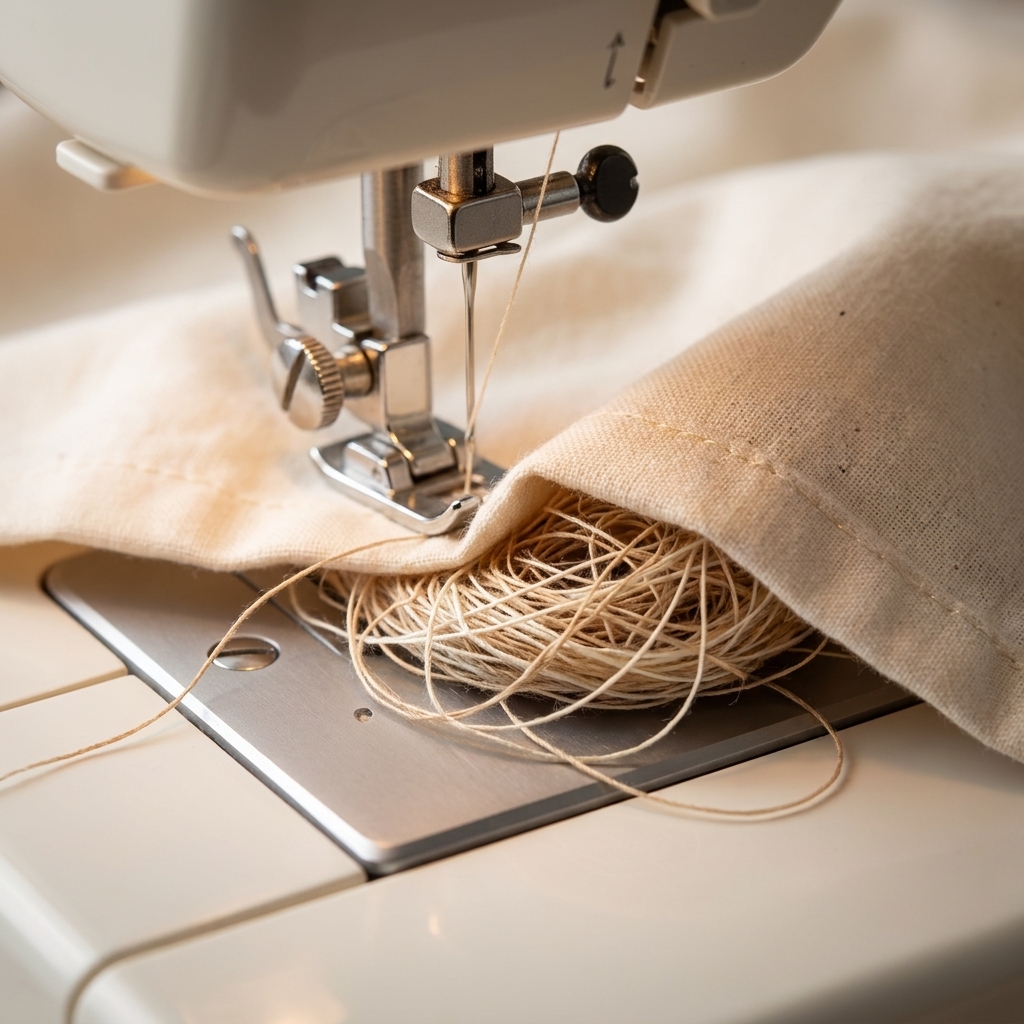
If your sewing machine is happily stitching along and then suddenly you flip your fabric over and find a tangled wad of thread underneath, take a breath. That dreaded little hairball is usually called a bird’s nest, and it is one of the most common beginner sewing problems.
The good news is this is usually not a “broken machine” situation. It is most often a threading or setup issue, and you can fix it with a few calm, practical checks. (Also: your seam ripper still loves you.)
What a bird’s nest means
When thread bunches underneath, it looks like the bobbin is misbehaving. Most of the time, it is actually the top thread not being properly tensioned, so it gets pulled down into the bobbin area and loops like crazy.
Think of a stitch as a handshake between the top thread and bobbin thread. If the top thread is not threaded correctly (or there is no tension on it), the “handshake” turns into spaghetti.
Do this first: stop and reset
Stop sewing immediately. Continuing will pack more thread into the bobbin area.
Turn the machine off. If your hands are going near the needle or bobbin area, power down first.
Lift the presser foot to release top thread tension.
Turn the handwheel toward you to raise the needle to its highest point.
Do not force the fabric out. If it is stuck, snip the top thread near the spool, then clip any tangled threads near the needle plate. Gently remove the fabric once it is free. Forcing it can bend the needle.
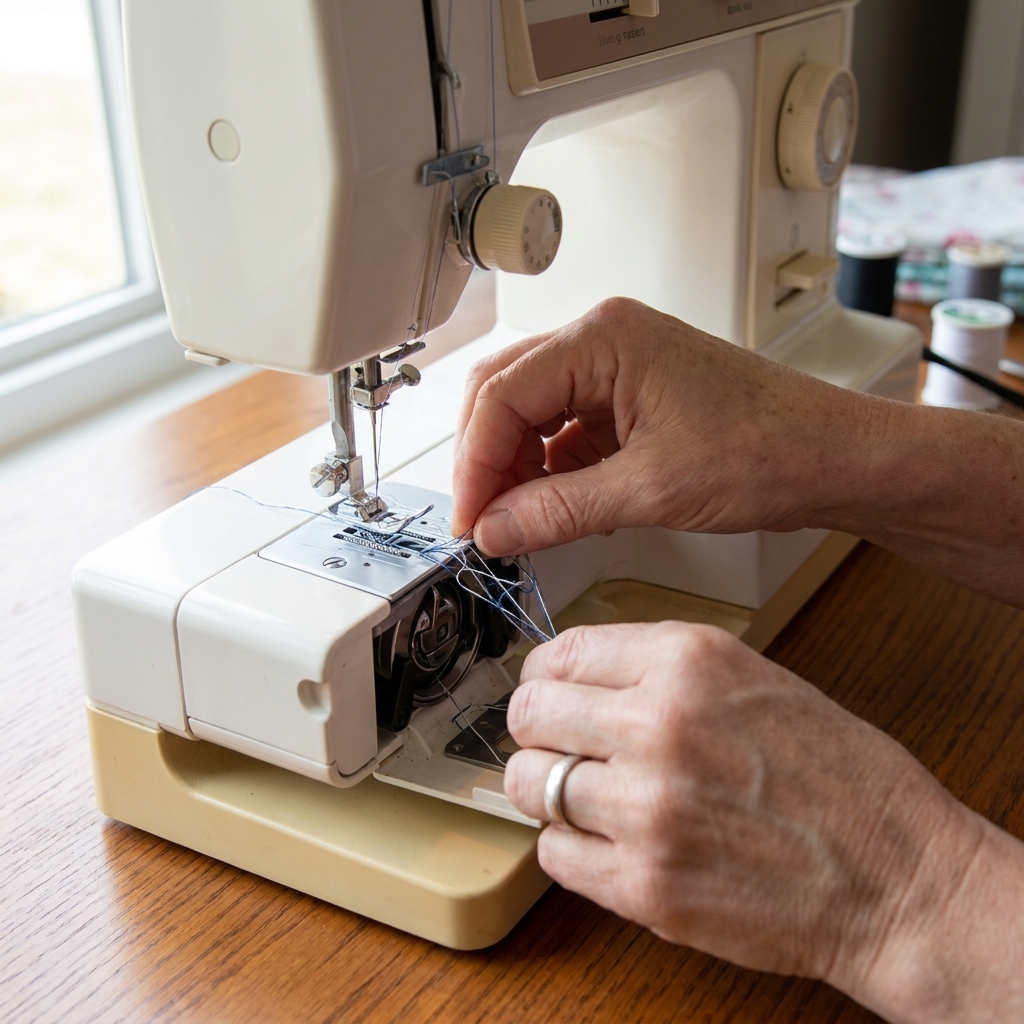
Open the bobbin area and remove the bobbin. Pull out all loose threads and lint.
Once the nest is cleared, you are ready to troubleshoot without fighting a knot.
Common causes (and quick fixes)
1) You threaded with the presser foot down
This is the number one cause I see with beginners. When the presser foot is down, the tension discs are closed, and the thread cannot settle between them properly.
Fix:
- Raise the presser foot.
- Completely rethread the top thread from the spool to the needle.
- Make sure the thread is firmly seated in the take-up lever (that little moving arm up top).
If you only change one thing today, make it this.
2) The top thread missed a guide
Even with the presser foot up, thread can miss a guide or slip out of the take-up lever.
Fix: With the presser foot up, rethread slowly and deliberately. Give the thread a tiny tug after it passes through the tension area. You should feel a slight resistance when the presser foot is lowered again.
3) The bobbin is in the wrong direction
Different machines want the bobbin to unwind in a specific direction. If it is reversed, tension can be off, and you can get jams or messy stitches.
Fix: Check your manual’s diagram for bobbin direction. If you do not have your manual, look up your machine model online and find the bobbin threading picture. It is worth it.
4) The bobbin is wound unevenly
A bobbin that is spongy, lumpy, or wound like a tiny cone can feed unpredictably and cause trouble underneath.
Fix:
- Rewind the bobbin at a steady, medium speed.
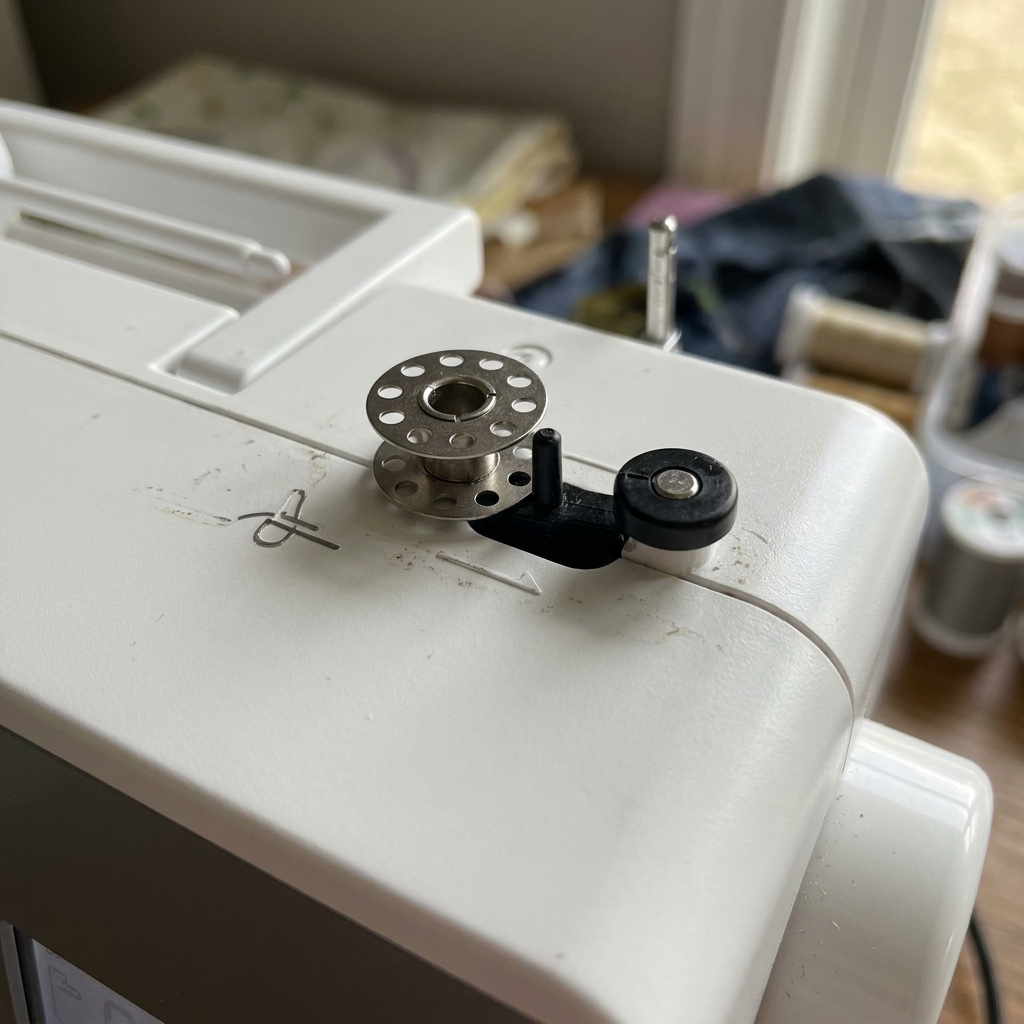
- Make sure the thread is going through the bobbin winding tension guide (usually a little metal loop on top of the machine).
- Use the right bobbin type for your machine (same class and height).
5) Your thread tails were too short
If the thread tails are too short, they can get sucked into the machine on the first few stitches.
Fix: Before you start sewing, pull both tails under and behind the presser foot, about 4–6 inches. Hold them gently for the first 2–3 stitches.
6) Wrong needle (or dull or bent)
A damaged needle can cause skipped stitches, shredding, and all kinds of thread drama that ends in tangles below.
Fix: Replace the needle. If you are not sure what to choose, these are safe starting points:
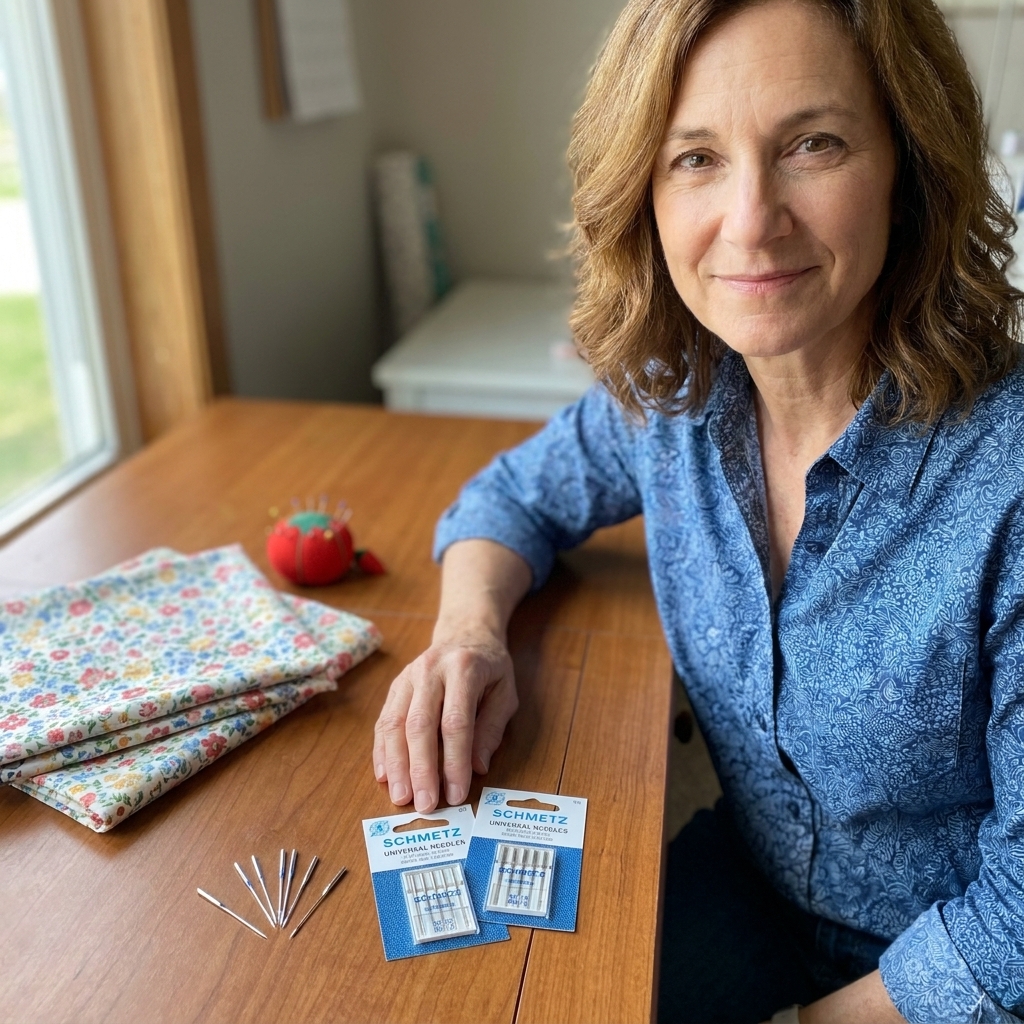
- Universal 80/12 for most quilting cottons and light woven fabric
- Universal 90/14 for medium wovens like twill and lighter canvas
- Denim/Jeans 100/16 for heavier denim and heavy canvas
- Ballpoint or Stretch needle for knits
Also make sure the needle is inserted correctly and fully up in the clamp. On many machines, the flat side faces the back, but not all, so check your manual.
7) Thread mismatch or poor thread
Mixing a very thick top thread with a fine bobbin thread can cause tension imbalance. So can old, fuzzy bargain thread that sheds lint.
Fix: For troubleshooting, simplify:
- Use good quality all-purpose polyester thread in the top and bobbin.
- Use the same brand and weight if possible.
- Avoid very old thread that snaps easily.
8) Lint buildup in the bobbin area
Lint in the bobbin area can interfere with smooth thread feeding. And if a little thread shred is stuck under the bobbin case, it can cause immediate tangling.
Fix: Turn off your machine, remove the bobbin and needle plate if your manual allows, and brush out lint. Use a small brush, not canned air. Many manufacturers advise against canned air because it can blow lint deeper inside.
10-minute bird’s nest checklist
If you want the “tell me exactly what to do” version, do this in order. This solves most bunching issues without any guesswork.
Remove the nest and clean the bobbin area.
Replace the needle with a fresh one.
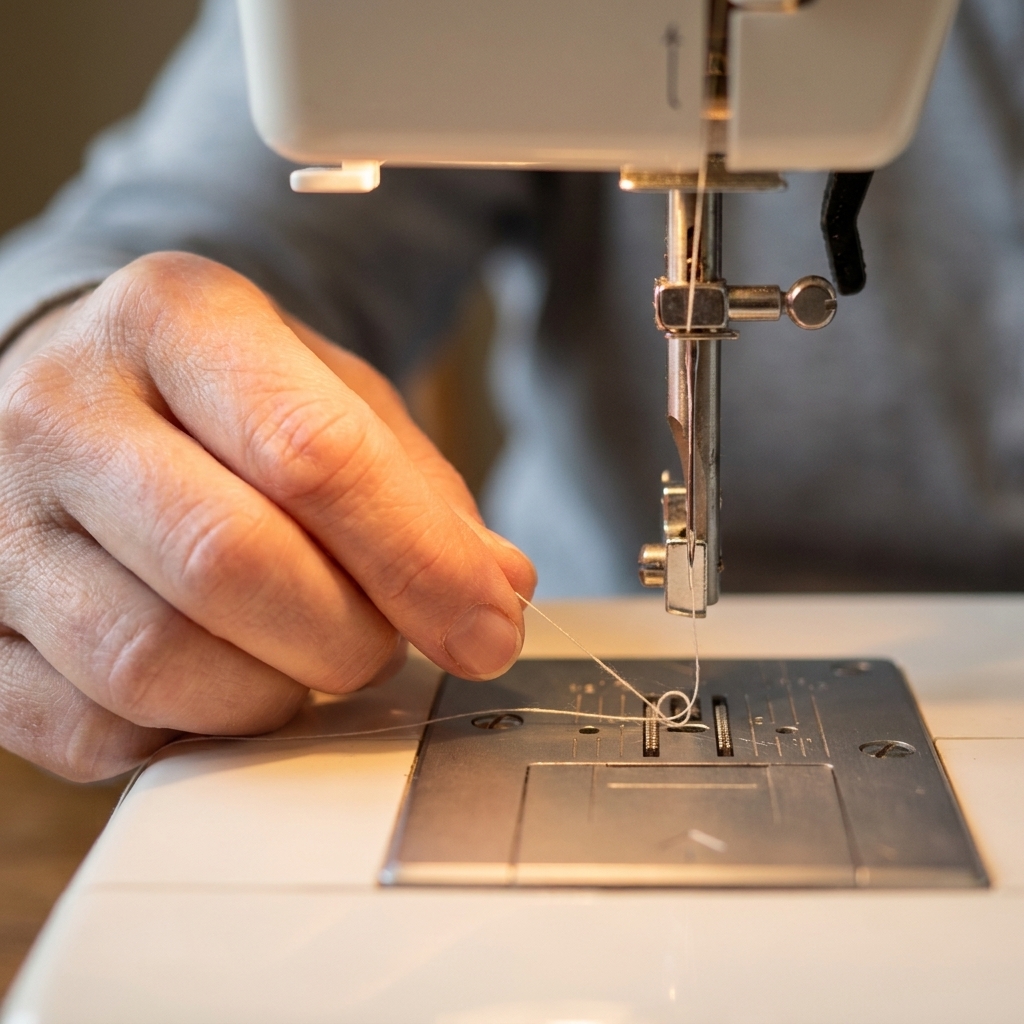
Rethread the top thread with the presser foot up, making sure you catch the take-up lever.
Remove and reinsert the bobbin in the correct direction, then rethread the bobbin path.
Pull up the bobbin thread: hold the top thread tail, turn the handwheel toward you one full turn, and pull the bobbin loop up through the needle plate.
Place both thread tails behind the foot and hold them lightly for the first 2–3 stitches.
Test on a scrap of the same fabric with the same number of layers.
Tension: when to adjust
Beginner machines make it very tempting to twist the tension dial the second something looks weird. I get it. But with a bird’s nest, tension is usually not the first problem. Incorrect threading is.
Try this rule: Only adjust tension after you have rethreaded the top correctly and confirmed the bobbin is inserted and threaded correctly.
A good baseline
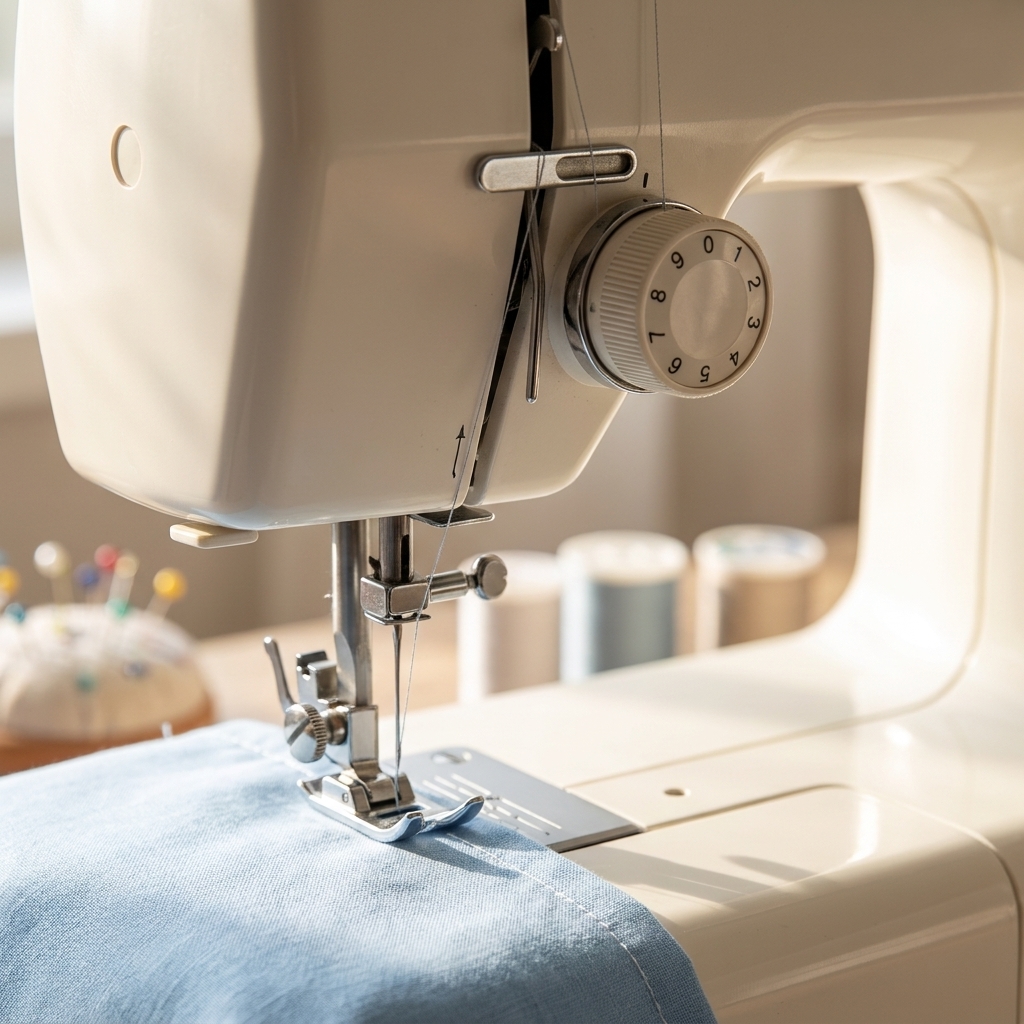
On many machines, a normal starting point is around 4 on the top tension dial. Your machine may vary, but if you are way down at 0–1 or way up at 8–9, bring it back toward the middle and test again.
When bobbin tension is the issue
Most modern beginner machines do not need bobbin tension adjustments often. If you have been turning the tiny screw on the bobbin case, it is very easy to go too far.
If you suspect bobbin tension was changed: Reset by checking your manual’s recommendations, or if possible, have a repair shop return it to factory baseline. In the meantime, focus on correct threading, a fresh needle, and good thread.
Sneaky causes people miss
- You started sewing without fabric under the foot. A few stitches in midair can create a bird’s nest immediately. Always start on fabric, even when testing.
- Your presser foot is not down when sewing. Sewing with the foot up means no tension. That can create instant looping underneath.
- You are pulling the fabric. Let the feed dogs move the fabric. Tugging can bend the needle and throw off stitch formation.
- The needle was not at the highest point when threading. If the take-up lever is not raised, threading can be incomplete.
- Your bobbin case is not seated correctly. If it is slightly out of place, thread can snag.
How to test your fix
My favorite low-stress approach is to make a tiny “sandwich” that matches your real sewing situation.
- Use a scrap of your project fabric.
- Use the same number of layers.
- If your project includes interfacing, include it in the test.
- Sew 6–8 inches, then stop and check the underside.
What you want: Stitches that look even on top, and on the bottom you see neat little dashes, not big loops or a tangled mass.
FAQ
Why is my thread bunching underneath only sometimes?
Intermittent bird’s nesting is often a threading issue that shows up when you change speed, hit a thicker seam, or slightly tug the fabric. It can also happen if the thread is catching on the spool cap, a notch in the spool, or a rough spot in the thread path. Rethreading and swapping in a fresh needle usually solves it.
My bobbin thread is bunching but the top looks fine. Is it still the top thread?
Very often, yes. When the top thread is not under proper tension, it can look perfectly normal from above for a moment while the underside turns into loops. Treat it like a top threading problem first.
Does my spool setup matter?
It can, especially with slippery thread. Make sure your spool cap is the right size and not pinching the spool. If you use cross-wound thread (the kind that looks like a crisscross pattern on the spool), it usually feeds best from a vertical pin or a thread stand, depending on your machine. If thread wants to puddle or jump off the spool, a thread net can help tame it.
Should I start with the needle down?
If your machine has a needle-down setting, it can help on tricky fabrics because the needle anchors the fabric as you begin. Either way, the big helpers are the same: start on fabric, keep the presser foot down, and hold your thread tails for the first 2–3 stitches.
Should I oil my machine to fix bird’s nesting?
Only oil if your manual specifically says to, and only in the spots it recommends. Many modern machines are designed to be oiled by a technician, not at home. Cleaning lint is a safer first step.
When is it time for professional service?
If you have rethreaded correctly, replaced the needle, tried a new bobbin, cleaned the bobbin area, and the machine still nests immediately, you may have a timing issue, a damaged bobbin case, or a snag inside the hook area. That is repair-shop territory, and it is not your fault.
A little pep talk
A bird’s nest feels dramatic, but it is usually just your machine asking for a reset. Rethread with the presser foot up, pop in a new needle, use decent thread, and test on scraps. You are not “bad at sewing.” You are learning the part of sewing nobody shows in the glamorous finished-project photos.
And if you need the seam ripper today, congratulations. You are officially a sewist.