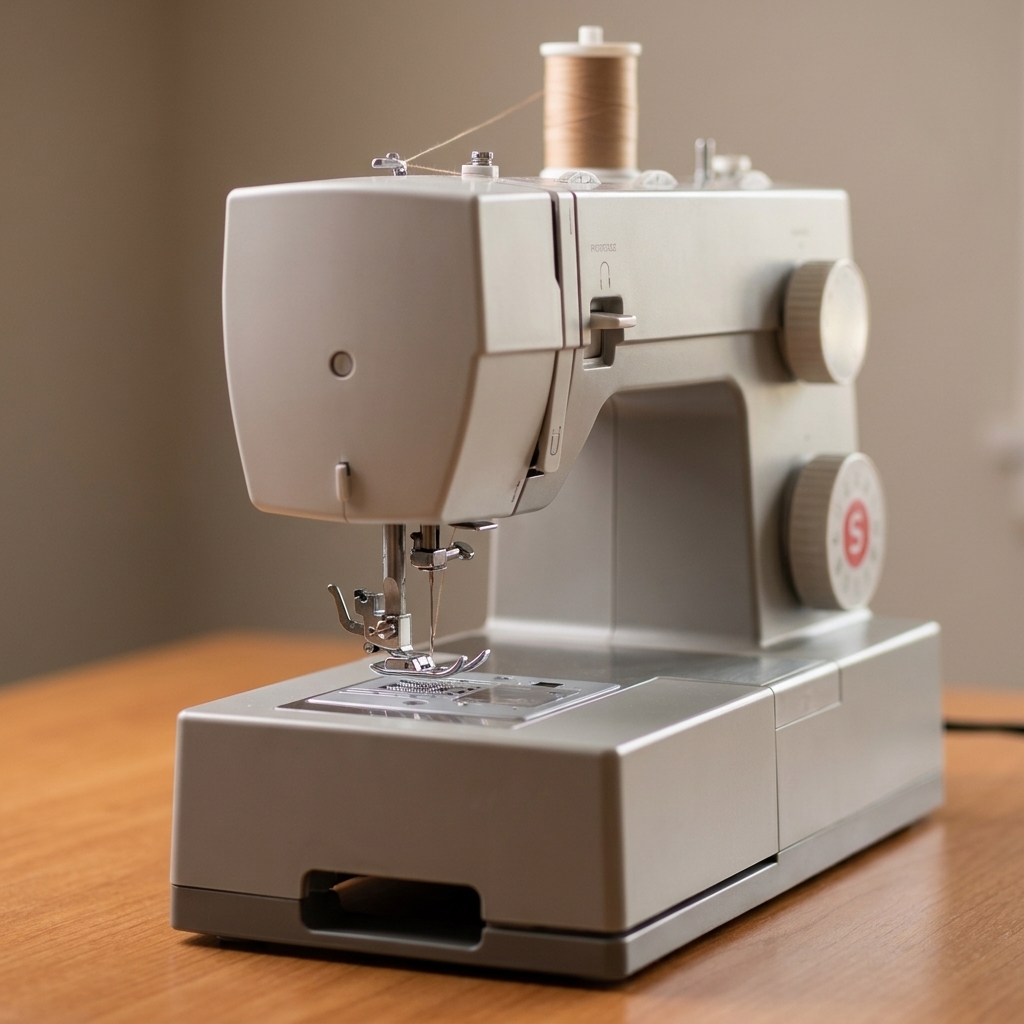
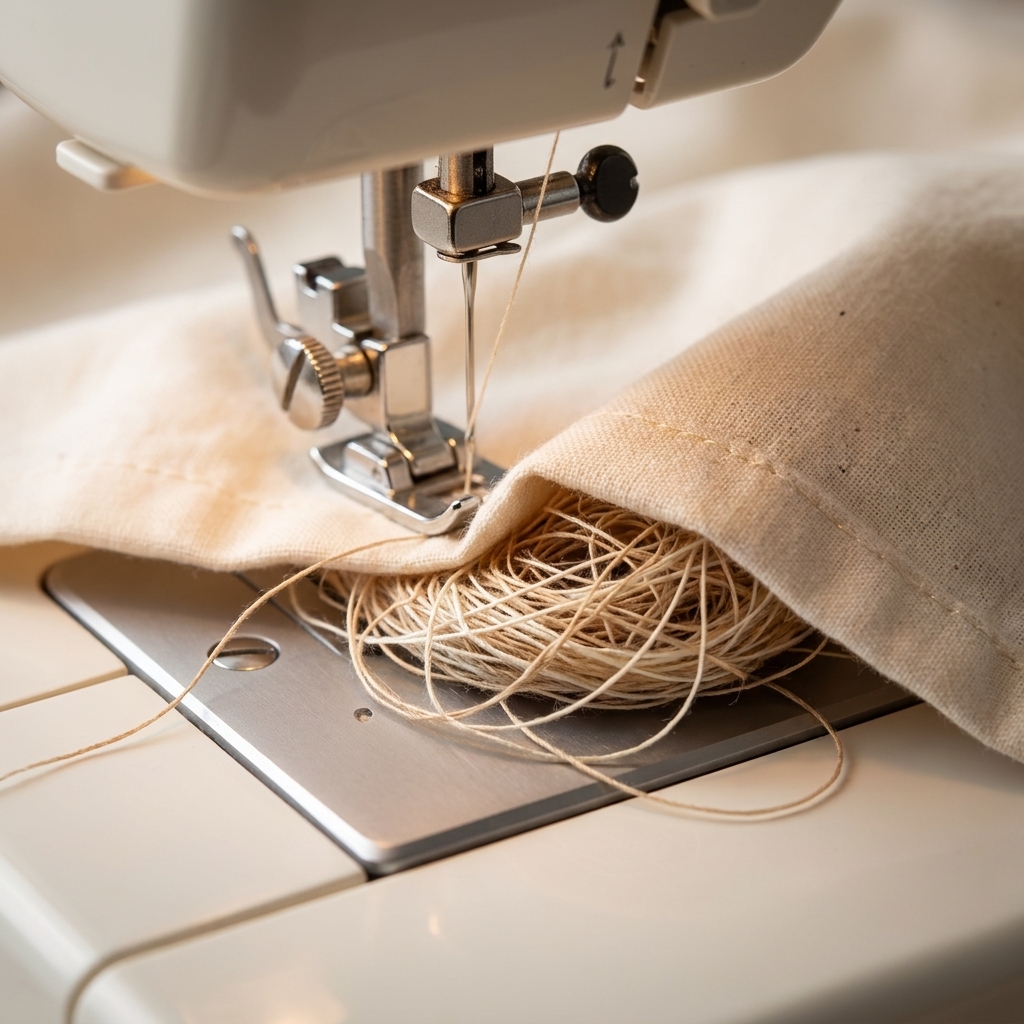
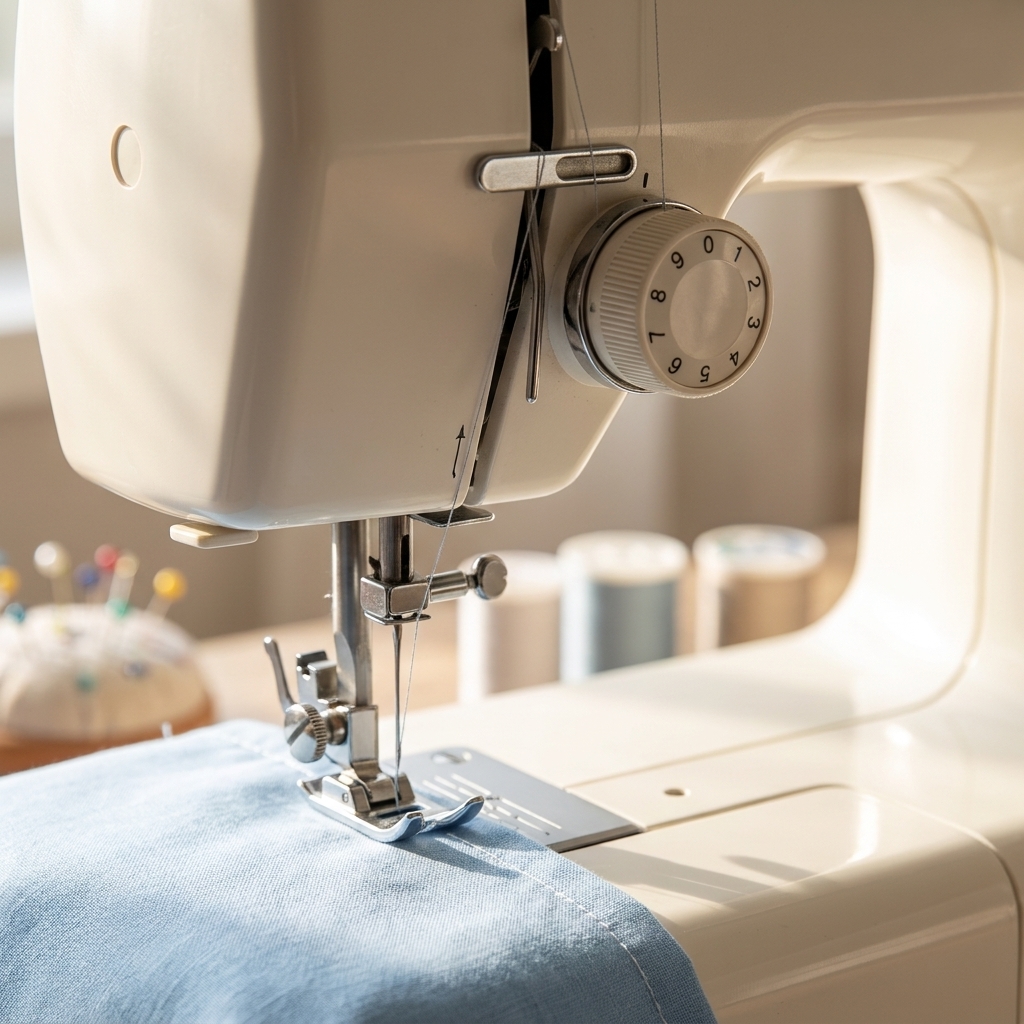
If your bobbin winds into a lumpy little beehive, keeps slipping off to one side, or turns into a snarly mess, you are not alone. Bobbin winding is one of those “machine basics” that looks simple until the thread decides to misbehave.
The good news is that most bobbin problems come from a few small setup issues: the wrong bobbin, thread not seated correctly, the bobbin winding guide being skipped, or a bobbin that is not fully seated on the winder spindle. Let’s get you to a smooth, firm, evenly wound bobbin that behaves itself.
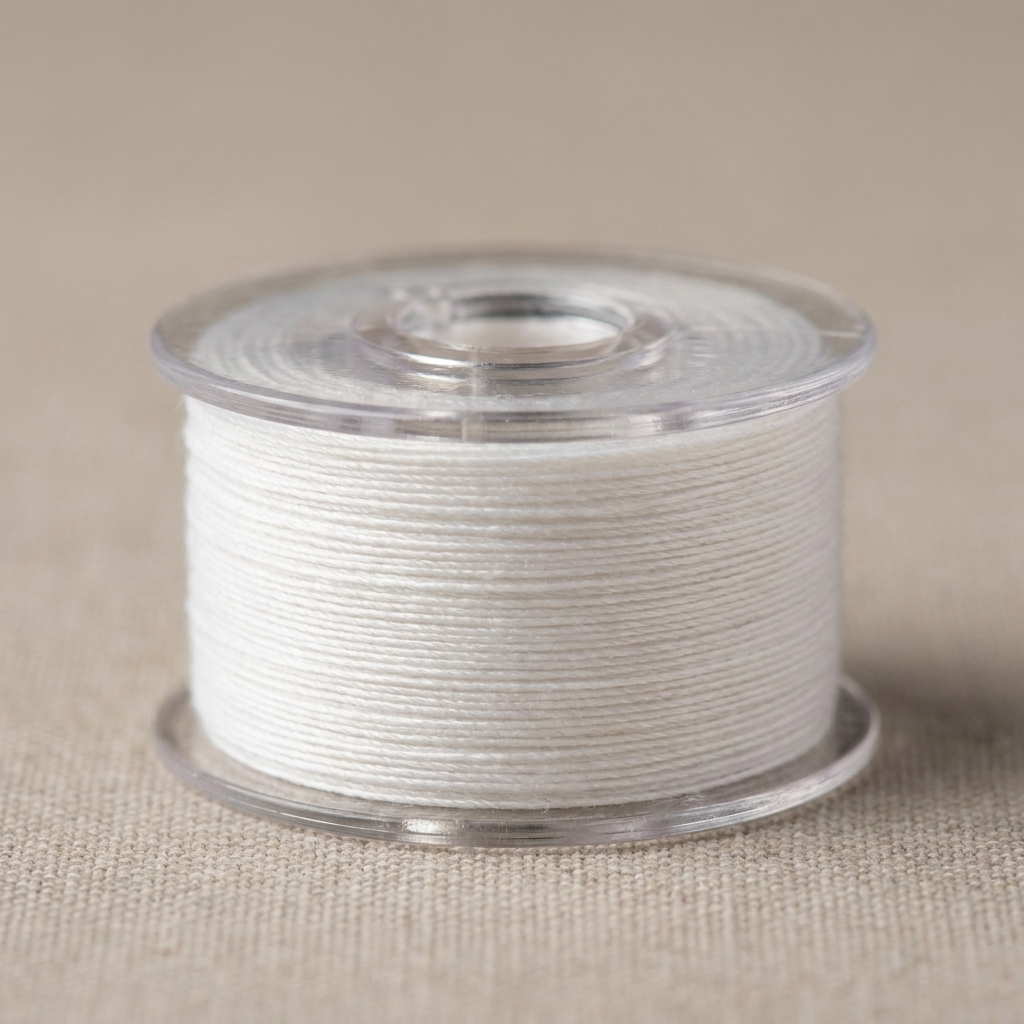
What an even bobbin looks like
Before we touch the machine, here is what you are aiming for:
- Thread builds up smoothly from side to side, not piled into a cone.
- The bobbin feels firm when you press the thread with your fingernail, not squishy.
- No loops or slack around the edges.
- The thread tail is trimmed so it cannot snag.
If you consistently get a spongy bobbin, it can cause uneven stitches, tension trouble, and that dreaded bird’s nest under your fabric later. So yes, winding matters.
Quick checklist before you start
1) Use the right bobbin for your machine
This is a big one. Bobbins come in different sizes and shapes, and the differences can be subtle. A bobbin that is slightly too tall or the wrong style can wobble while winding and cause uneven thread build-up.
- Check your machine manual for the correct bobbin type and class.
- If you do not have the manual, look up your machine model number and “bobbins” on the manufacturer’s site.
- When in doubt, use the bobbins that came with your machine or manufacturer-branded replacements.
Top-load vs front-load bobbins
Top drop-in and front-loading machines often use different bobbin styles, and “almost the same” is sometimes not the same enough. Common bobbin classes (like 15, 66, and L-style) can look similar but behave very differently in your machine. If your bobbin is winding lopsided or rubbing, double-check the class in your manual.
2) Choose thread that is not fighting you
For bobbin winding practice, pick a basic all-purpose polyester thread. Very old thread, bargain thread that sheds fuzz, or specialty threads (metallic, very stretchy, very thick) can be harder to wind neatly as a beginner.
3) Make sure the spool can unwind smoothly
If the spool jerks, the bobbin will wind in pulses, which creates soft spots and loops.
- Use a spool cap that fits, especially with cross-wound spools.
- Use the spool pin orientation recommended by your machine.
- General rule: cross-wound spools often behave best on a vertical pin, while stacked spools often behave best on a horizontal pin with a cap. If your manual says otherwise, trust your manual.
- If your machine includes a thread net for slippery thread, it can help.
Step-by-step: wind a bobbin evenly
Different machines route thread slightly differently, but the overall idea is the same: the thread needs to pass through the bobbin winding guide (and pre-tensioner), the bobbin must be secured on the winder spindle, and the bobbin winding mechanism must be engaged. When in doubt, follow the diagram on your machine or in your manual.
Step 1: Presser foot up (if your manual agrees)
On some machines, raising the presser foot helps keep thread paths relaxed during setup. On other machines, bobbin winding bypasses most of the upper tension system anyway. If your manual specifies a position, go with that.
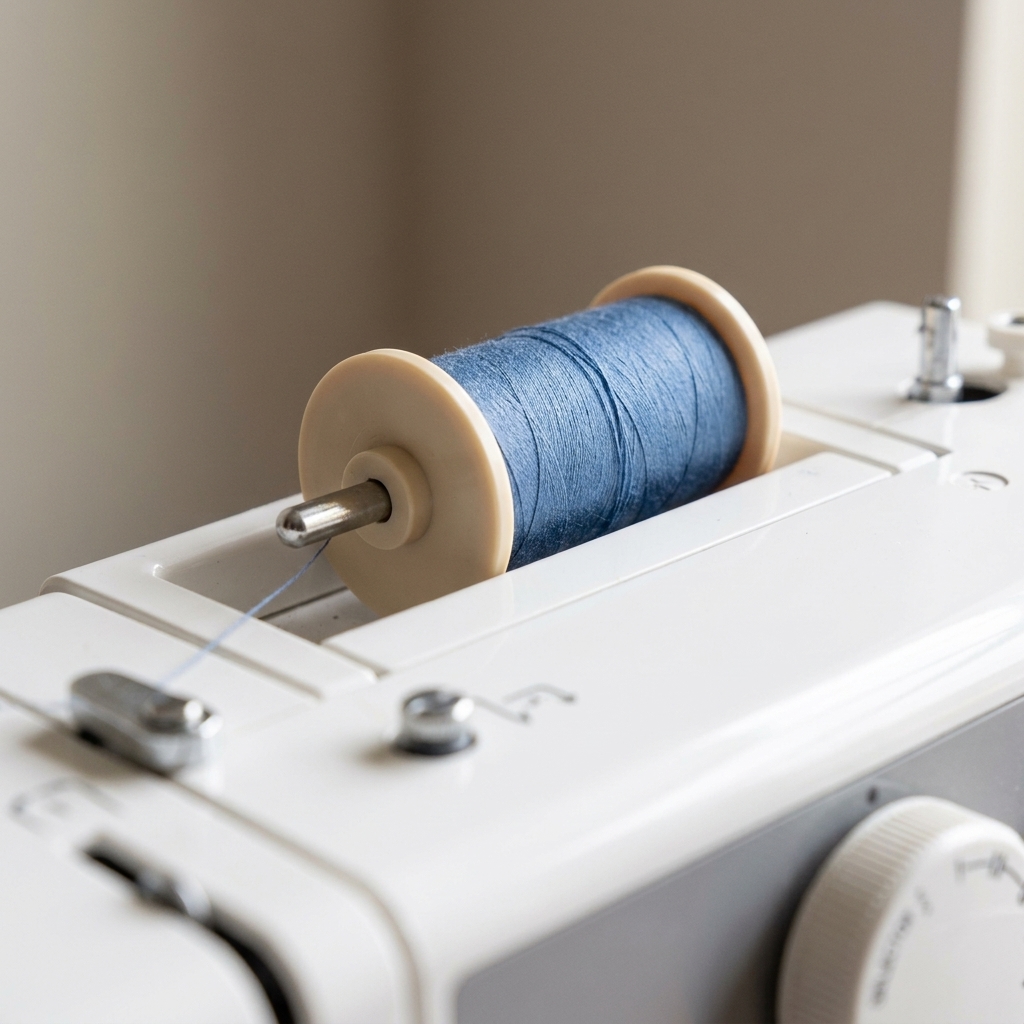
Step 2: Place your thread spool correctly
Put your spool on the spool pin and add the spool cap if your machine uses one. You want the spool to unwind smoothly, not hop or snag.
Step 3: Follow the bobbin winding thread path
Your machine will have a separate little path for bobbin winding, usually involving one or two guides near the top of the machine. This is where many tangles start, so go slowly.
- Bring the thread from the spool to the bobbin winding guide.
- Wrap it around the bobbin winding tension disc or guide exactly as shown on your machine (often a loop around a small round tension area).
If you skip this guide, the bobbin often winds too loose and can jam later.
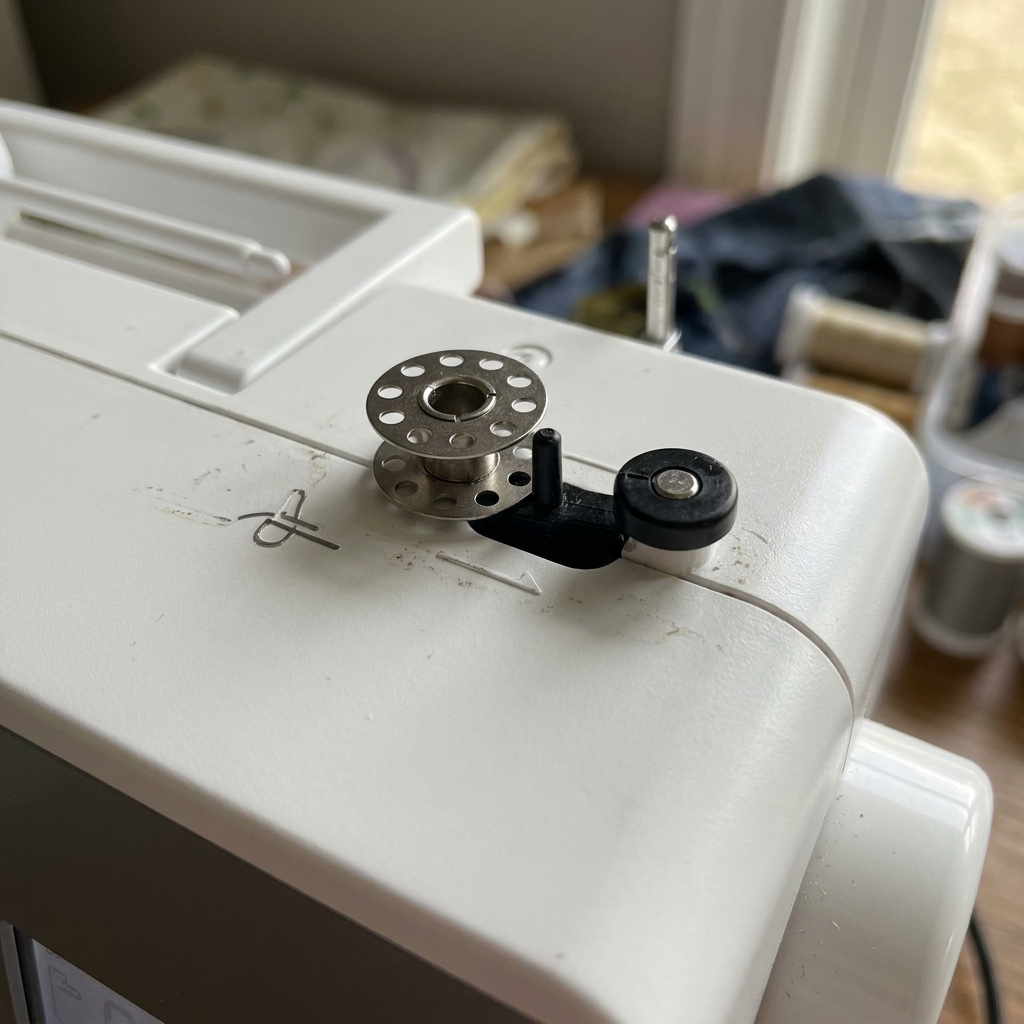
Step 4: Load the bobbin onto the winder spindle
Place the empty bobbin on the bobbin winder spindle. Press it down so it is fully seated and not perched at an angle.
Step 5: Thread the bobbin and secure the tail
Most machines have you pull the thread through a small hole in the bobbin from the inside out, then hold the tail.
- Pull the thread tail up through the bobbin hole.
- Hold the tail close to the bobbin for the first few wraps, not way back by the spool.
- Alternatively, some bobbins do not use the hole method. If your manual shows wrapping the thread around the bobbin a few times by hand, do that.
Step 6: Engage bobbin winding mode
Push the bobbin winder spindle to the side (or press the bobbin winding lever) until it engages. Many machines will stop the needle from stitching while winding.
Step 7: Wind at a medium speed first
Press the foot pedal gently and let the bobbin take up thread for a couple seconds while you keep light tension on the tail.
Safety note: Stop the machine completely before trimming the tail, and keep fingers, hair, and sleeves away from the spinning bobbin.
Once the thread is anchored, stop and trim the tail close to the bobbin. This tiny step prevents the tail from getting sucked into the winding and creating a mess.
Step 8: Finish winding, then let the machine stop (or stop it yourself)
Continue winding until the bobbin is full. Many machines will stop automatically when the bobbin reaches the correct fill level. If yours does not, stop when the thread is just below the bobbin rim. Do not overfill it. An overstuffed bobbin can jam in the case.
Step 9: Cut thread and remove the bobbin
Cut the thread, slide the spindle back to normal sewing position, and lift the bobbin off.
How to prevent tangling and jamming
Start with gentle control
You only need a little control for the first few wraps. If you let go too soon, the thread can loop and catch under itself. If you pull too hard, you can stretch the thread and wind it overly tight or uneven.
Do not route through the needle unless your manual says so
Some beginners try to wind a bobbin with the machine threaded through the needle. Some machines can handle this just fine, but many use a separate bobbin winding path and do not want the thread routed through the take-up lever and needle.
For the least drama, use the dedicated bobbin winding guides and do not go through the needle path unless your manual explicitly shows that method.
Make sure the bobbin winder stopper contacts the bobbin
If your machine has a little stopper that the bobbin bumps into, it needs to actually make contact. If it is too far away, the bobbin can overfill and jam.
Use a steadier speed
Winding extremely fast can cause thread to whip, especially with lighter thread or slippery thread. A medium speed is often the sweet spot for an even wind.
Keep the winder area clean
If winding suddenly gets inconsistent, check for lint or fuzz around the bobbin winding guide or pre-tensioner. A quick clean can make a surprising difference.
Troubleshooting: common winding problems
The thread piles up on one side
This usually means the bobbin is not seated correctly, or the thread is not going through the correct bobbin winding guide.
- Remove the bobbin and re-seat it firmly on the spindle.
- Rethread the bobbin winding path carefully.
- Check that you are using the correct bobbin type.
The bobbin winds loose and squishy
Loose winding is often a skipped guide or pre-tensioner issue.
- Confirm the thread is wrapped around the bobbin winding tension disc or guide.
- Try winding a little slower and keep a tiny bit of tension on the thread at the start.
- If your machine has a bobbin winding pre-tensioner that is user-adjustable, check your manual. On some models, adjustments are meant for servicing.
The bobbin winds too tight or the thread snaps
If the thread breaks while winding, something is usually catching.
- Check the spool cap. If it is too tight against the spool, the spool may not unwind smoothly.
- Make sure the thread is not wrapped around the spool pin or snagged under the spool.
- Inspect the bobbin winding guide area for a rough spot or lint buildup.
The thread tangles underneath the bobbin while winding
This is often caused by a long thread tail or a bobbin that is not fully seated on the spindle.
- Hold the tail for the first few wraps, then stop the machine and trim it close.
- Make sure the bobbin is pushed fully onto the spindle.
- Slow down. A slower start prevents the tail from whipping around.
The bobbin will not wind
- Confirm the bobbin winder is engaged (pushed to the winding position).
- Some machines will not wind if the presser foot is down or the machine is not in the right mode. Try presser foot up, and follow your manual.
- Check that your foot pedal is plugged in firmly.
- If your machine has a clutch or handwheel mechanism for bobbin winding, make sure it is set correctly.
The machine clicks while winding
A little sound is normal, but persistent clicking can mean the bobbin is rubbing or wobbling.
- Stop and re-seat the bobbin.
- Confirm it is the correct bobbin style.
- Look for thread caught near the winder spindle.
Special situations
Winding with slippery thread
Rayon, embroidery thread, and some very smooth poly threads can slide and stack weirdly.
- Wind at a slower speed.
- Use a thread net if you have one.
- Make sure the spool cap is not letting the spool wobble.
Winding with thick topstitch thread
Some machines can wind thicker thread, but it is easy to overfill the bobbin.
- Fill the bobbin less than you normally would.
- Wind slowly and keep an eye on the edges.
- If your stitches look bulky or tension gets fussy, consider using regular thread in the bobbin and saving the thick thread for the top only.
Pre-wound bobbins
Pre-wound bobbins can be handy, but they must match your bobbin size exactly. If they are too tall or the wrong style, they can rub and cause tension issues.
My perfect bobbin habit
When the bobbin is done winding, I take five seconds to do a quick inspection:
- Is the winding smooth and even, not lopsided?
- Does it feel firm, not squishy?
- Is the thread tail trimmed close?
If any of those answers are “no,” I rewind it right then. It is much easier to fix a bobbin at the winder than to diagnose a snarl mid-project with your fabric under the needle.
If you ever feel like rewinding is “wasting thread,” remember this: a bad bobbin wastes more thread, more time, and more patience once you start seam ripping.
FAQ
How full should a bobbin be?
Full, but not stuffed. Stop when the thread sits just below the rim of the bobbin. Overfilled bobbins can jam in the bobbin case or create drag.
Should I wind bobbins fast or slow?
Medium speed is the friendliest for beginners. If your thread is slippery or you are getting uneven stacking, slow down.
Why does my bobbin keep winding in a cone?
Most commonly: wrong bobbin type, bobbin not fully seated on the winder spindle, or thread not routed through the bobbin winding guide correctly.
Can I wind a bobbin with the presser foot down?
It depends on the machine. Many will still wind, but during setup I prefer presser foot up unless your manual says otherwise. It keeps things simple and avoids accidental tension weirdness on models where it matters.
Do I need to hold the thread while the bobbin winds?
Only at the very beginning. Hold the tail for the first few wraps, then stop the machine, trim it, and let the machine do the rest.
One last pep talk
If your first bobbin winds like a tiny thread tornado, that is normal. Bobbin winding is less about talent and more about tiny setup steps done in the right order. Slow down, rethread the winding path, and try again. Your machine wants to cooperate, it just likes things very particular.