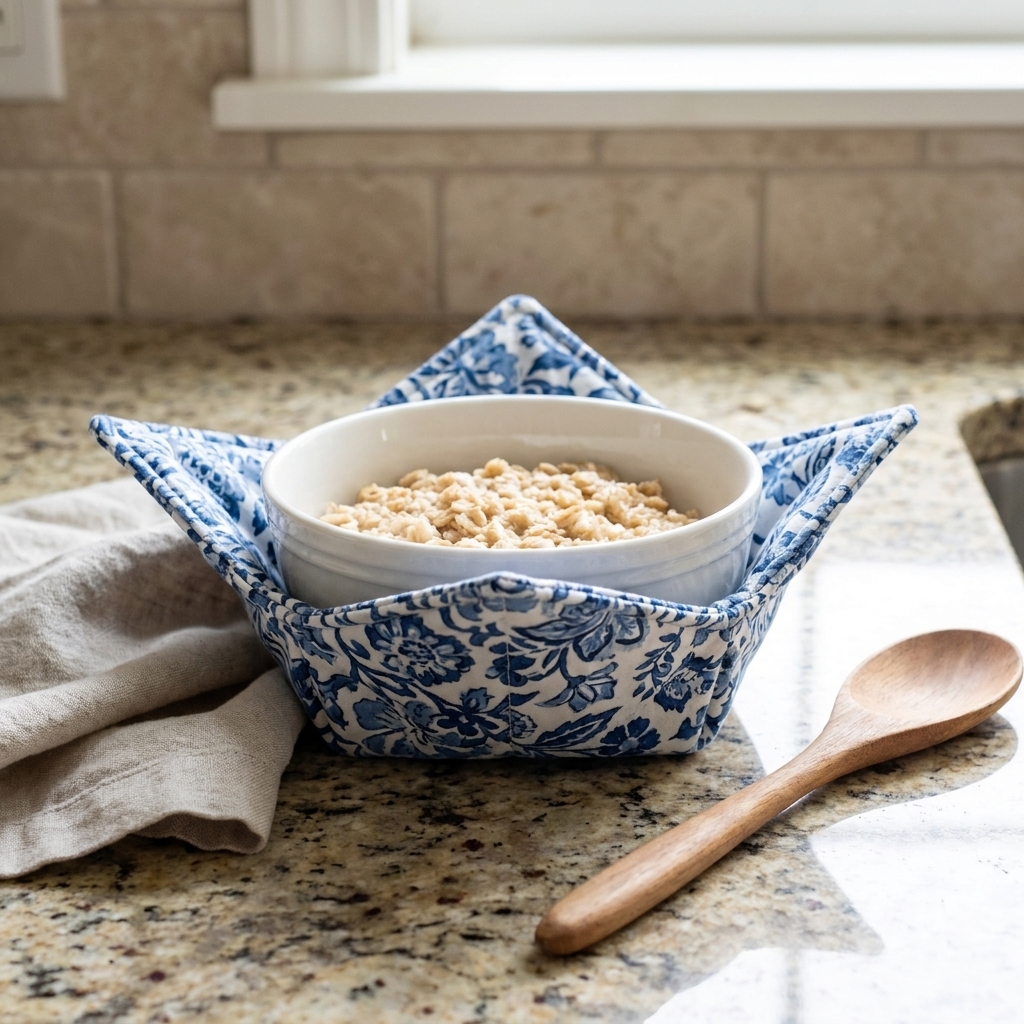
If you have ever played the little game of “is this bowl too hot to touch?” at the microwave, a bowl cozy is about to become your new favorite small sewing win. It is one of those projects that feels almost magical the first time you use it, and it is also a fantastic confidence builder for beginners because you practice straight lines, corners, and quilting without committing to a full quilt.
We are going to make a classic, functional microwave bowl cozy with a simple free pattern you can cut at home. I will also be very clear about the most important part of this project: choosing heat-safe materials. (Your seam ripper can fix a wonky corner, but it cannot make mystery fabric microwave-safe.)
Microwave safety first
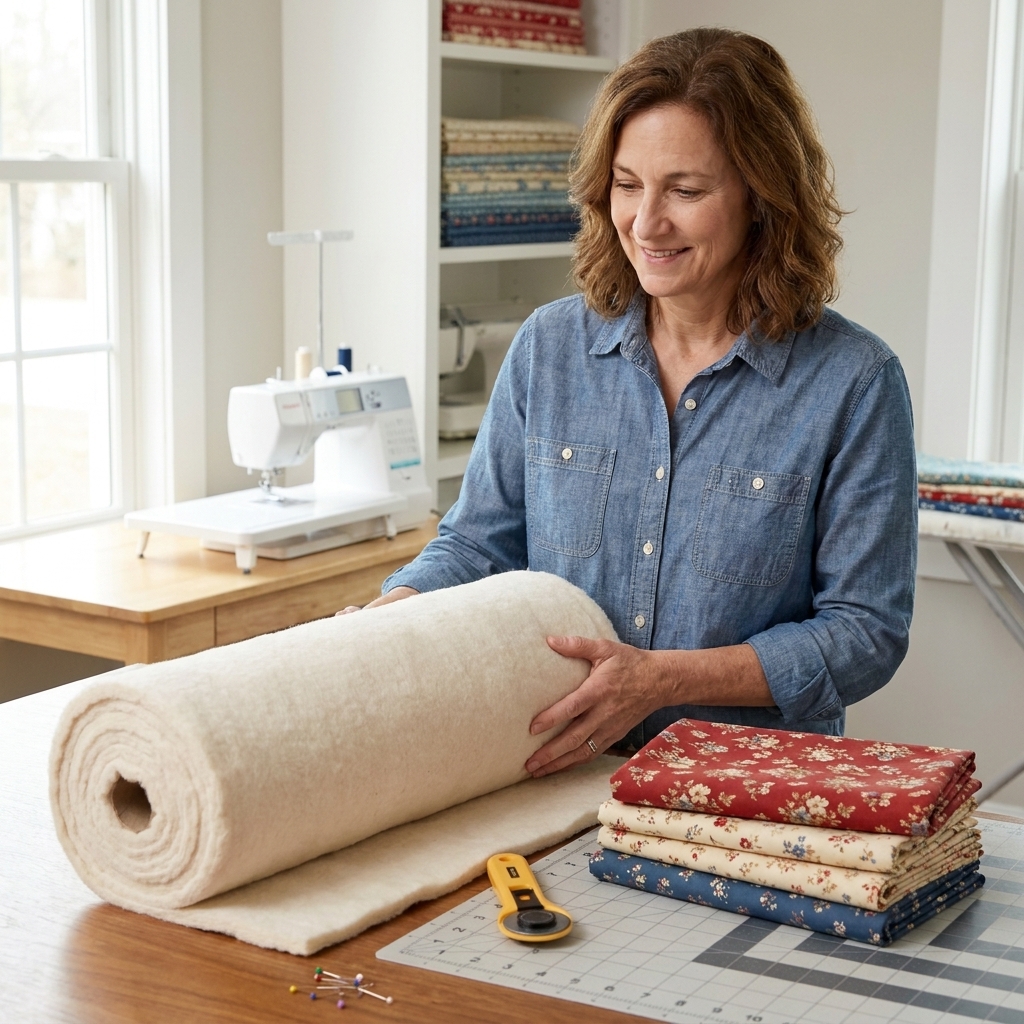
Microwave bowl cozies are safest when they are made with materials that can handle heat without melting or sparking. Recommendations can vary by batting and thread manufacturer, so always check your packaging. As a safety-forward rule of thumb, use:
- 100% cotton fabric (avoid “cotton blend” and anything with metallic or foil prints)
- 100% cotton batting that is labeled 100% cotton including scrim or binder, or specifically labeled microwave-safe
- Cotton thread is the safest choice; some makers use polyester thread successfully, but if you want the most conservative, heat-friendly option, keep the thread cotton too
- No metallics: no metallic thread, foil prints, metallic rims near the cozy, or metal labels/tags
If any layer contains polyester or other synthetics, it may soften or melt under heat, especially with high wattage or longer cook times. For the safest cozy, keep every single layer as cotton as you can.
Quick shopping tip for batting
Look for batting labeled 100% cotton, and read the fine print for words like scrim, binder, or stabilizer. Some “cotton” battings are cotton fiber with a non-cotton scrim. If the package does not clearly say the whole product is cotton (or microwave-safe), choose something else.
Free bowl cozy pattern
This pattern makes a cozy that fits most medium soup and cereal bowls. If you are a beginner, make one standard size first, then tweak from there.
Standard size
- Cut 2 fabric squares: 10 in x 10 in
- Cut 2 batting squares: 10 in x 10 in
That is it. Your “pattern” is simply a square, plus darts (little sewn tucks) that shape it into a bowl-hugging cozy.
Bigger or smaller
- Small bowls: 9 in squares
- Large bowls: 11 in squares
If you are sewing for extra-wide bowls, you may also want slightly deeper darts (I will show you how to tweak that below).
What you need
- 2 pieces of 100% cotton woven fabric, at least 10 in x 10 in each
- 2 pieces of 100% cotton batting, 10 in x 10 in each
- Thread (cotton recommended for the most conservative microwave-safe setup)
- Fabric marking tool (pencil, chalk, or washable marker)
- Ruler or quilting ruler
- Scissors or rotary cutter and mat
- Iron and ironing board
- Sewing machine
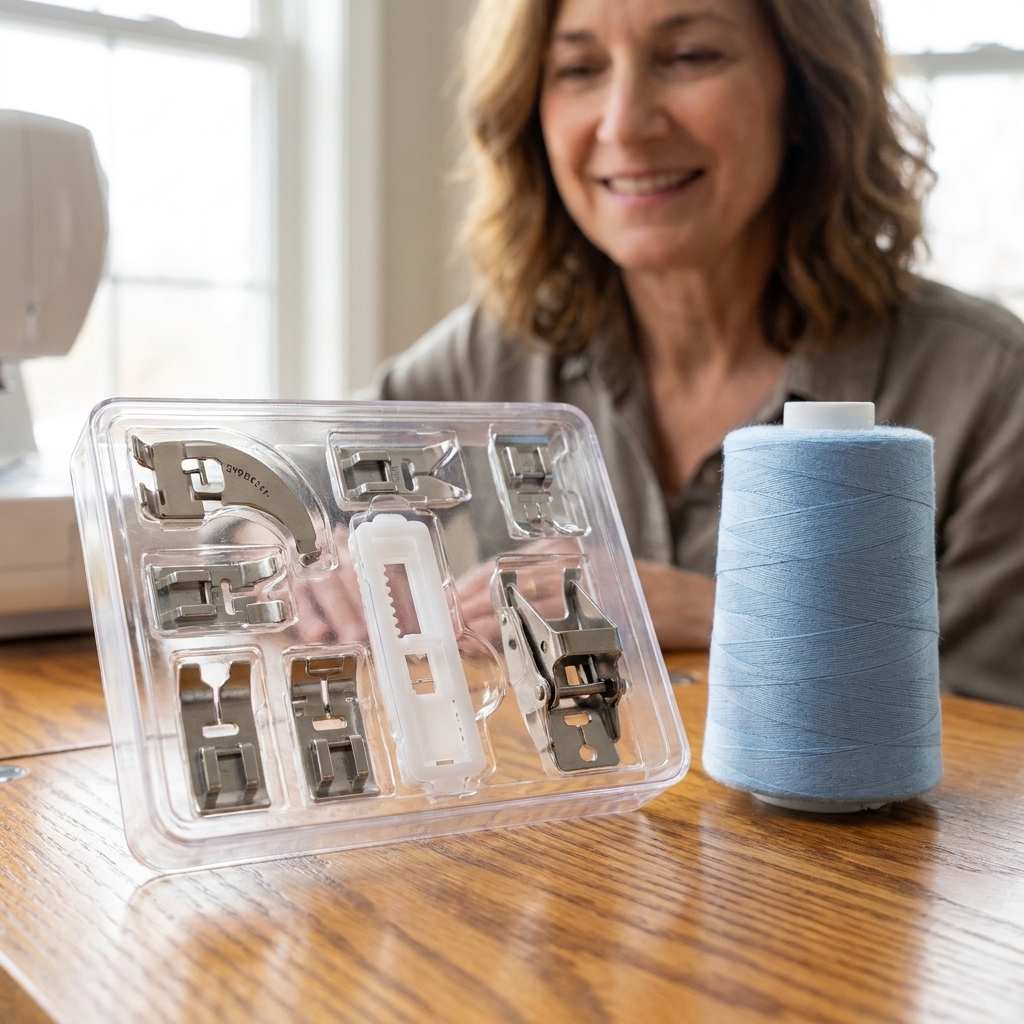
- Optional but helpful: walking foot (not required)
Beginner-friendly fabric note: Quilting cotton is perfect here. It presses nicely and does not stretch, which makes your corners behave.
Prewash note: If you are using bright colors or gifting these, prewashing your cotton fabric helps prevent surprise shrinkage and dye bleed later. Batting is usually used as-is, but follow the manufacturer’s guidance if they recommend pre-shrinking.
Step-by-step
1) Layer and quilt
Make two quilt “sandwiches,” each with:
- 1 cotton fabric square right side up (this is the side you will see)
- 1 cotton batting square underneath
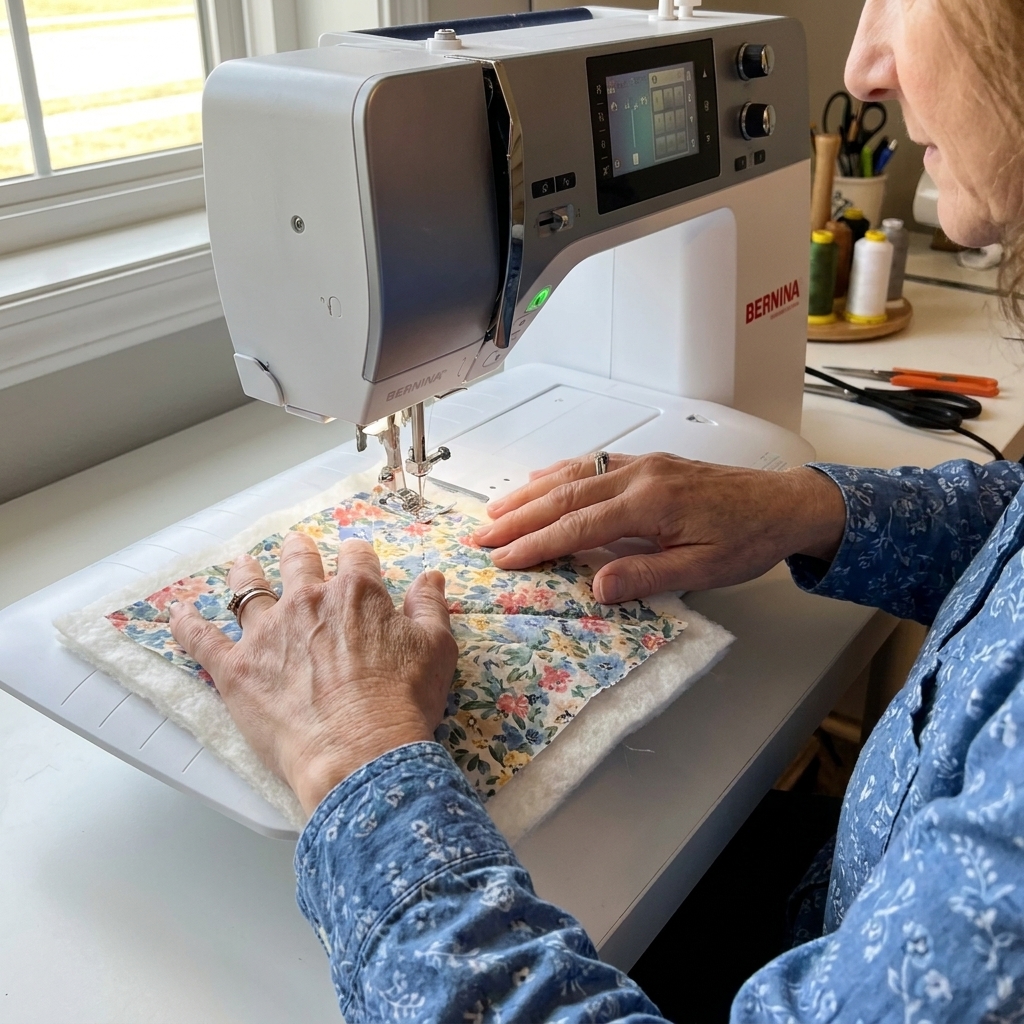
Pin or clip, then quilt each sandwich with a few straight lines. You can do simple diagonal lines corner-to-corner, or a basic grid. The goal is to keep the batting from shifting during use and washing.
Easy quilting plan: Sew one diagonal line, then another diagonal line to make an X.
2) Mark the darts
The darts are what turn a flat square into a cozy shape.
On the wrong side of each quilted piece, mark these lines:
- At one corner, measure 2 inches down one edge from the tip and make a mark.
- Measure 2 inches down the other edge from the same tip and make a mark.
- Draw a line connecting those two marks across the corner. This is your dart seam line.
You will do this on all four corners of each quilted piece (so 8 darts total across both pieces).
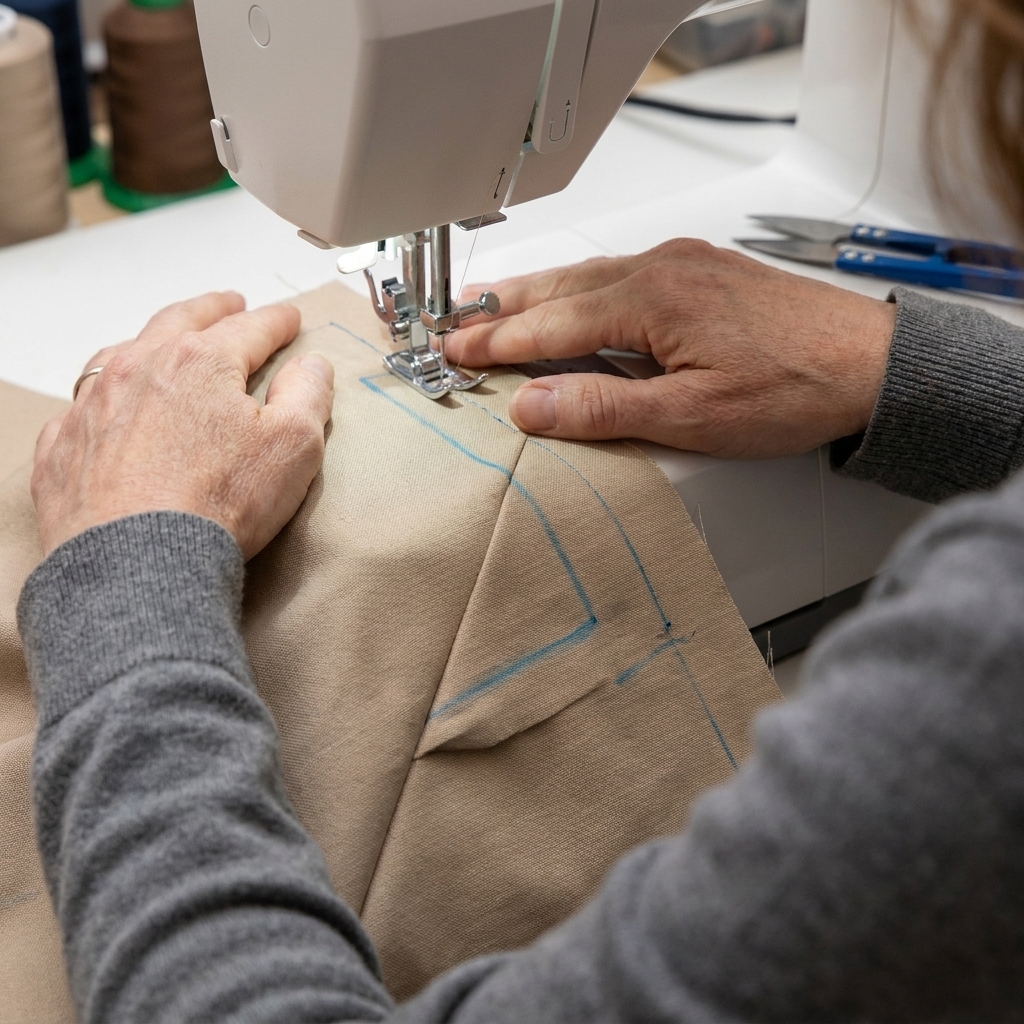
Beginner note: When you fold the corner to sew, that marked line should line up edge-to-edge and you will stitch straight across the folded corner. Accurate darts make everything else line up much more easily.
3) Sew the darts
Fold one corner with right sides together so the dart line lines up, then sew directly on your marked line. Backstitch at the beginning and end. Repeat for all corners on both pieces.
Trim the dart “ears” to reduce bulk, leaving about 1/4 inch seam allowance past your stitching. Then press the darts open or to one side. Either is fine, just be consistent.
4) Sew the halves together
Place the two shaped pieces right sides together, matching the darts and edges. Pin or clip around the perimeter.
Bulk tip: If you pressed darts to one side, press the darts on one half clockwise and the other half counterclockwise. When they meet, they “nest” and feel less like a fabric traffic jam under your presser foot.
Sew around the edge with a 1/4 inch seam allowance, leaving a turning opening of about 3 inches along one side.
Trim the seam allowance slightly if it feels bulky, being careful not to cut your stitches. Then turn right side out.
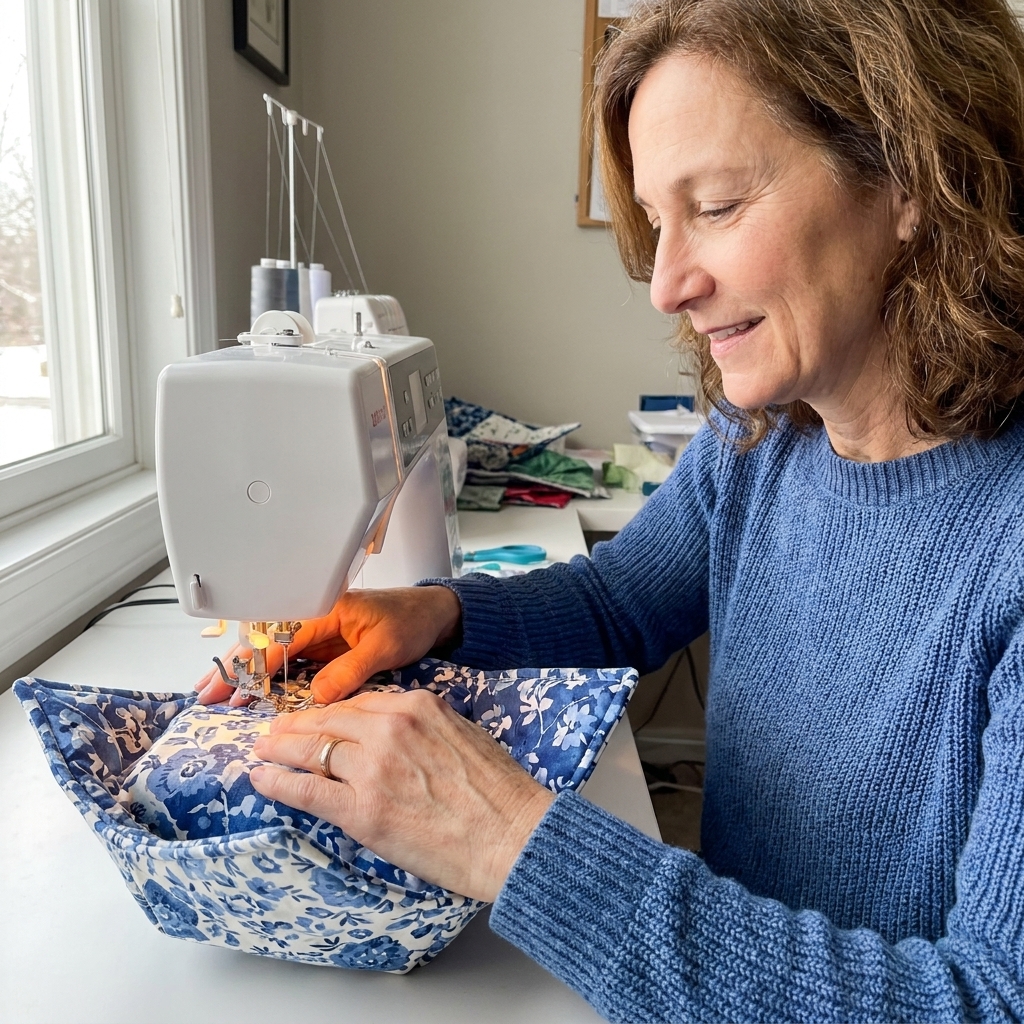
5) Press and topstitch
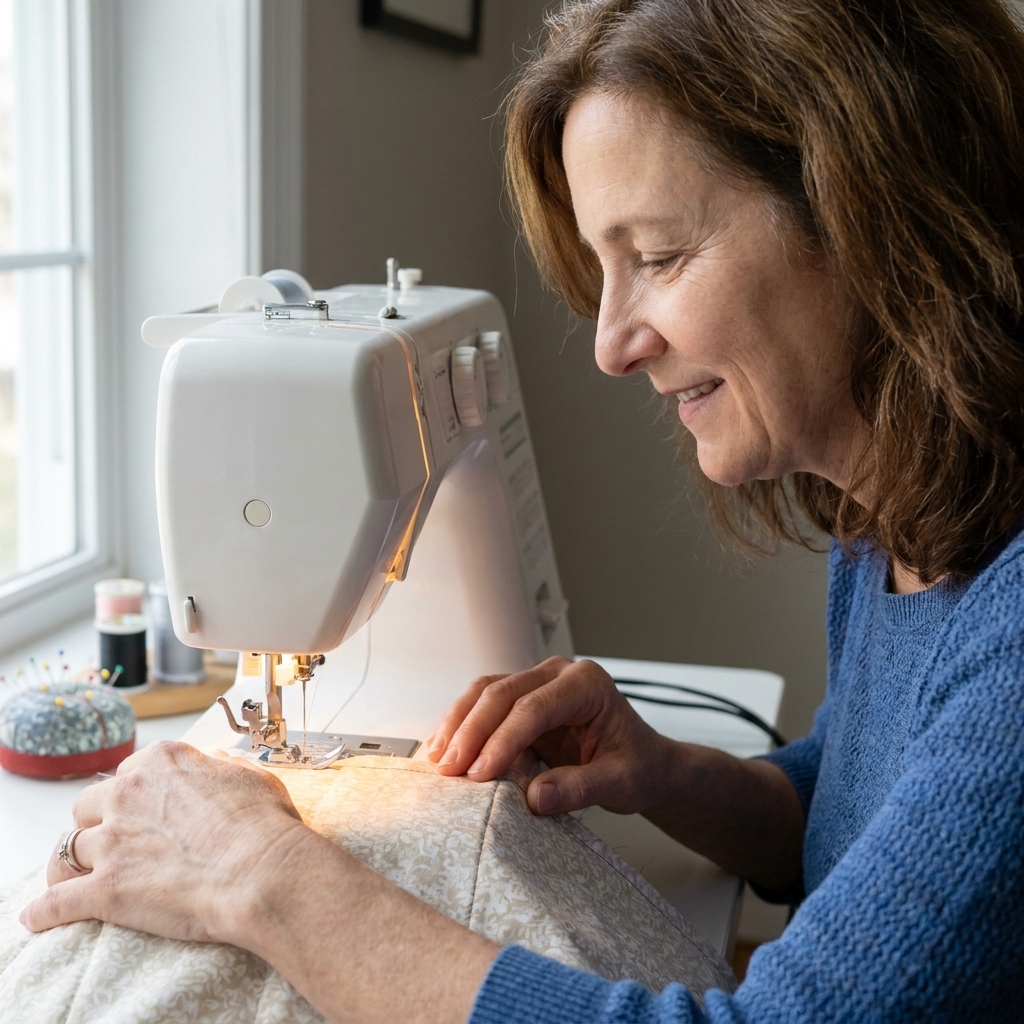
Press the cozy neatly, turning the raw edges of the opening to the inside. Then topstitch all the way around the edge, close to the edge. This closes the opening and makes the cozy look crisp.
If your layers shift: Go a little slower, and use more clips. Bulk is normal here, and your machine will cooperate if you do not rush it.
Sizing tweaks
The standard 10 inch square with 2 inch darts fits a lot of everyday bowls, but bowls come in all sorts of personalities.
Adjust width
- Too tight: increase the starting square size by 1 inch.
- Too loose: decrease the square size by 1 inch.
Adjust depth
If your bowl is tall and the cozy feels shallow, make the darts slightly deeper:
- Instead of marking 2 inches from each edge at the corner, try 2 1/2 inches.
If the cozy sits too high on the bowl or feels overly pointy, reduce dart depth to 1 1/2 inches.
My favorite way to test: Make one cozy from scrap cotton first, then adjust your second one. That is not “wasting fabric.” That is learning, and it counts.
Use and care
Using in the microwave
- Make sure the bowl itself is microwave-safe. Avoid bowls with metallic rims or decorative metallic paint, which can spark.
- Set the cozy in the microwave with your bowl inside.
- If you are unsure how hot your food gets, heat in short bursts and check between rounds.
- Do not leave the microwave unattended.
- Always use caution when removing hot items.
Even with a cozy, steam and super-heated liquids can burn. The cozy is there to protect your hands from the bowl, not to make hot soup harmless.
Important: This cozy is for the microwave. Do not use it in a conventional oven, toaster oven, air fryer, or on a stovetop burner.
Washing
Because the cozy is mostly cotton, it can usually be machine washed. For the neatest results, wash cool to warm and tumble dry low. Expect some shrinkage and soft crinkle over time, which I personally think makes them look even cozier.
Troubleshooting
My cozy came out lopsided
Usually this is dart measuring or sewing slightly off the marked line. It is totally fixable. Unpick the dart that looks off, re-mark it, and sew again. This is seam ripper territory, not “start over” territory.
The layers are bunching when I topstitch
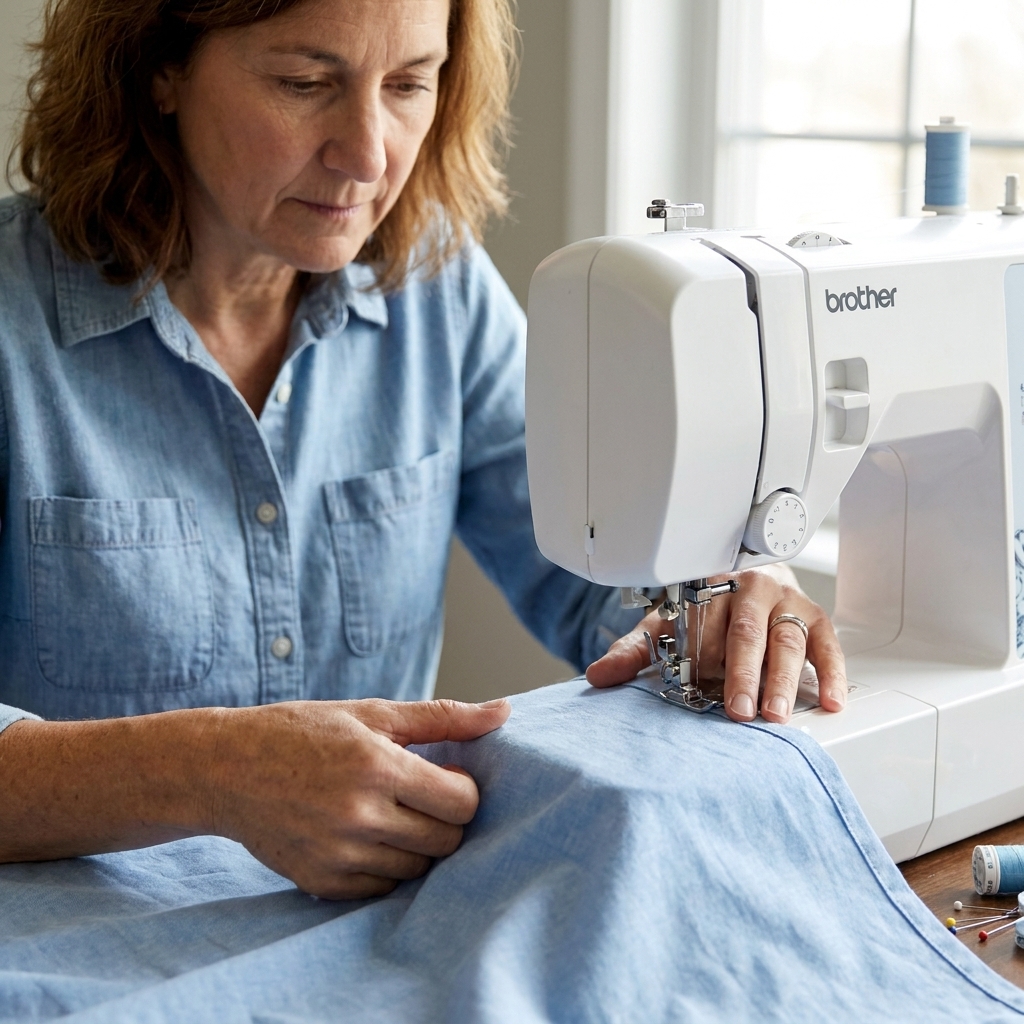
Try a slightly longer stitch length, go slowly, and make sure the cozy is well pressed first. If you have a walking foot, it can help feed layers evenly, but it is not required.
Can I use fleece, flannel, or minky?
For a microwave cozy, stick with 100% cotton woven fabrics. Cotton flannel can be okay if it is truly 100% cotton, but avoid anything synthetic or fluffy that could soften or melt.
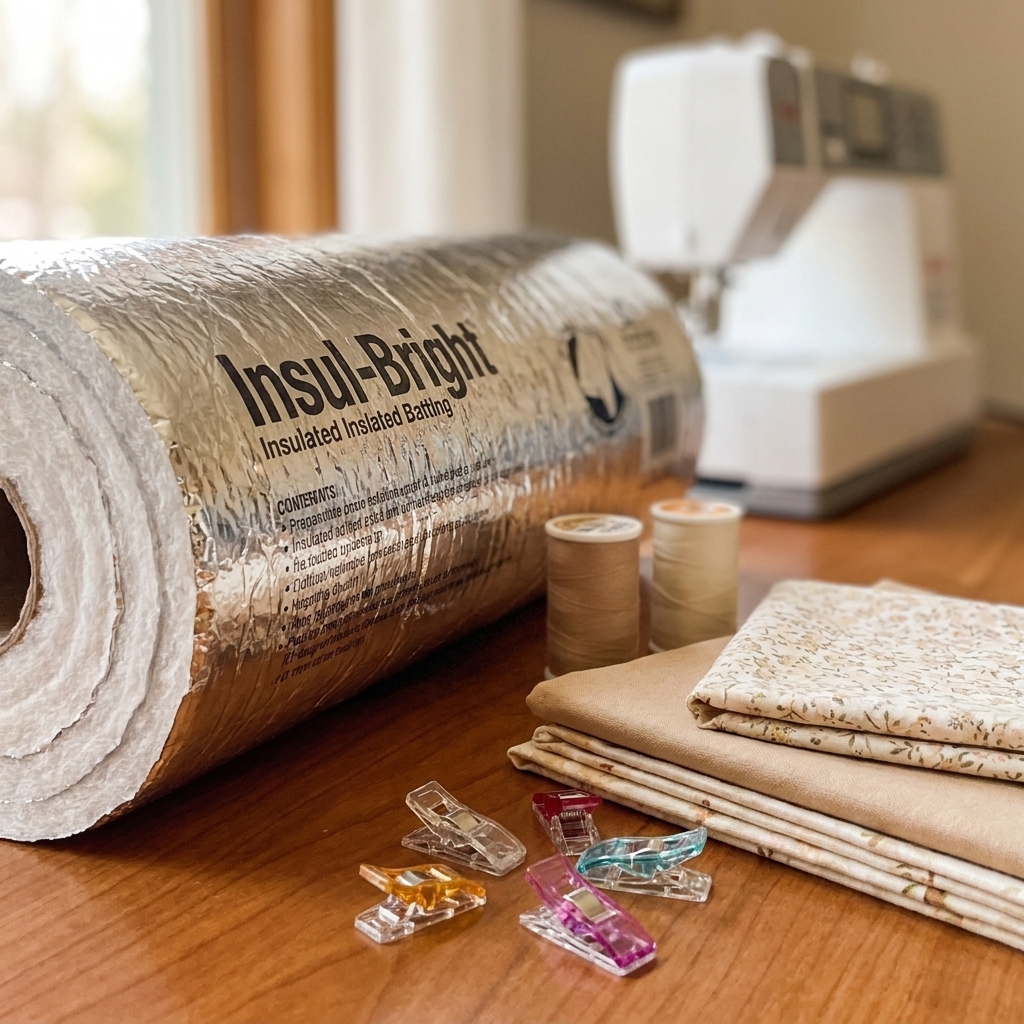
Can I use insulated batting?
Not for the microwave unless the product specifically states it is microwave-safe and contains no metal. Many insulated battings include metallic layers. When in doubt, choose plain 100% cotton batting with cotton scrim or no scrim.
Make it cute
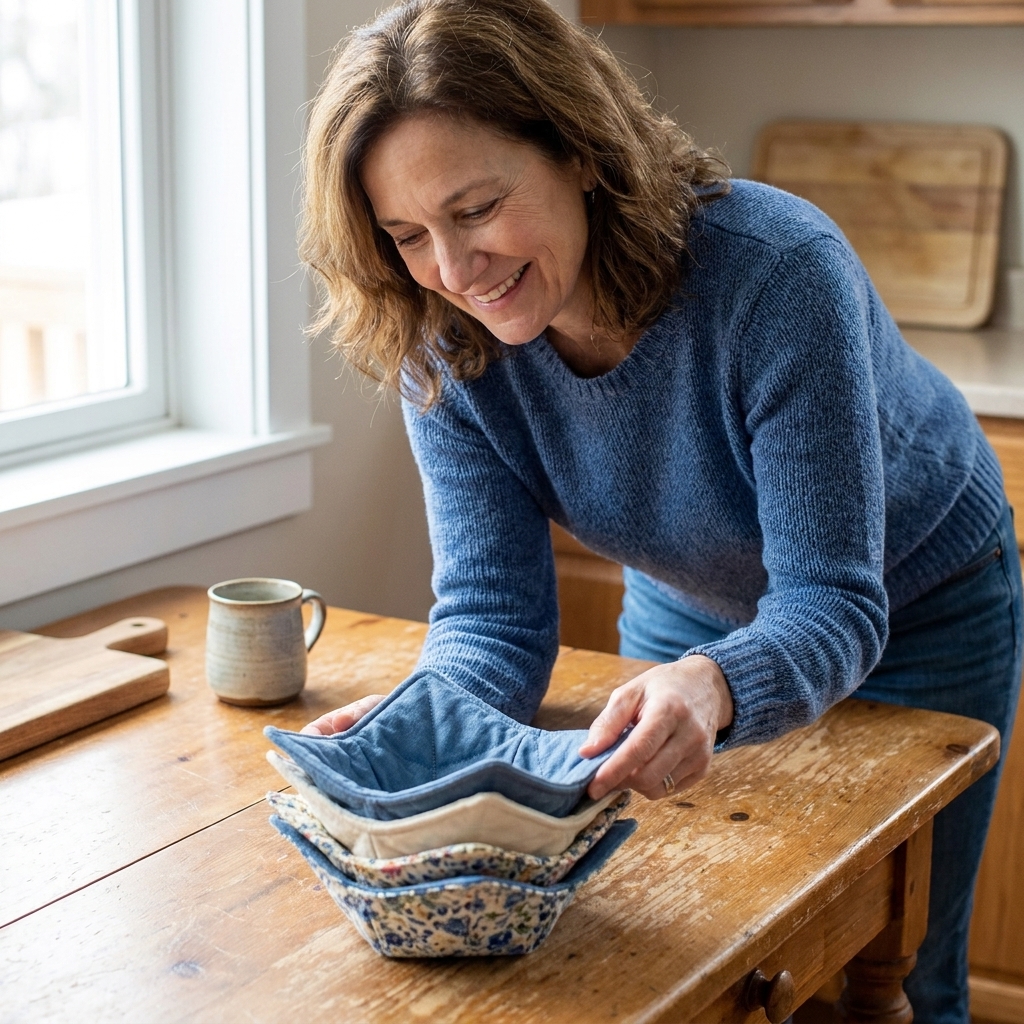
- Mix prints: Use one print on the outside and a coordinating solid on the inside.
- Add extra quilting: A simple grid looks polished, even with beginner-straight lines.
- Make a set: Two matching cozies make a sweet, useful gift.
FAQ
Do bowl cozies need to be 100% cotton?
For the safest microwave use, yes. Use cotton fabric and cotton batting that is labeled 100% cotton throughout (including scrim or binder), and avoid metallic elements. Cotton thread is the most conservative choice, though some makers use other threads successfully.
How much batting do I use for one cozy?
You need two 10 inch squares of batting per cozy (one for each side).
Why quilt the pieces first?
Quilting helps keep the batting from shifting or bunching after repeated heating and washing. It also adds structure so the cozy holds its bowl shape better.
Can I make this without a pattern?
You already are. This project is based on a cut square and consistent dart placement. Once you make one, you can customize the size for any bowl you love.
If you make a bowl cozy, I hope it gives you that satisfying “I made this and now I use it constantly” feeling. And if your first one is a little wonky, welcome to sewing. A slightly crooked line still holds a bowl beautifully.