If you have a handful of fabric scraps and a little bit of time, you can make a scrunchie that looks like it came from a boutique. This is one of my favorite beginner projects because it teaches three core skills without feeling “serious”: sewing a straight seam, turning a tube, and threading elastic. And if anything goes wonky, your seam ripper gets to be the hero. That is normal.
Timing note: If you already have your machine threaded and you have made one before, this can be a 10 minute project. For true beginners, plan on 15 to 25 minutes the first time (pressing and turning always take as long as they take).
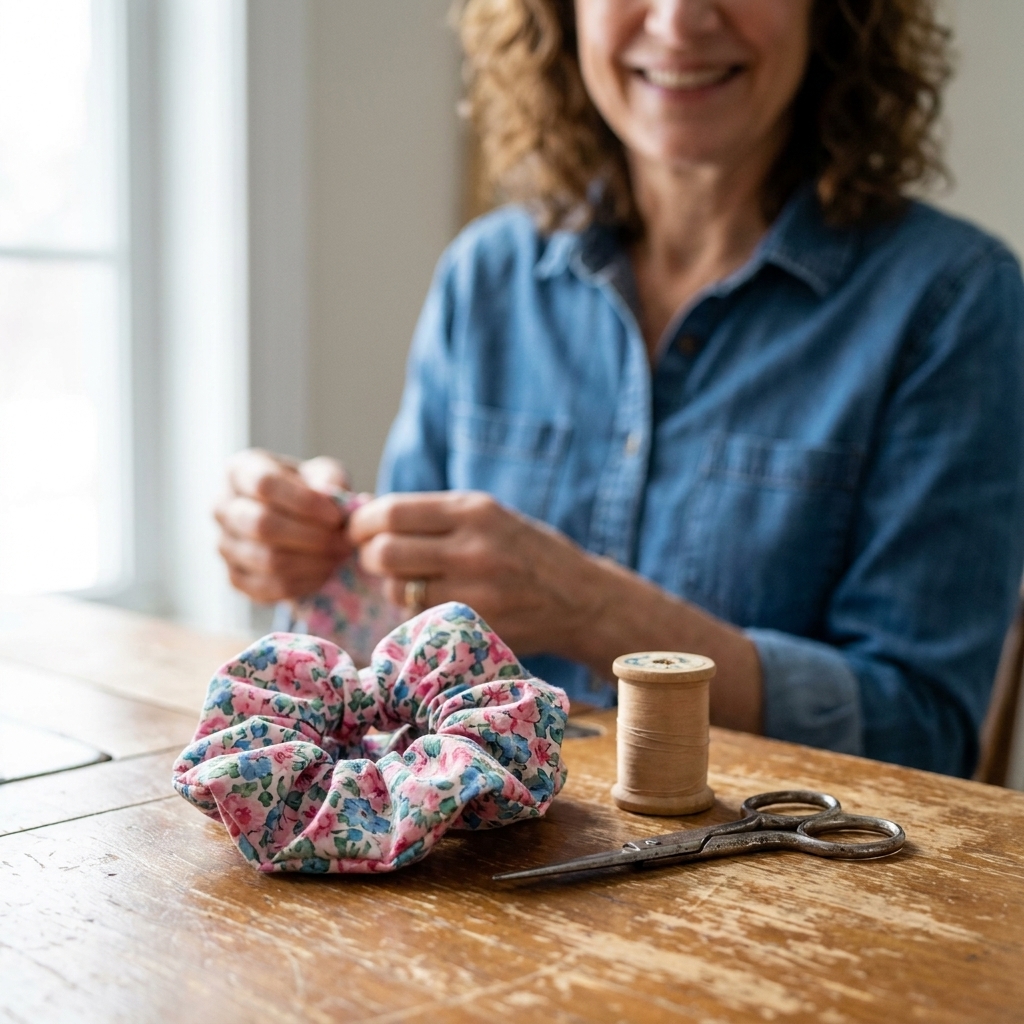
What you need
Supplies
- Scrap fabric (cotton, quilting cotton, rayon challis, lightweight linen, or soft velvet)
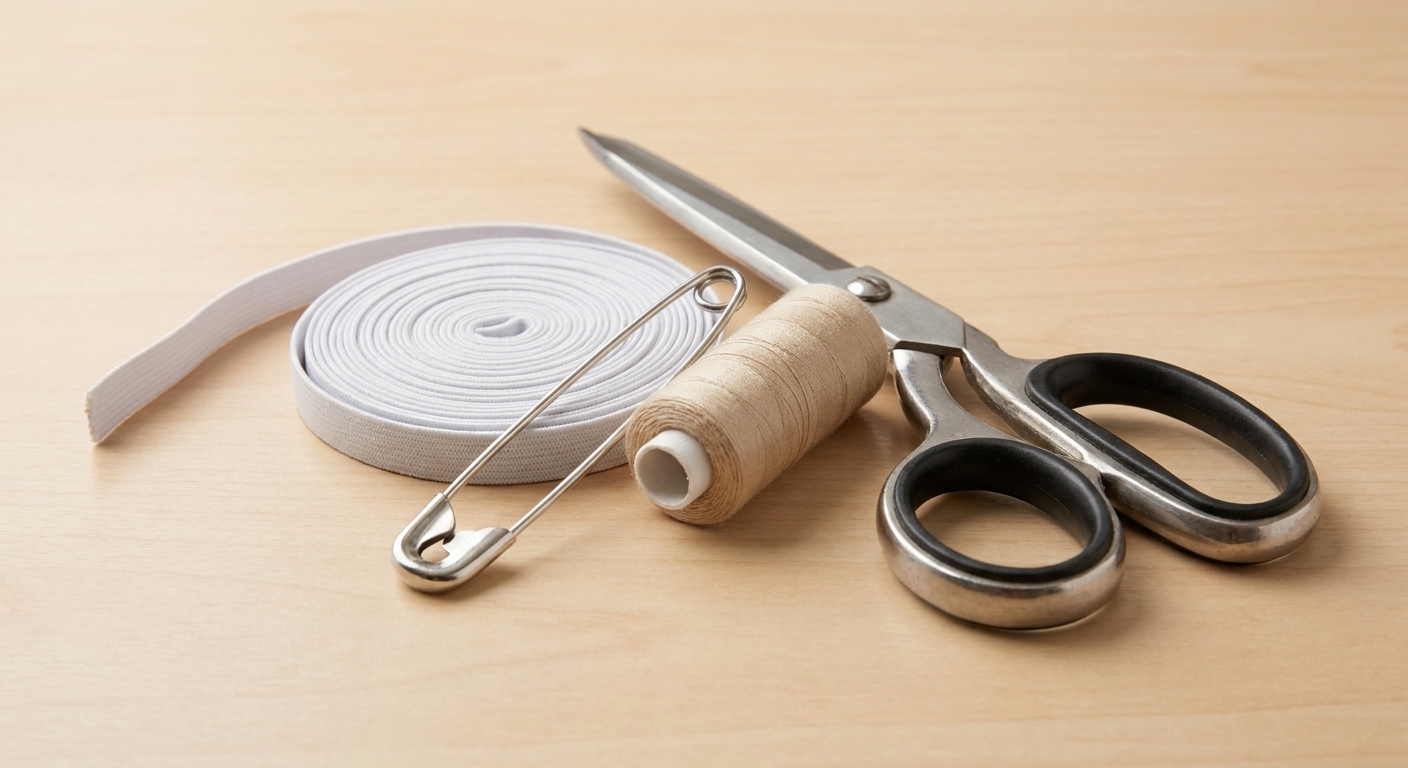
- Elastic: 1/4 inch (6 mm) works for most hair types
- Matching thread
- Safety pin or bodkin (for threading elastic)
- Scissors or rotary cutter and ruler
- Measuring tape
- Optional: turning tool or a chopstick for gently pushing seams (not required)
Tools
- Sewing machine (a basic straight stitch is all you need)
- Iron (strongly recommended, because pressed fabric behaves)
Quick sizing
You can absolutely freestyle scrunchies, but these sizes give a reliable, fluffy result without a lot of math.
| Scrunchie size | Fabric rectangle (width x length) | Elastic length |
|---|---|---|
| Classic | 3.5 x 20 inches | 7 to 8 inches |
| Extra fluffy | 4.5 x 22 inches | 7 to 8 inches |
| Mini (cute on braids and buns) | 2.5 x 18 inches | 6 to 7 inches |
Beginner-friendly rule: Elastic is personal. If your hair is thick, go a little longer. If your hair is fine, go a little shorter. If you are unsure, cut 8 inches and test before you permanently join it. It should stretch over your hand comfortably and feel snug without feeling like it is fighting you.
Step-by-step
1) Cut and press
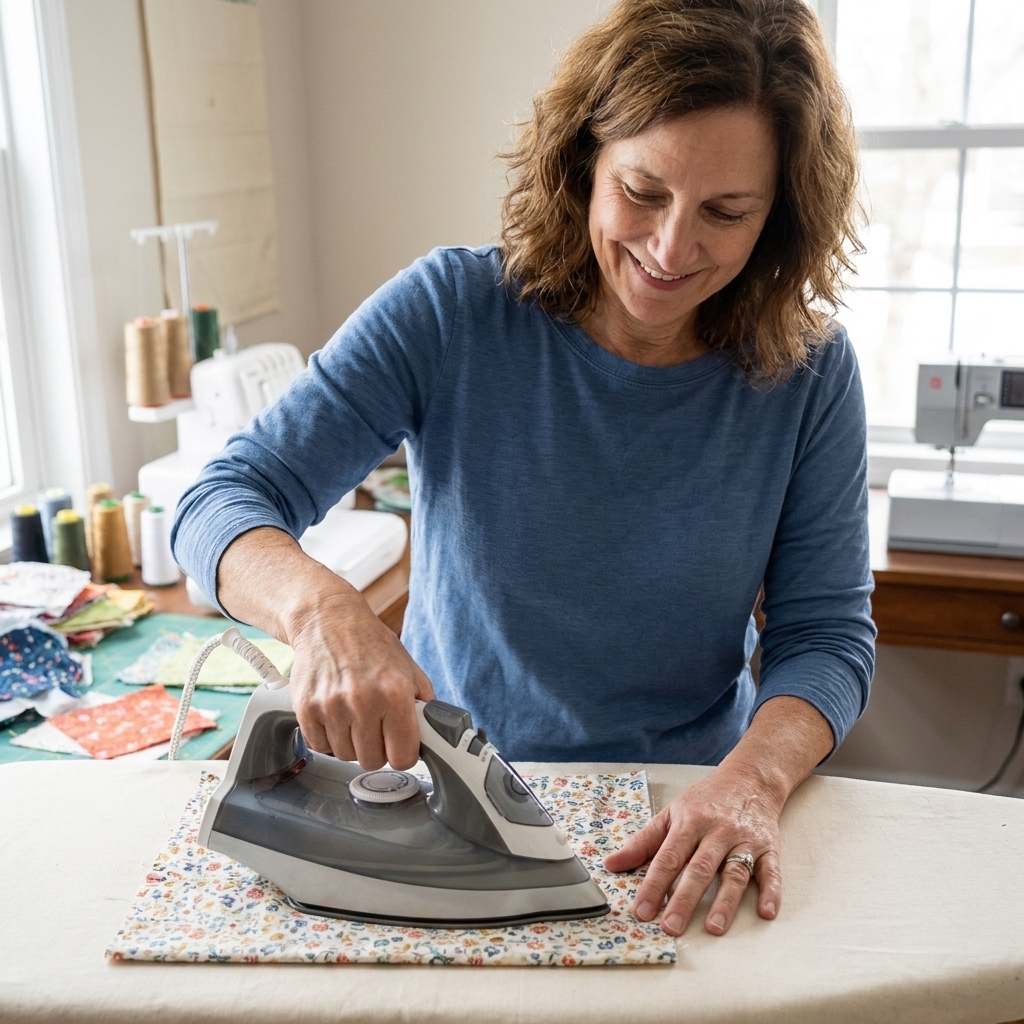
Cut one rectangle using the sizing chart above. Give it a quick press so it lies flat. This makes every next step easier.
2) Sew the long seam (leave a gap)
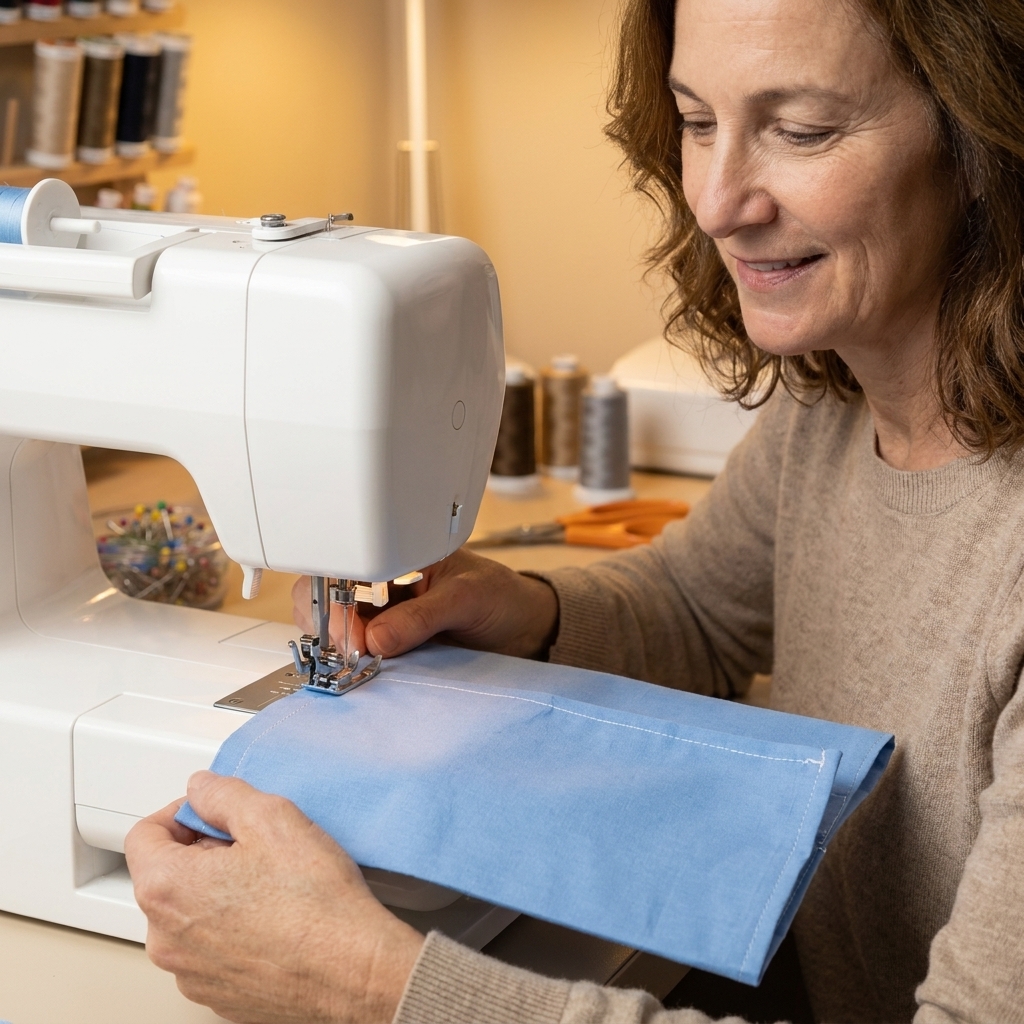
Fold the fabric in half right sides together so the long edges meet.
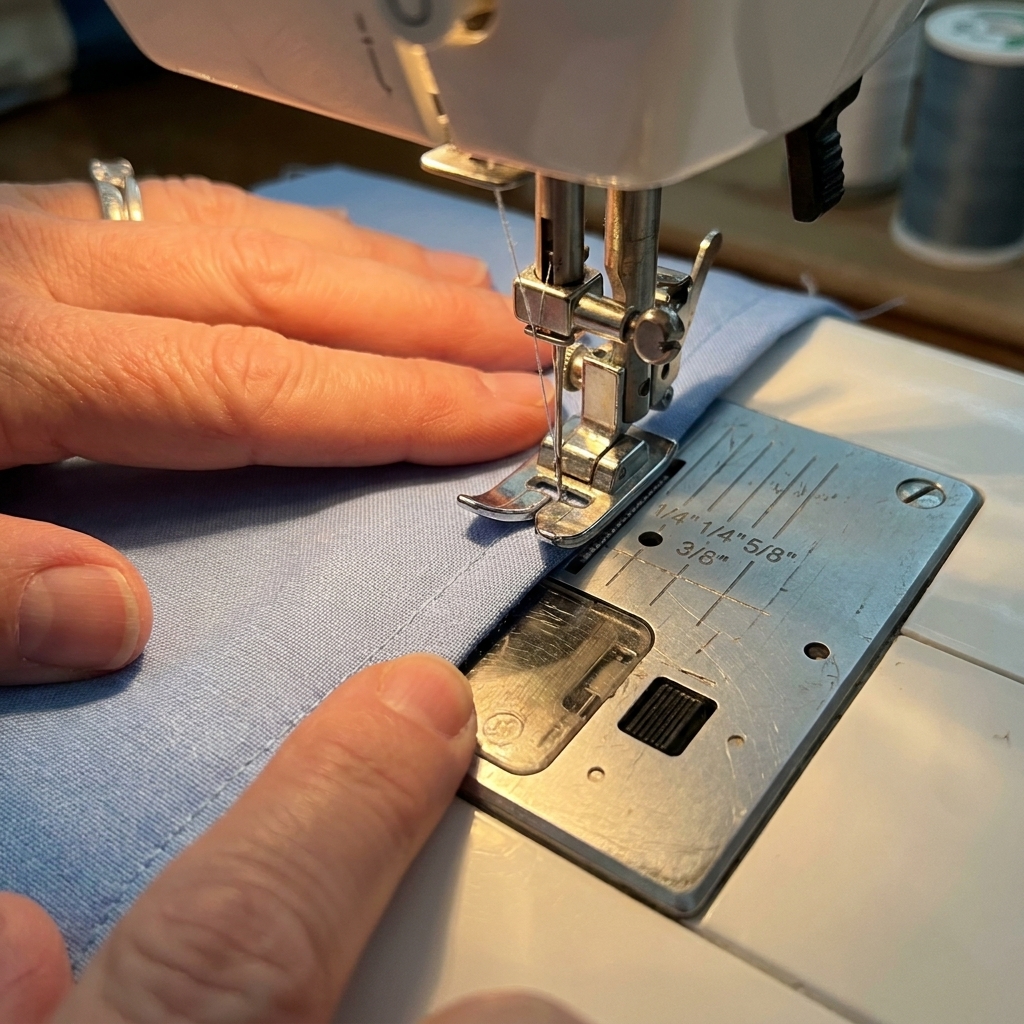
- Sew along the long edge with a 3/8 inch seam allowance. Use a seam guide, your machine markings, or a piece of tape so you can keep it consistent.
- Use a normal straight stitch length (about 2.5).
- Start stitching about 1.5 inches from one short end and stop about 1.5 inches before the other short end, backstitching at each start and stop.
This tiny change makes the next step dramatically easier, because the short ends can open flat instead of forcing you to wrestle a tiny tube on your machine.
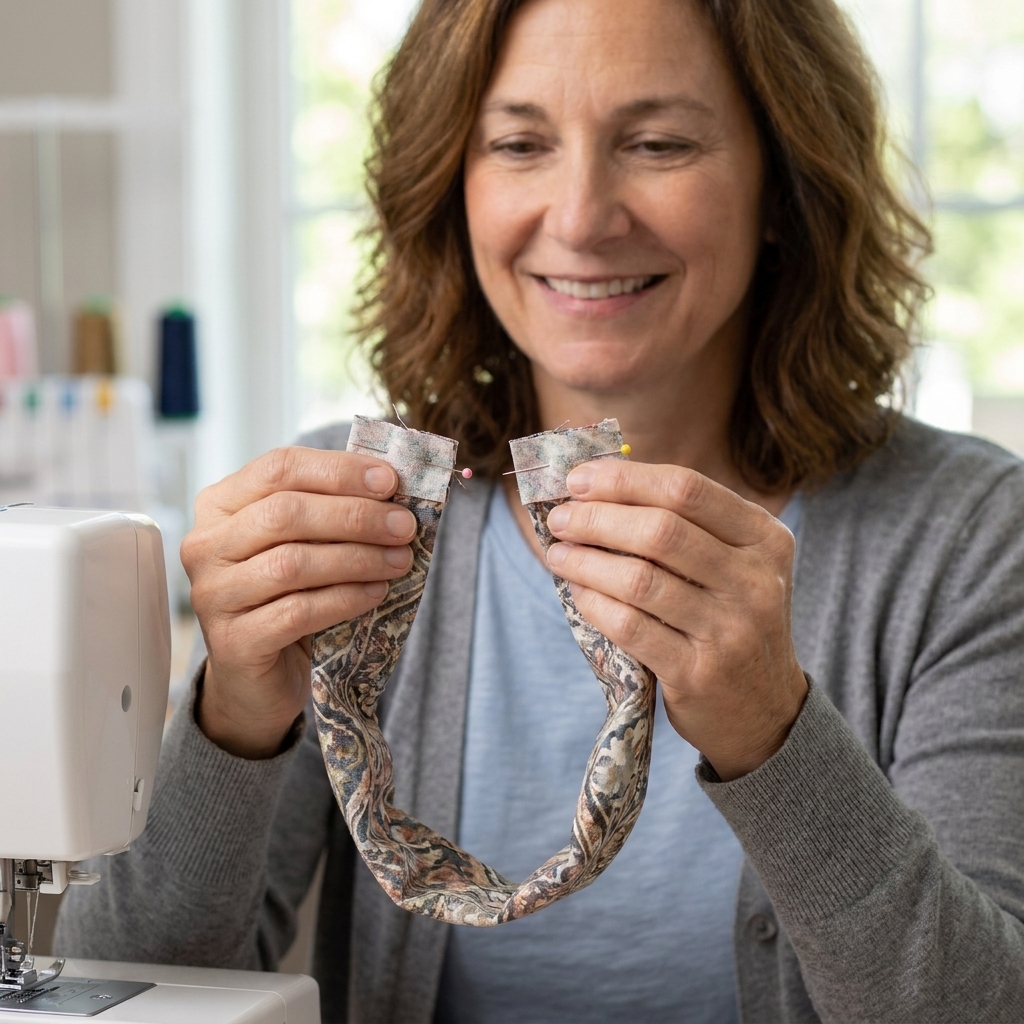
3) Make the ring (easy short seam)
Keep the fabric inside out. Use the unsewn gaps you left to open the tube ends flat.
- Bring the two short ends together with right sides together.
- Match the long seam lines, then pin or clip.
- Sew the short ends together with a 3/8 inch seam allowance.
You should now have an inside-out loop with a gap in the long seam. Those two unsewn ends add up to about a 3 inch opening, which is exactly what we want.
4) Turn right side out
Before you pull anything through, take two seconds to make sure your ring is not twisted.
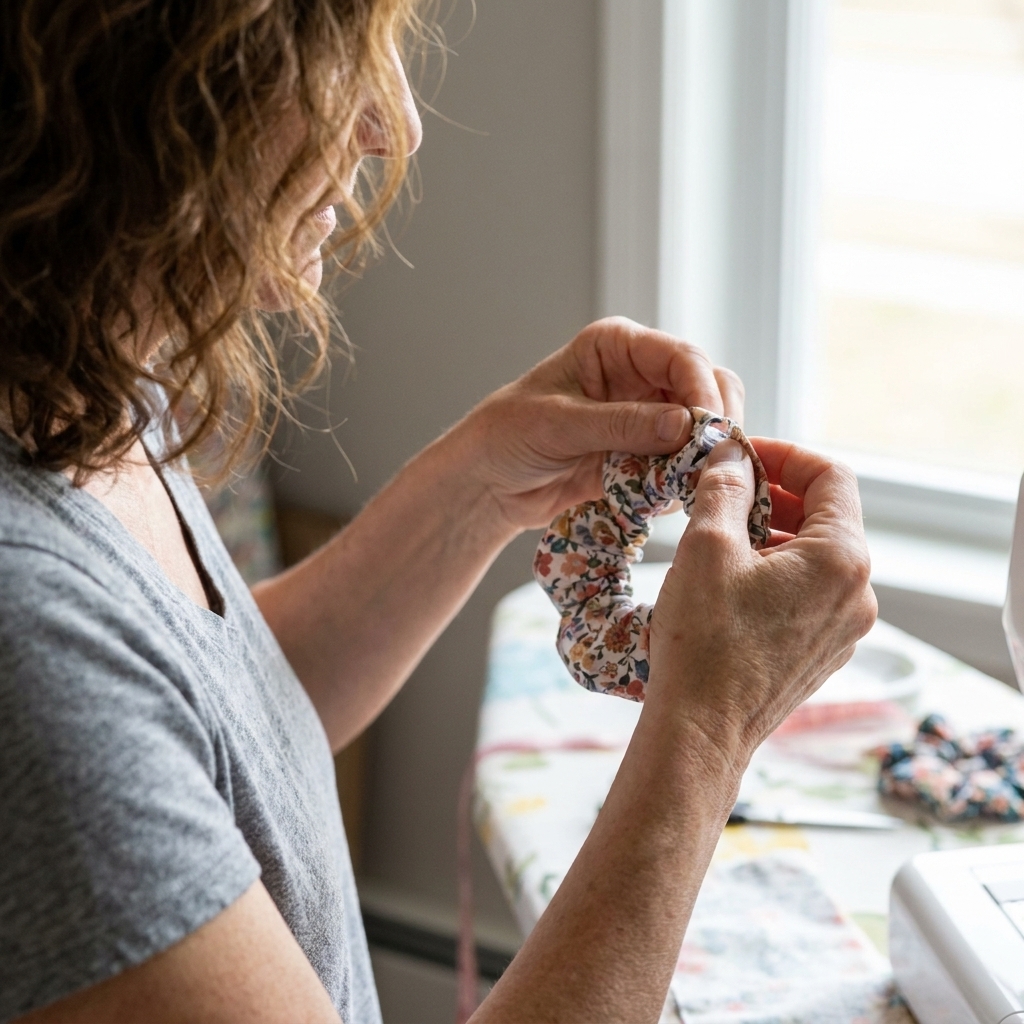
Find the gap in the long seam and pull the fabric through it to turn the whole ring right side out. It will feel like it should not work right up until it does, and then it is suddenly a real scrunchie casing.
Give it a quick press so the long seam sits neatly along one edge and the fabric is not twisted.
5) Thread the elastic
Cut your elastic (start with 7 to 8 inches for a classic scrunchie, then adjust if needed).
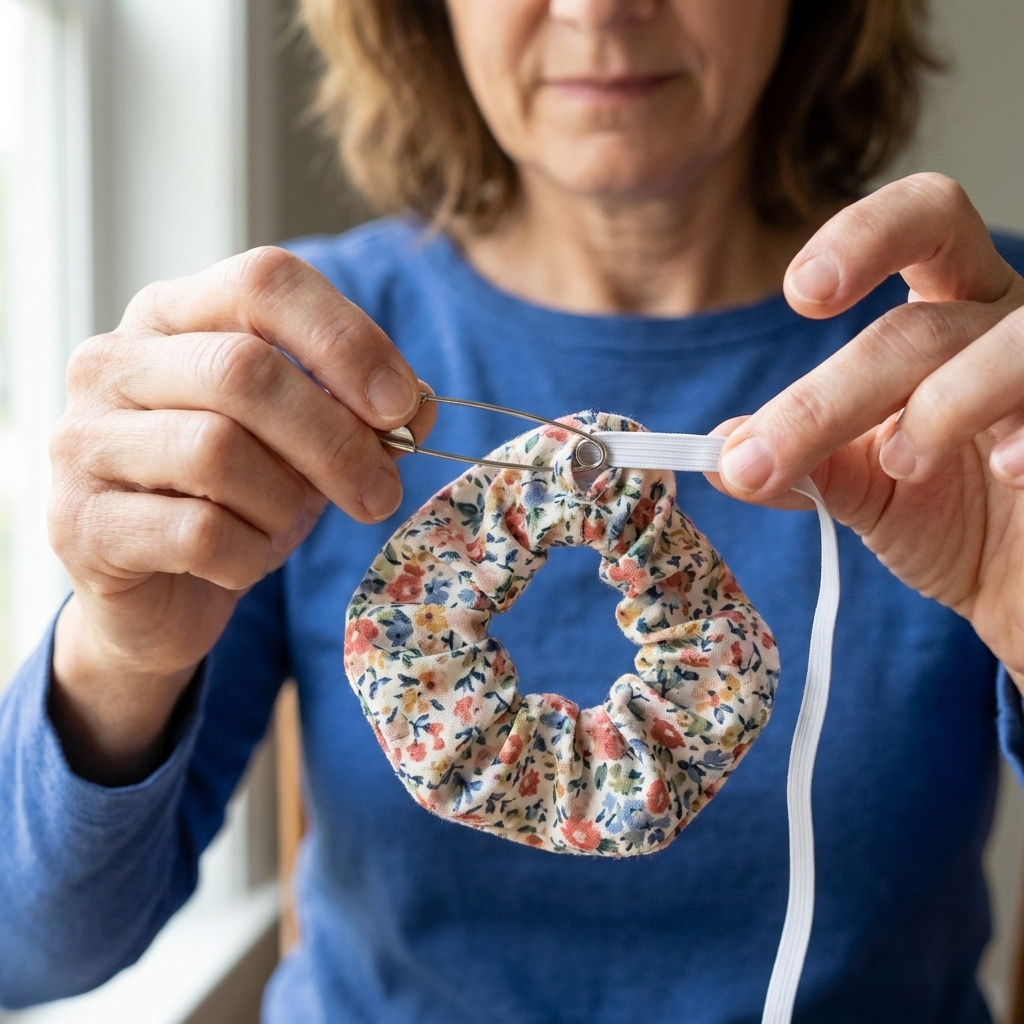
- Attach a safety pin to one end of the elastic.
- Feed it through the fabric ring, entering and exiting through the same gap.
- Hold onto the other elastic end so it does not disappear inside the casing (ask me how I know).
6) Join the elastic
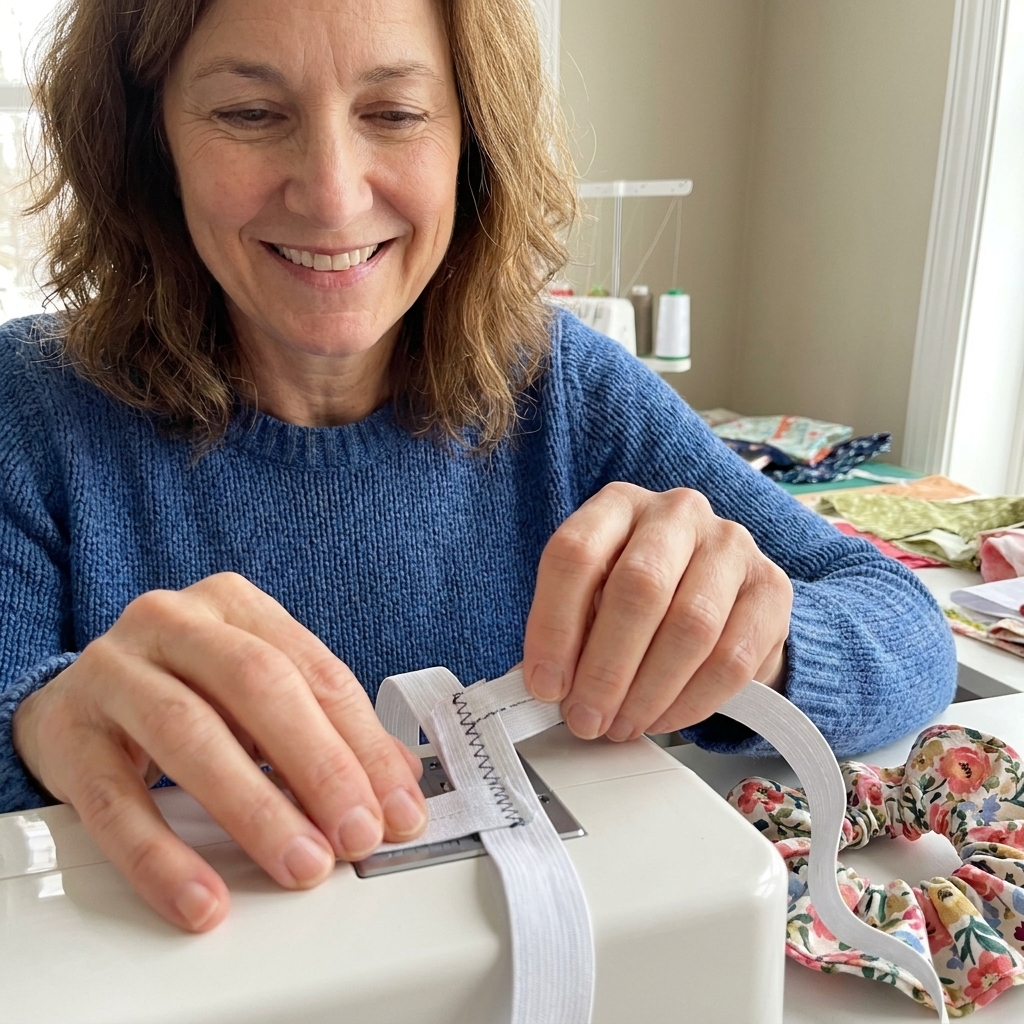
Overlap the elastic ends by about 1/2 inch and stitch them together securely.
- Zigzag is great if your machine has it.
- If you only have straight stitch, sew a box with an X through it, going over the lines a few times.
Let the elastic slip back inside the casing and distribute the gathers evenly.
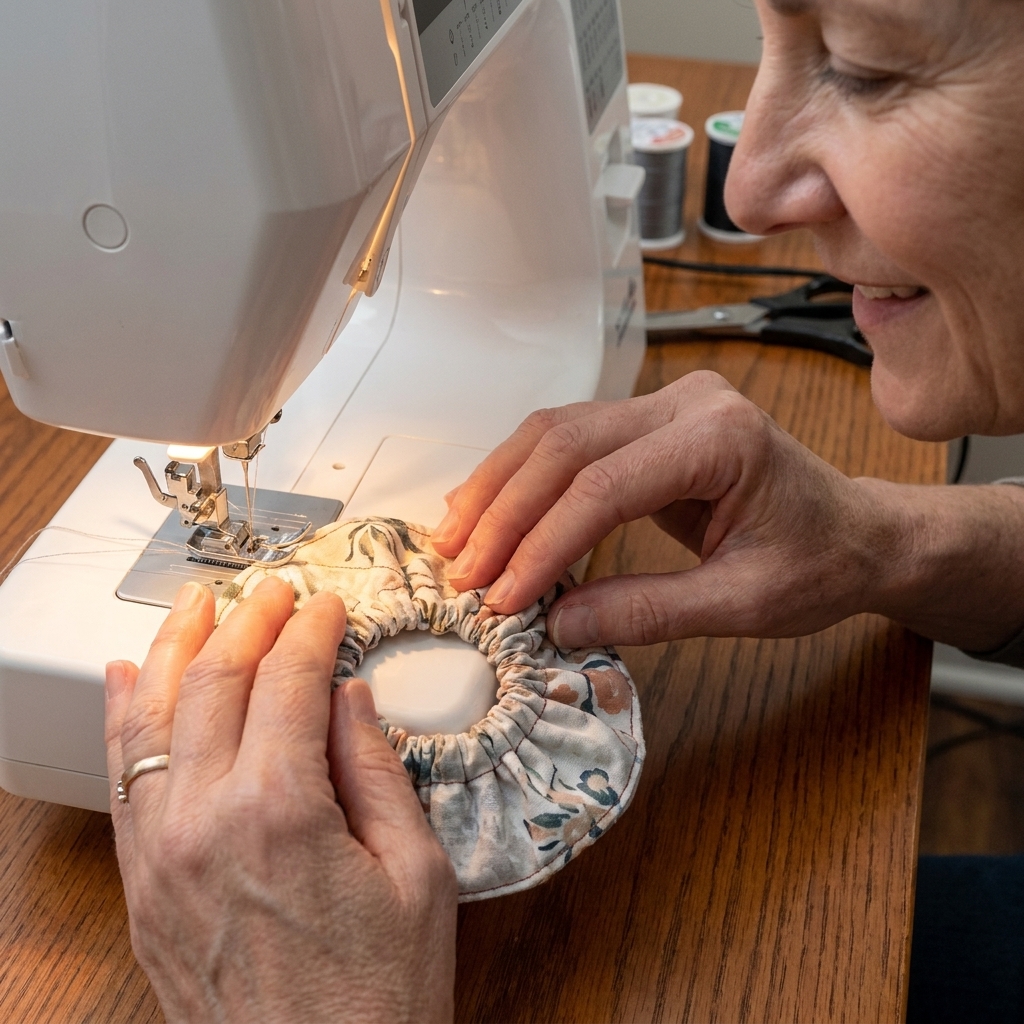
7) Close the gap
Now close the opening in the long seam. Fold the raw edges to the inside about 3/8 inch so they sit flush, then press or finger-press them into place.
- Machine option: Topstitch close to the folded edge, catching both sides as you sew. Go slowly over the bulky gathered area.
- Hand option: Use a ladder stitch for an almost invisible finish.
Give it one last fluff and call it a win.
Fabric tips
- Quilting cotton: Crisp, easy to sew, great for beginners.
- Rayon or viscose: Softer and drapier. Use a fresh needle and go slow.
- Velvet: Luxurious, slightly trickier because it shifts. Pin more than you think you need.
- Silk or satin: Hair-friendly, but slippery. Use plenty of pins, and consider a Microtex 70/10 needle if you have one.
Scrap-saving note: If your scrap is short, you can piece two smaller lengths together. Just press the seam open so it stays smooth.
Fraying note: If your fabric frays like crazy, a quick zigzag along the raw edges before Step 2 can make everything calmer. It is optional.
Common hiccups
My ring is twisted
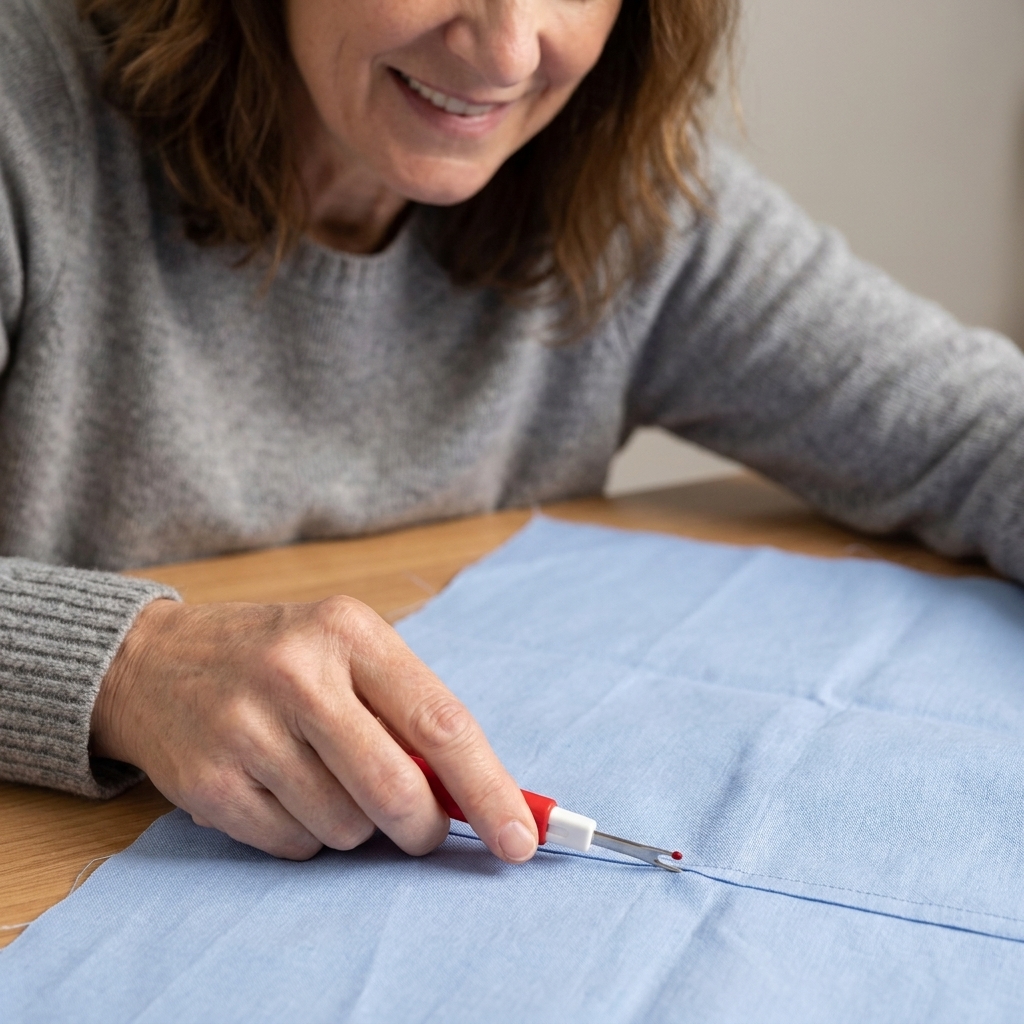
Before you sew the short ends (Step 3), lay the fabric flat and make sure it is not twisted. If it is already stitched, this is a perfect seam ripper moment. Unpick the short seam, untwist, and resew.
The elastic disappeared inside
It happens. Add a safety pin to the free end next time, or clip it to the fabric with a wonder clip or binder clip while you thread.
My scrunchie looks flat
Try a wider fabric strip (4.5 inches instead of 3.5) or a longer fabric length (22 inches instead of 20). Also make sure your seam allowance is not huge, because that steals fabric from the “poof.”
It is too tight on my wrist or hair
Your elastic is probably too short. Add 1 inch and retest. For comfort, you want stretch without feeling like it is fighting you.
Easy variations
- Oversized bow scrunchie: Stitch a simple rectangle, turn it, and tie it around the finished scrunchie.
- Two-tone scrunchie: Sew two different fabrics together along the long edge first, then treat it like one piece.
- Skinny scrunchie: Use a 2 inch wide strip and slightly shorter elastic.
- Velvet holiday scrunchie: Keep everything the same, just switch fabric. Instant fancy.
Quick FAQ
Do I need a pattern?
Nope. A simple rectangle and the sizing chart above are all you need. Scrunchies are wonderfully forgiving.
What seam allowance should I use?
About 3/8 inch is my go-to. The exact number is less important than being consistent so the tube turns smoothly. If your machine does not have a clear guide, mark 3/8 inch with tape and follow it.
Can I sew a scrunchie by hand?
Yes. Use a backstitch for strength on the seams and take your time. The machine is faster, but hand-sewn scrunchies still work beautifully.
What is the best elastic width?
1/4 inch is the easiest all-around choice. If you want a firmer scrunchie, try 3/8 inch and keep the fabric width the same.
One last nudge
If this is your first “real” sewing project, I want you to know something: a slightly wobbly seam does not matter here. Scrunchies are basically the warm-up stretch of sewing. Make one, then make a second with your favorite scrap, and suddenly you have practice, confidence, and something cute to wear. That is a great bit of time.