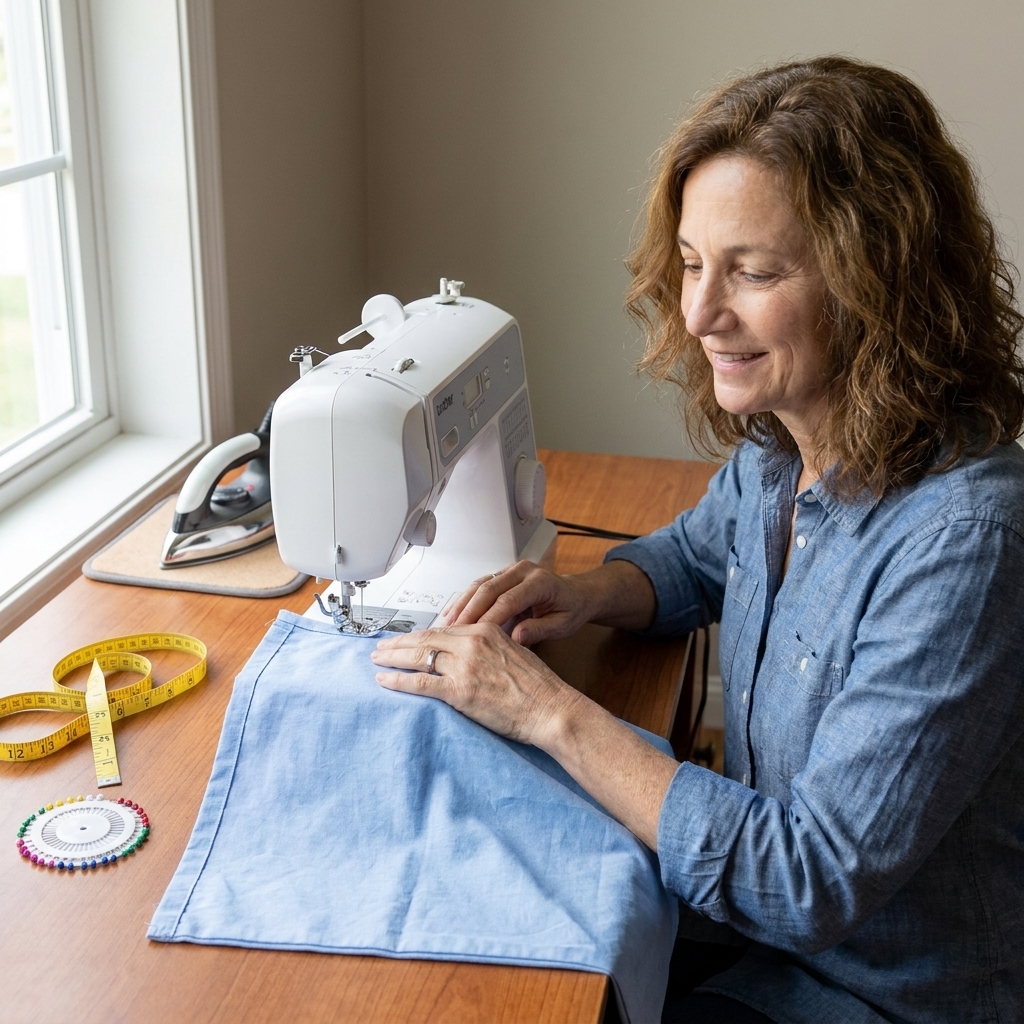
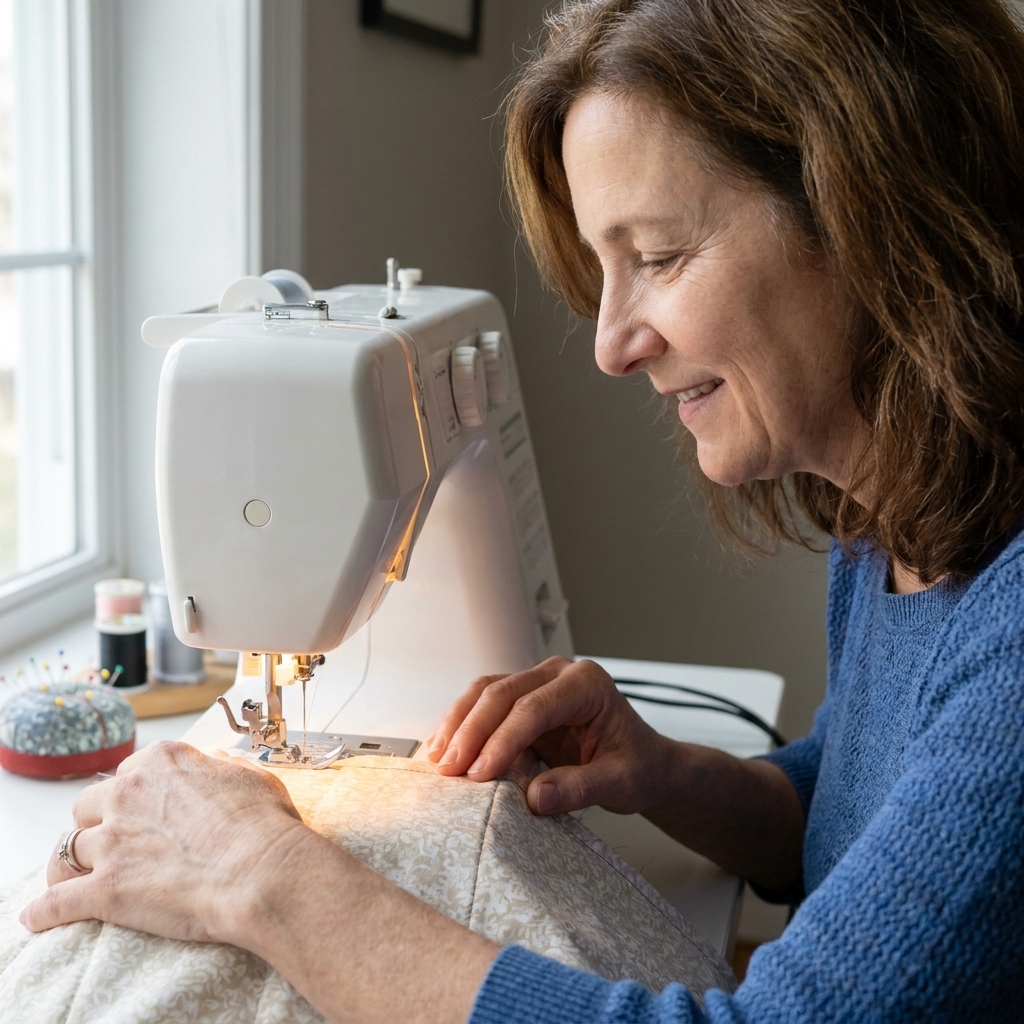
There is something wonderfully old-school about tying on a half-apron before you cook, bake, garden, or tackle a messy craft. It makes the task feel official in the best way. Even better, this one is a true beginner win: straight seams, friendly rectangles, and patch pockets that teach you how to stitch something that lasts.
If you can sew a straight line (and you can, even if you have to unpick one or two wobbly rows), you can sew this apron.
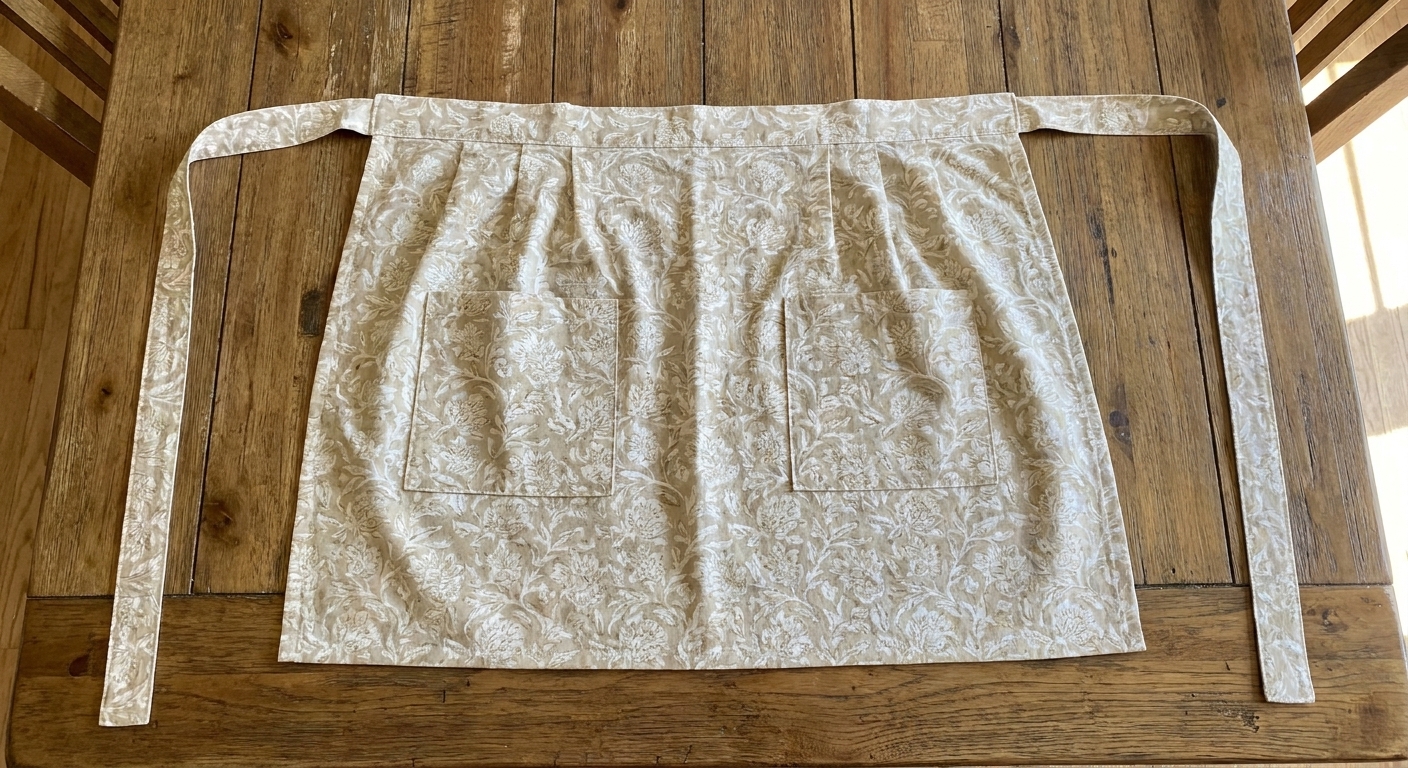
What you will practice
- Hemming with clean corners that do not pucker
- Topstitching for a sturdy, professional look
- Patch pockets that sit flat and can take daily use
- Long waist ties that are comfortable and adjustable
Materials and tools
Fabric
- Main apron fabric: 3/4 yard (0.7 m) of 44 inch (112 cm) wide quilting cotton, cotton duck, linen, or a linen blend
- Optional pocket fabric: 1/4 yard (0.25 m) if you want contrast pockets
Beginner tip: quilting cotton is the easiest to press and stitch. If you want something tougher for kitchen splatters and heavy pockets, cotton duck is lovely, just a bit thicker.
Yardage note: 3/4 yard is enough for this size if you cut efficiently. If your fabric has a directional print, you want longer ties, or you prefer extra room for error, buy 1 yard (0.9 m).
Notions
- All-purpose thread
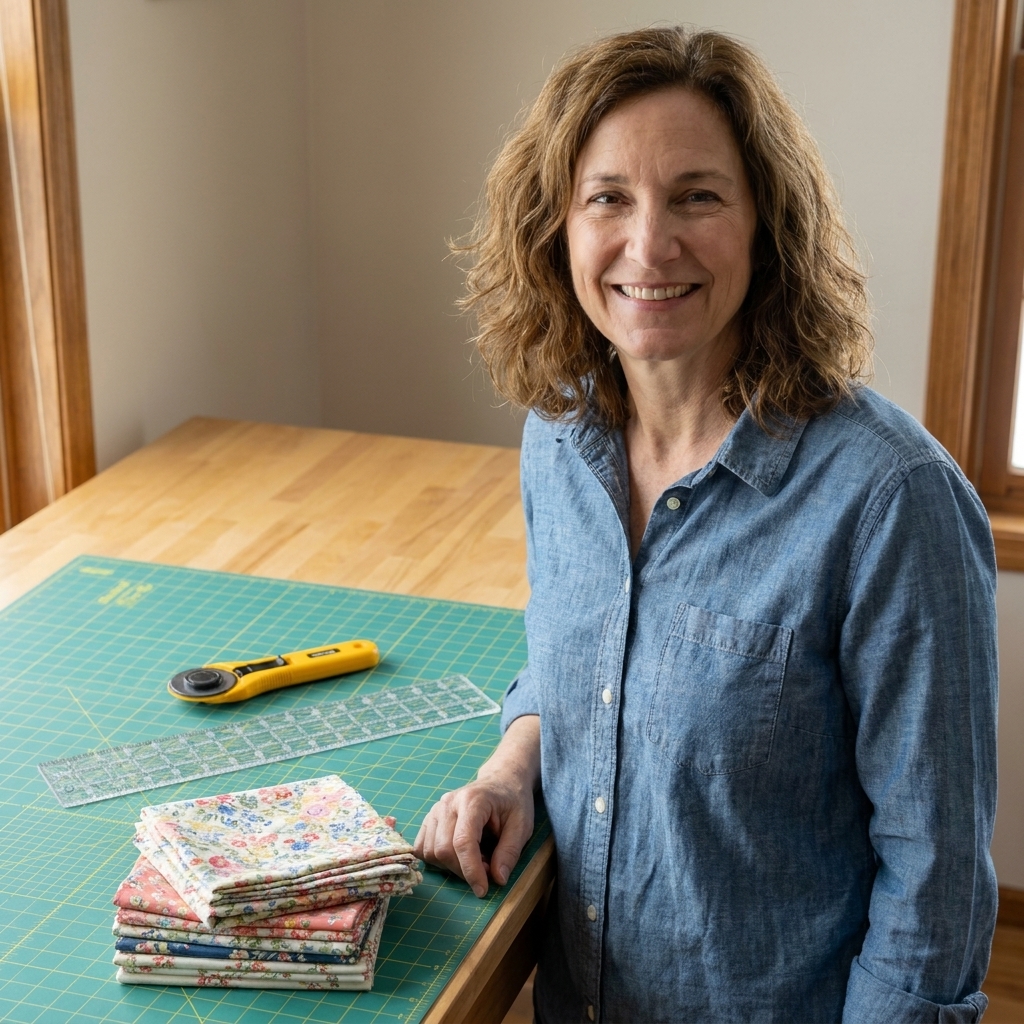
- Fabric scissors or rotary cutter and mat
- Measuring tape or ruler
- Marking tool (washable pen, chalk, or pencil)
- Pins or clips
- Iron and ironing board (pressing is half the magic)
- Seam ripper (not for punishment, for freedom)
Machine basics
- Straight stitch
- Stitch length: 2.5 mm for seams, 3.0 mm for topstitching
- Universal needle size 80/12 for most cottons, 90/14 for thicker duck
Cutting: simple rectangles
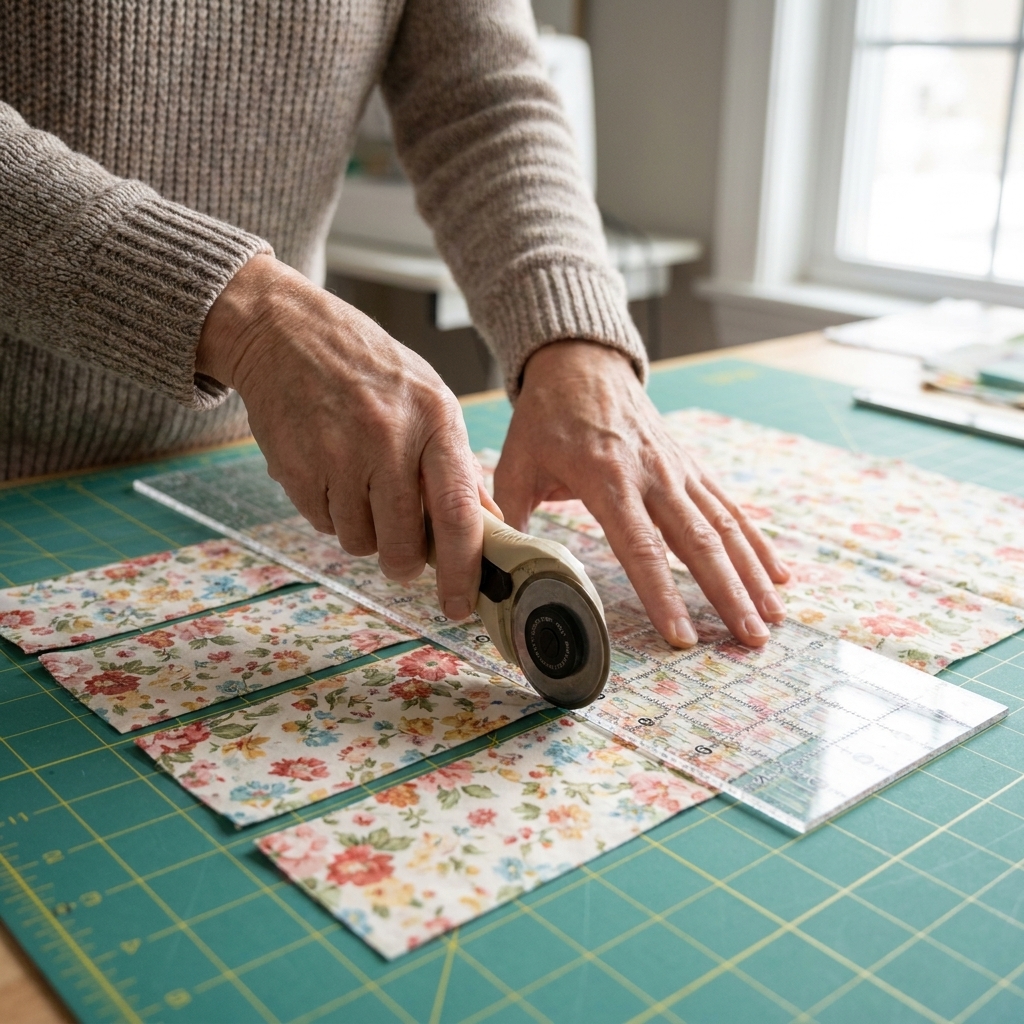
This pattern is intentionally no-fuss. You will cut one apron body, two pockets, and two ties.
Suggested finished size
This makes an apron that fits most adults comfortably and ties in the front or back.
- Apron body: cut 1 at 22 inches wide x 16 inches tall (56 x 41 cm)
- Pockets: cut 2 at 8 inches wide x 9 inches tall (20 x 23 cm)
- Waist ties: cut 2 at 3 inches wide x 36 inches long (7.5 x 91 cm)
Want it wider or longer? Add width to the apron body for more wrap, and add height for more coverage. The construction steps stay the same.
Quick cutting layout
To make 3/4 yard work comfortably, cut in this order:
- Cut the apron body first (22 x 16).
- From the remaining fabric, cut the ties as two 3 x 36 strips. If you cannot get full-length strips because of a directional print or a tight layout, plan on 1 yard.
- Cut the pockets from leftovers, or from contrast fabric.
Prep: press and mark
Before we sew, do two quick things that make everything easier:
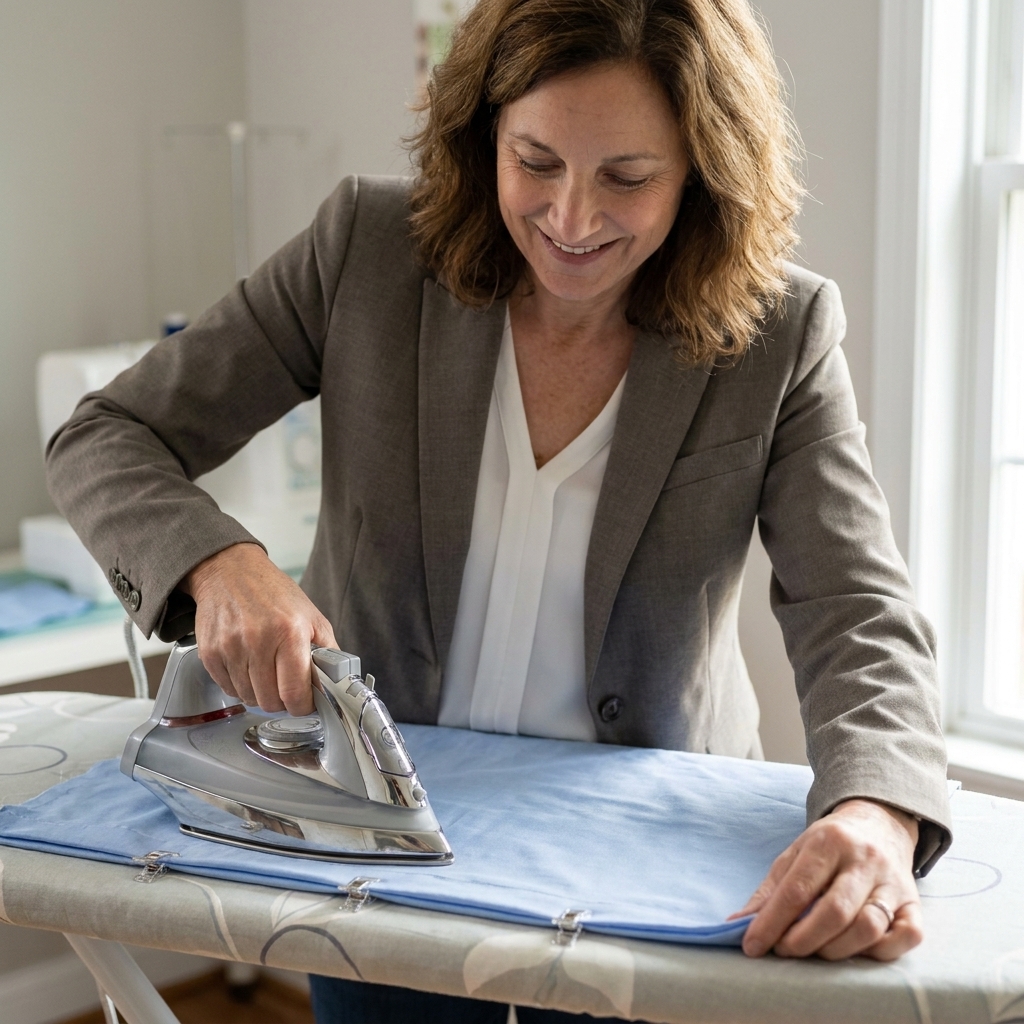
- Press your fabric so your hems behave.
- Lightly mark pocket placement so both pockets sit at the same height.
A good starting point: place the pockets about 3 inches (7.5 cm) up from the bottom hem and about 2 inches (5 cm) in from each side edge. You can slide them closer together if you like the look of a centered double-pocket moment.
Sew the waist ties
These ties are long, sturdy, and beginner-friendly because they are just fabric tubes. You can keep the ends squared, or make a simple point if you like a more vintage look.
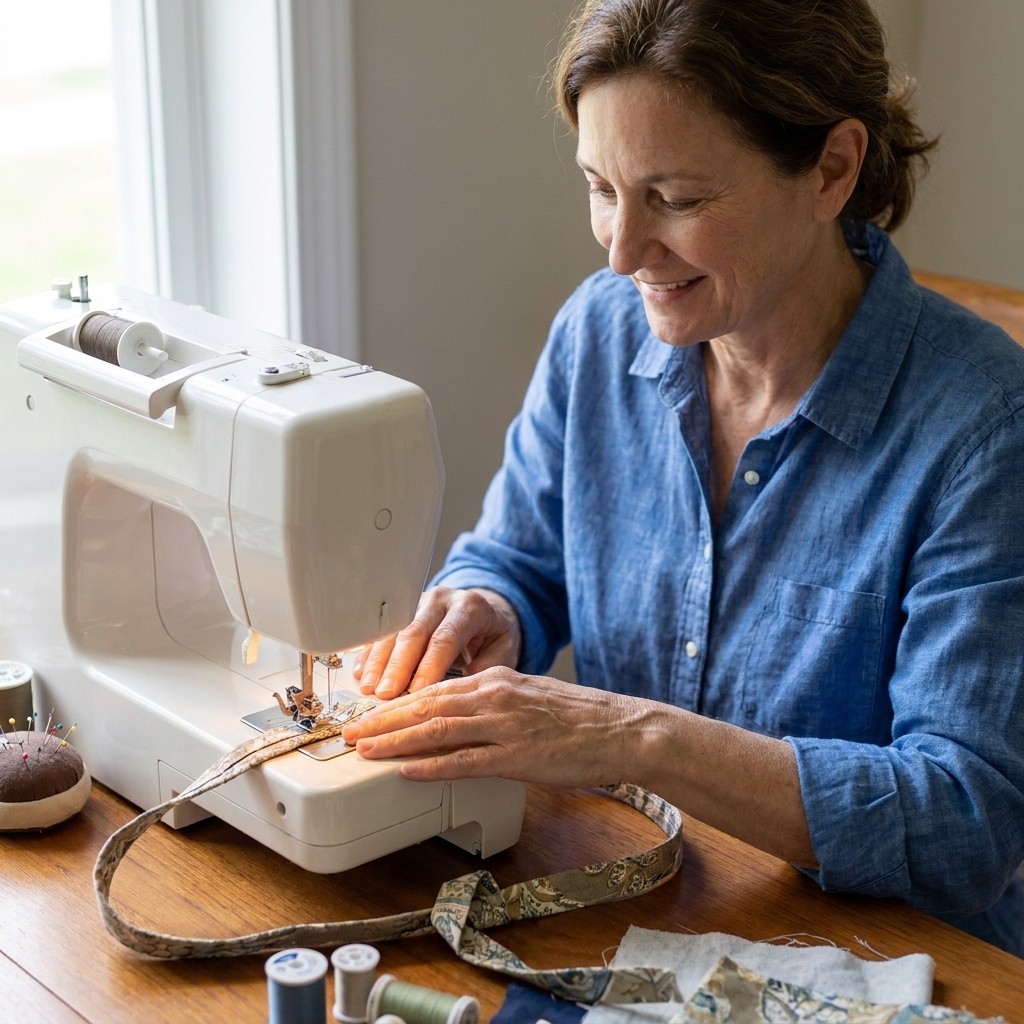
1) Stitch the tie
For each tie:
- Fold the tie in half lengthwise, right sides together, so it is 1.5 inches (3.75 cm) wide.
- Press the fold with your iron.
- Starting at the open short end, stitch down the long edge using a 3/8 inch (1 cm) seam allowance.
- At the far short end, stitch across to close it, then backstitch. Leave the other short end open for turning.
Optional pointed end: before you stitch across that far short end, fold the short end into a triangle (like folding a paper airplane nose), then stitch across the triangle to secure it.
2) Trim, turn, press
- Trim the seam allowance at the closed end to reduce bulk. If you made a point, trim the tip carefully so it turns neatly.
- Turn right side out. A safety pin, chopstick, or turning tool helps.
- Press the tie flat with the seam running along one edge or centered on the back, whichever you prefer.
3) Topstitch for strength
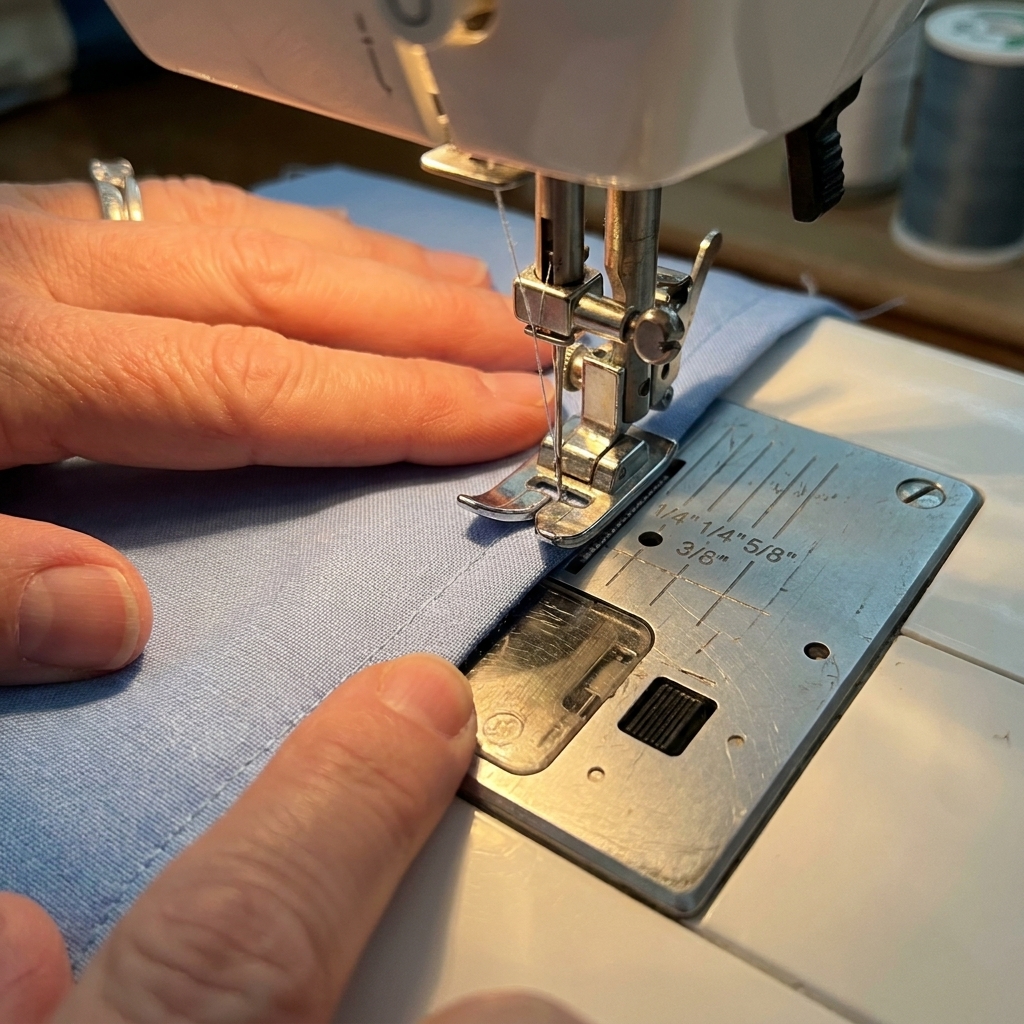
Topstitch around the tie, close to the edge (about 1/8 inch or 3 mm). This keeps it crisp and helps it survive a lot of washing and tugging.
Hem the apron body
We are using a double-fold hem because it hides raw edges and washes well. No extra seam finishing is needed since the raw edges get tucked away.
1) Press the side and bottom hems
- On both side edges and the bottom edge, press up 1/2 inch (1.25 cm), then press up another 1/2 inch (1.25 cm) to hide the raw edge.
- Pin or clip in place.
Corner tip: when you press the second fold, open the corner slightly so the folds do not stack into a chunky knot. You can also trim away a tiny triangle of fabric in the very corner after the first fold if your fabric is thick.
2) Stitch the hems
Stitch close to the inner folded edge, keeping your line consistent. Use a slightly longer stitch length (3.0 mm) if you like the look of topstitching.
Top edge and ties
The top edge gets a clean double-fold hem. Instead of trying to tuck a finished tie into a narrow hem (which gets bulky fast), we will finish the top first, then stitch the ties on at the corners with a strong reinforcement. It is tidy, it is durable, and it makes sense for a single-layer apron.
1) Hem the top edge
- Press the top edge down 1/2 inch (1.25 cm), then another 1/2 inch (1.25 cm).
- Stitch close to the inner fold all the way across.
2) Place the ties
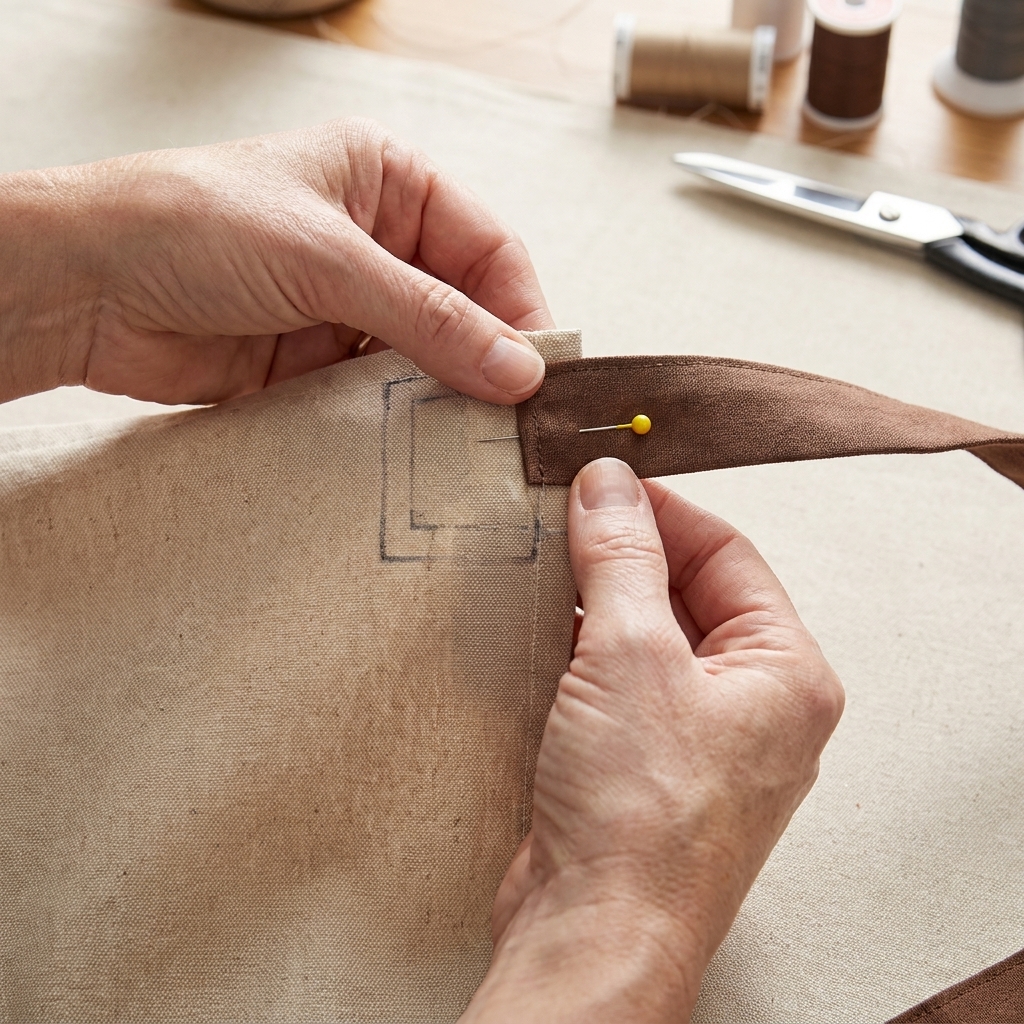
On each side, line up the raw, unsewn end of a tie with the top corner of the apron, on the wrong side (back) of the apron. The tie should point outward toward the side edge (away from the apron body), so it can wrap around you without fighting the fabric.
Tuck the raw end of the tie under about 1/2 inch (1.25 cm) so no raw edge shows, then press it flat. Make sure the folded-under end sits fully inside where your reinforcement stitching will go. Pin well.
3) Stitch and reinforce
Sew a small rectangle through all layers to secure the tie end, about 1 inch tall by 1 inch wide (2.5 x 2.5 cm), then sew an X inside the box. Backstitch at the start and end. This is the same idea used on sturdy tote bag straps , and it holds up beautifully to daily tugging.
Optional for an extra-clean look: after the ties are attached, topstitch a short line along the top edge of the apron at each corner (about 2 inches or 5 cm) to keep everything extra crisp and flat.
Sew the patch pockets
Patch pockets look simple, but they teach you a lot about accuracy, pressing, and topstitching. The secret is pressing before you sew.
1) Hem the top of each pocket
- On the top edge of the pocket, press down 1/2 inch (1.25 cm), then press down another 1/2 inch (1.25 cm).
- Stitch close to the inner fold.
- Optional but recommended: stitch a second line about 1/4 inch (6 mm) below the first for a classic, sturdy pocket top.
2) Press the pocket sides and bottom
- Press each side edge in 1/2 inch (1.25 cm).
- Press the bottom edge in 1/2 inch (1.25 cm).
Do not worry if your corners feel fussy. If a corner looks bulky, unfold and trim a whisper of fabric away. Then press again. This is exactly the kind of tiny adjustment that makes sewing feel less mysterious.
3) Position the pockets
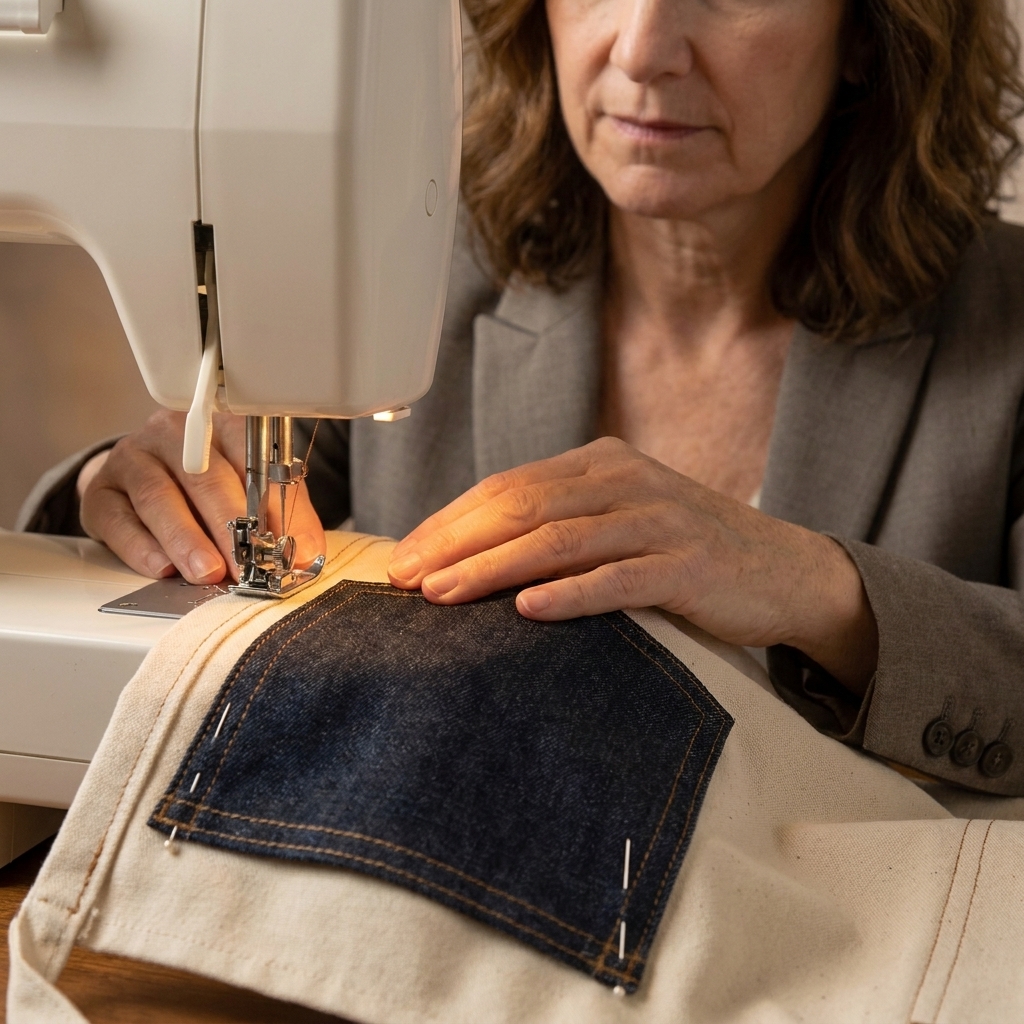
Place the pockets on the apron body using your earlier marks. For the neatest look, measure from the hem stitching line (not the raw edge) so both pockets sit at the same height. Step back and eyeball it before pinning. If one pocket looks a smidge higher, it probably is. This is your moment to fix it without a seam ripper.
4) Stitch the pockets down
Topstitch around the sides and bottom edges of each pocket, close to the fold (about 1/8 inch to 3/16 inch, or 3 to 5 mm). Backstitch at the top corners.
Extra durability option: sew a small triangle at the top corners by stitching diagonally from the pocket edge toward the side seam, then back. This is a simple reinforcement that helps pockets survive years of tugging.
Quick fit check
Tie it on and do a little pocket test:
- Do the ties feel long enough for a comfortable bow?
- Are the pockets at a height that feels natural for your hands?
- Does the apron cover where you want it to cover?
If something feels off, you are not stuck. Pockets can be removed and re-stitched, and ties can be lengthened next time. Sewing is allowed to be iterative.
Optional upgrades
- Contrast pockets: use a fun print for the pockets only.
- Rounded pocket corners: trace a small bowl to round the bottom corners before pressing.
- One large divided pocket: cut one pocket 16 inches wide x 9 inches tall (41 x 23 cm) and stitch a vertical line down the center after attaching.
- Key loop: stitch a small folded loop into the top hem near one side.
Troubleshooting
My hems look wavy
This usually means the fabric stretched a bit as you stitched. Slow down, keep your hands flat (no pulling), and press the hem again after sewing. For lightweight cotton, a slightly longer stitch length can also look smoother.
My pocket corners are lumpy
Trim the seam allowance inside the fold before you press, especially at the corners. Less bulk equals flatter corners.
My pockets are not even
Measure from the bottom hem stitching line up to the pocket bottom on both sides. Then measure in from the side hems. And remember, nobody is going to inspect your pockets with a ruler while you are stirring soup.
My ties twist
After turning, press the tie carefully so the seam runs along one edge or centered on the back. Then topstitch. Topstitching is the tie-tamer.
Care and fabric tips
- Prewash your fabric if you plan to launder the apron often, especially for cottons that shrink.
- Press after washing if you like a crisp look. Half-aprons look extra charming when they are neat.
- Stain strategy: darker prints hide kitchen splashes better than solids.
FAQ
How long should apron ties be?
For most adults, 34 to 40 inches (86 to 102 cm) per tie works well. If you want to wrap and tie in front with a generous bow, go longer. If you prefer tying in back only, you can go a bit shorter.
Do I need interfacing for the pockets?
Nope. For quilting cotton, pockets are sturdy enough without interfacing. If your fabric is very lightweight or loosely woven, a light fusible interfacing can help pockets stay crisp, but it is optional.
What seam allowance should I use?
For this project, a 3/8 inch (1 cm) seam allowance is a comfy default for the ties, and double-fold hems handle the apron body and pockets. The exact number matters less than being consistent.
Can I make this apron from a thrifted tablecloth?
Absolutely, and it is one of my favorite ways to sew. Check for thin spots, press well, and consider reinforcing pocket corners since vintage linens can be softer from age.