If you have ever wanted a “real” tote bag but felt intimidated by linings, I have good news: a reversible tote is one of the easiest ways to get a crisp, finished bag without fussing with tricky corners or hardware. We are basically sewing two simple bags, nesting them together, and turning them right side out like a pillowcase. It is quick, forgiving, and ridiculously satisfying.
Quick vocab for brand-new sewists: the right side of fabric is the “pretty” side you want showing, and the wrong side is the back. If you cannot tell, pick a side and stay consistent.
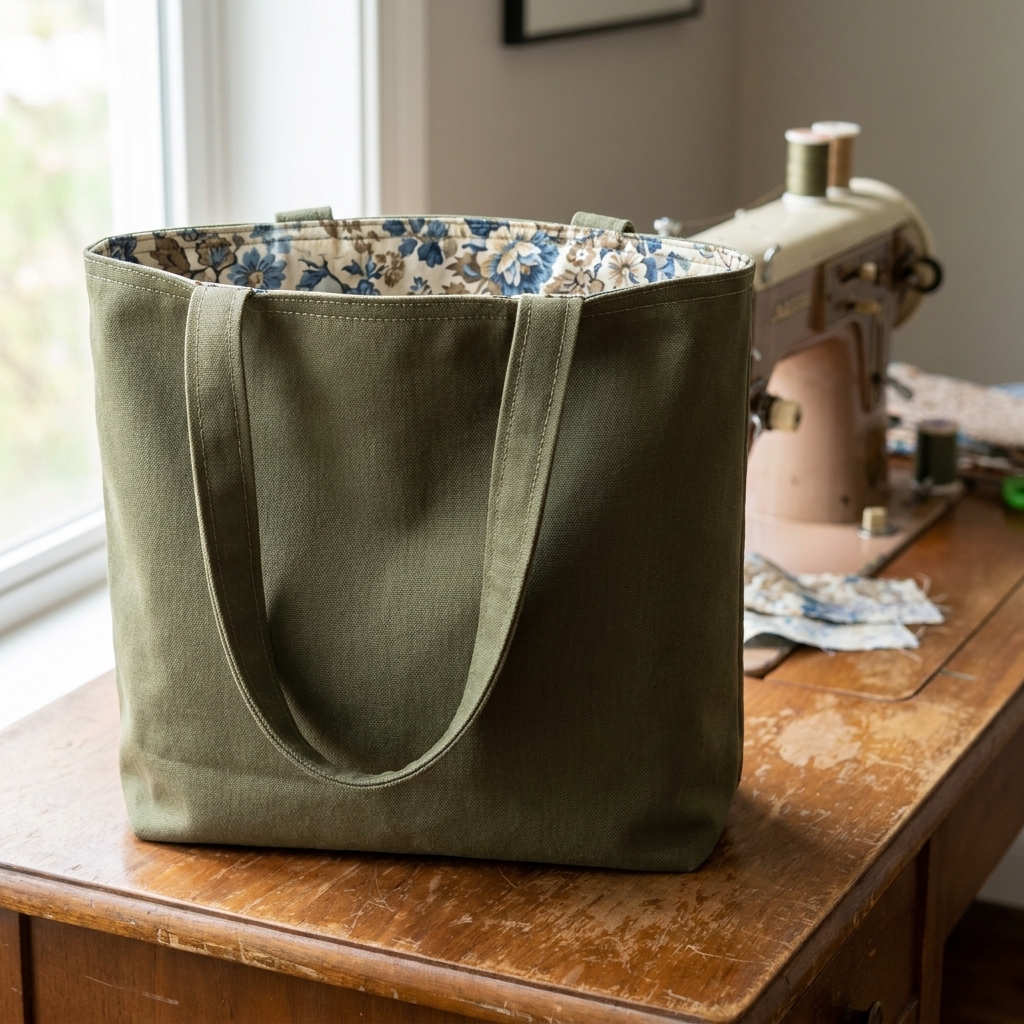
What you will make
A medium everyday tote with boxed corners, comfortable straps, and a clean finish inside and out. Because it is reversible, you can flip it for a whole new look.
- Finished size (approx.): 14 in wide across the top x 14 in tall x 4 in deep (base). Note: once the corners are boxed, the flat width across the base is closer to about 10 in.
- Skill level: advanced beginner (still very doable as a first bag, just go slow)
- Stitches used: straight stitch only
Materials and tools
Fabric
- Exterior fabric: 1/2 yard to 3/4 yard (see yardage notes below) quilting cotton, canvas, or denim (canvas makes it extra sturdy)
- Lining fabric: 1/2 yard to 3/4 yard (see yardage notes below) quilting cotton or canvas
If your fabrics are lightweight, you can still make this bag. It will just be softer and more slouchy. If you want it to stand up more, choose canvas for at least one side.
Yardage reality check: If you are using 44 to 45 in wide fabric and you are willing to do a simple, careful cutting layout, 1/2 yard (18 in) of each fabric is often enough. If your fabric is narrower, your cut edges are not square, you want to fussy cut a print, or you just want an easier time, buy 3/4 yard of each fabric. Extra fabric is cheaper than frustration.
Notions
- Matching thread
- Fabric scissors or rotary cutter and mat
- Ruler or measuring tape
- Chalk or washable fabric marker
- Clips or pins
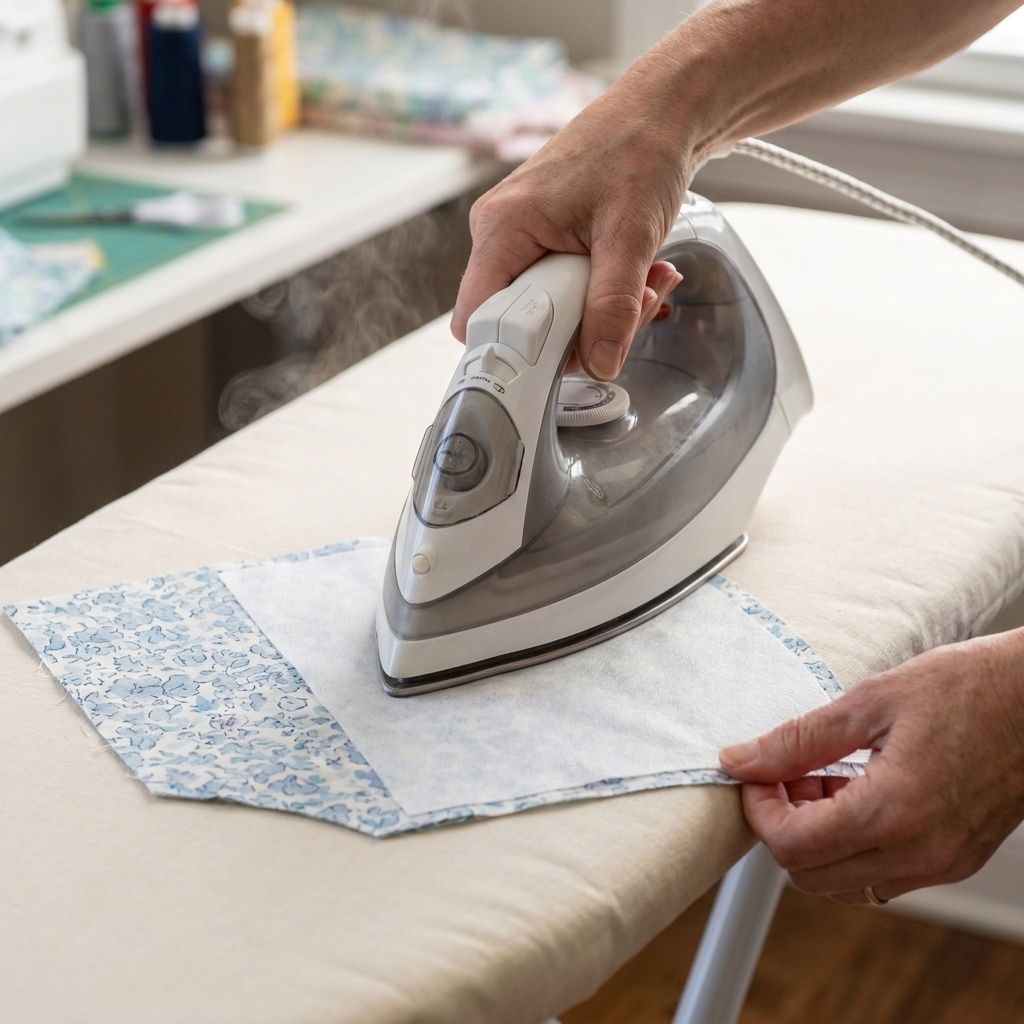
- Iron and ironing board
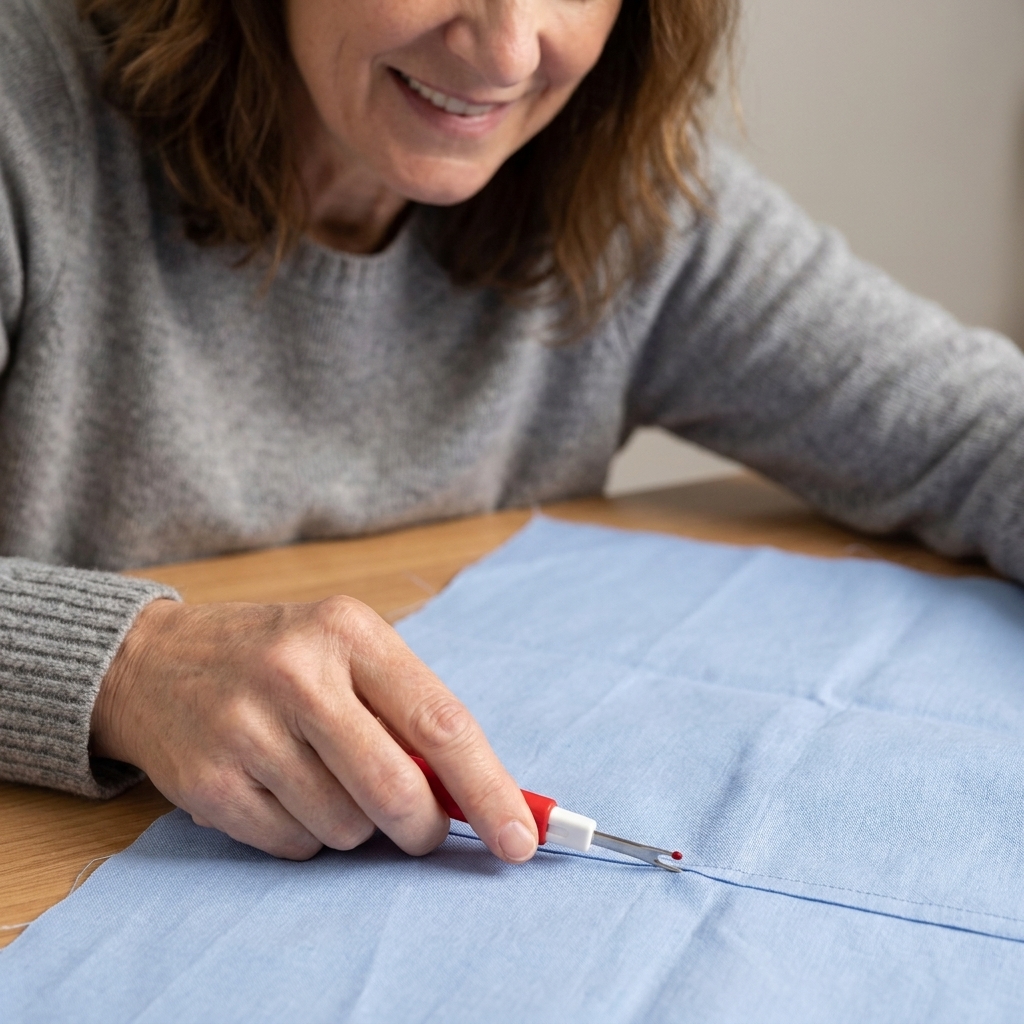
- Seam ripper (not optional in my world, it is your best friend)
Machine settings
- Seam allowance: 1/2 inch unless noted
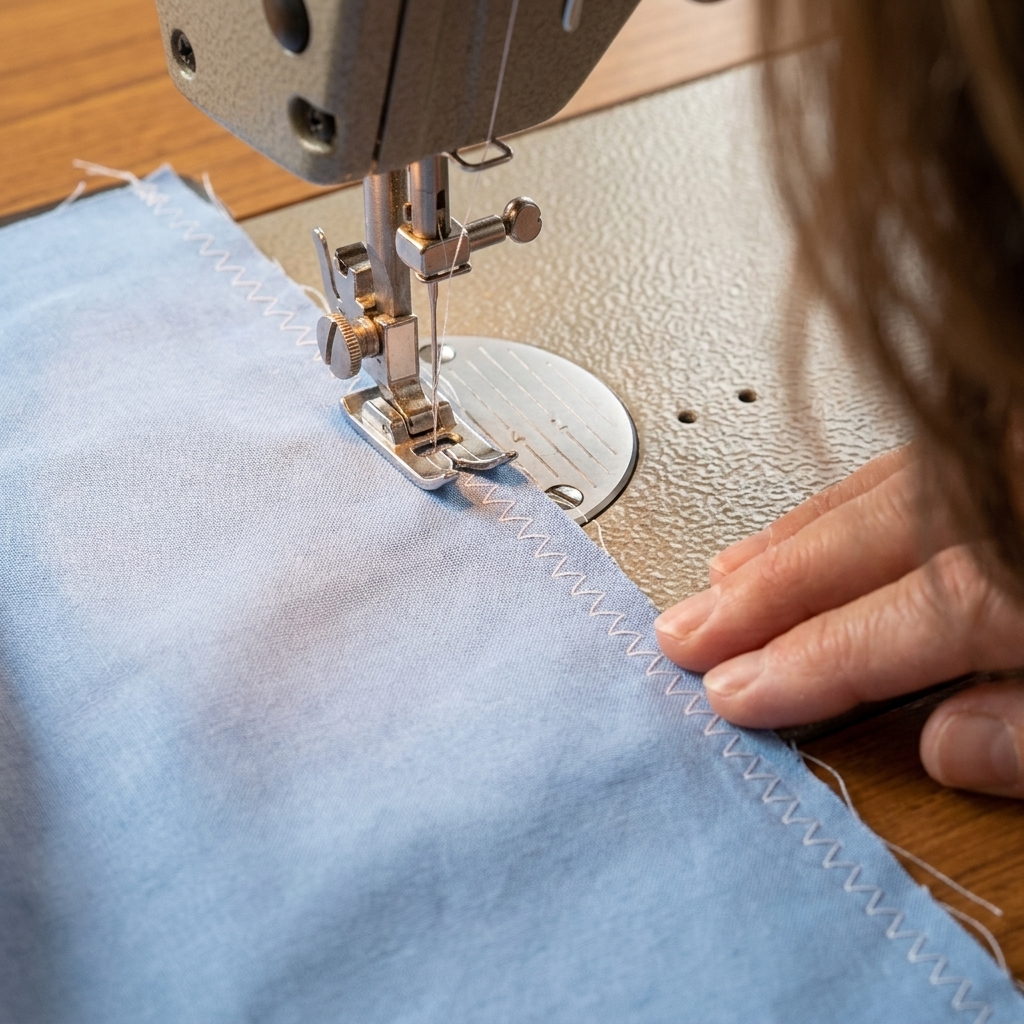
- Stitch length: 2.5 to 3.0
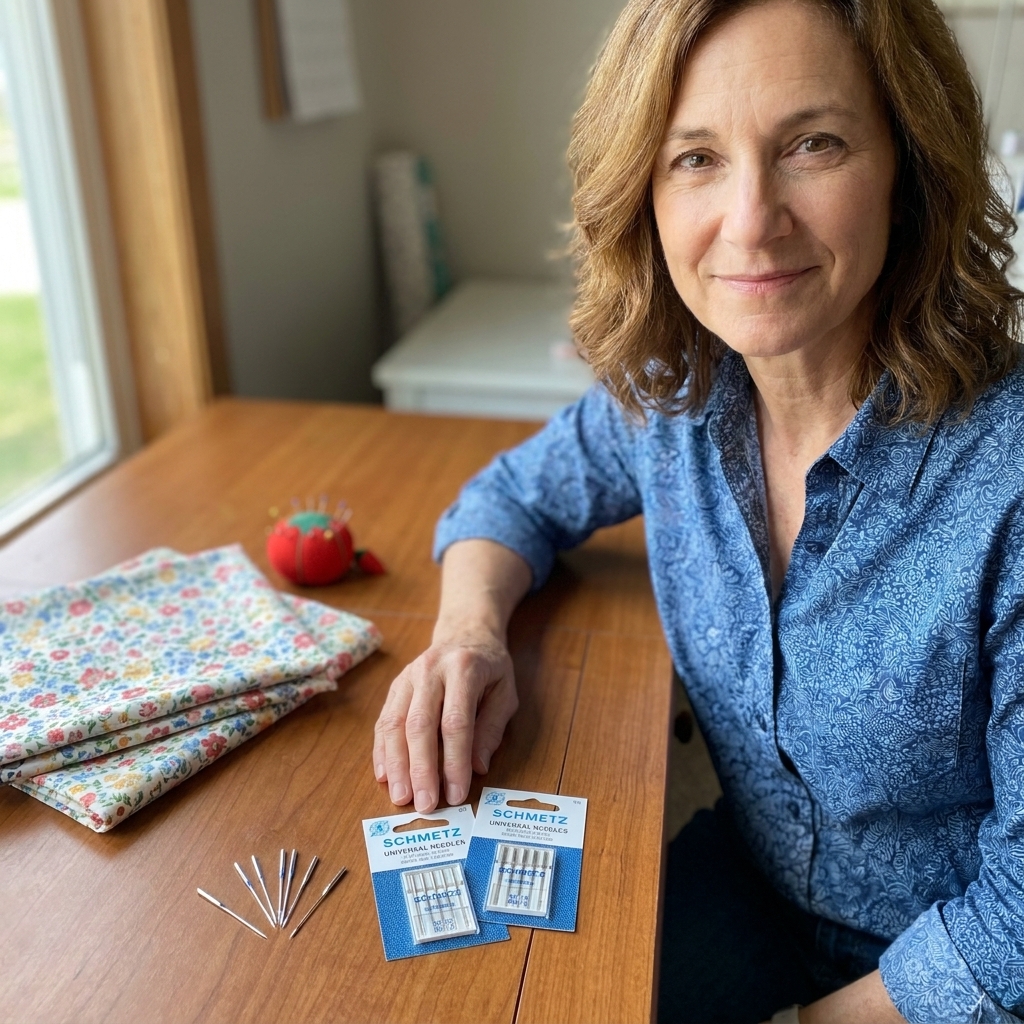
- Needle: Universal 80/12 for quilting cotton, 90/14 for canvas or denim
Cutting pieces
You will cut the same pieces from both fabrics.
- Bag body: cut 2 rectangles at 15 in x 16 in (from exterior) and 2 rectangles at 15 in x 16 in (from lining)
- Straps: cut 2 strips at 4 in x 22 in (from exterior, or lining, or one of each for a fun mix)
Optional pocket (easy upgrade): Cut 1 rectangle at 8 in x 10 in from lining fabric.
Simple cutting layout tip: On 44 to 45 in wide fabric, you can usually cut two 15 in x 16 in body rectangles side by side (30 in total width) with room to spare. Then cut the strap strips from the remaining area. If your fabric is narrow, cut one body rectangle at a time, then cut straps from what is left, or plan on that 3/4 yard.
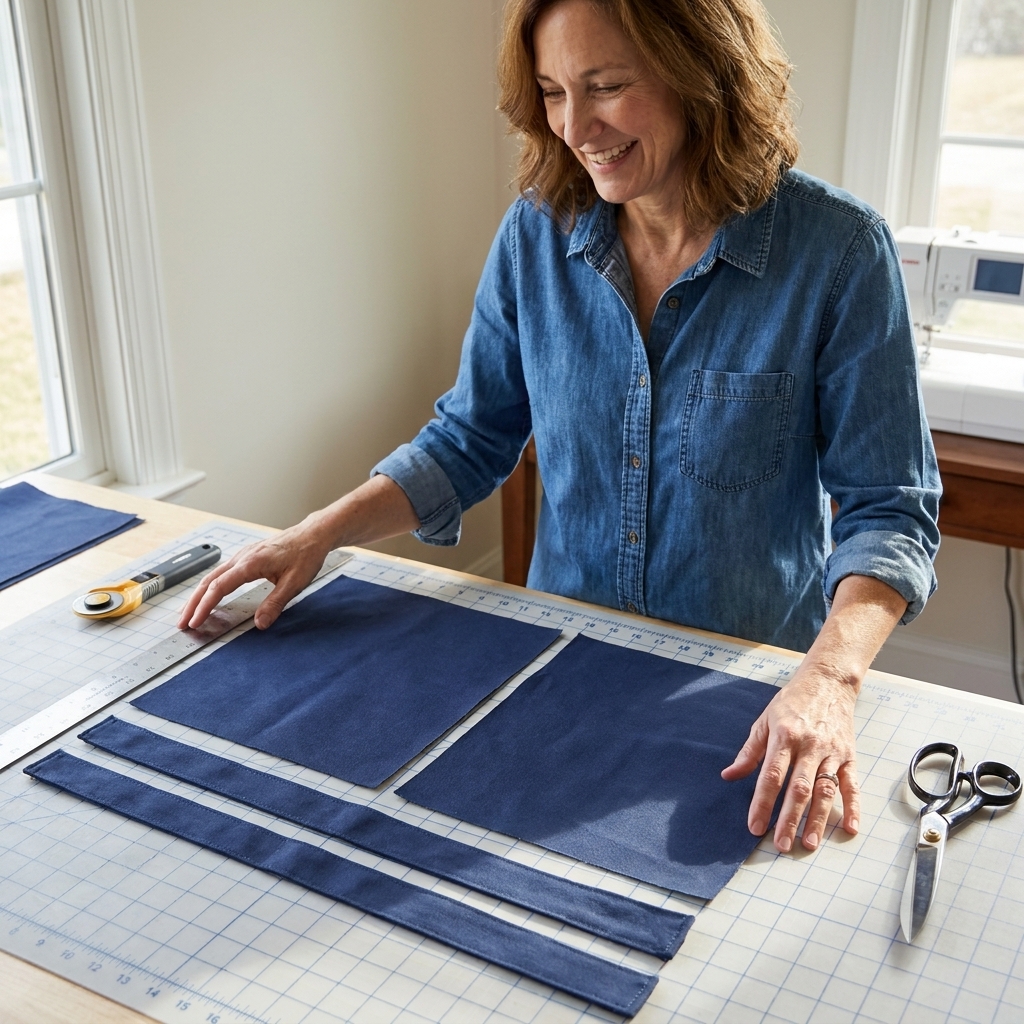
Step 1: Make the straps
We are going to make quick, sturdy straps that look polished but are beginner-friendly.
Fold and press. Take one strap strip (4 in x 22 in). Press it in half lengthwise, wrong sides together. Open it back up.
Fold raw edges to center. Fold each long raw edge into the center crease you just made. Press.
Fold again and stitch. Fold along the original center crease to hide all raw edges. Stitch close to both long edges (about 1/8 inch). Repeat for the second strap.
Beginner tip: If your fabric is thick and feels like it is fighting you, use clips instead of pins and sew a little slower. Thick layers just need a calmer pace.
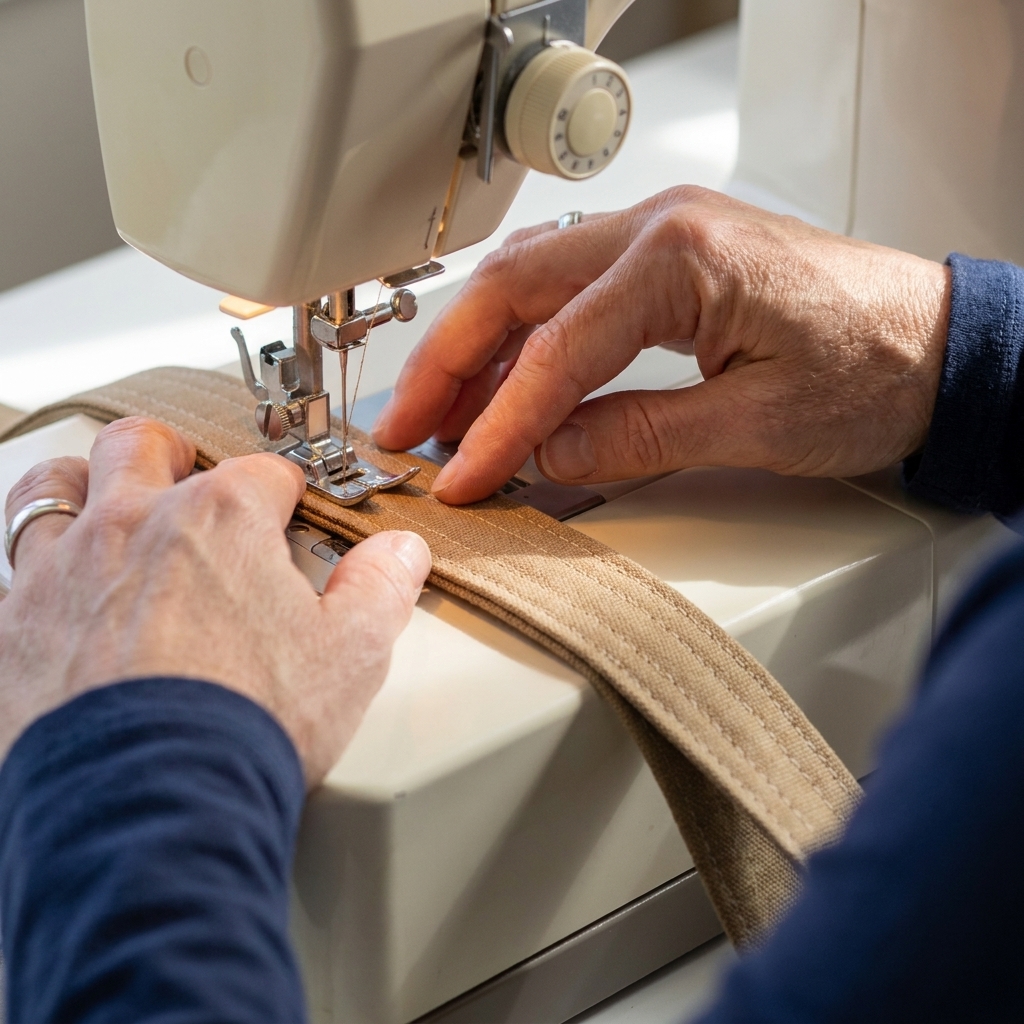
Step 2: Sew the exterior
Place exterior pieces right sides together. Align the two 15 in x 16 in exterior rectangles.
Sew sides and bottom. Stitch down one side, across the bottom, and up the other side with a 1/2 inch seam allowance. Leave the top edge open.
Press seams. Press the side seams open if you can, or to one side if your fabric is thick.
Step 3: Sew the lining
If you are adding the pocket, do it now while a lining piece is still flat. (Pocket steps are below.)
Place lining pieces right sides together. Align the two lining rectangles.
Sew sides and bottom, but leave a gap. Stitch one side seam completely. On the bottom seam, sew from one corner toward the middle, stop, leave a 4 inch gap, then continue sewing to the other corner. Sew the second side seam completely.
Press seams. Press like you did for the exterior.
That gap is how we turn the whole tote right side out. Do not skip it. If you forget, do not panic. Your seam ripper will get you back on track.
Optional seam note: Because everything gets enclosed, you do not have to finish seams. If you are using a loosely woven fabric that frays like crazy, you can zigzag or use pinking shears on the seam allowances before you box the corners.
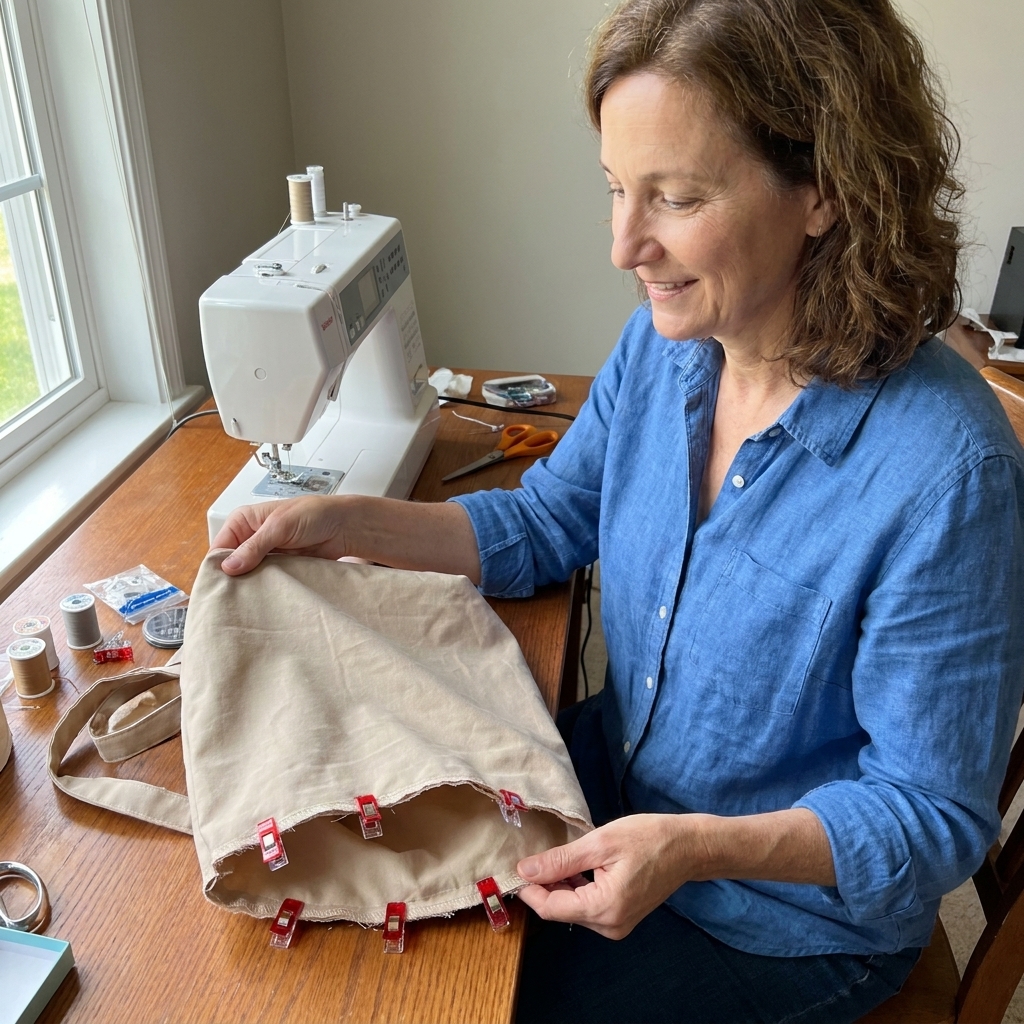
Step 4: Box the corners
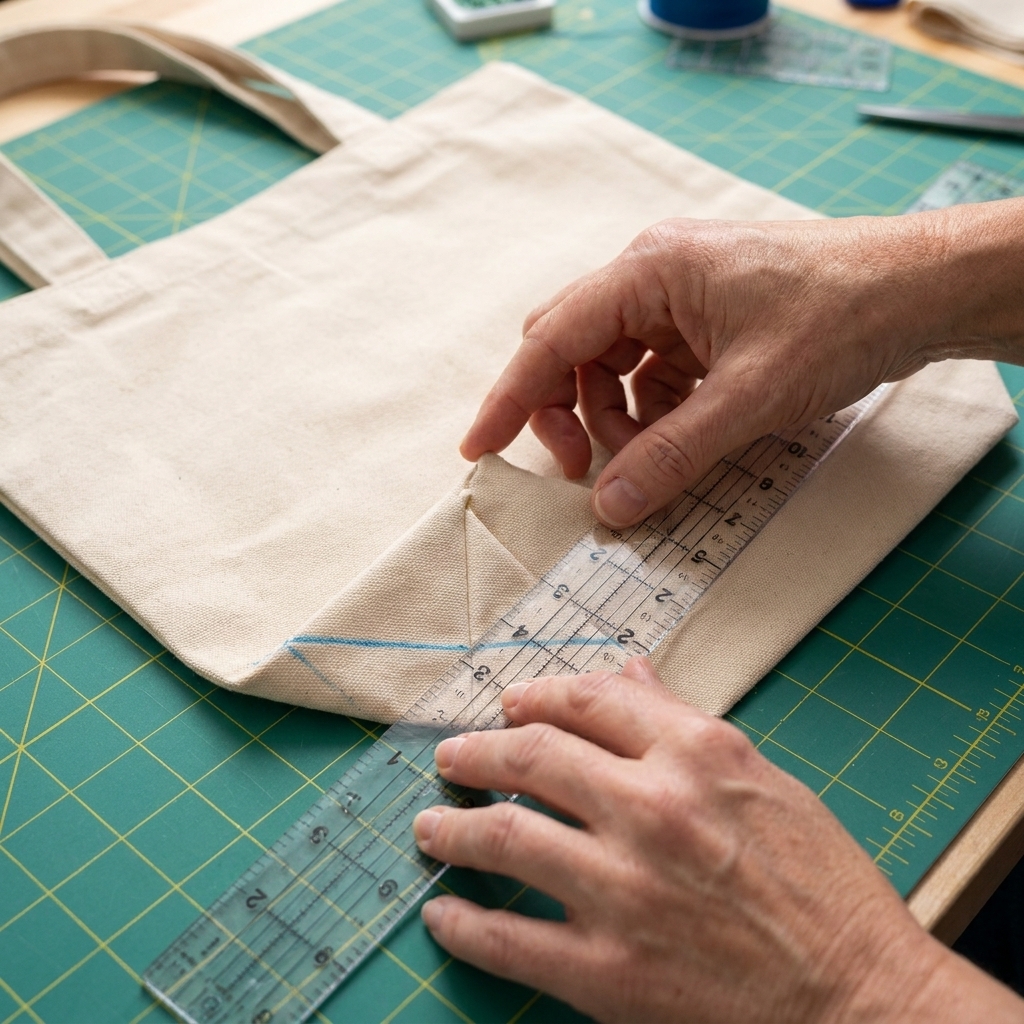
Boxed corners are what give your tote that nice flat base. We will do this on both the exterior and the lining.
Flatten one corner. With the bag still wrong side out, pull one bottom corner into a triangle so the side seam lines up with the bottom seam.
Measure and mark. Measure 2 inches from the tip of the corner along the seam line. Draw a line across the triangle at that point. Your line should be perpendicular to the seam and centered on where the seams meet. The line will be about 4 inches long.
Sew on the line. Stitch straight across the line. Backstitch at both ends.
Repeat. Do the other corner of the same bag, then repeat both corners on the other bag (exterior and lining).
About those triangles: If you want the tote to turn and reverse more smoothly, trim the triangles to reduce bulk. Leave at least 1/2 inch past your stitched line, then press the seam allowance to one side. If trimming makes you nervous, you can leave them untrimmed. It will still work, it will just be a bit puffier at the base.
Step 5: Attach straps
Turn the exterior right side out. Keep the lining wrong side out.
Place straps. On the exterior bag top edge, place strap ends about 4 inches in from each side seam. Make sure the strap is not twisted. The raw ends of the strap should line up with the raw top edge of the bag.
Baste. Stitch around the top edge with a scant 1/4 inch seam allowance to hold straps in place. This is just a quick helper seam.
Strap check: Hold the bag up by the straps before you sew them down. If anything looks twisty, fix it now. Future-you will be very grateful.
Step 6: Join lining and exterior
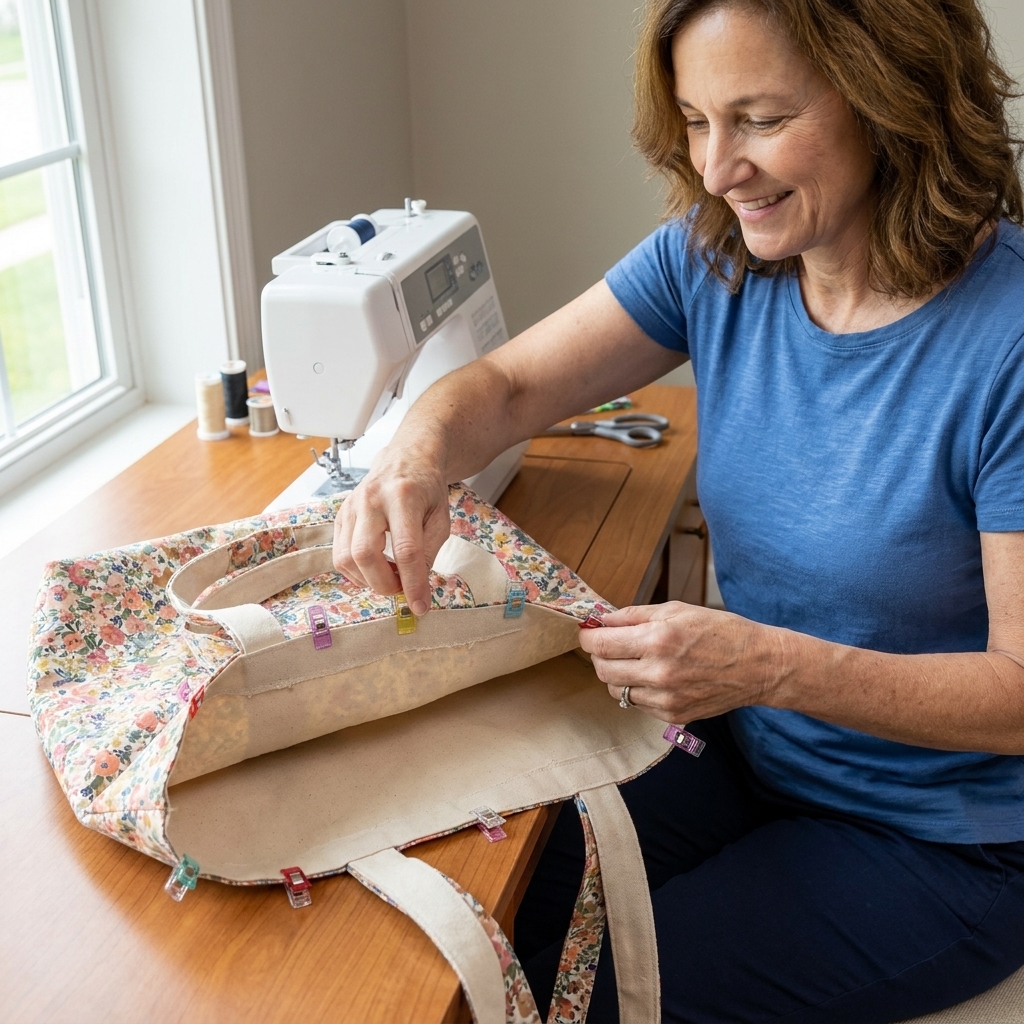
Nest the bags. Put the exterior bag (right side out) inside the lining bag (wrong side out). Right sides should be facing each other. Match side seams.
Clip the top edge. Clip all the way around. Keep straps tucked down between the layers.
Sew around the top. Stitch all the way around the top edge with a 1/2 inch seam allowance.
Press the seam. Press the top seam allowance toward the lining if you can. It helps the lining stay neatly inside when you flip.
Step 7: Turn and close
Pull through the lining gap. Reach into the bottom gap you left in the lining and gently pull the entire bag through.
Poke out corners. Use a blunt tool like a chopstick or the end of a marker to push corners out neatly. Be gentle. We are persuading, not stabbing.
Close the gap. Fold the raw edges of the lining gap inward by 1/2 inch, press, then stitch close to the folded edge to close it. Use your normal stitch length (2.5 to 3.0) and backstitch at both ends.
Quick note about that seam: It will be hidden inside the tote, so do not stress if it is not runway-perfect.
Step 8: Topstitch
Push lining inside. Tuck the lining into the exterior and smooth the top edge so it sits flat.
Press well. A good press is the secret to a professional-looking tote. Take the extra minute.
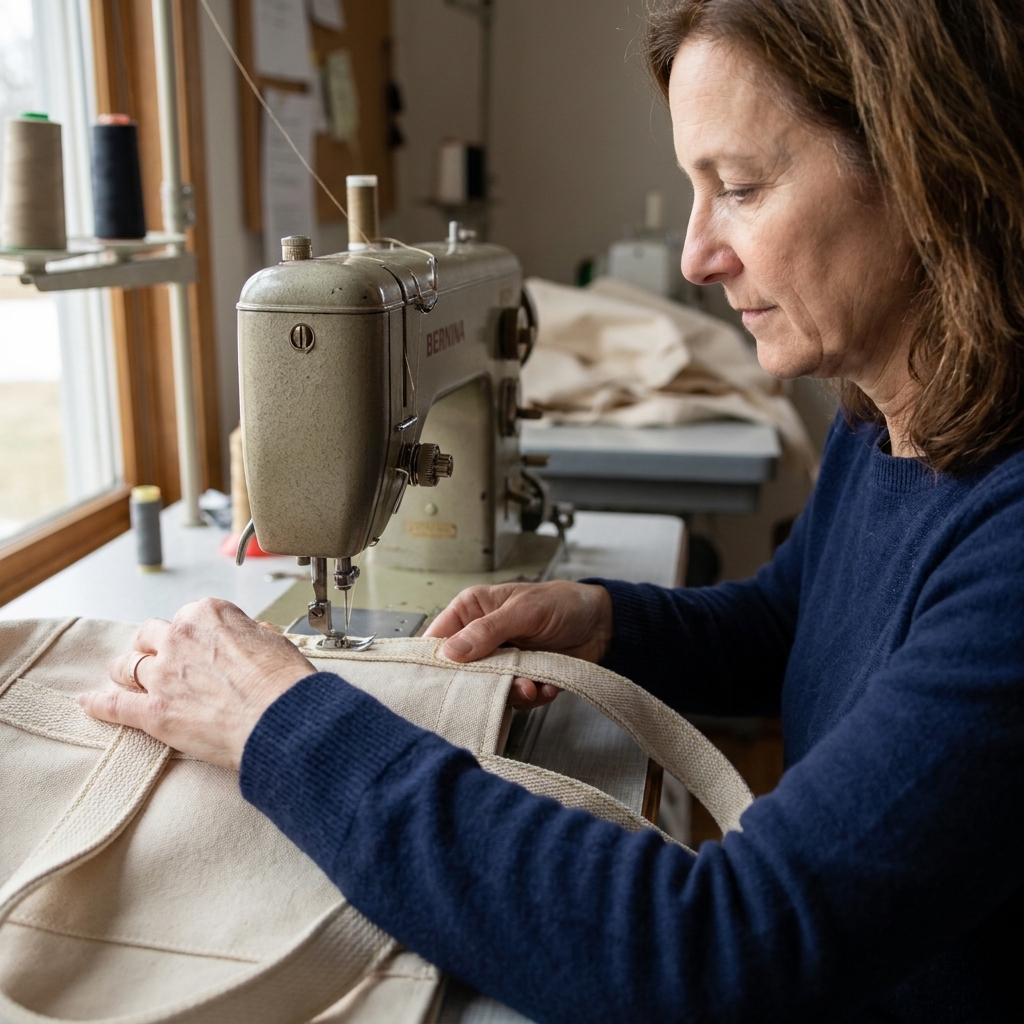
Topstitch. Sew around the top edge about 1/8 to 1/4 inch from the edge. Go slowly over strap areas.
If you want extra strength, you can stitch a second line of topstitching about 3/8 inch from the edge.
Optional strap reinforcement: For a tote that gets loaded up, sew a small rectangle with an X inside it at each strap end (right below the top edge). It is a classic “X-box” reinforcement and it makes a big difference.
Optional: Add a pocket
If you want a spot for keys, this is the easiest pocket to start with.
Hem the pocket top. On the 8 in x 10 in pocket piece, fold the top edge down 1/2 inch, press, then fold another 1/2 inch, press again. Stitch along the folded edge.
Place it on the lining piece. Before you sew the lining into a bag (Step 3), put one lining rectangle right side up. Center the pocket on it, about 3 inches down from the top edge. Keep the pocket edges at least 1/2 inch away from the lining side seams so you do not stitch into your seam allowance by accident.
Sew three sides. Stitch down one side, across the bottom, and up the other side. Backstitch at the top corners.
Then continue the tutorial as written.
Under-an-hour plan
- Cut first, then press straps. Pressing is faster when you do it in one batch.
- Chain sew. Sew the exterior seams, then immediately sew the lining seams without re-threading or changing settings.
- Do not over-pin. Clips every few inches are plenty for a tote.
- Press only what matters. Straps and the top edge are the big ones.
Common hiccups
My lining keeps peeking out
Press the top seam allowance toward the lining before topstitching, and give the finished top edge a firm press. If it still misbehaves, topstitch a second row. It helps the fabric “decide” where it wants to live.
My straps are uneven
Measure from the side seams, not from the raw edges you cut. Side seams are more reliable reference points. If one strap is a little off, call it “handmade charm” and keep going.
My corners look lumpy
When you box the corners, make sure the side seam and bottom seam are lined up perfectly. That alignment is what makes the base sit flat. Trimming the corner triangles (and pressing the seam allowance) also helps.
My machine hates thick strap layers
Use a jeans needle (90/14), sew slower, and hand crank over the thickest part if needed. A little patience beats broken needles every time.
Make it your own
- Shorter straps: cut 4 in x 18 in for a hand-carry tote.
- Bigger bag: add 2 inches to width and height on the body rectangles. Keep corner boxing at 2 inches for a similar base.
- Reversible look: choose two contrasting fabrics and topstitch with thread that matches both, like charcoal or cream.
- Extra structure: use canvas for one side, quilting cotton for the other. You will feel the difference immediately.
FAQ
Do I need interfacing?
Nope. If you use canvas or denim for one side, you will get a sturdy tote without any extra layers. If you want a crisp quilting-cotton tote, you can add medium-weight fusible interfacing to the exterior pieces, but it is optional.
Can I wash this tote?
Yes. Prewash your fabrics before sewing if you are worried about shrinkage. Finished totes do great in a gentle wash. Air drying keeps them looking nicer longer.
Is it really reversible if I stitch the lining gap closed?
Yes. That seam is inside the tote when either side is “out,” so it will not ruin the reversible look. If you want it even more hidden, you can hand stitch the gap closed with a ladder stitch, but machine stitching is totally fine for beginners.
If you make this tote, I hope you give it a proud little swing by the straps when you are done. That is the official sewist victory dance. And if something goes sideways halfway through, remember: it is not a disaster, it is just a moment for the seam ripper to shine.