If you have ever stood up from a sewing session and felt like your neck aged five years, you are not alone. Sewing is cozy for the soul, but it can be surprisingly demanding on your body, especially in a tight apartment corner or a shared dining table setup.
The good news: an ergonomic sewing station is not fancy. It is just a station that fits your body and keeps the things you use most within easy reach. Let’s set you up so you can sew longer, straighter, and happier, without the end-of-day backache.
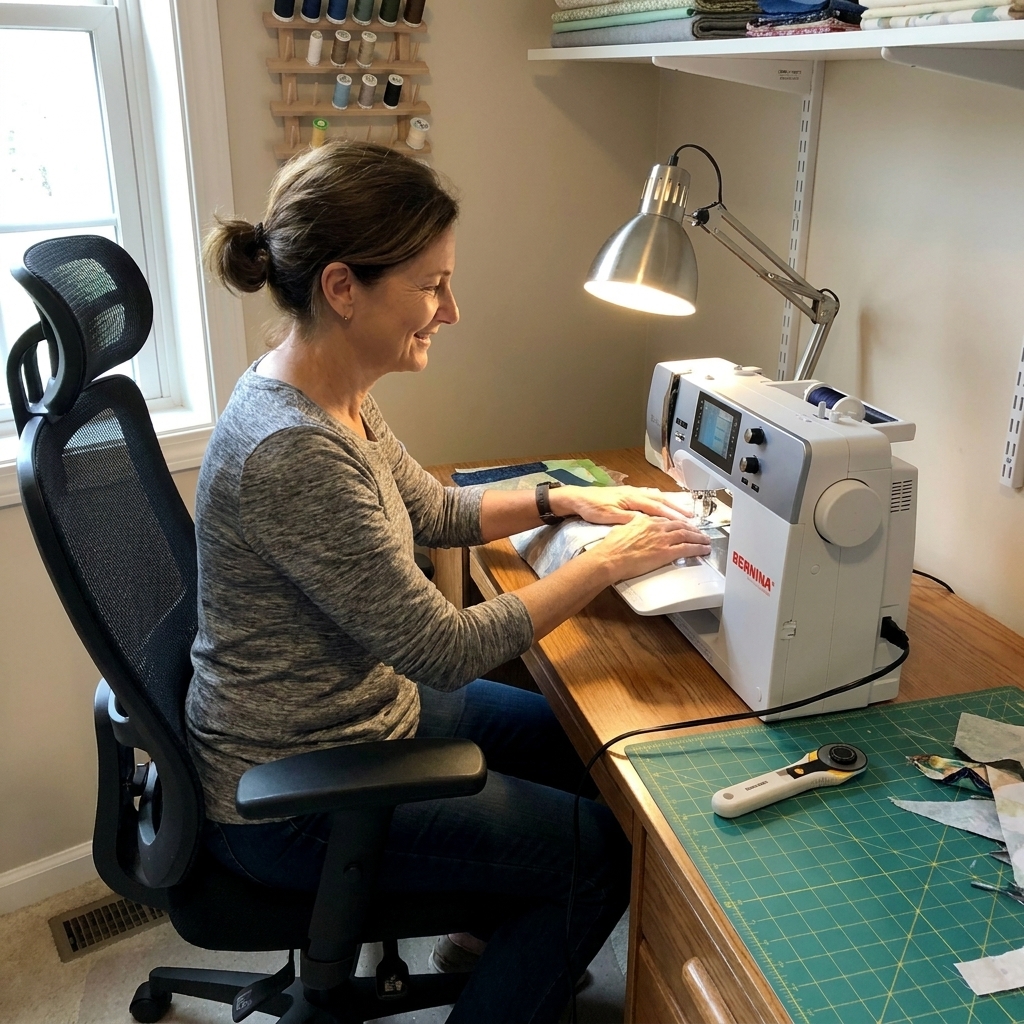
Ergonomics, but simple
Ergonomics just means: less strain on your body while you work. For sewing, that comes down to four basics:
- Neutral posture: ears over shoulders, shoulders relaxed, elbows close to your sides.
- Support: your feet, your lower back, and your forearms are not “hanging” all session.
- Good light: so you are not leaning forward to see your seam.
- Easy reach: scissors, pins, and seam ripper live where your hands naturally go.
Small space sewing adds one more goal: fast setup and fast put-away so you can actually use the station, not just admire it.
Start with the chair
If your chair is too low or too high, everything else becomes a workaround. When you sit down to sew, aim for this:
- Your feet are flat on the floor (or on a sturdy footrest).
- Your knees are about hip height or slightly lower.
- Your lower back feels supported, even if that support is a small cushion or rolled towel.
Easy upgrades for any chair
- Add a lumbar cushion: a small pillow, a couch cushion, or a rolled-up sweatshirt behind your lower back helps you stop hunching.
- Use a footrest if needed: a yoga block, a sturdy shoebox, or a stack of old hardcover books taped together can work. Just make sure it cannot slide or collapse.
- Sit on a firm cushion: if the chair is too low, boosting your height can instantly improve elbow and wrist comfort.
Quick self-check: when your hands are on the machine, your shoulders should not be creeping up toward your ears. If they are, you are probably sitting too low for your table height.
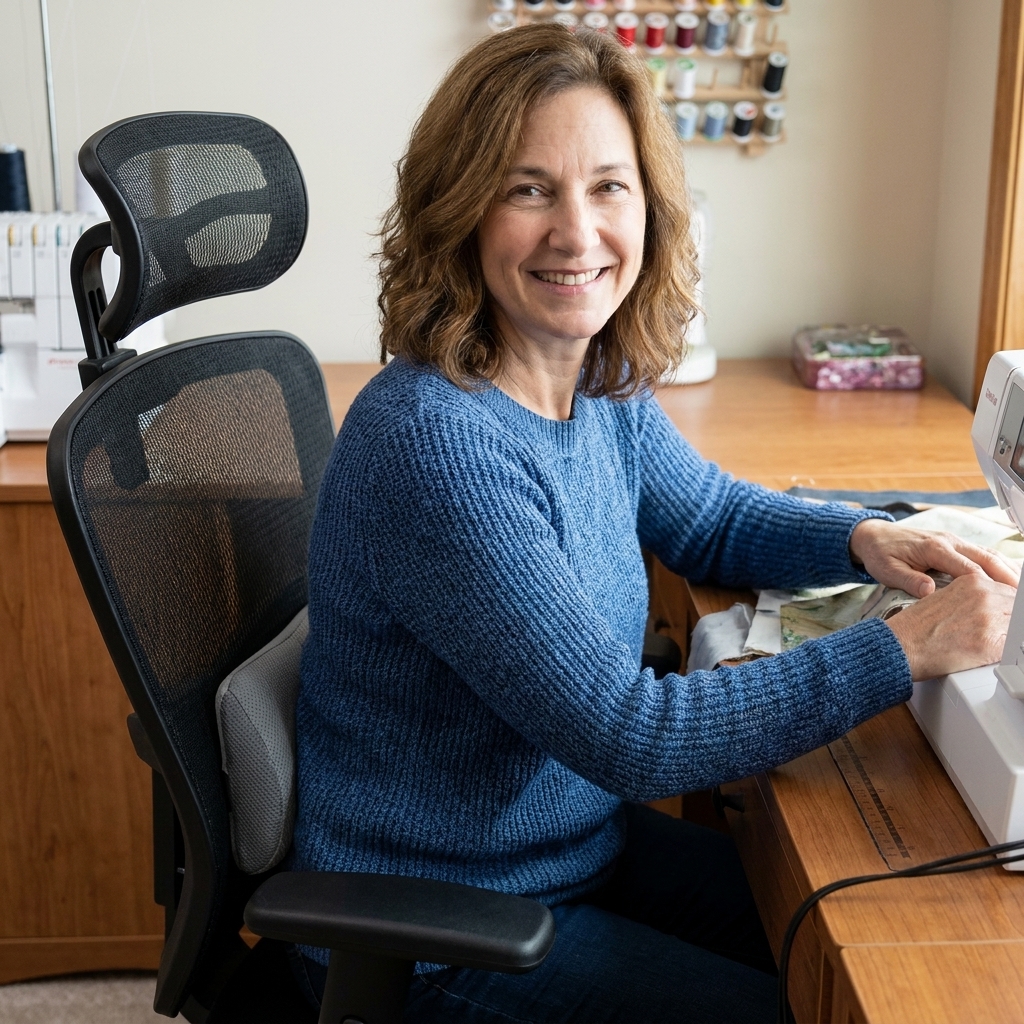
Table height and machine setup
In a perfect world, your sewing table lets your forearms rest comfortably with elbows bent around 90 degrees while your hands guide fabric. In real life, most of us are using a desk, folding table, or dining table.
Find your best height
- Sit with your feet supported.
- Relax your shoulders.
- Bend your elbows and let your forearms float parallel to the floor.
- The ideal work surface is roughly where your hands naturally land.
If the table is too high, you will lift your shoulders and tense your neck. If it is too low, you will lean forward and round your back.
Small space fixes
- Table too high: raise your chair and add a footrest.
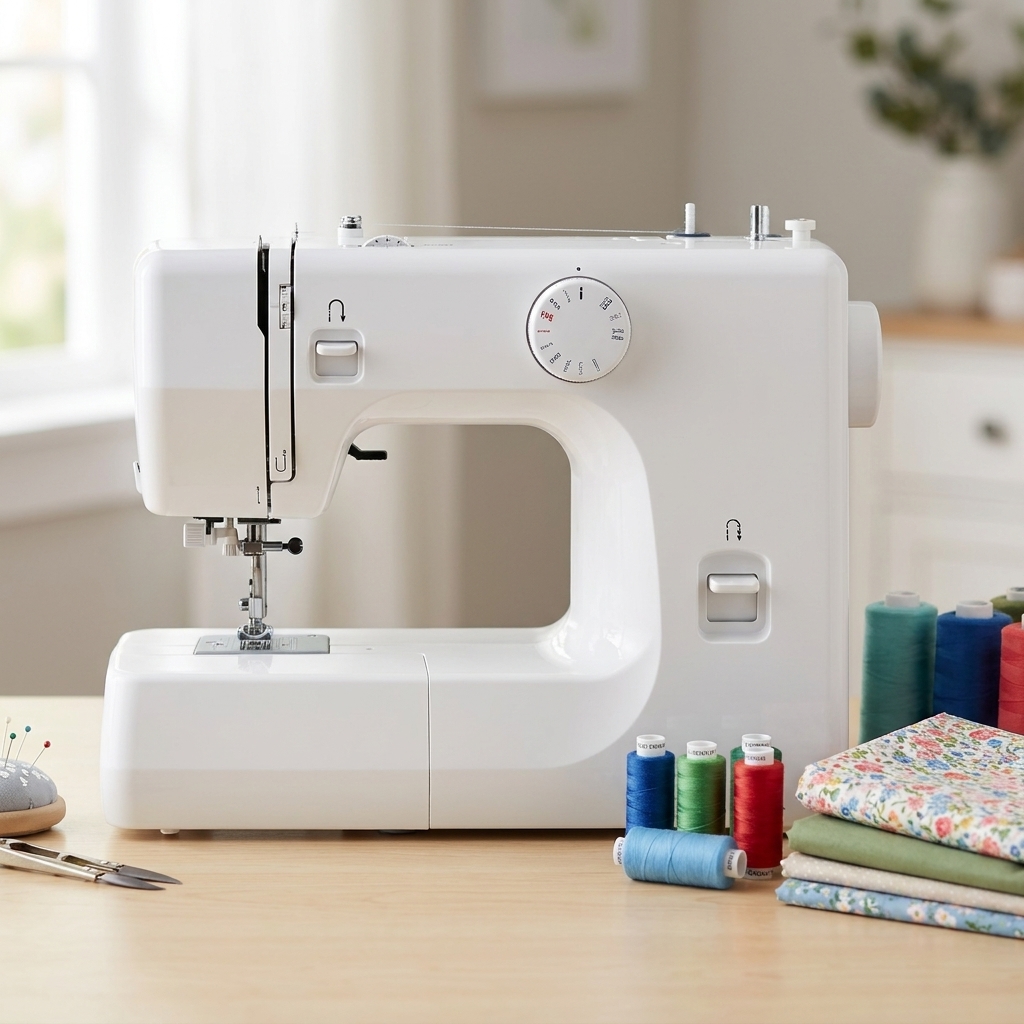
- Table too low: you can boost the machine on a very sturdy platform (like a thick cutting board), but keep it level and stable. Use a non-slip mat underneath and do not block any vents or let the machine wobble.
- Machine sliding around: put a grippy shelf liner or thin rubber mat under it. That reduces the “chase the machine” shoulder tension.
Placement tip: keep the machine close enough that you are not reaching forward. Your body should feel like it is working with the machine, not lunging toward it.
Wrist and forearm comfort
- Keep wrists neutral: try not to bend them up or down while you guide fabric. Hands low, shoulders soft, grip light.
- Soften the table edge: if your forearms press into a hard edge, fold a small towel over the table lip or add a bit of padding. Tiny change, big relief.
Pedal placement
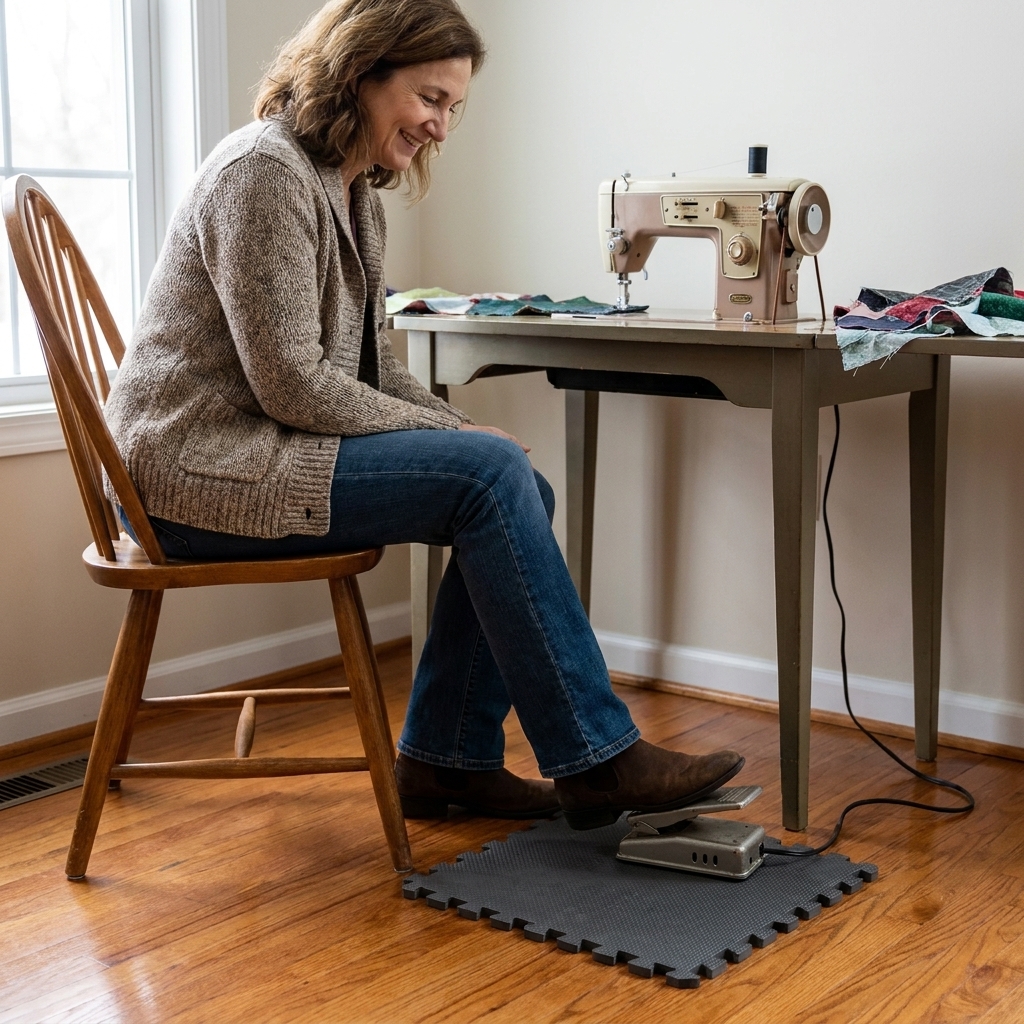
A wandering foot pedal can be a sneaky cause of hip and lower back discomfort. If your foot is constantly chasing the pedal, your whole body twists.
Set it up once
- Place the pedal so your knee points forward, not out to the side.
- Keep the pedal close enough that your heel can rest on the floor while your toes press.
- If you sew on slippery floors, put the pedal on a piece of shelf liner, a rubber mat, or even a folded towel.
If your station is temporary, mark pedal position with a bit of painter’s tape on the floor. It sounds silly until you realize how nice it is to set up in the exact same comfortable spot every time.
Lighting
When lighting is dim, beginners do the same thing every time: they creep closer to the needle like the fabric is telling secrets. That forward lean is rough on your neck and upper back.
What good sewing light does
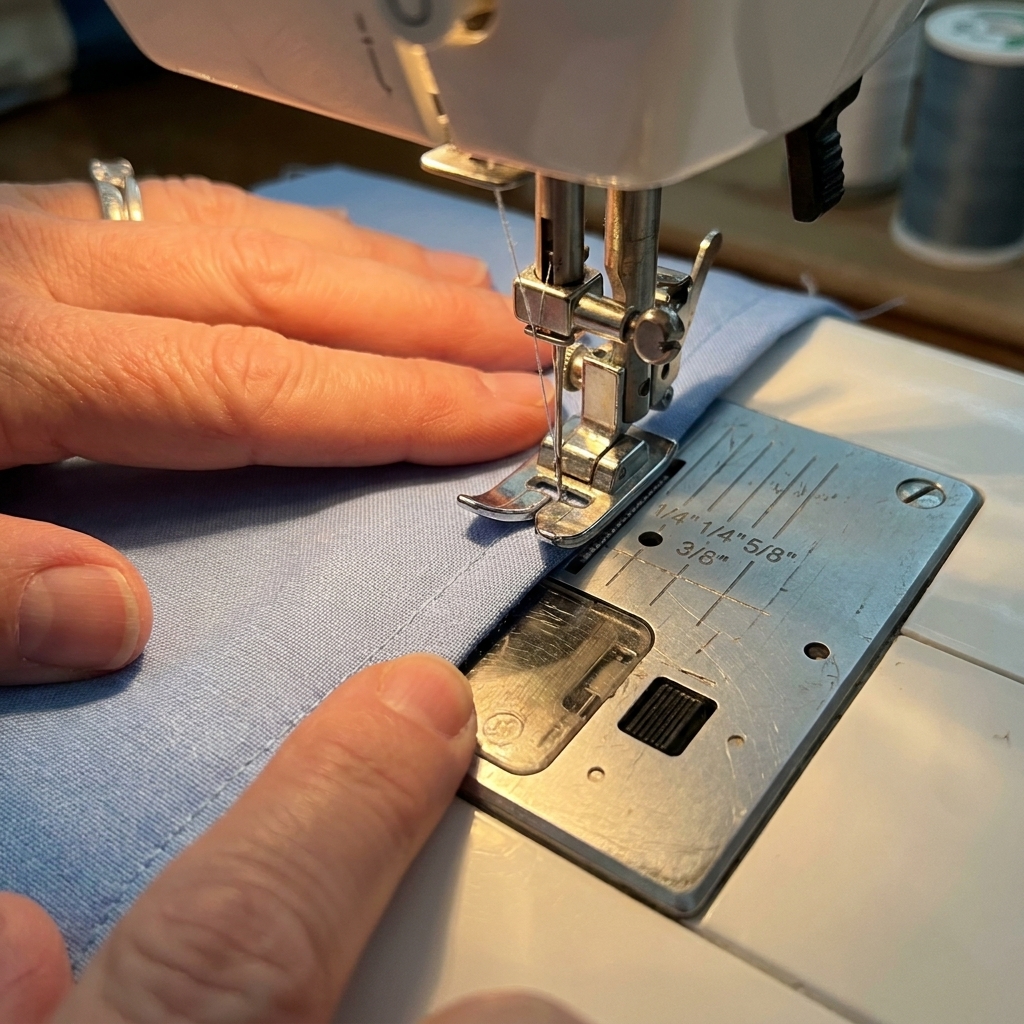
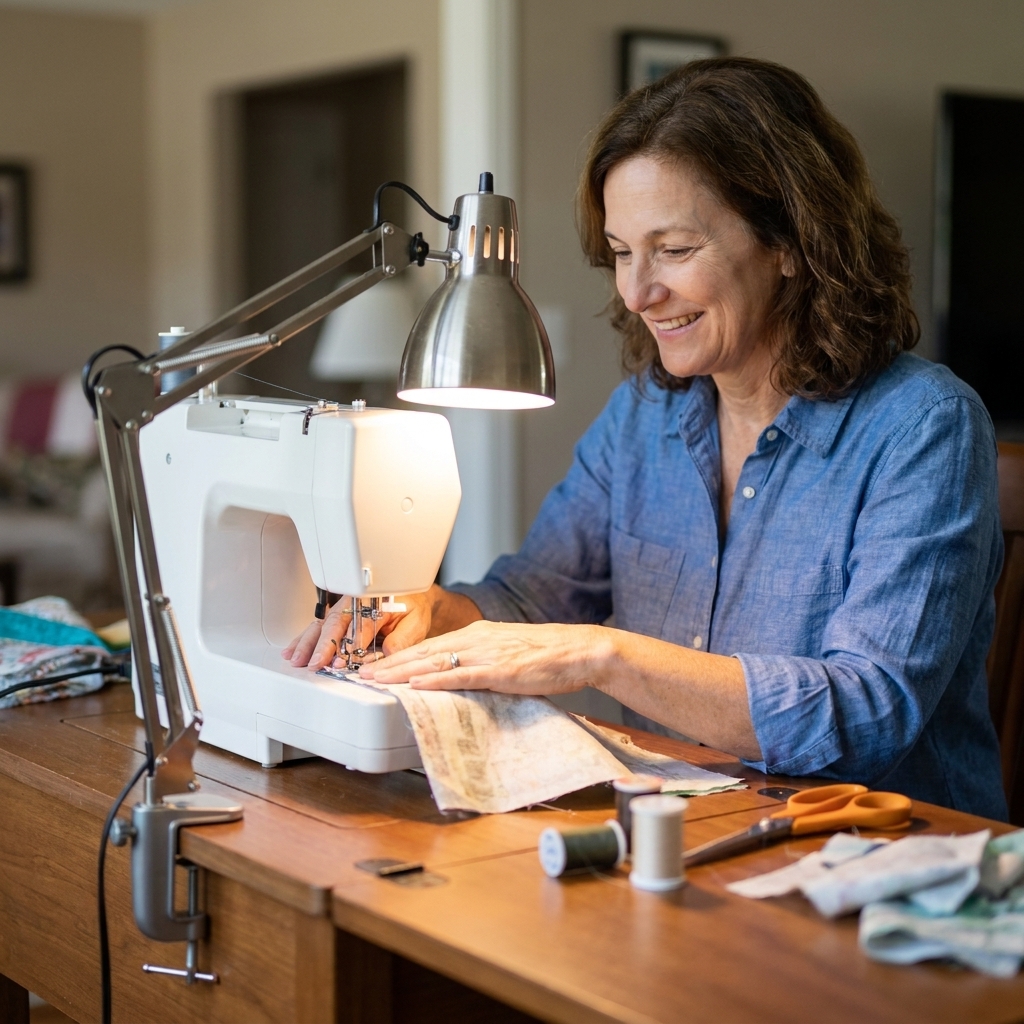
- Bright, focused task light aimed at the needle and throat plate.
- Minimal shadows from your hands.
- No glare bouncing off your machine or cutting mat.
Small space light ideas
- Clamp lamp: clamps to a shelf or table edge and swings out of the way when you are done.
- Gooseneck desk lamp: easy to aim directly at the presser foot area.
- Under-shelf light bar: great if your machine sits under a wall shelf.
If you are right-handed, try placing your main lamp slightly to the left so your hand casts less shadow on your stitching line. Left-handed? Flip that.
Stitch zone and cut zone
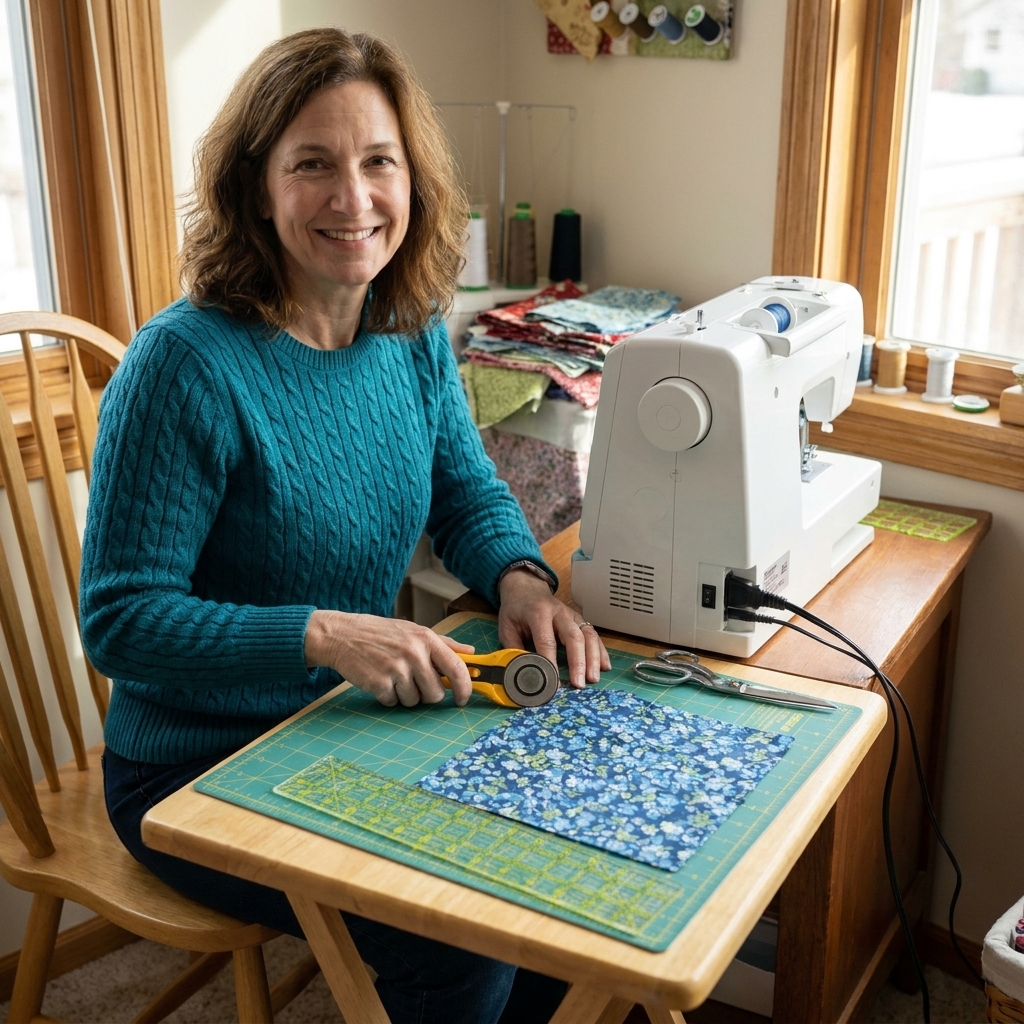
In a small space, you rarely get a permanent cutting table. That is okay. You just need two clear “zones” you can swap between:
- Stitch zone: machine, pedal, chair, thread, small tools.
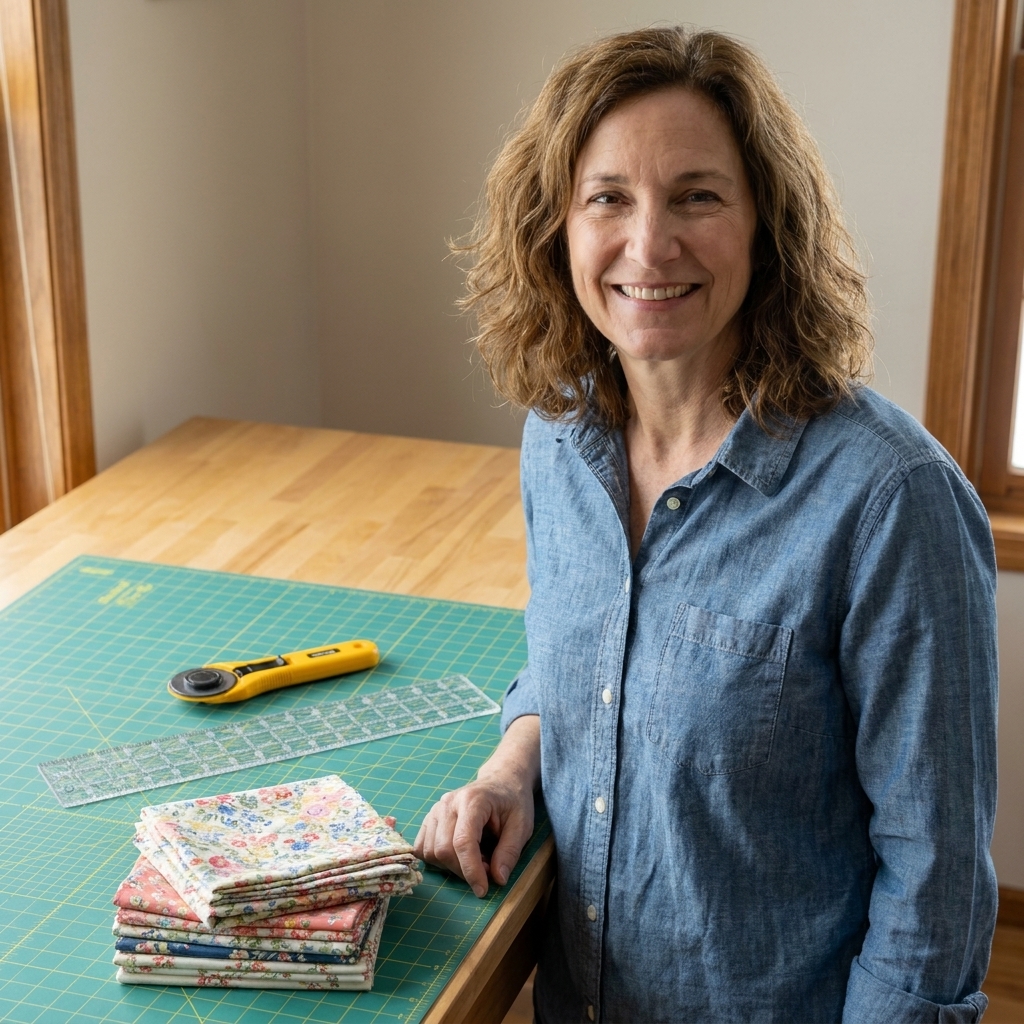
- Cut zone: cutting mat, ruler, rotary cutter or scissors, pattern weights.
If you only have one surface
Use a movable cutting mat. Slide it in when you cut, slide it out when you sew. If your mat is large, a smaller mat (even 18 x 24 inches) can be a sanity saver in a tight corner.
Keep sharp tools consistent
Rotary cutter, fabric scissors, seam ripper: store them in the same spot every time. Consistency means you are not rummaging mid-project, which is when accidents and frustration happen.
Storage that saves space
Beginners often think they need more space. Most of the time, they need vertical storage and a system that prevents the dreaded tool pile.
Small space storage ideas
- Magnetic strip: holds small metal tools like snips or tweezers on a wall near your station.
- Clear bin for today’s project: keep fabric, pattern, thread, and notes together so setup is fast.
- Shallow drawer or under-bed box: perfect for cutting mats, rulers, and patterns.
- Small caddy or mug: corral seam ripper, chalk, pens, and clips so they are upright and visible.
Little beginner truth: buying cute containers is fun, but seeing your tools is what keeps you sewing. Clear or open storage wins for most of us.
Fabric handling in tight quarters
Large pieces of fabric can pull off the side of a table and tug your seam line. That pull can also make you tense your shoulders while you fight gravity.
Support the fabric
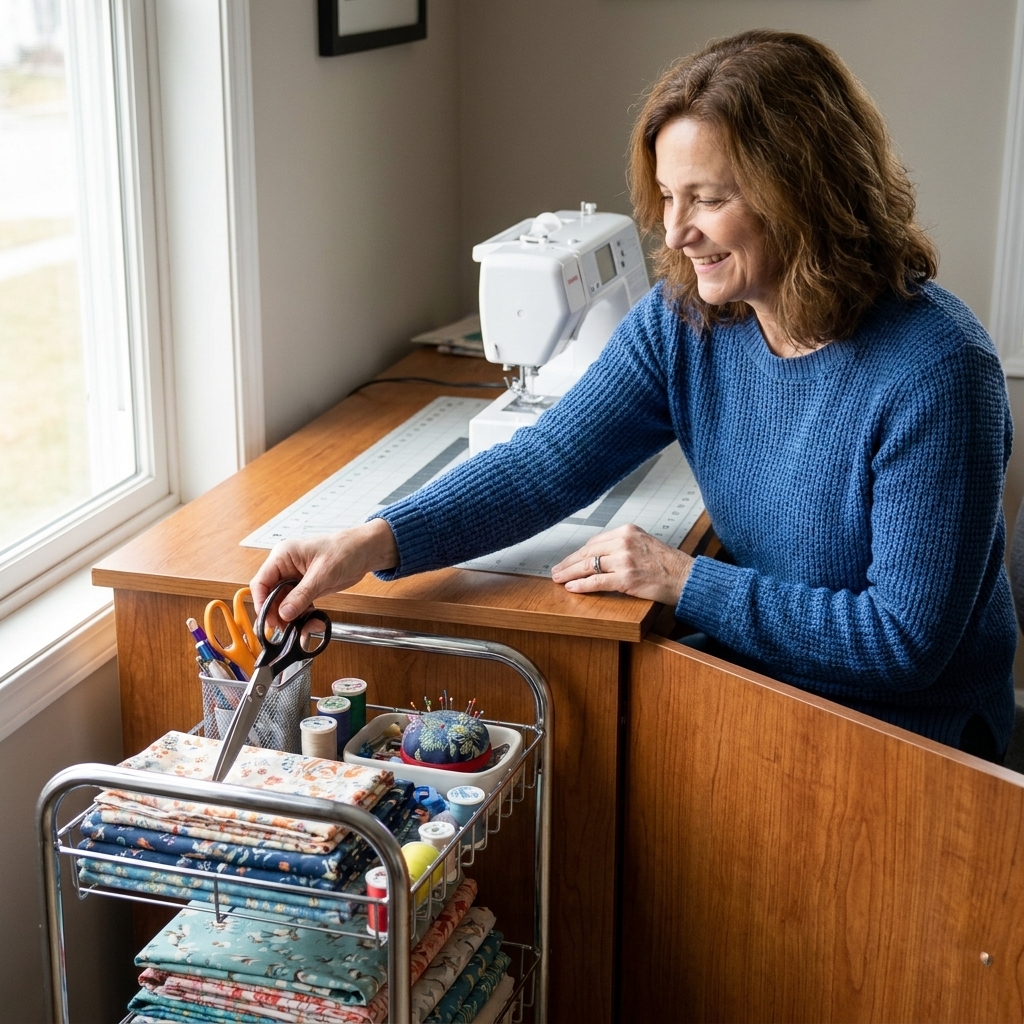
- Add a side surface: a folding TV tray, a small rolling cart, or a sturdy stool next to your table can support fabric weight.
- Use your ironing board: set it level with your sewing table as an “outfeed” surface.
- Roll, do not drape: loosely roll bulky fabric sections and place them on the table so they feed smoothly.
If your fabric is constantly falling, you will unconsciously grip tighter and lean forward. Give it a landing spot and your whole body relaxes.
Pressing, small version
Pressing makes a big difference in how clean your seams look and how cooperative your fabric feels. For most garment sewing and many home projects, it is one of those habits that quietly levels you up.
Small space pressing options
- Tabletop ironing board: stores in a closet, sets on your desk when needed.
- Wool pressing mat: goes on a table for quick pressing, then rolls away.
- Ironing pad: folds flat and can live under your cutting mat.
Try to keep pressing within a few steps of your machine. If you have to hike across the house to press, you will press less, and your projects will look less polished. You deserve better than that.
Phone and screen setup
If you follow digital patterns or sew-alongs, your neck deserves a setup too. Instead of looking down at a phone on the table, prop it up.
- Use a stand: a tablet stand, cookbook stand, or a stable DIY stand can bring the screen closer to eye level.
- Keep it off the sew zone: place it slightly to the side so you are not twisting your spine every time you check the next step.
10-minute comfort reset
If you want a quick checklist, here is my “tea kettle is heating up” reset. Do this before you start sewing:
- Chair: feet supported, lower back supported.
- Machine distance: close enough that elbows stay near your sides.
- Needle visibility: task light aimed at presser foot area.
- Pedal: stable and aligned with your knee.
- Tools: seam ripper, snips, pins or clips within reach.
- Fabric support: nothing heavy hanging off the table edge.
Then, if you can, try a timer for about 30 to 45 minutes. When it goes off, unclench your jaw, drop your shoulders, stand up, and take a tiny lap. Your future self will be so grateful.
Fix common aches
Neck pain or headaches
- Improve lighting first, so you are not leaning in to see.
- Bring the machine closer so you are not reaching forward.
- If you raise anything (like the machine or your chair), keep wrists neutral and make sure the setup stays stable and level.
- Check that your chair back support is actually supporting you, not just existing.
Upper back and shoulder tension
- Table might be too high. Raise chair plus footrest, or adjust the setup so shoulders can relax.
- Keep frequently used tools within easy reach so you are not repeatedly stretching.
Lower back soreness
- Add lumbar support immediately, even a rolled towel helps.
- Make sure feet are supported. Dangling feet often equals a tired back.
- Try a slightly reclined seated position, not ramrod straight and not slumped.
Wrist or hand fatigue
- Let the machine feed. Your hands guide fabric, they do not shove it.
- Support the fabric with a larger extension table or a flat surface around the machine bed.
- Take micro-breaks and shake out your hands.
Buying priorities
You do not need to buy everything at once. If you are choosing upgrades, these usually give the biggest comfort payoff:
- Good task lamp
- Supportive chair or chair cushion
- Footrest (even a simple one)
- Movable cutting mat that fits your space
- Small rolling cart if you need your station to pack away
My rule: spend money to protect your body first. Pretty storage can wait.
Small space setups
Dining table that packs away
- Machine on a non-slip mat
- Clamp lamp stored in a drawer
- Project bin for everything you need
- Foldable footrest or sturdy box (stable, not wobbly)
- Cutting mat stored behind a couch or under a bed
Closet or corner station
- Small desk with a chair that actually fits you
- Wall hooks or a peg rail for scissors, tape measure, and rulers
- Rolling cart under the desk for thread and notions
- Tabletop pressing board stored vertically
Living room rolling station
- Machine on a rolling cart top
- Tools in a caddy on the second shelf
- Cutting mat stored flat and pulled out when needed
- Lamp that clips to the cart handle or nearby shelf
Keep it kind, keep it comfy
Sewing is supposed to feel like a happy hum, not a workout you did not sign up for. If your space is small, that does not mean your setup has to be uncomfortable. A few smart tweaks, especially chair support and lighting, can change everything.
And if you are adjusting your station and thinking, “Wow, I should have done this sooner,” welcome to the club. We have seam rippers and tea.