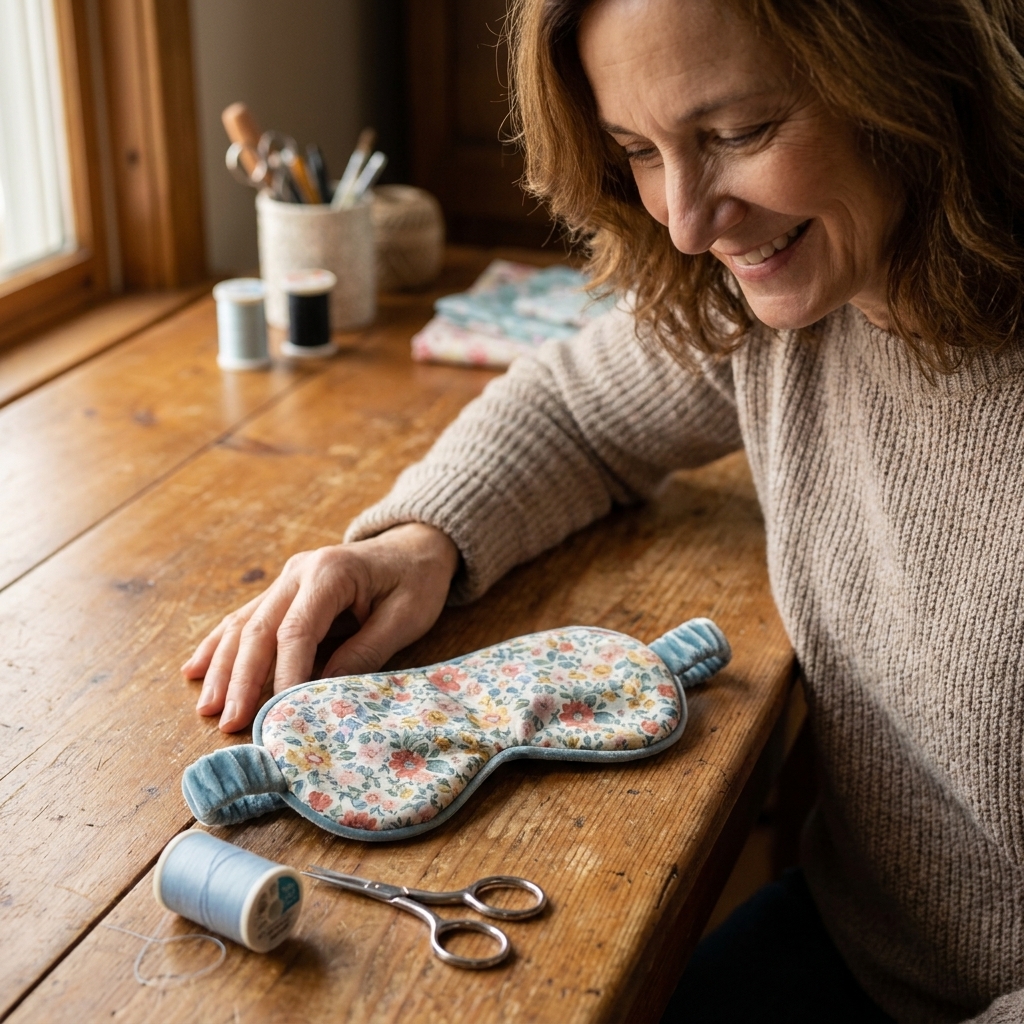
If you have ever looked at a curved seam and thought, “That is for later-me,” this little sleep mask is your friendly “right now” project. It is quick, useful, and secretly a skill-builder. You will practice sewing smooth curves, clipping seam allowances, turning neatly, and enclosing elastic so it looks clean and feels comfy.
I made my first sleep mask while trying to use up a too-cute-to-donate flannel shirt from the thrift store. It turned out lopsided, the elastic was twisted, and I still wore it proudly. So if your first one is a little wonky, congratulations. You are officially sewing.
What you will learn
- Gentle curves: how to guide fabric instead of forcing it
- Seam allowance control: keeping your stitches evenly spaced around a rounded shape
- Clipping curves: so your mask turns smooth and not crunchy
- Enclosed elastic: a clean finish with no scratchy ends
- Topstitching: optional, but it makes beginners look like wizards
Free pattern
Sleep Mask Pattern: This is a draft-it-yourself pattern you can make at home in a few minutes. I keep this project beginner-friendly by using simple shapes and an easy-to-follow seam allowance.
Option A: Draft at home
Draw this on paper (or directly onto freezer paper, which is my favorite for quick patterns):
- Main mask shape: 8.5 in (21.5 cm) wide by 4 in (10 cm) tall
- Curve the corners: round all four corners generously
- Nose dip: mark the center of the long bottom edge, then dip down about 1/2 in (1.3 cm) in a soft U-shape
- Elastic tabs: mark a point about 1 in (2.5 cm) from each side edge, centered vertically. This is where your elastic will be caught in the side seams.
Do not stress about perfection. A sleep mask is very forgiving, and your face will never file a complaint with customer service.
Option B: Trace from a screen
If you prefer, open this page on a tablet or laptop and trace the mask shape by holding paper against the screen brightness.
Important: screens vary, and browser zoom changes the size. After tracing, measure the width of your paper pattern. It should be about 8.5 in (21.5 cm) across. If it is off, adjust by tracing again with your screen zoom changed, or use Option A.
Seam allowance: 3/8 in (1 cm) included in the drafted size.
Materials
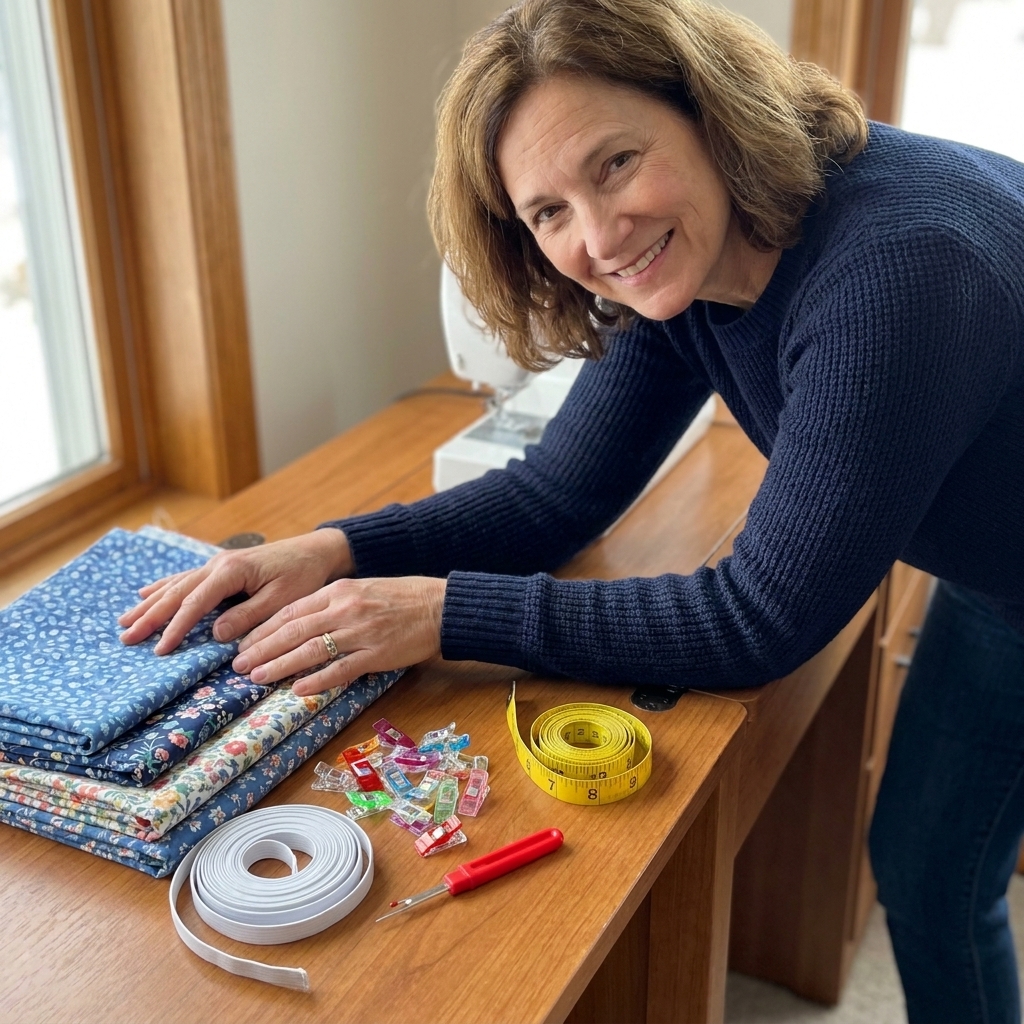
- Two pieces of fabric: one for the outside, one for the inside (cotton, flannel, quilting cotton, jersey, or satin)
- Optional: thin batting, fusible fleece, or an extra flannel layer for padding
- Elastic: 1/4 in (6 mm) to 3/8 in (10 mm) wide
- Thread
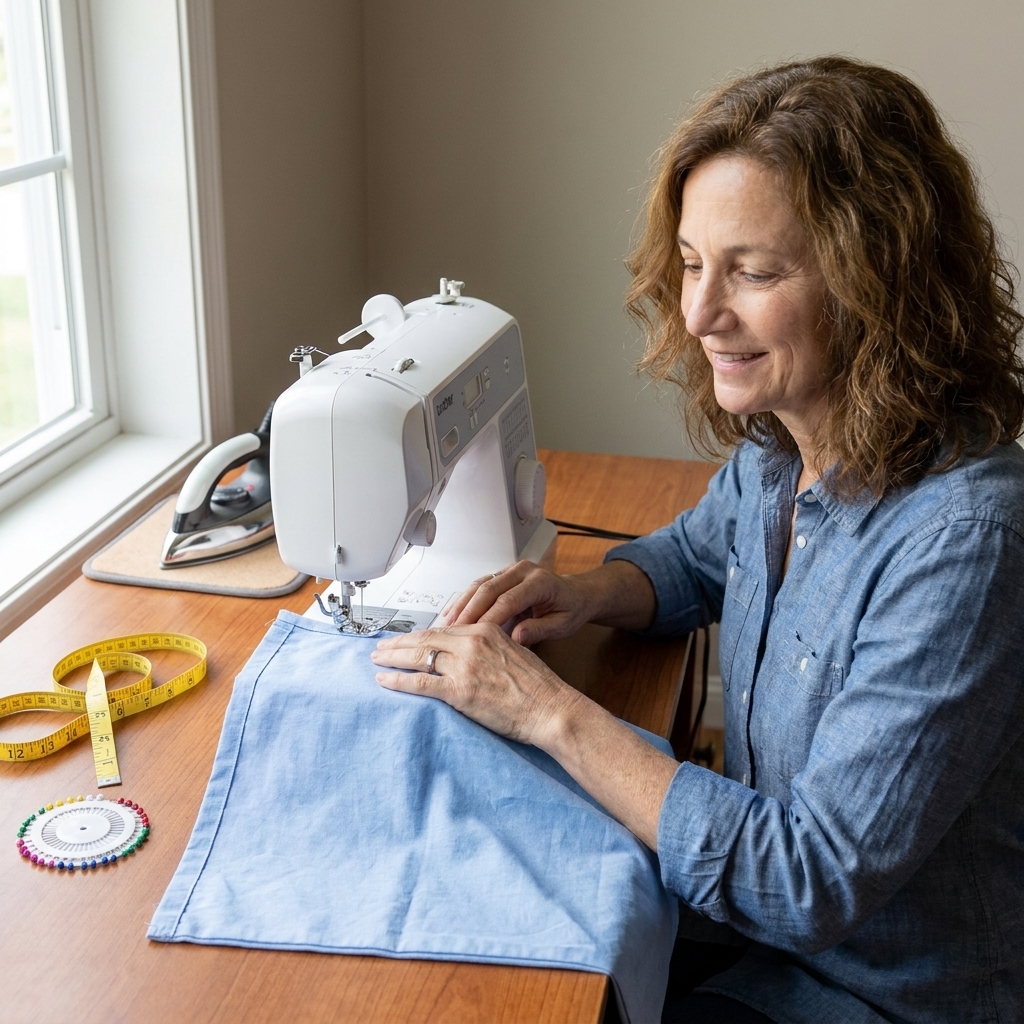
- Basic tools: scissors or rotary cutter, pins or clips, marking tool, safety pin or bodkin
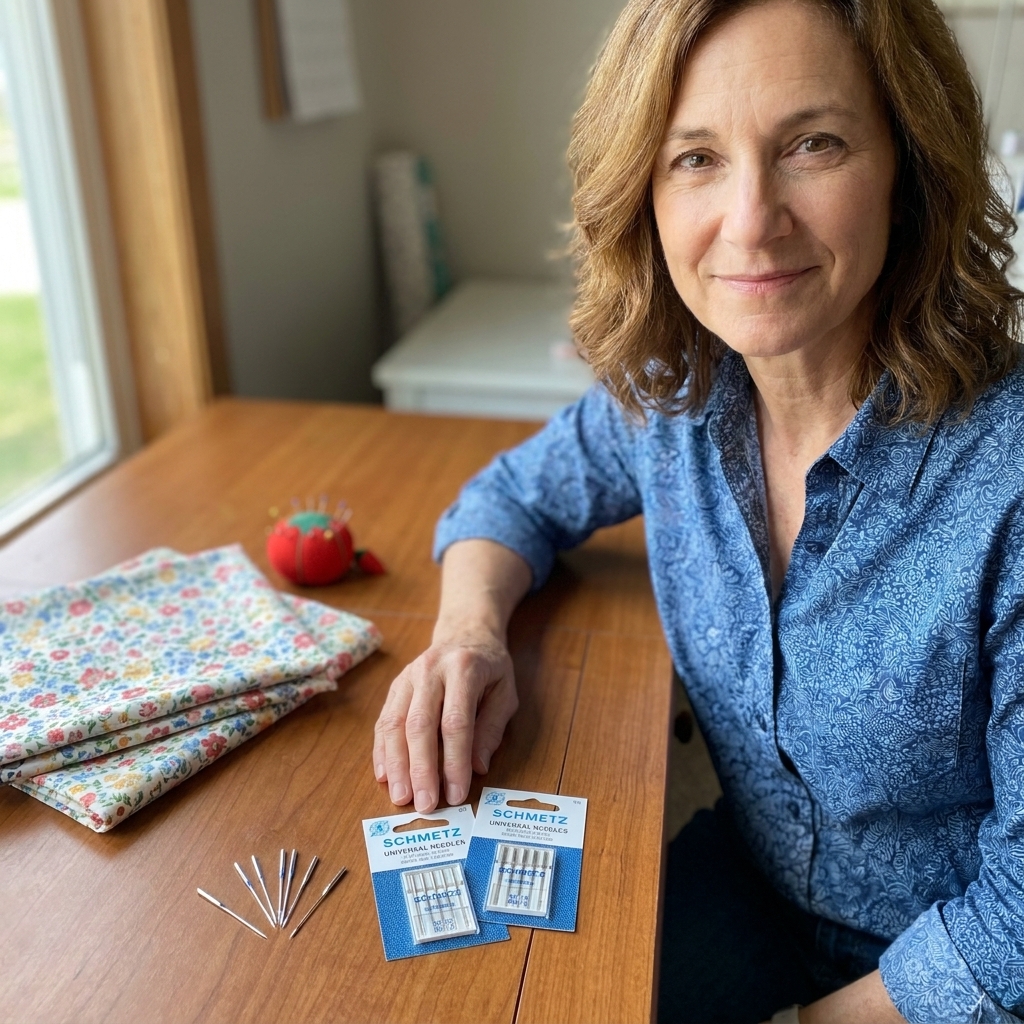
Needle notes: For wovens like quilting cotton or flannel, a Universal 80/12 is a solid default. For jersey, use a ballpoint or stretch needle. For satin, a fresh sharp or microtex needle helps reduce snags and skipped stitches.
Choose your size
Elastic comfort is personal. Some people like a snug mask, some like a gentle hug. Here is a simple starting point:
| Fit | Elastic length (adult) | Notes |
|---|---|---|
| Soft | 12 in (30.5 cm) | Best if you dislike pressure |
| Regular | 11 in (28 cm) | My go-to for most adults |
| Snug | 10 in (25.5 cm) | Good if you toss and turn |
Kid size: start with 8.5 to 9.5 in (21.5 to 24 cm) and adjust.
Tip: If you are unsure, cut it longer. Trimming elastic is easy. Re-growing elastic is not.
Cutting
Cut these pieces
- Outer fabric: cut 1
- Lining fabric: cut 1
- Optional padding: cut 1 (same shape)
- Elastic: cut 1 strip to your chosen length
If your fabric has a directional print, make sure it is facing the right way before you cut. Ask me how I know.
Sew the sleep mask
1) Prep the elastic
Cut one elastic strip to your chosen length. No need to sew it into a loop. You will anchor each end into the side seams, which keeps the finish clean and makes sizing easier.
Optional comfort tip: If elastic ends irritate you, wrap each end in a tiny scrap of fabric (like a little sleeve) and baste it in place. Fancy, but not required.
2) Baste padding (optional)
If you are using batting or fleece, place it on the wrong side of your outer fabric and baste around the edge with a long stitch, about 1/4 in (6 mm) from the edge. This keeps it from shifting while you sew curves.
3) Sandwich the layers
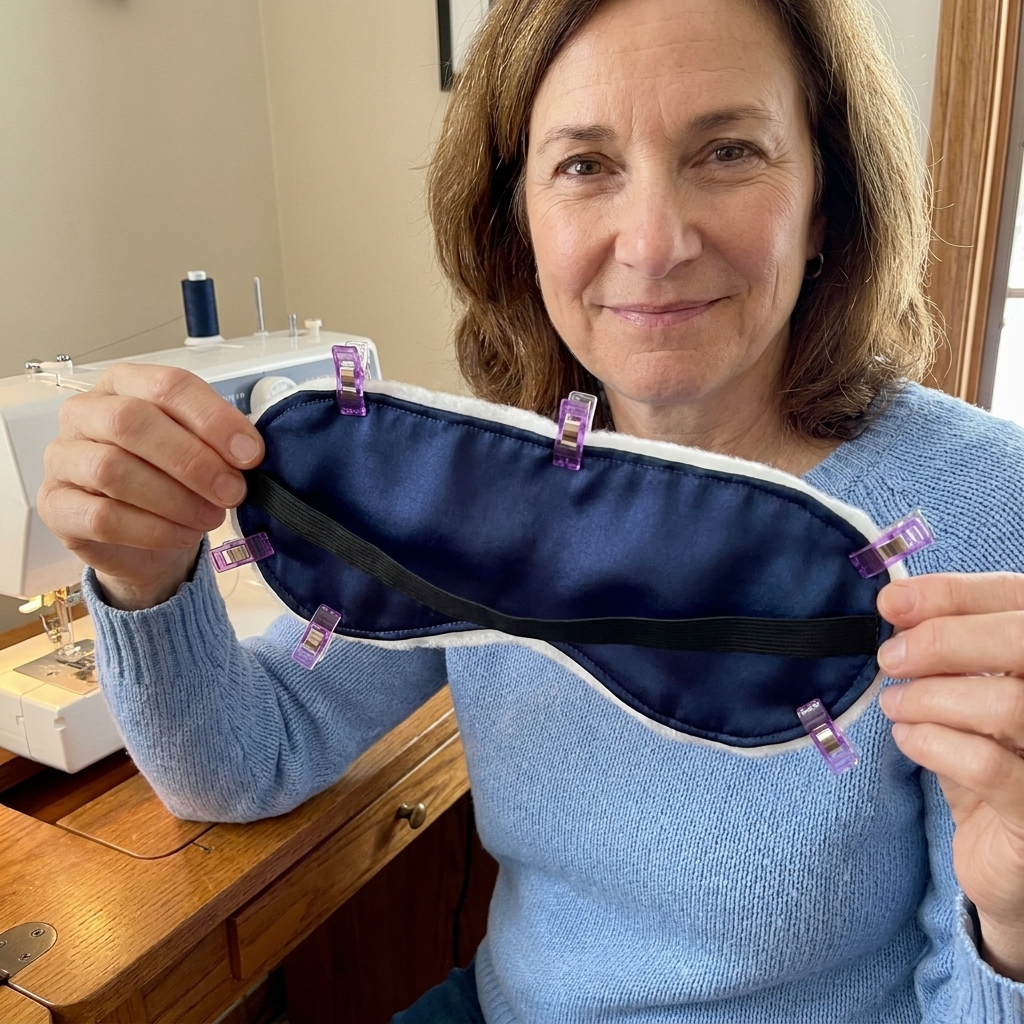
Layer order:
- Lining right side up
- Elastic strip laid across the mask with the middle of the elastic forming a U inside the mask, and the two raw ends lined up with the left and right side edges at your elastic tab marks
- Outer right side down (so right sides are facing)
Pin or clip all around. Make extra sure the elastic lies flat (not twisted).
Elastic placement tip: Let each elastic end extend slightly past the fabric edge, about 1/4 to 3/8 in (6 to 10 mm). That way, when you stitch your 3/8 in (1 cm) seam allowance, you know it is caught securely.
4) Stitch around the mask
Sew around the edge with a 3/8 in (1 cm) seam allowance, leaving a 2 to 2.5 in (5 to 6.5 cm) turning gap along one side edge. Avoid placing the turning gap at the nose dip or on a tight curve. Side edges are easier to turn and press neatly.
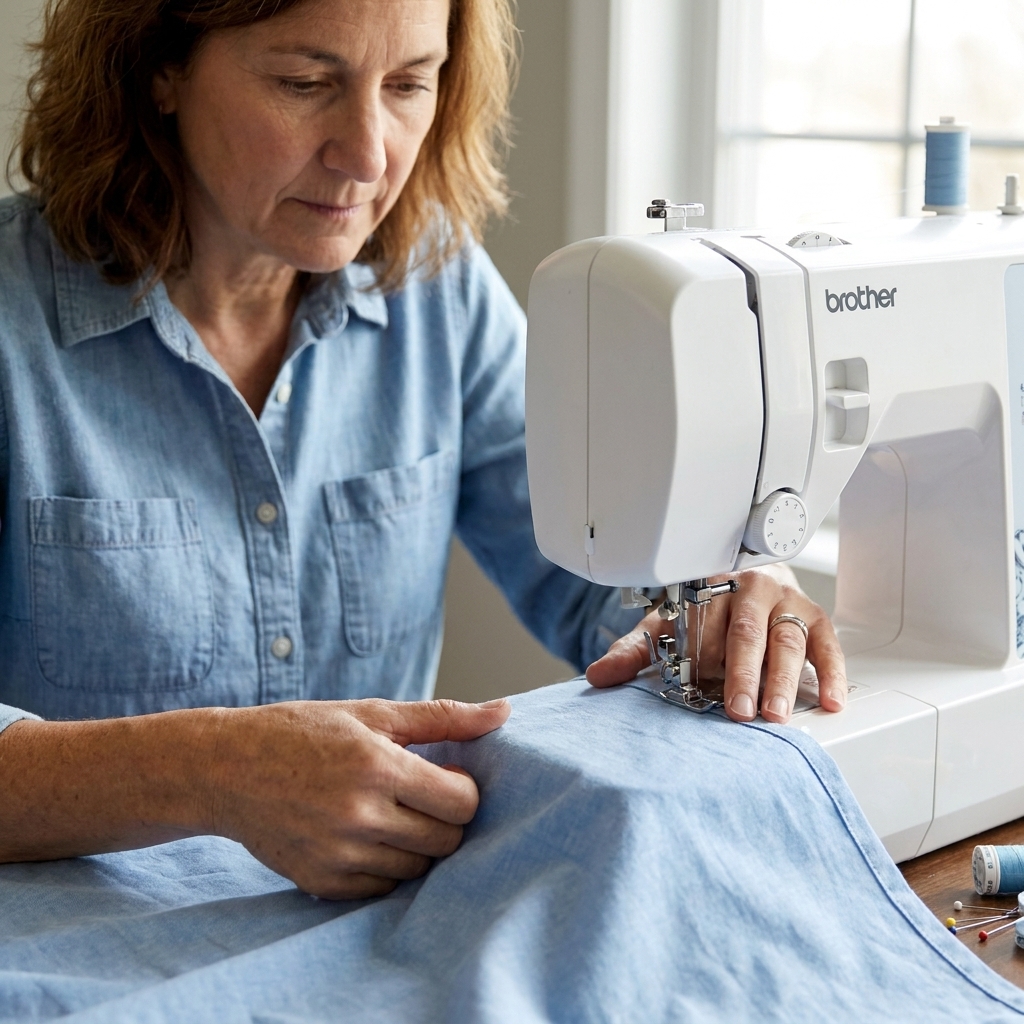
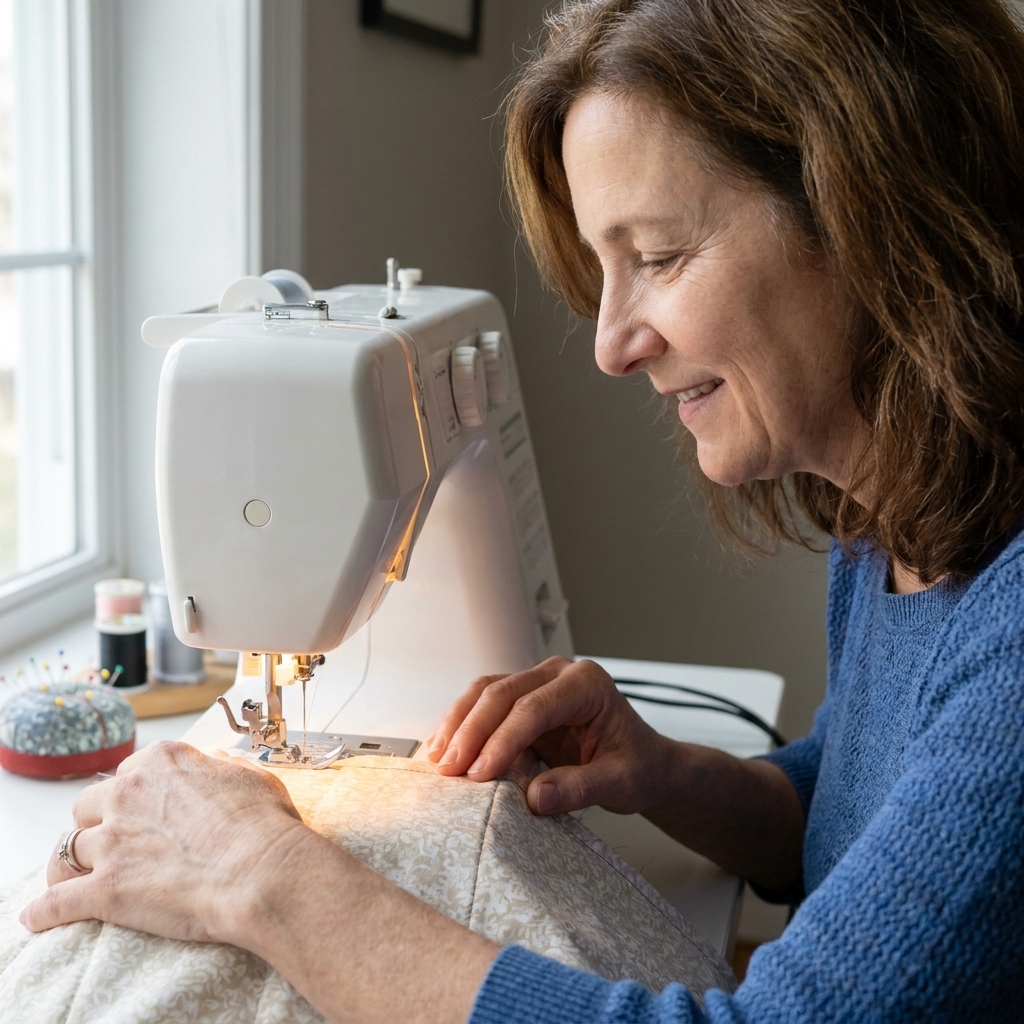
Beginner curve tip: Slow down as you approach a curve, then keep the needle down and lift the presser foot to pivot in tiny steps. You are not trying to turn the fabric like a steering wheel. You are nudging it along.
Backstitch: at the start and end of your seam, and again over the elastic ends for extra strength.
5) Clip the curves
This is the step that makes your mask look smooth instead of lumpy.
- Clip little snips into the seam allowance around the curves, every 1/2 to 3/4 in (1.3 to 2 cm)
- Do not cut through your stitches. Stop about a thread or two away from the seam.
- At the nose dip, clip a few extra times because that area curves more tightly.
Optional bulk fix: If your fabric is thick (flannel plus fleece, I see you), trim the seam allowance down slightly in the tightest curve areas, and consider grading by trimming one layer a bit narrower than the other. Less bulk means smoother edges.
If clipping feels scary, it is. But it is also magical.
6) Turn right side out and press
Turn the mask through the gap. Use a blunt tool like a chopstick or the capped end of a pen to gently push out the curves.
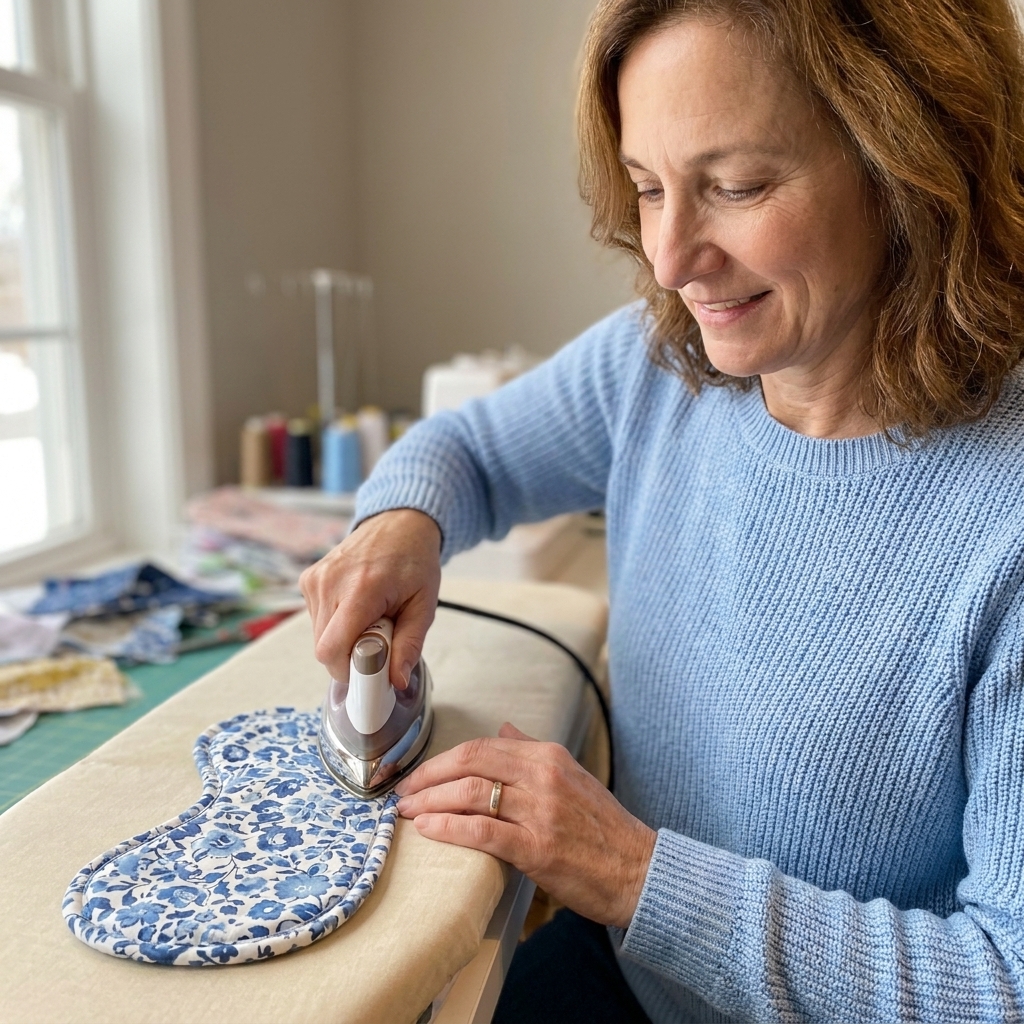
Press the edges flat, and fold the seam allowance at the turning gap to match the stitched edge so everything lines up neatly.
7) Topstitch to finish
Topstitch all the way around the mask about 1/8 in (3 mm) from the edge. This closes the turning gap and gives a polished look.
Topstitching tip: Lengthen your stitch to 3.0 mm. It looks smoother and is easier to sew in a curve.
Sew smooth curves
- Go slower than you think you need to. Curves reward patience.
- Keep your eyes on the seam allowance, not the needle. Let the machine do the poking.
- Use more clips or pins than feels necessary. They are temporary training wheels.
- Clip after sewing, not before. The stitching line is your safety rail.
- Press like you mean it. Pressing is where sewing starts to look professional.
Fabric picks
Beginner-friendly
- Quilting cotton: easiest to handle and stitch
- Flannel: cozy and forgiving, great for winter
- Cotton jersey: soft on the face, but can stretch, use a ballpoint needle
For a luxe feel
- Satin: feels fancy, but it can slip. Use clips, a fresh needle, and a slightly longer stitch length.
- Silk: dreamy, but not my first recommendation for a first project unless you enjoy a challenge.
Light-blocking tip: If you want a darker mask, use a black lining, add a second padding layer, or choose a thicker fabric like flannel for the inside.
Easy upgrades
- Add a nose wire pocket: helps block light for side sleepers
- Make it a heating mask: stitch a small pocket and insert a removable rice pack. Microwave the rice pack separately, then slide it in after heating. Do not microwave the whole mask.
- Quilt the outer layer: a few gentle lines of stitching add structure and practice
- Swap elastic for ties: great for sensitive heads or curly hair days
Troubleshooting
My curve looks wavy
You probably need more clips in the seam allowance, or a bit more pressing. Turn it right side out, press again, then topstitch slowly to tame the edge.
The elastic is twisted
It happens to the best of us. Unpick the few stitches near one side seam, straighten the elastic, and resew that section. Your seam ripper is not judging you.
The mask feels too tight or too loose
Open a few stitches at one side seam, adjust the elastic length (shorter for tighter, longer for looser), then resew and topstitch again.
My stitches skip on stretchy fabric
Try a ballpoint or stretch needle and a slightly longer stitch. If your machine has it, a lightning bolt stitch or narrow zigzag also helps with jersey.
Care
Most cotton versions can be machine washed cold in a small laundry bag and laid flat to dry. If you used satin or delicate fabric, hand washing is kinder. Give it a quick press if it gets wrinkly.
FAQ
Do I need a serger?
Nope. This pattern is fully enclosed, so your raw edges live safely inside where they belong.
Can I hand sew this?
Yes, but curves take longer by hand. Use a small backstitch for strength, especially where the elastic is anchored.
What if I do not have elastic?
Use two fabric ties instead. Cut two strips about 1.5 in by 16 in (4 cm by 40 cm), fold and stitch like simple straps, then insert them at the side edges where the elastic would go.
How long does this take?
Once you have cut your pieces, about 30 to 60 minutes. Your first one may take a bit longer because you will be practicing curve control, and that time is well spent.
One last encouragement
If your curves are not perfect, you are doing it right. Curves are a learned skill, not a personality trait. Sew one mask for practice, then sew a second as your “I know what I am doing now” version. Future-you will be very impressed with present-you.