If you have ever looked at a messy shelf and thought, “I could fix this with fabric,” you are my kind of person. These structured storage baskets are one of my favorite beginner wins because they sew up quickly, they use straightforward seams, and they make your space feel instantly calmer.
This page includes a free fabric storage basket pattern (printable pieces) and a friendly, no-jargon walkthrough for sewing sturdy, stand-up bins using heavyweight interfacing.
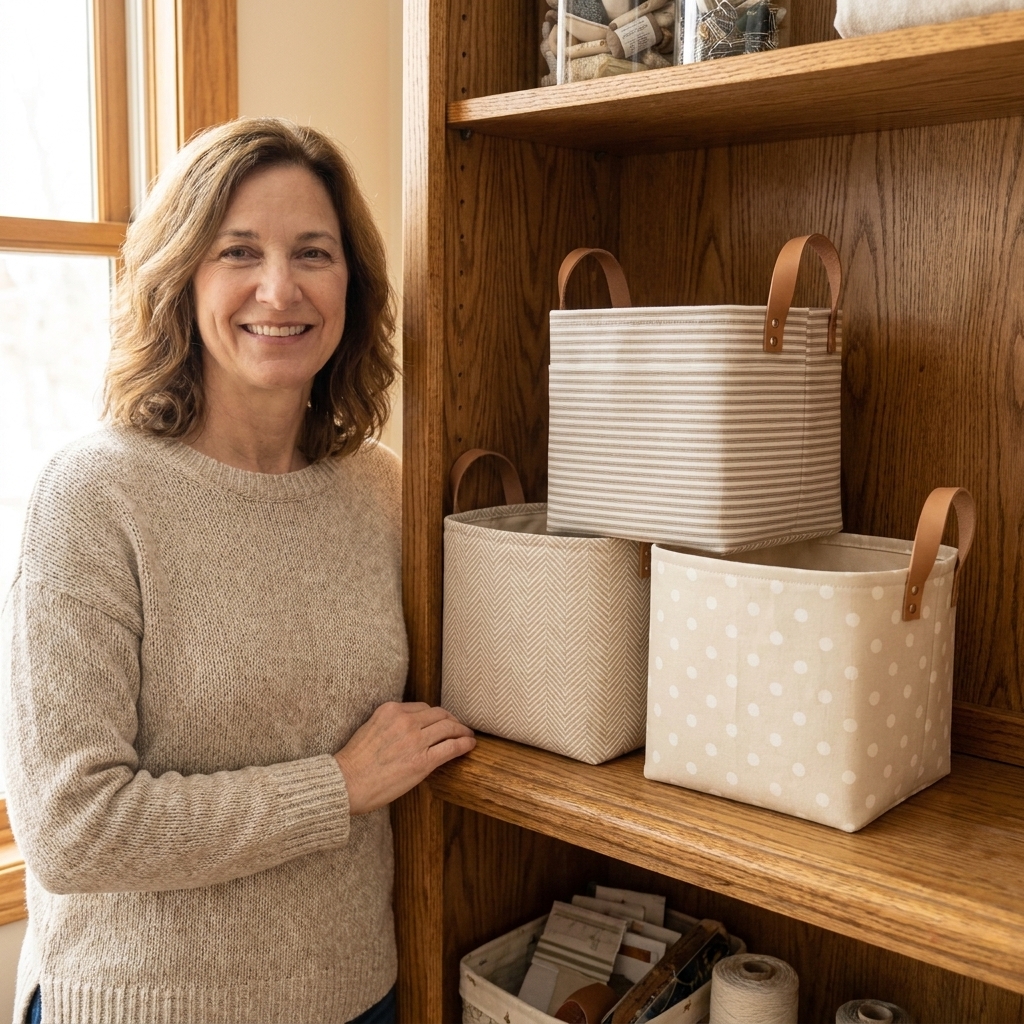
What you will make
This pattern creates a classic open-top fabric bin with a boxed bottom and a firm body. It is perfect for:
- Fat quarters and fabric scraps
- Quilting rulers, clips, and thread
- Bathroom storage (washcloths, extra rolls)
- Entryway catch-all baskets (keys, dog leash)
- Nursery organizers (diapers, wipes)
Skill level: Confident beginner. If you can sew a straight line and press seams, you can absolutely make this.
Free pattern download
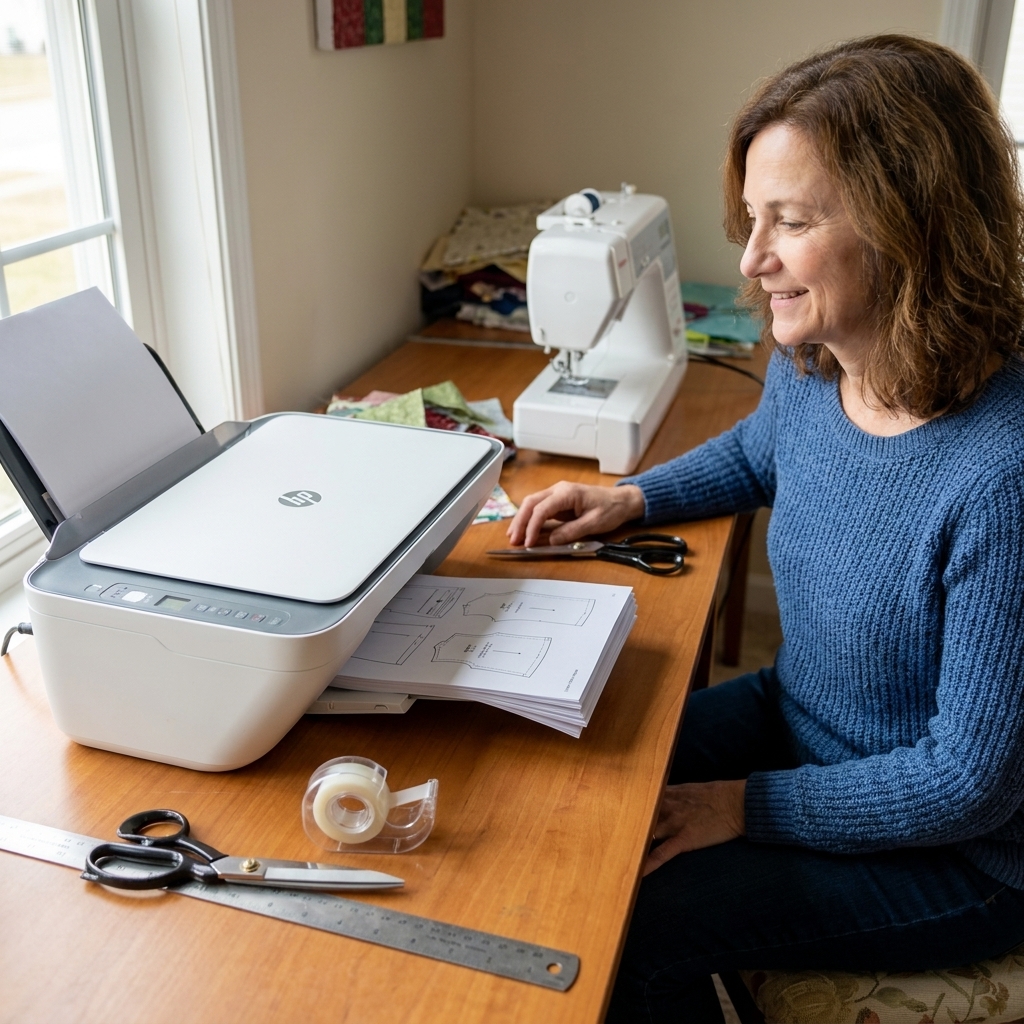
Free Fabric Storage Basket Pattern (PDF): Use the download button or link on this page labeled “Free Fabric Storage Basket Pattern (PDF).” Print at 100% or “Actual Size.” After printing, measure the test square on the first page to confirm your scale before cutting.
This pattern includes:
- Basket outer piece
- Basket lining piece
- Optional handle piece
- Cutting layout and seam allowance notes
Seam allowance: 3/8 in (approx. 1 cm) unless otherwise noted.
If you prefer not to print: you can also follow the cutting measurements in the next section and skip the pattern pieces entirely.
Materials (and what I recommend as a beginner)
Fabric
- Outer fabric: quilting cotton, cotton canvas, denim, or home decor cotton
- Lining fabric: quilting cotton is perfect
If you are brand new, pick a woven cotton that presses nicely and does not stretch. Save slippery stuff for later, future-you will thank you.
Interfacing (the secret to “stands up by itself”)
For a structured basket, you want heavyweight interfacing. Two beginner-friendly options:
- Fusible fleece (soft structure): great for cozy bins
- Decovil Light (use the fusible version) or a comparable firm stabilizer (crisp structure): great for sharp corners and a basket that feels almost like a soft box
You can also combine layers. For example, a firm fusible on the outer plus fusible fleece on the lining makes a seriously sturdy bin.
Notions
- Matching thread (all-purpose polyester is great)
- Iron and ironing board (pressing matters here)
- Clips or pins (I prefer clips when sewing thick layers)
- Fabric marking tool
- Optional: walking foot (helpful, not required)
Cutting guide (no printer version)
You can make this basket in three common sizes. Choose one set of measurements below.
| Size | Cut outer + lining | Cut interfacing | Boxed corner cut-out |
|---|---|---|---|
| Small | 2 rectangles: 10 in x 12 in | 2 rectangles: 10 in x 12 in | 2 in square |
| Medium | 2 rectangles: 12 in x 14 in | 2 rectangles: 12 in x 14 in | 2.5 in square |
| Large | 2 rectangles: 14 in x 16 in | 2 rectangles: 14 in x 16 in | 3 in square |
What “boxed corner cut-out” means: This is the size of the square you cut from each bottom corner. It creates a base depth of about 4 in (small), 5 in (medium), or 6 in (large).
Approximate finished size (W x D x H):
- Small: about 9 1/4 in x 4 in x 11 1/4 in
- Medium: about 11 1/4 in x 5 in x 13 1/4 in
- Large: about 13 1/4 in x 6 in x 15 1/4 in
These are approximate because fabric thickness, interfacing, and topstitching can steal a tiny bit of space.
Optional handles: Cut 2 rectangles, each 4 in x 10 in (outer fabric) and 2 rectangles 4 in x 10 in (lightweight interfacing). You can shorten or lengthen to taste.
How to sew the basket
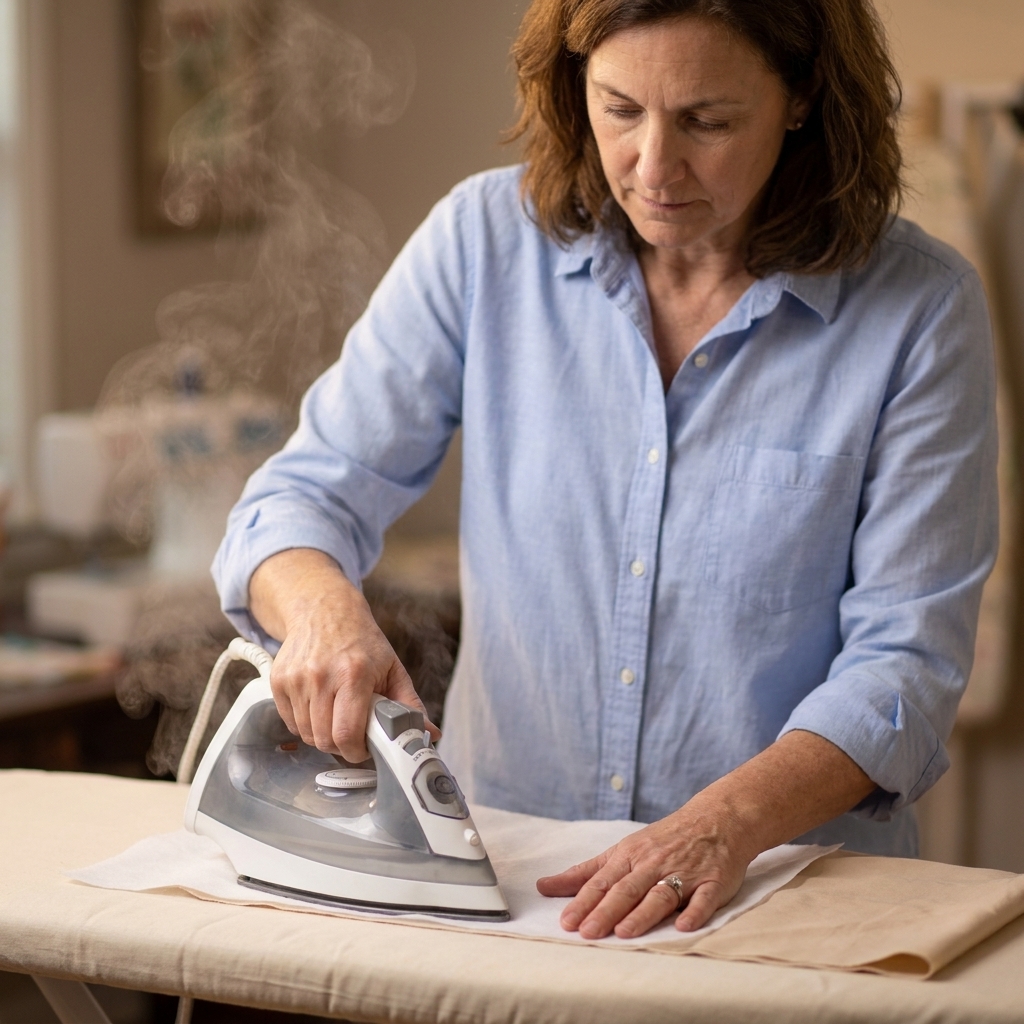
Step 1: Fuse the interfacing
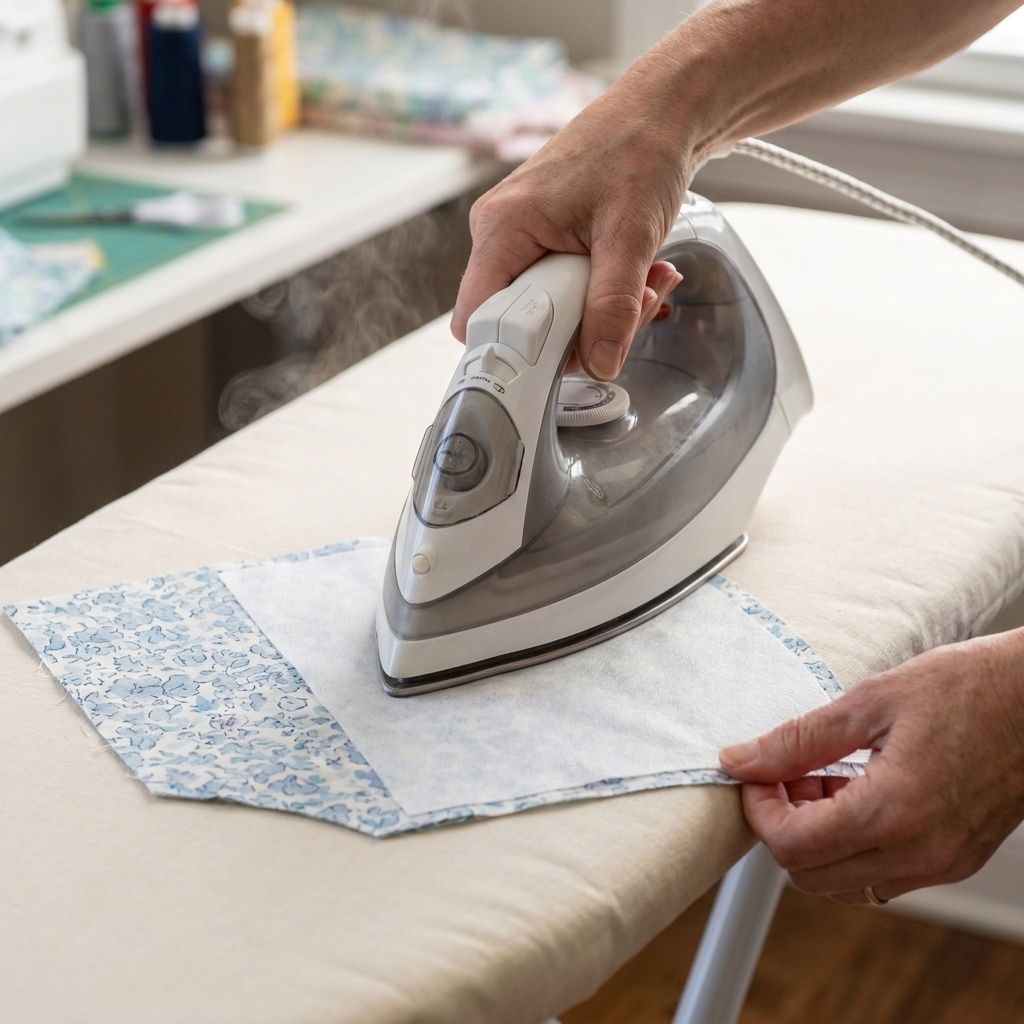
Fuse interfacing to the wrong side of your outer pieces (and lining too, if you want extra body). Follow the manufacturer instructions for heat and steam.
- Press and lift, do not iron back and forth. Sliding can wrinkle and shift the glue.
- Let it cool flat before moving it. Cooling helps the adhesive set.
Optional bulk-reducing tip: If you are using a very firm interfacing (like Decovil Light), you can trim it out of the seam allowances (about 3/8 in all around) after fusing. Less bulk makes turning and topstitching much friendlier.
Step 2: Sew the outer body
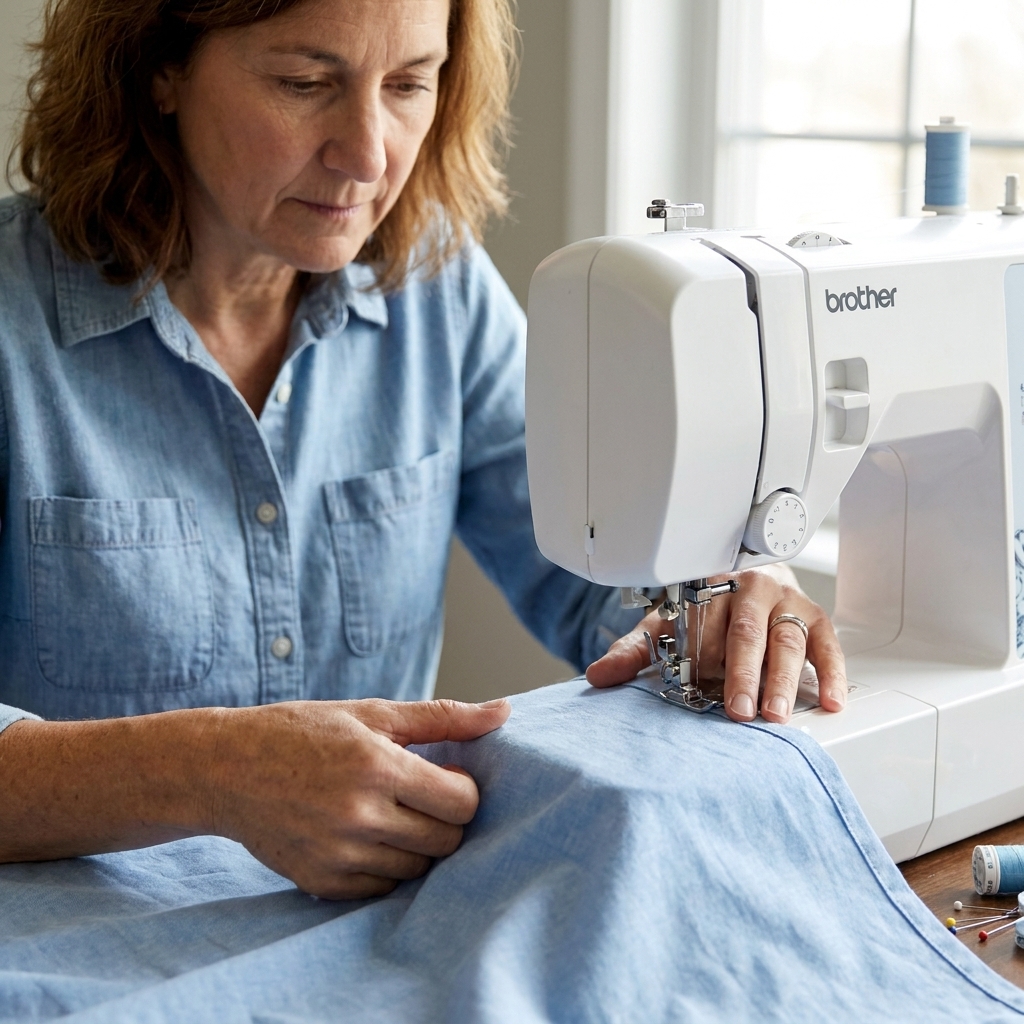
Place the two outer rectangles right sides together. Stitch down both sides and across the bottom with a 3/8 in (approx. 1 cm) seam allowance. Leave the top open.
Press seams open or to one side, whichever you can manage comfortably. Neat pressing makes crisp baskets.
Step 3: Box the corners
At each bottom corner, draw a square using the “boxed corner cut-out” measurement from the table. Cut out the square through both layers.
Now pinch the cut corner open so the side seam and bottom seam line up. Stitch across that raw edge with a 3/8 in seam allowance to form a boxed corner.
Repeat for the other corner.
Step 4: Sew the lining
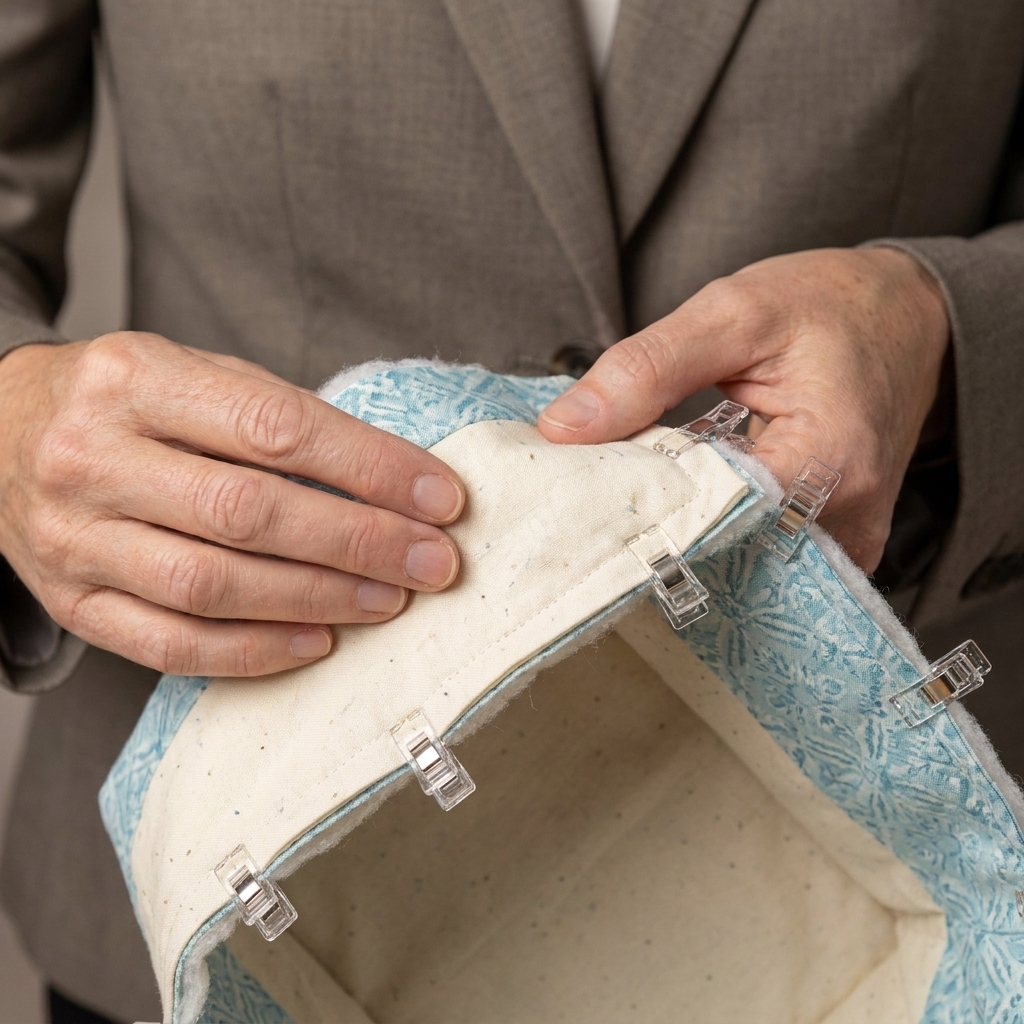
Sew the lining the same way you sewed the outer, including boxing the corners. The only difference: leave a 4 to 5 inch gap along the bottom seam so you can turn the basket right side out later.
This is not optional, unless you enjoy turning things through tiny openings while whispering dramatic words at your sewing machine.
Step 5: Add optional handles
If you are adding handles:
- Fuse lightweight interfacing to the handle pieces.
- Fold each handle lengthwise right sides together and stitch along the long edge.
- Turn right side out, press flat, then topstitch along both long edges.
- Place handles: On the outer basket, measure between the two side seams and mark the center on each side. Center each handle on that mark. As a general guide, the handle ends usually land about 2 to 3 inches away from the side seams, depending on your basket size and handle length.
- Baste handles to the outer basket with raw ends aligned to the top edge. Baste within the seam allowance (about 1/4 in from the edge) so the basting does not show later.
Step 6: Assemble outer and lining
Turn the outer basket right side out. Keep the lining wrong side out. Insert the outer into the lining so right sides are facing.
Match side seams and clip around the top edge. Stitch all the way around the top with a 3/8 in seam allowance.
Step 7: Turn, close the gap, and topstitch
Pull the basket right side out through the lining gap. Poke out corners gently (a chopstick works beautifully).
Close the lining gap with a neat seam. You can:
- Machine stitch close to the edge (about 1/8 in), or
- Hand stitch with a ladder stitch for an invisible finish
Push the lining down into the basket, press the top edge, then topstitch around the rim. Topstitching helps the lining stay put and makes everything look extra polished.
Interfacing tips
Match structure to what you store
- Soft structure: fusible fleece only, great for scarves and lightweight items
- Medium structure: fusible fleece plus a firm woven fusible, great for craft supplies
- Firm structure: Decovil Light (fusible) or similar on outer pieces, great for shelves and cube storage
Use the right needle
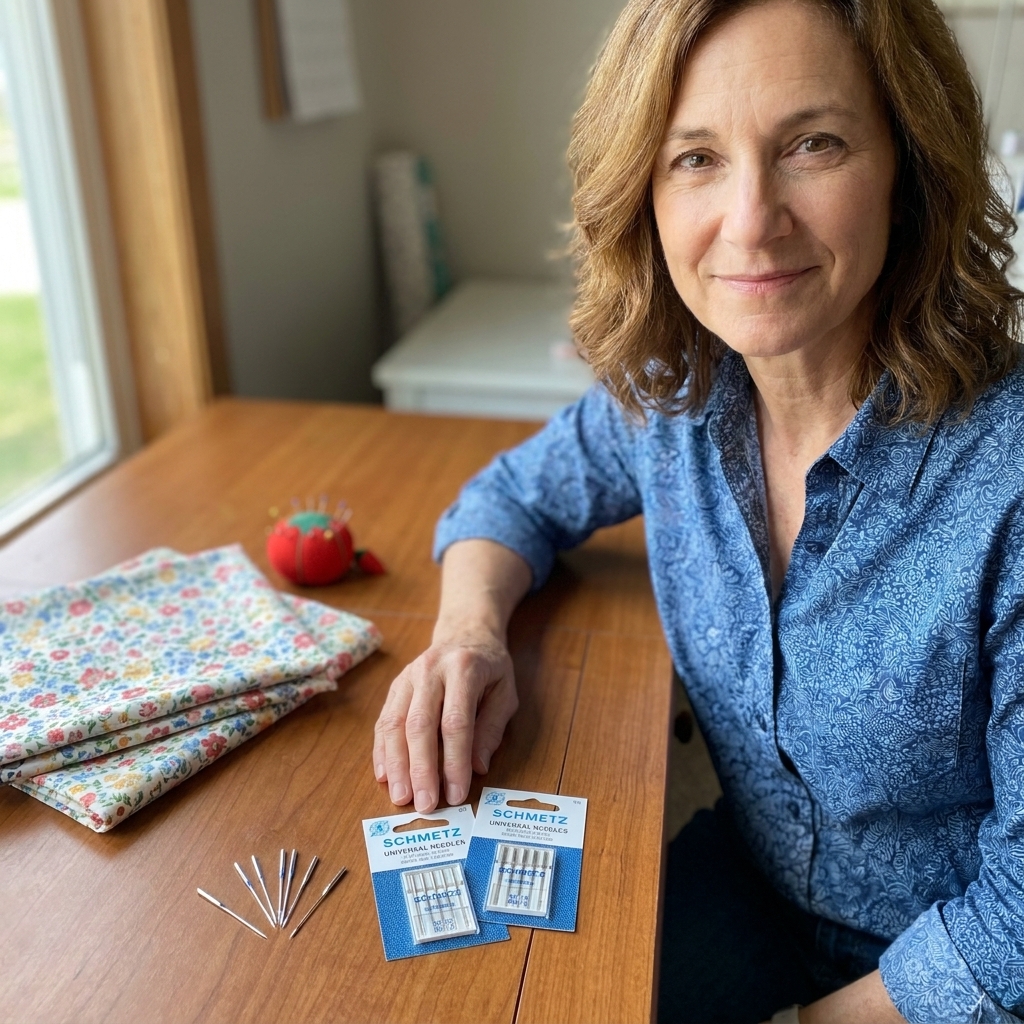
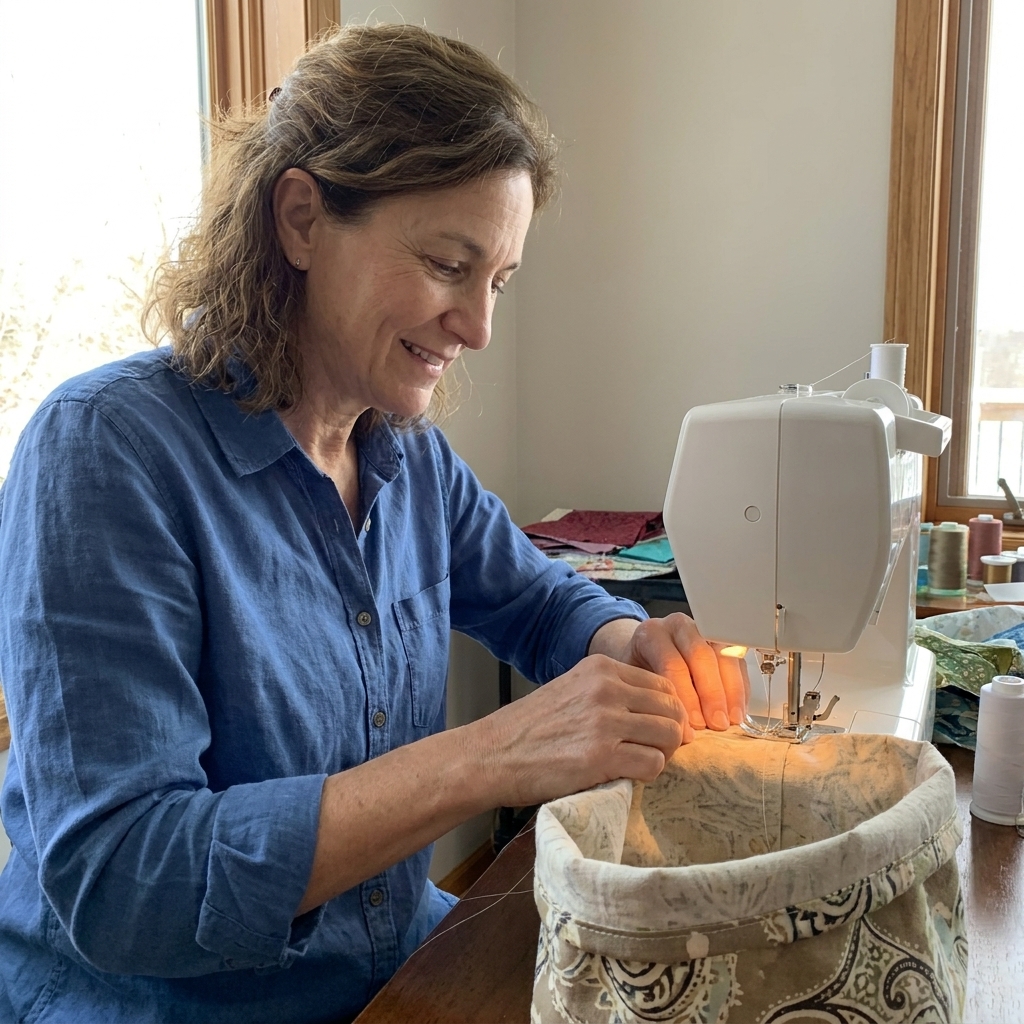
If you are sewing through thick layers, swap to a size 90/14 needle. If your stitches look uneven or you hear “thunk-thunk” as the needle struggles, that is your machine politely asking for a stronger needle. For very heavy canvas or denim stacks, a 100/16 can be even happier.
Lengthen your stitch
A slightly longer stitch length (around 3.0 mm) often looks nicer on bulky seams and helps prevent puckering.
Press like you mean it
Press seams as you go. Structure comes from a mix of interfacing and good pressing. It is the unglamorous step that makes your basket look store-bought.
Easy customizations
- Make it taller: add 2 to 4 inches to the height of your rectangles
- Add a cuff: make the lining 2 inches taller, fold it over to show a cute contrast
- Label pocket: stitch a small exterior pocket for a fabric label or tag
- Water-resistant lining: use laminated cotton (wipe clean) and sew with clips instead of pins
- Extra-sturdy base: slip a piece of plastic canvas or thin cutting mat offcut into the bottom between layers
Troubleshooting
My basket leans or twists
This usually means something shifted during sewing. Two fixes:
- Make sure boxed corners are the same depth on both sides.
- Press, then topstitch the rim. That rim topstitch is surprisingly powerful.
My corners look lumpy
Trim seam allowances a bit before turning, especially at the boxed corners. Also poke corners gently. Do not jab so hard you create a new hole, speaking from experience.
My machine struggles at thick spots
- Use a 90/14 needle (or 100/16 for very thick stacks)
- Go slower
- Use a hump jumper or a folded scrap of fabric behind the presser foot to level it
The lining peeks out
Press the rim well and topstitch. If it still misbehaves, roll the seam slightly to the inside as you press so the lining is hidden.
Care
Check the care instructions for your interfacing and fabric. Some firm interfacings are washable, and others do not love soaking, high heat, or aggressive agitation. In general, I treat these like home decor: spot clean when you can, and if you do wash, use a gentle method, air dry, and reshape the basket while it is still slightly damp.
Quick FAQ
Do I really need heavyweight interfacing?
If you want a basket that stands up and keeps square corners, yes. Without it, you will still get a cute fabric container, but it will behave more like a soft bag than a bin.
Can I use batting instead?
You can, especially for a softer look. Use a fusible batting if possible and consider adding a second layer if you want more body.
What fabric is best for the outside?
Cotton canvas and home decor cotton are naturally sturdier, which makes them very beginner-friendly for baskets. Quilting cotton also works great when paired with firm interfacing.
Can I make this without handles?
Absolutely. The pattern works beautifully handle-free, especially if you are sliding baskets in and out of a shelf.