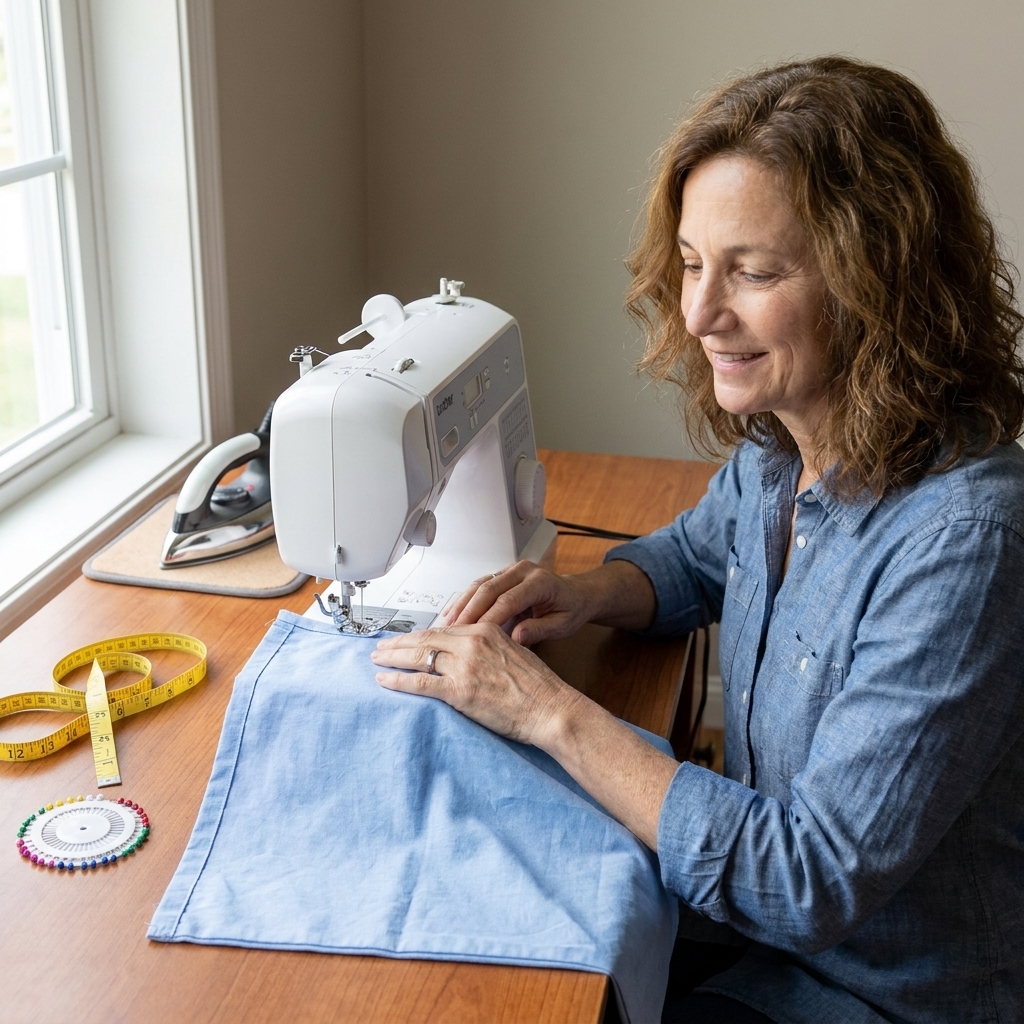
Envelope pillow covers are my favorite “quick win” sewing project. They look polished, they come off for washing, and there is no zipper drama. If you can sew a straight line, you can make this.
This tutorial includes a free printable pattern and an easy cutting chart so you can make covers for the pillows you already own.
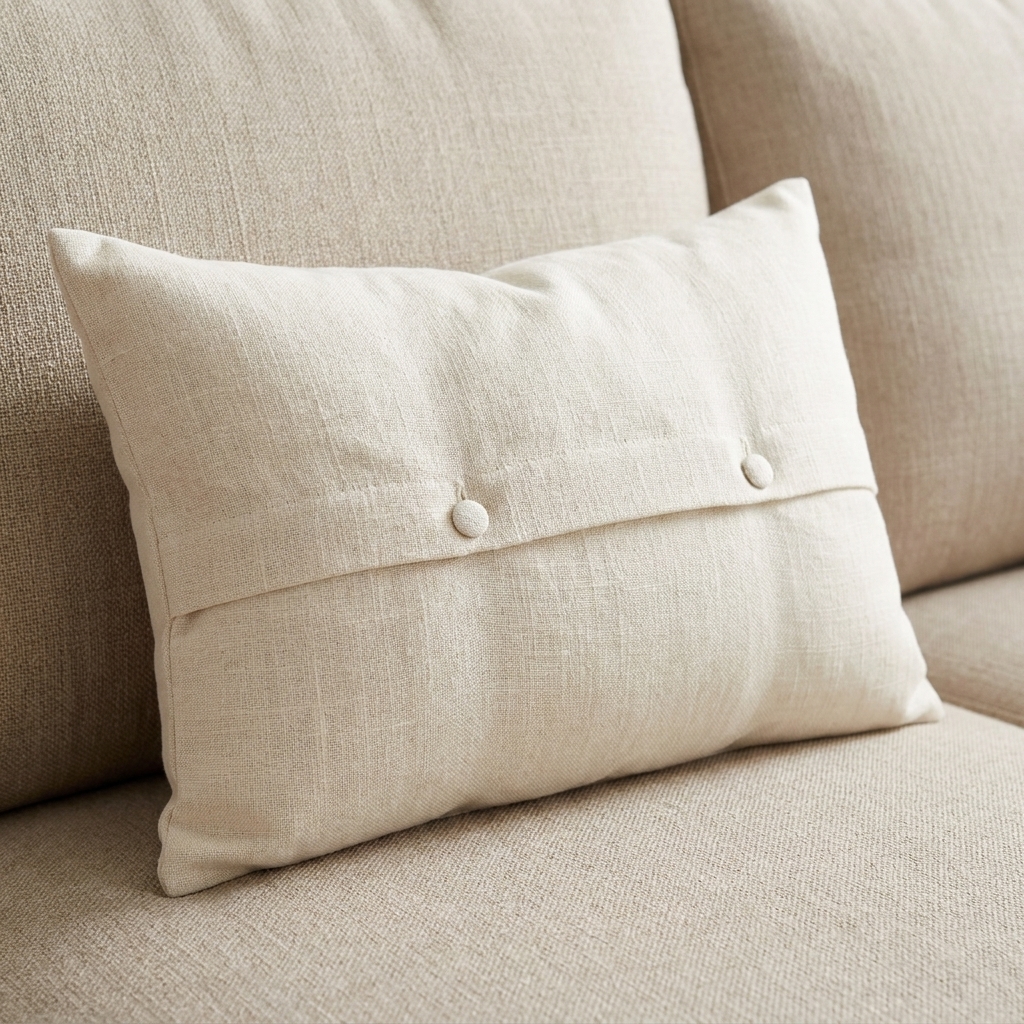
What you will make
An envelope pillow cover has two overlapping back pieces that create a neat opening. The pillow form slides in, the overlap stays closed on its own, and the front looks smooth and tidy.
- Skill level: confident beginner
- Stitches used: straight stitch (and optional zigzag)
- Time: about 30 to 60 minutes
- Best fabrics: quilting cotton, cotton canvas, light denim, linen blends, home decor fabric
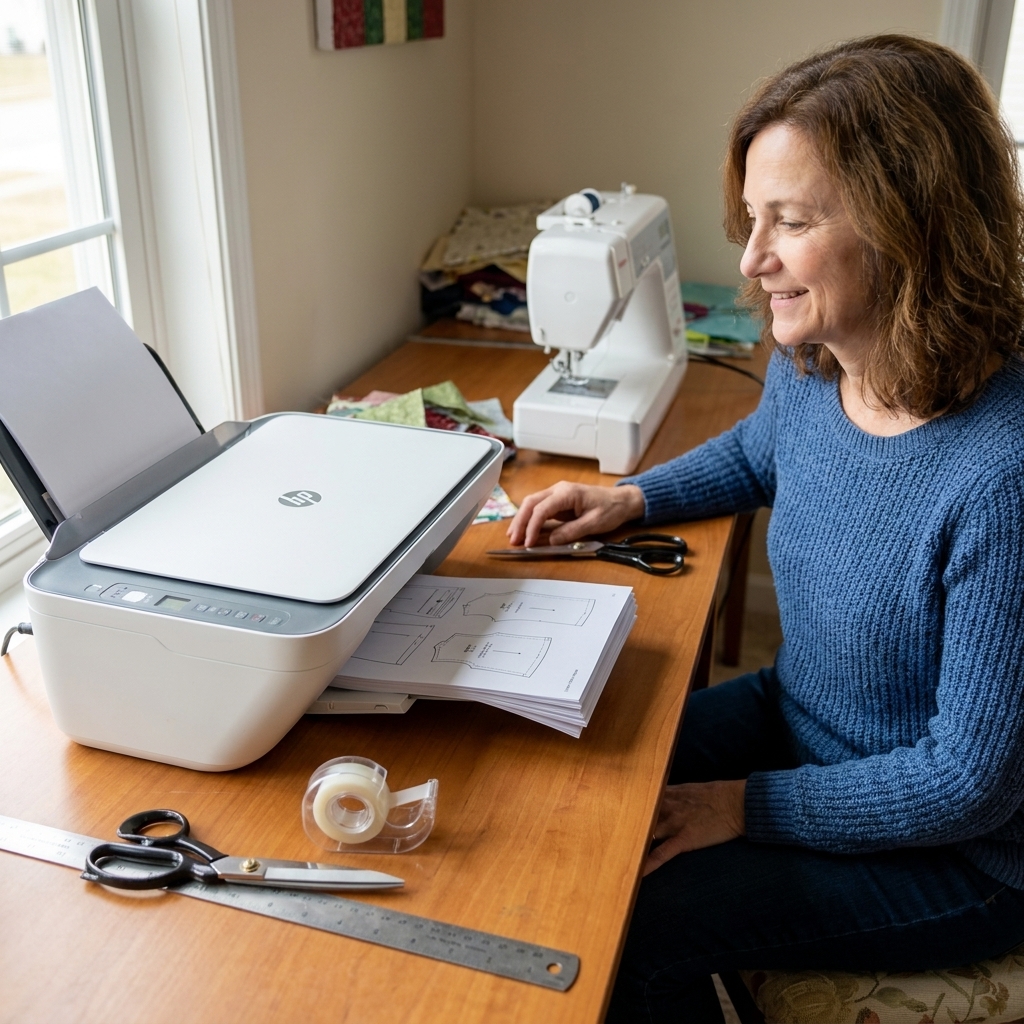
Free pattern download
Free Envelope Pillow Cover Pattern (PDF)
- What’s included: 14 x 14, 16 x 16, 18 x 18, 20 x 20, and 12 x 20 (lumbar)
- File format: PDF (US Letter, 8.5 x 11)
- Page count: 5 pages total (1 page per size)
- Print settings: print at 100% or “actual size”
- Check the scale: measure the 1 inch test square on the pattern before cutting
Where to get it: Download the PDF using the button or link near this section on the page (it is labeled “Free Envelope Pillow Cover Pattern (PDF)”). If you would rather skip printing, you can also use the cutting chart below and measure directly on your fabric.
Materials
- Fabric (amount depends on pillow size, see chart below)
- Thread
- Measuring tape or ruler
- Fabric scissors or rotary cutter + mat
- Pins or clips
- Iron and ironing board (this is your secret weapon for crisp edges)
- Sewing machine with a universal needle (size 80/12 is perfect for most cottons)
- Pillow insert (also called a pillow form)
Nice to have: a walking foot for thicker fabrics, pinking shears, and a seam ripper for when life happens.
Before you cut
Two tiny things make a huge difference in how “square” your finished cover looks.
- Prewash if you can: Wash and dry your fabric first if it is washable. Cotton loves to shrink the moment you finish a project, so prewashing saves heartbreak.
- Square it up: Press your fabric, then straighten the cut edge so it is on-grain (and actually perpendicular). If your first cut is crooked, your corners will fight you later.
Pick your pillow size
For a cover that looks full and “store bought,” I like a snug cover. That means we cut the fabric to the same size as the pillow form, then sew with a 1/2 inch seam allowance.
Yes, that sounds backwards at first, because the finished cover ends up slightly smaller than the cut pieces. That is on purpose. You are building in a little negative ease so the insert fills out the corners.
Example: For an 18 x 18 inch pillow form, we cut the front piece 18 x 18.
If your pillow form is very stuffed or you want an extra-plump look, you can even use a form 2 inches bigger than your cover (like a 20 inch form inside an 18 inch cover). That is optional, and slightly advanced, but it looks lovely.
Cutting chart
This chart assumes:
- 1/2 inch seam allowance on all sides
- 1 inch double-fold hem on the opening edge of each back panel
- A generous overlap: the chart intentionally rounds up the back panel width so the center overlap stays closed nicely (especially after washing and real-life couch use)
| Pillow form size | Cut 1 front | Cut 2 back pieces | Fabric needed (approx.) |
|---|---|---|---|
| 14 x 14 | 14 x 14 | 14 x 10 each | 1/2 yard |
| 16 x 16 | 16 x 16 | 16 x 12 each | 5/8 yard |
| 18 x 18 | 18 x 18 | 18 x 13 each | 3/4 yard |
| 20 x 20 | 20 x 20 | 20 x 15 each | 1 yard |
| 12 x 20 (lumbar) | 12 x 20 | 12 x 14 each | 3/4 yard |
Yardage note: Fabric needed is estimated assuming about 42 to 44 inches of usable fabric width and a simple layout. If your fabric has a directional print, a nap (like velvet), or you want pattern matching, buy a little extra.
If your pillow is a different size: Cut the front the same size as the pillow form. Then cut two back panels that are the same height as the front, and use this easy formula for each back panel width:
Back panel width = (pillow width × 0.67) + 1 inch, then round up to the nearest 1/2 inch.
That extra inch is overlap insurance. If you prefer a very secure closure, add another 1 inch.
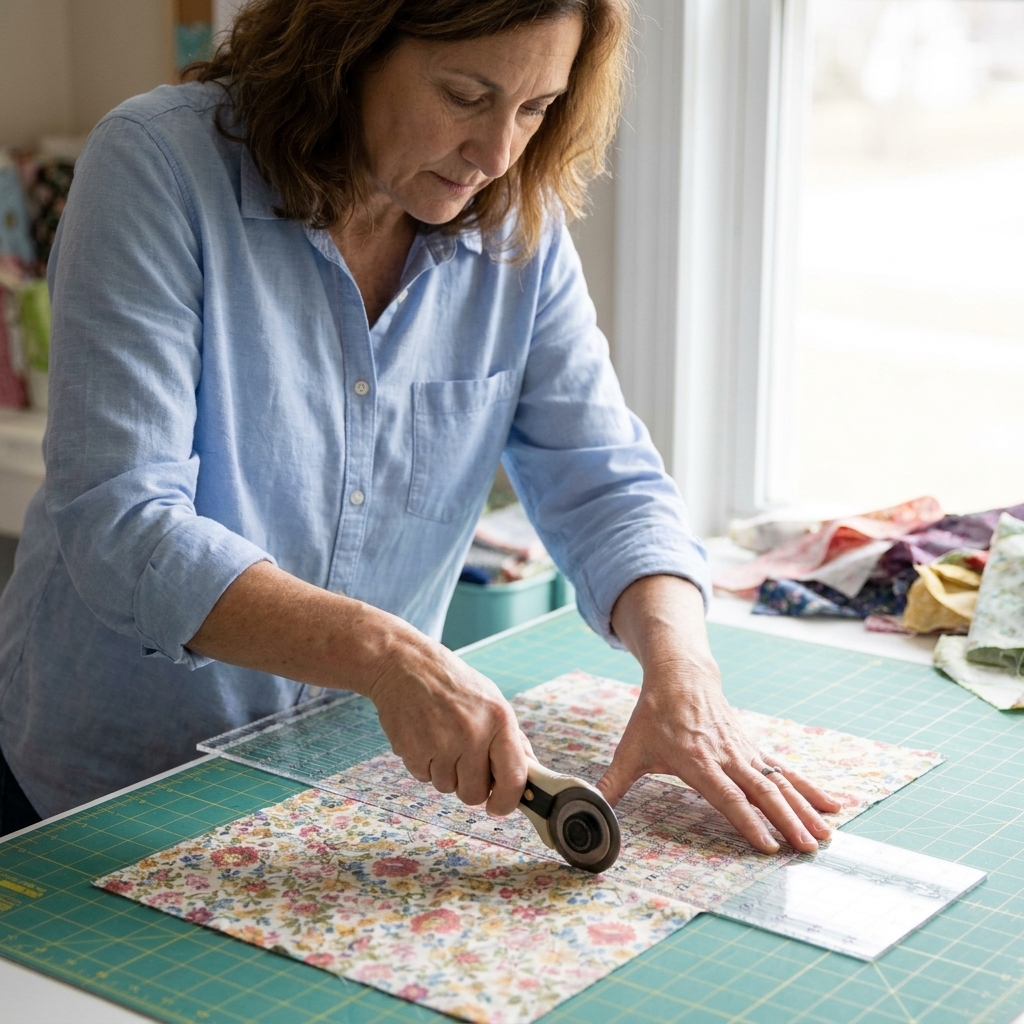
Cut your fabric
- Press the fabric so you are cutting on a smooth surface.
- Cut the front: 1 rectangle or square using the chart.
- Cut the backs: 2 rectangles using the chart.
Hem the back panels
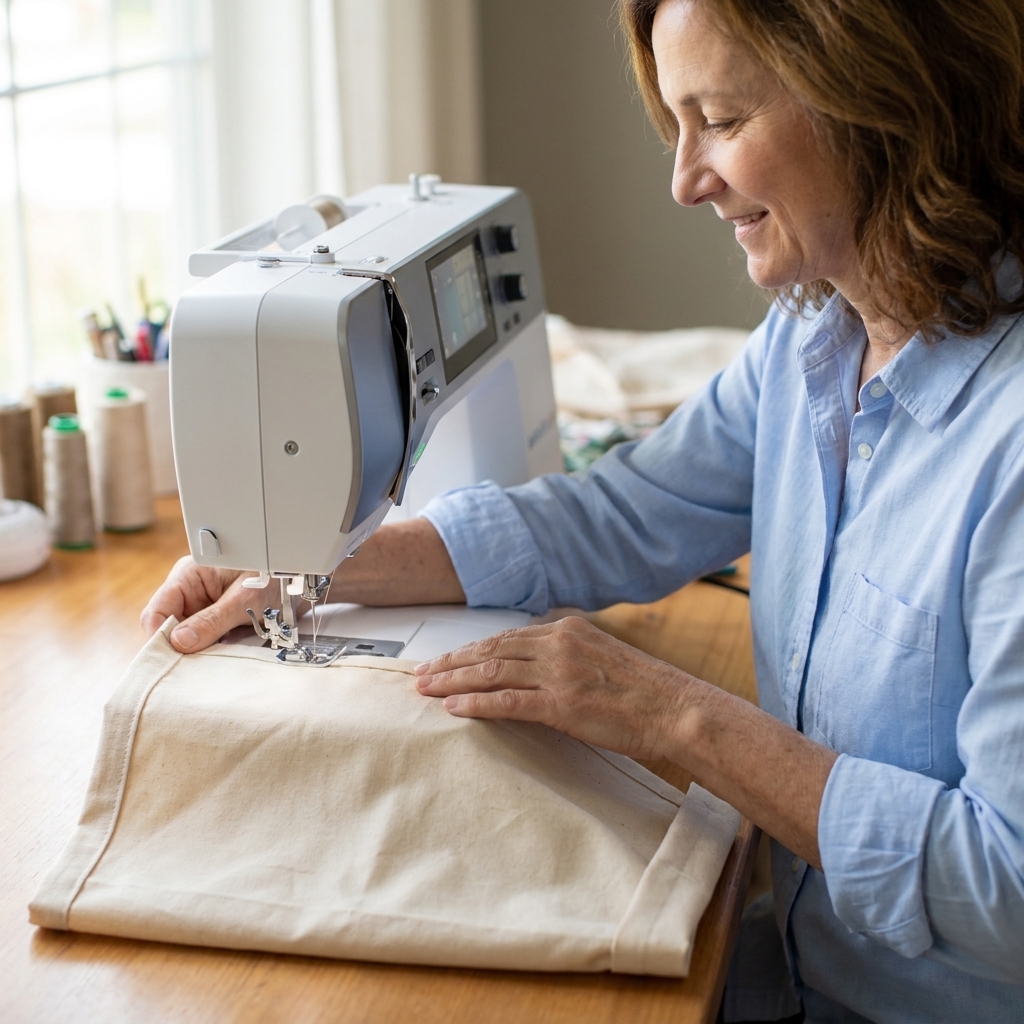
We are going to finish one edge on each back panel. Those two hemmed edges will overlap in the middle of the pillow.
- On each back panel, choose one edge to be the opening edge (this is the edge that will sit at the center and overlap the other panel).
- Press 1/2 inch to the wrong side along that edge.
- Press another 1/2 inch to the wrong side to hide the raw edge.
- Pin or clip.
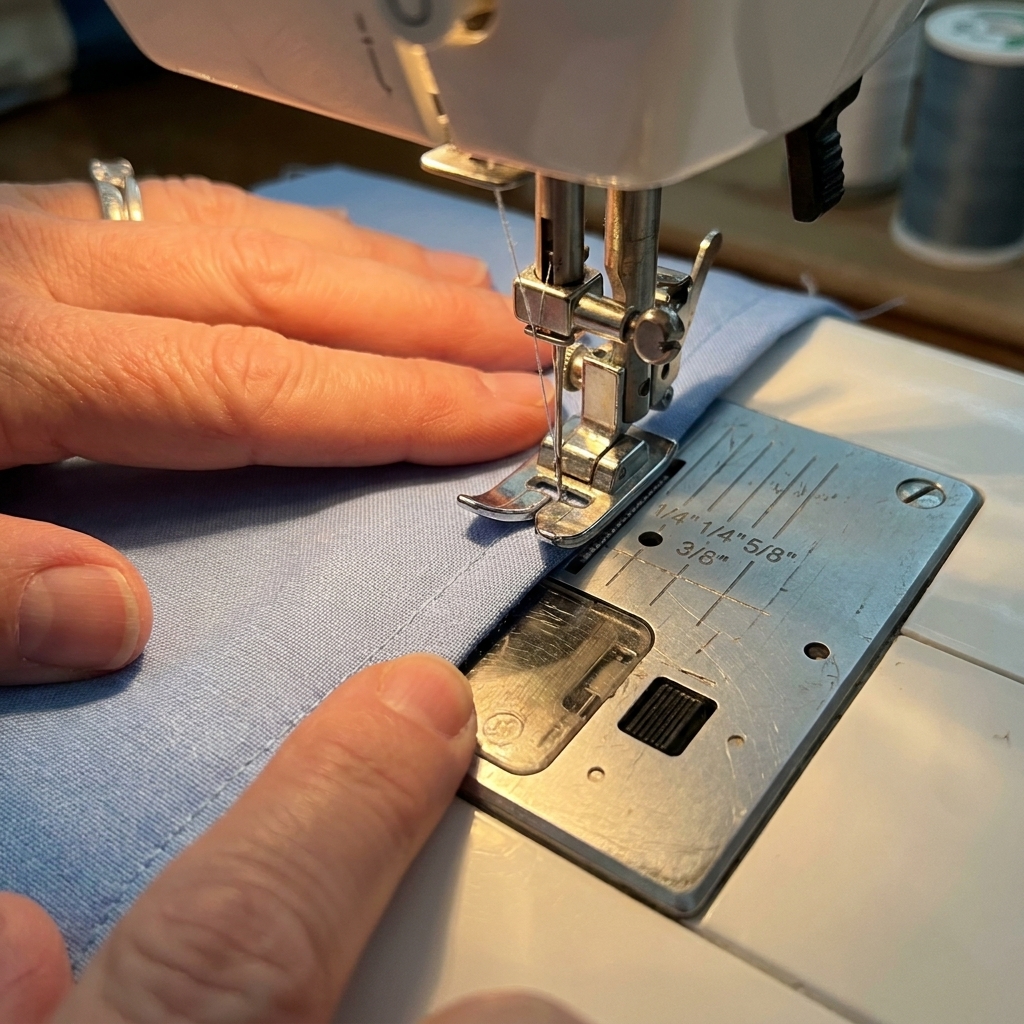
- Sew close to the inner folded edge, about 1/8 inch from the fold.
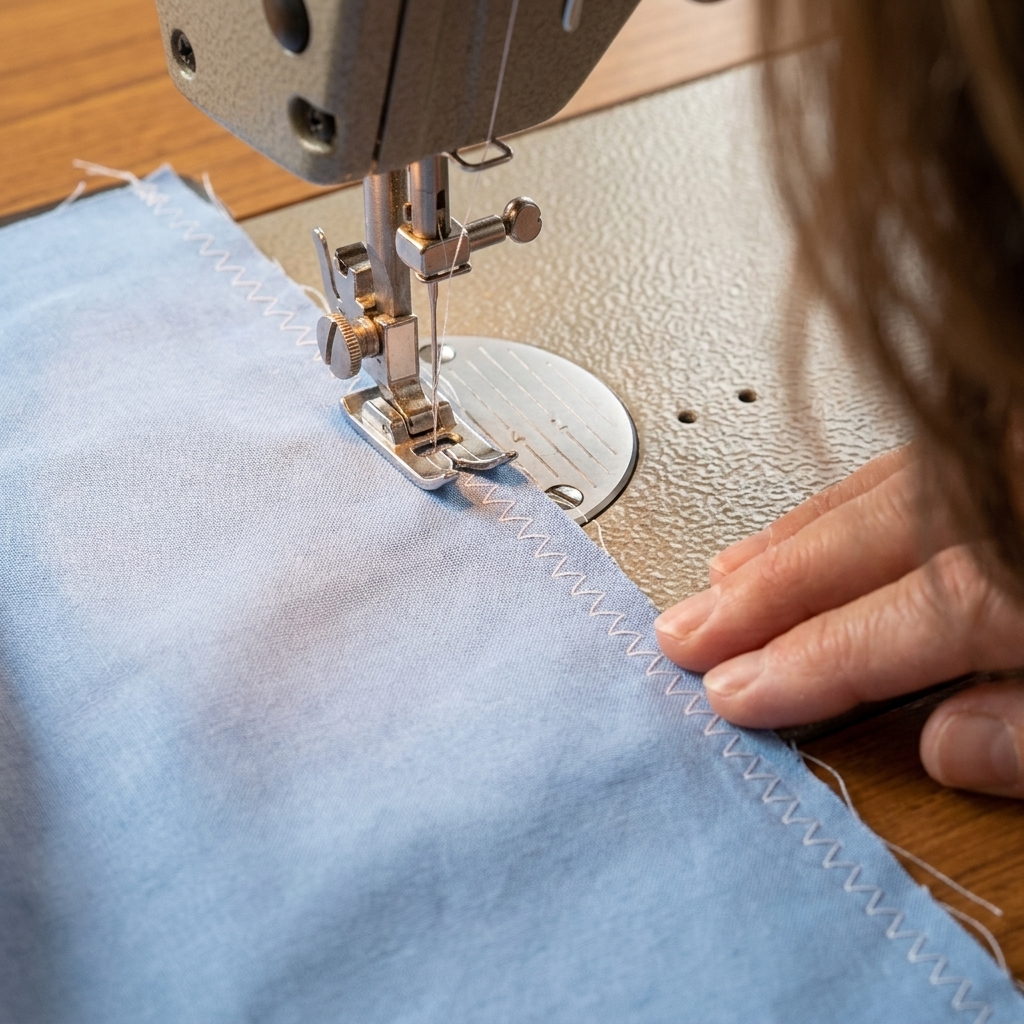
Beginner tip: If your fabric is fraying a lot, stitch a quick zigzag along the raw edge before you fold the hem. Not required, but very comforting.
Assemble the envelope back
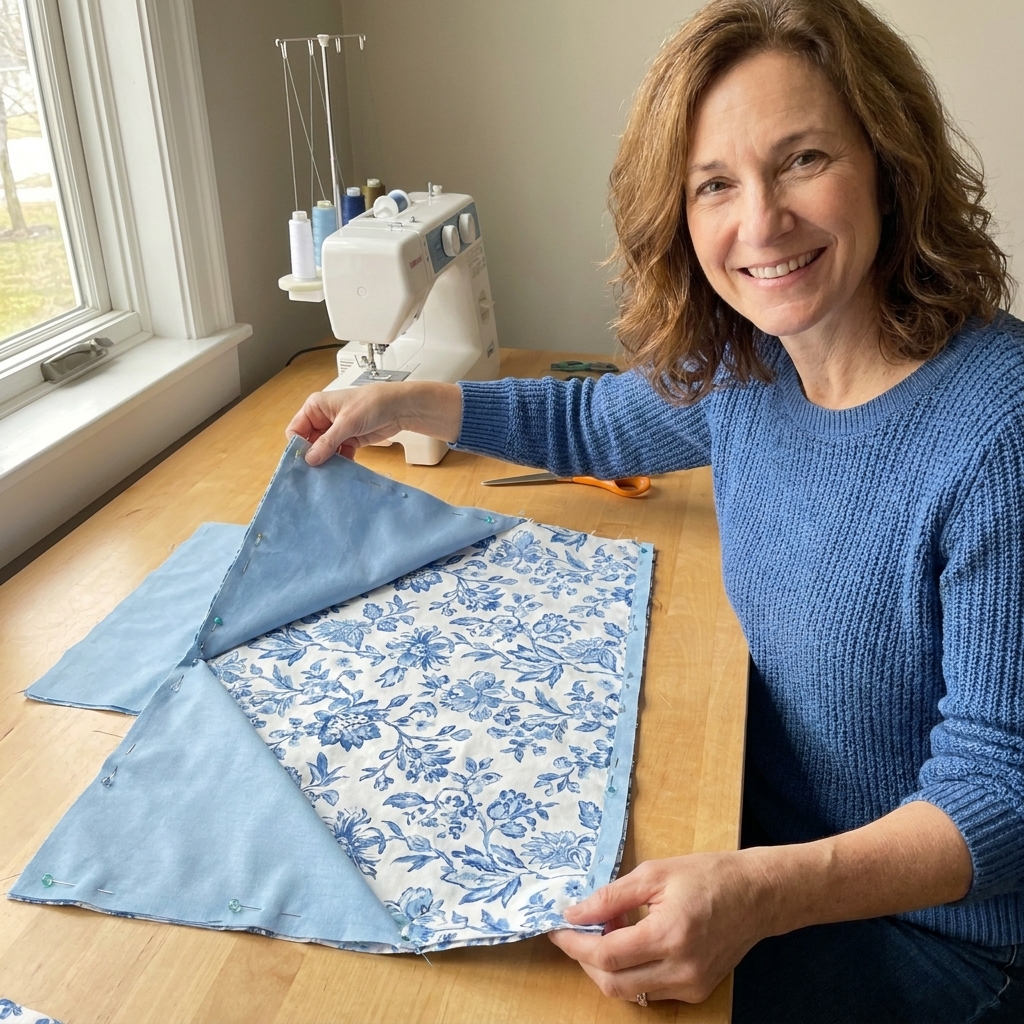
This part feels like magic the first time you do it.
- Lay your front piece right side up.
- Place one back panel right side down on top, lining up outer edges. The hemmed opening edge should face toward the center.
- Place the second back panel right side down on top, lining up outer edges on the opposite side. The hemmed edges should overlap at the center.
- Pin around all four sides. Add extra pins at the overlap area so nothing shifts.
Sew the cover
- Set your machine to a normal straight stitch (around 2.5 mm length is a friendly default).
- Sew around all four sides using a 1/2 inch seam allowance.
- Backstitch at the beginning and end. When you sew across the overlapped back panels, backstitch a little extra there too since it gets tugged during stuffing.
Optional but helpful: Sew a second line of stitching about 1/8 inch closer to the raw edge (still within the seam allowance). This adds strength, especially for heavy fabrics or pillows that get a lot of couch cuddles.
Finish the seams (optional)
If your fabric frays, finishing the raw edges helps your cover survive lots of wash days. Pick one:
- Zigzag or overcast stitch: quick and easy on a standard machine
- Pinking shears: fast, no extra stitching
- Serger: great if you have one, not required
Do this after sewing the cover, before turning it right side out.
Trim corners and turn
- If your fabric is thick, you can trim the seam allowance down to about 1/4 inch to reduce bulk, leaving a little more right at the corners for strength.
- Clip the corners diagonally, being careful not to cut the stitches.
- Turn the cover right side out through the envelope opening.
- Use a blunt tool (like a chopstick or the eraser end of a pencil) to gently push out corners.
- Press the cover flat.
Corner confidence booster: If your corners look a little round, that is normal. Pressing helps a lot. Also, a tiny bit more corner trimming next time makes a big difference.
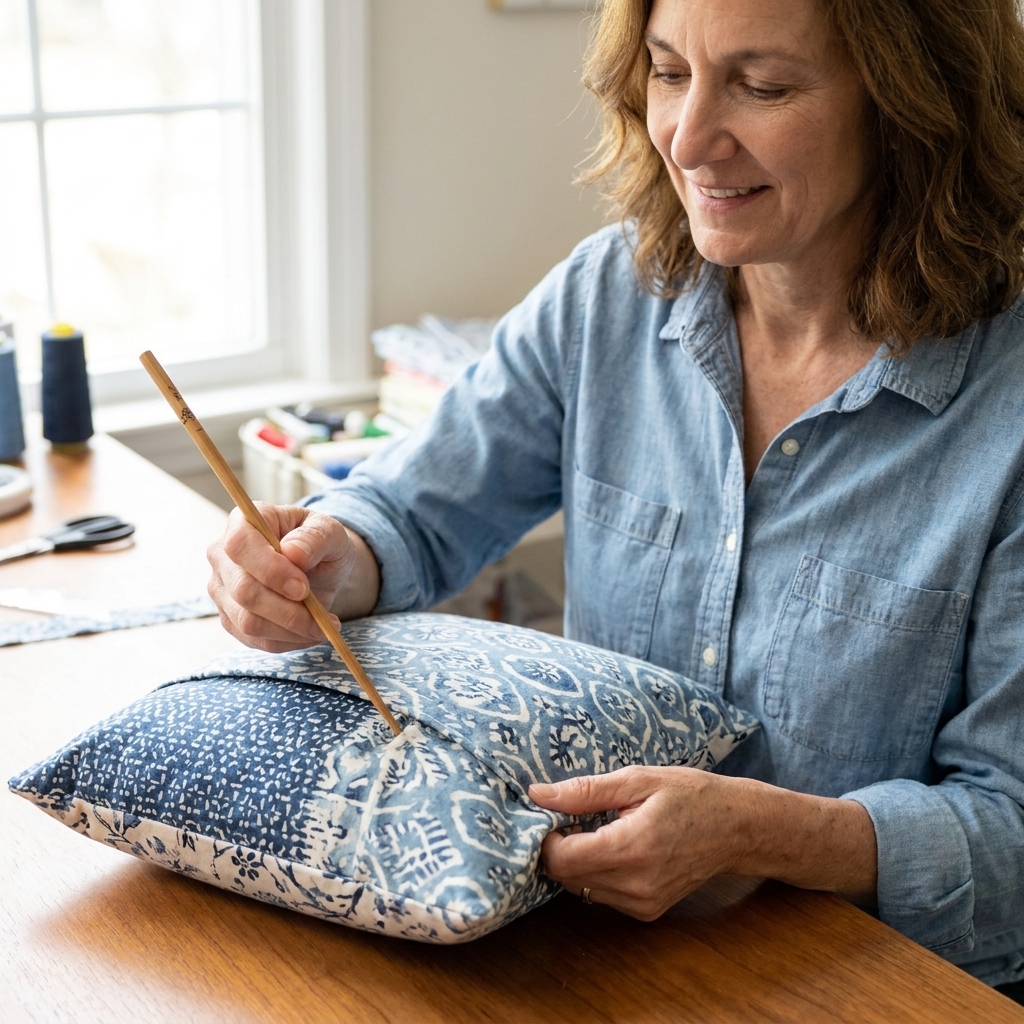
Insert the pillow form
Stuffing a pillow form into a snug cover can feel like wrestling an octopus. Here is the calm way:
- Fold the pillow form in half like a taco.
- Slide it into the cover through the envelope opening.
- Unfold inside and work the corners into place with your hands.
- Fluff and admire.
Pro tip: If you are using a down alternative form, give it a good shake and karate-chop the top edge for that cozy “designer pillow” look.
Fix the fit
If the cover looks baggy
- Your seam allowance may be a little too small. Next time, sew closer to 1/2 inch.
- Your pillow form might be under-filled. Try a slightly larger insert.
If the pillow is hard to insert
- That usually means you nailed the snug fit. Fold the insert in half before putting it in.
- If it is truly too tight, re-sew with a slightly smaller seam allowance (like 3/8 inch).
If the envelope gap shows
- Increase the overlap by cutting the back panels a bit wider next time (add 1 inch to each back panel width).
- Or add a simple tie closure: sew small ribbon ties into the side seams at the overlap points.
Fabric tips
- Quilting cotton: easiest to cut, press, and sew. Great first choice.
- Canvas or denim: sturdy and beautiful, but use a fresh needle and go slowly over seams.
- Slippery fabric (like satin): save it for later. It likes to scoot around and test your patience.
- Directional prints: make sure the design is facing the right way on both back panels before sewing.
Optional upgrades
- Add piping: sew piping into the seam for a crisp, tailored look.
- Use a contrast hem: hem the back panels with a contrasting thread or a narrow trim.
- Make it reversible: use two coordinating fabrics, one for the front and one for the backs.
- Inside finishing: zigzag the raw edges after sewing, or use pinking shears to reduce fraying.
Troubleshooting
My seams ripple or pucker
This is usually fabric being stretched while sewing. Let the machine feed the fabric, and keep your hands relaxed. A slightly longer stitch length (2.8 to 3.0) can help on thicker fabric.
My back panels shifted and the edges do not match
Pin more than you think you need, especially at the overlap. If you are using clips, add a few extra at the corners. Also, press the pieces flat before stacking them.
My corners look like little bubbles
Clip closer to the corner and press firmly after turning. Corners are 70% trimming and 30% pressing.
Care
Most cotton covers can be machine washed cold and tumble dried low. If you used home decor fabric, check the bolt label or test a scrap first. Press after washing for that freshly-sewn look.
Quick FAQ
Do I need a serger?
Nope. A straight stitch is enough. If your fabric frays, zigzag the edges or use pinking shears.
Can I use a 3/8 inch seam allowance instead of 1/2 inch?
Yes. Just be consistent all the way around, and remember it will make the cover slightly larger.
What if my pillow form is not exactly the size it claims?
That happens a lot. Measure your form with a tape measure. If it is a bit under, you can cut your cover slightly smaller or use a fuller insert.
Can I make this for outdoor pillows?
Yes, with outdoor fabric and polyester thread. For uncovered outdoor use, choose a true outdoor canvas (often solution-dyed acrylic) and consider a larger overlap or a simple closure (ties, snaps, or hook-and-loop) to keep the insert from shifting in wind and daily use. It will not make the pillow waterproof, but it does make the cover more secure.
Next projects
If this went well, you are officially on a roll. Keep the momentum with another quick home project: a simple table runner, a set of cloth napkins, or a lined tote bag. One straight seam at a time.