If you are brand new to sewing, a baby bib is one of those magical projects that looks impressive, teaches you a bunch of useful skills, and finishes fast enough to keep your motivation happy. This free pattern makes a reversible bib with an absorbent layer, so it actually gets used, not just admired.
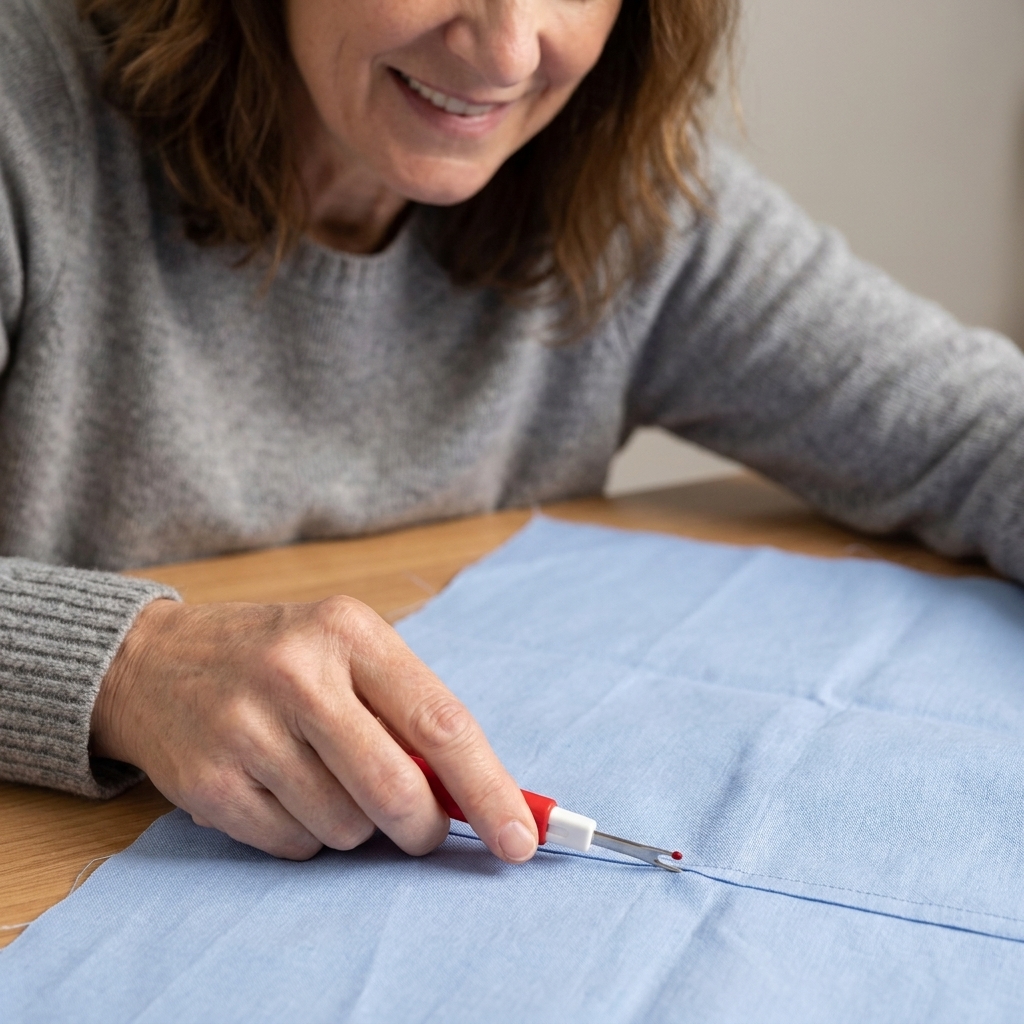
We will keep everything beginner-friendly and seam ripper approved.
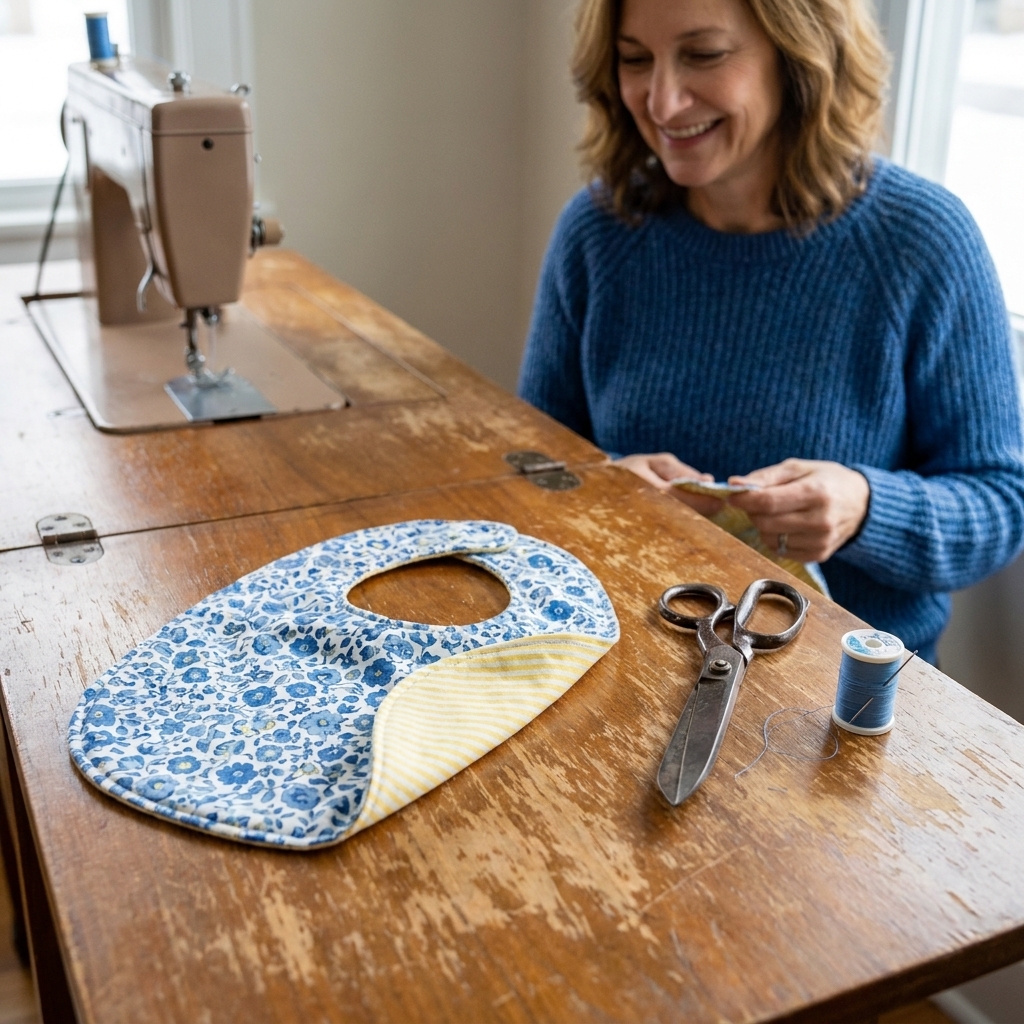
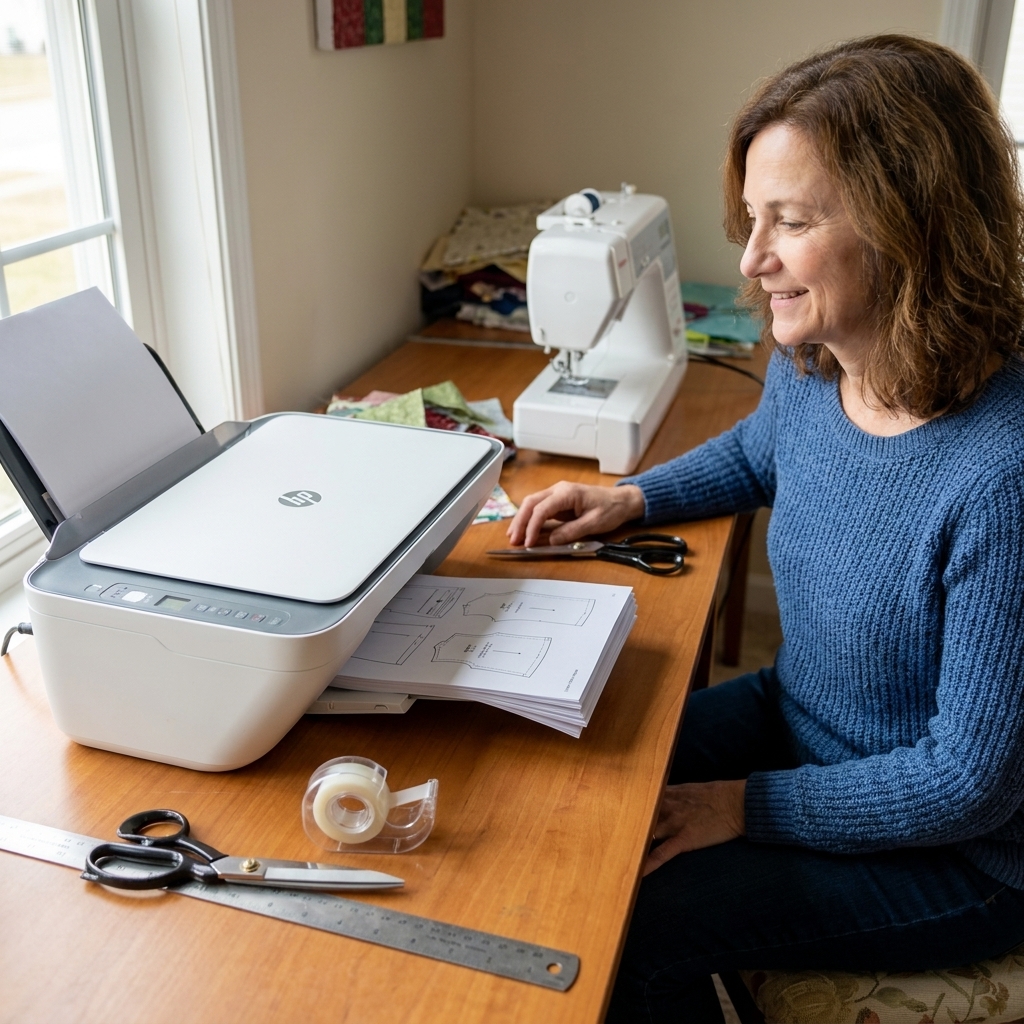
Download the free pattern
Free Baby Bib Pattern (PDF): Download the pattern here.
- Paper size: US Letter or A4 (print at 100% and let your printer or PDF software tile as needed)
- Page count: 2 pages
- Print settings: Print at 100% or “Actual size” (not “Fit to page”).
- What is inside: A tiled pattern, cut line, seam allowance included (see note below), and a 1 in (2.54 cm) calibration square.
- Pattern assembly: Trim margins on the indicated sides, then tape along the matching edges.
- Seam allowance: This tutorial uses 3/8 in (about 9.5 mm). If your PDF includes seam allowance, you can cut on the outer line. If it does not, add 3/8 in when you cut.
After printing, do a quick sanity check by measuring the 1 inch (2.54 cm) test square on the PDF. If it measures correctly, you are golden.
Finished size and fit
Because printers, scaling, and patterns can vary, treat these as approximate until you confirm them on the printed pattern.
- Neck opening: about 12 in (30.5 cm) around
- Bib width: about 8.5 in (21.5 cm) at the widest point
- Bib length: about 9.5 in (24 cm) from neckline to bottom curve
Fit note: This size typically works for babies from roughly 3 to 18 months, but babies are wonderfully inconsistent. After you tape the paper pattern together, do a quick paper test: cut the pattern out and check the neckline and strap overlap before cutting fabric. Also, make sure the finished neck opening sits comfortably with plenty of wiggle room.
What you will make
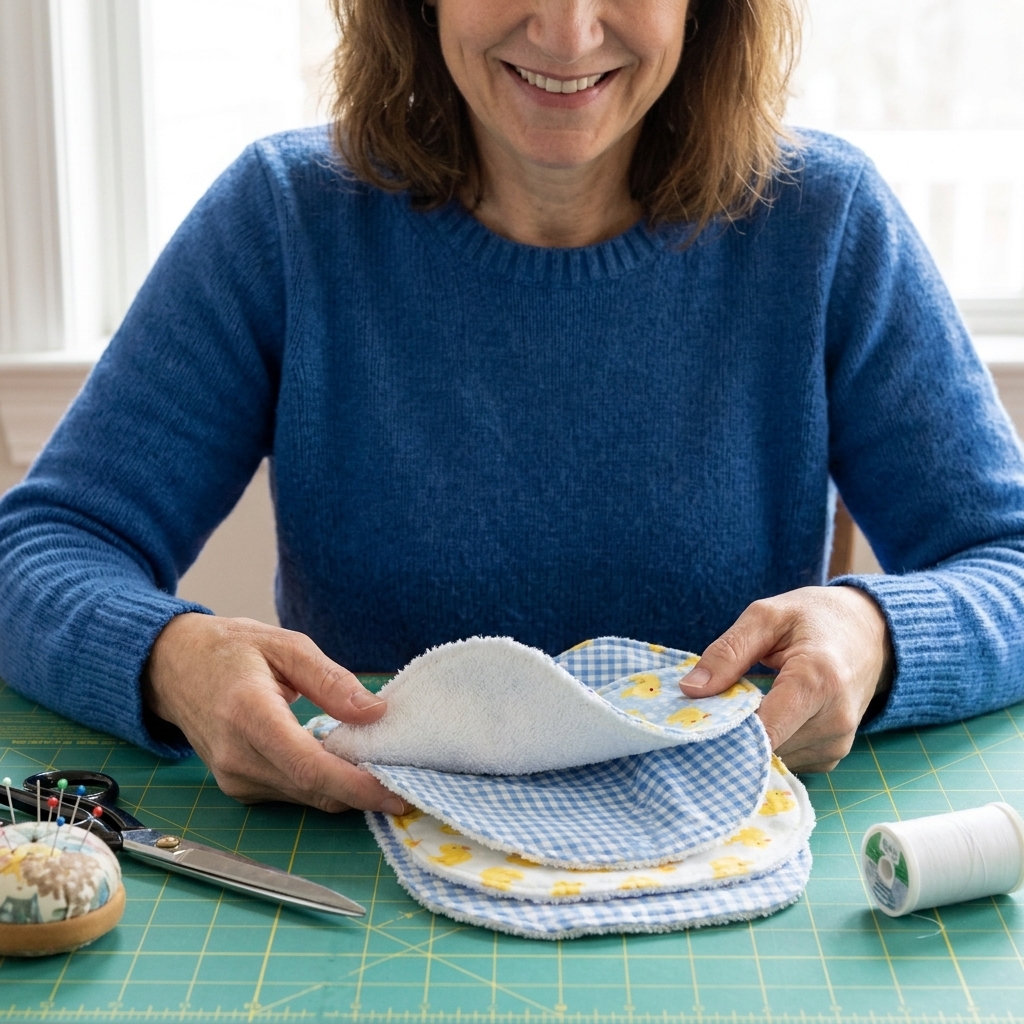
This bib has three layers for comfort and function:
- Front: Quilting cotton (cute print)
- Middle: Absorbent layer (terry cloth, cotton flannel, or cotton batting)
- Back: Quilting cotton or flannel (so it is reversible)
The neckline closes in back with either hook-and-loop tape (often sold as Velcro) or snaps.
Supplies and fabric picks
Fabric
- Woven cotton for the front and back: quilting cotton is easy to cut and press.
- Absorbent middle layer:
- Cotton terry cloth (often very absorbent, slightly bulky, varies by loop height and weight)
- Cotton flannel (softer, less bulky)
- Cotton batting (easy to sew, medium absorbency)
How much fabric? For one bib, you can usually cut everything from two fat quarters plus a scrap of absorbent fabric. For a gift set, 1/2 yard (0.5 m) of each fabric often makes about 3 to 5 bibs, depending on print direction, how you lay out the pattern, and whether your fabric is prewashed and shrinks.
Prewash note: Prewashing is especially helpful for terry cloth and flannel, which can shrink more and shed lint on the first wash.
Notions
- Coordinating all-purpose thread
- Fabric scissors or rotary cutter
- Clips or pins (clips are lovely with terry cloth)
- Turning tool (a chopstick works)
- Iron and ironing board
- Closure option A: Sew-on hook-and-loop tape
- Closure option B: One set of snaps (plastic snaps or metal sew-on snaps)
Needle and machine settings
- Needle: Universal 80/12 for cotton, or 90/14 if your terry cloth is thick
- Stitch length: 2.5 to 3.0 mm
If your machine starts chewing the fabric at the beginning, place a small scrap under the presser foot first, take a couple stitches, then sew right onto your bib. Totally normal beginner hiccup.
Cutting
You will cut:
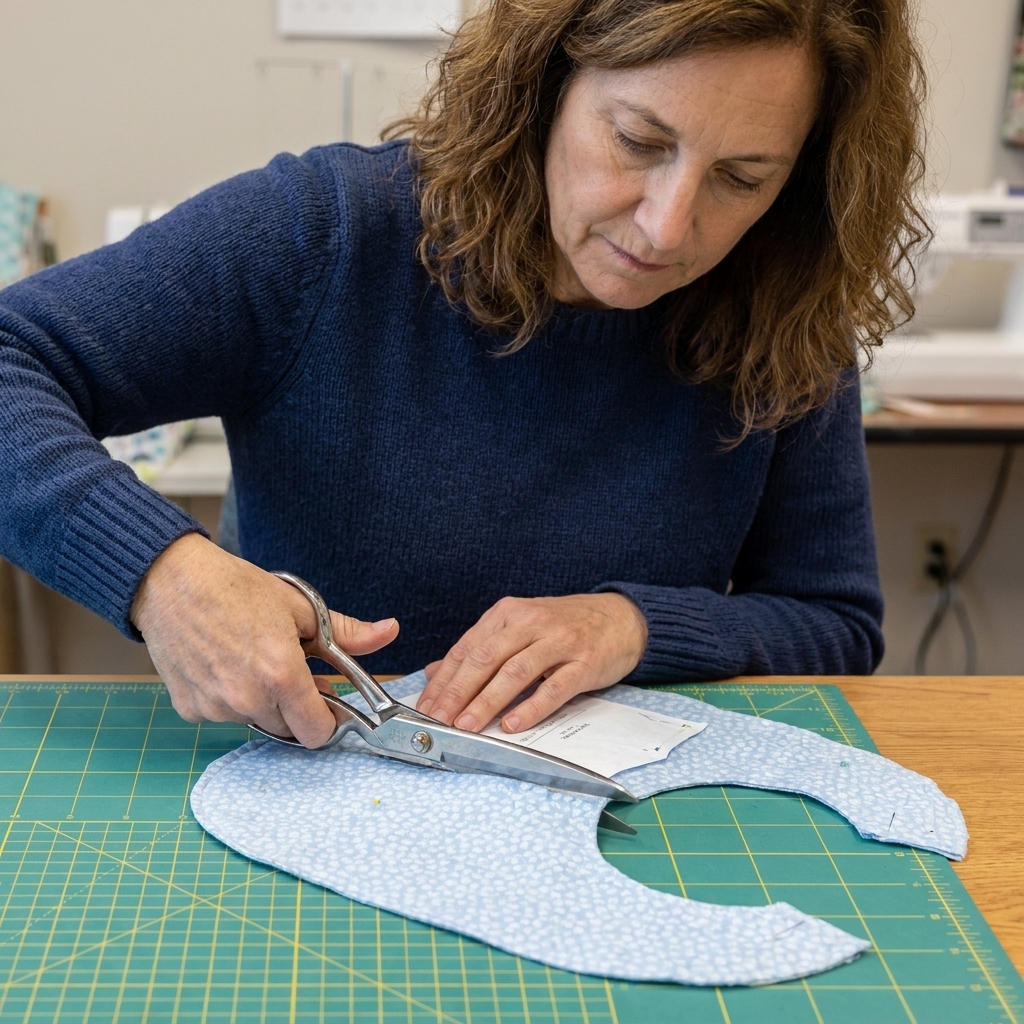
- 1 bib front (cotton)
- 1 bib back (cotton or flannel)
- 1 bib middle (terry cloth, flannel, or batting)
Grain and print tip: If your fabric has a directional print (animals that should stand upright, words, stripes), rotate the pattern so the design runs the way you want from neckline to bottom. As a general rule, place the pattern so the longest direction of the bib runs parallel to the selvage.
Beginner tip: If your fabric has a clear right side and wrong side, decide now which side you want facing out.
Optional: If your pattern includes neck tabs, cut those too. If not, no stress. You can attach closures directly to the bib neck straps.
Sew the bib
1) Stack the layers
Make a bib sandwich:
- Place the front fabric right side up.
- Place the back fabric right side down on top of it.
- Place the absorbent layer on the very top.
This looks a little backwards at first, but it is the trick that makes the bib reversible. You will stitch around the edge through all three layers. When you turn it right side out, that absorbent layer ends up neatly hidden in the middle.
Line up all edges and clip or pin around the shape.
2) Stitch the edge
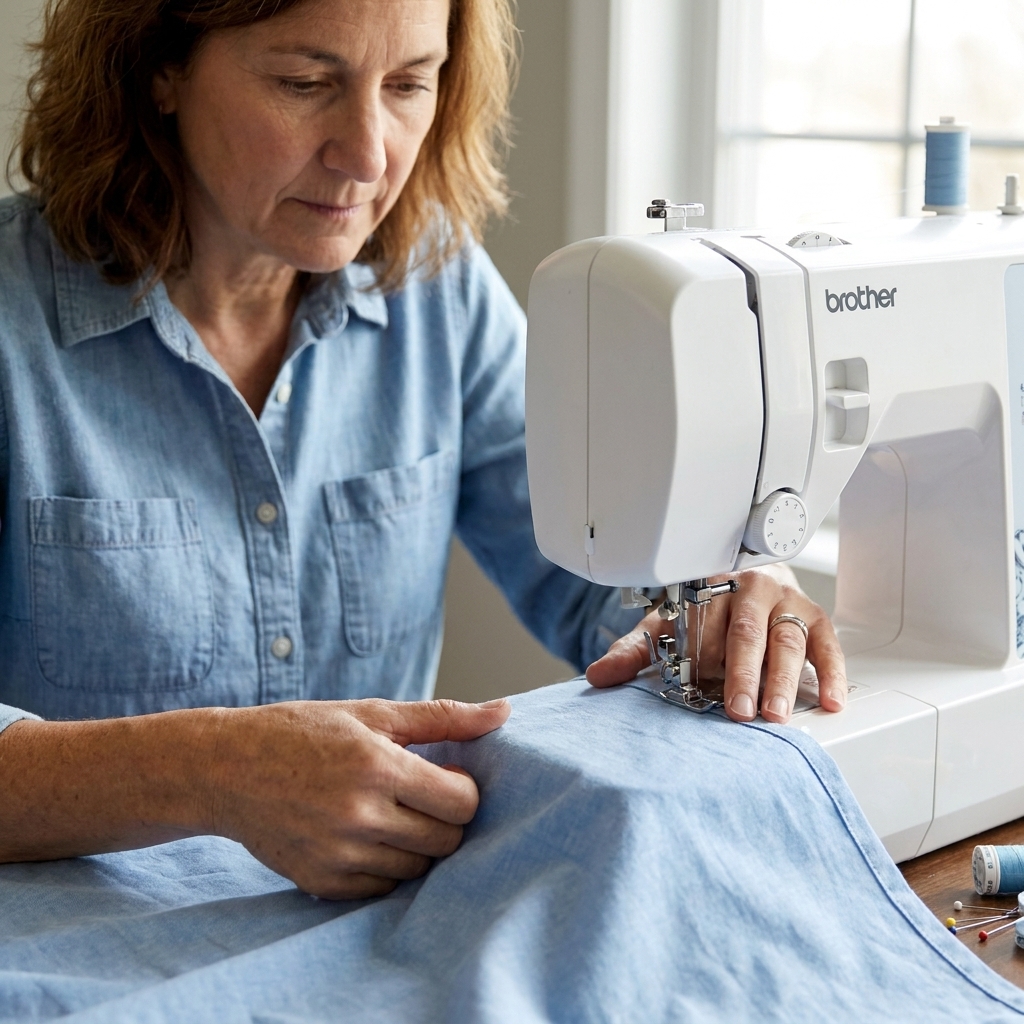
Sew around the bib with a 3/8 in (about 9.5 mm) seam allowance, leaving a 2 to 3 in (5 to 7.5 cm) opening along the bottom curve for turning. The bottom is easy to hide when you topstitch, and it is less fiddly than a side opening.
- Backstitch 2 to 3 stitches at the start and stop to secure your seam.
- Go slowly around curves.
- Stop with the needle down, lift the presser foot, and pivot as needed.
My favorite beginner trick: Draw two little marks where your opening starts and ends. It helps you not accidentally sew it closed (I have definitely done that while feeling very proud of myself).
3) Trim and clip curves
To help the bib turn nicely:
- Trim seam allowance slightly in bulky areas, especially around tighter curves (do not cut your stitches).
- Clip the concave curve around the neckline: small snips up to, but not through, the seam line.
- Notch the convex curves around the outside edge if things feel bulky: tiny V-shaped nips that remove a bit of fabric without touching the stitches.
4) Turn and press
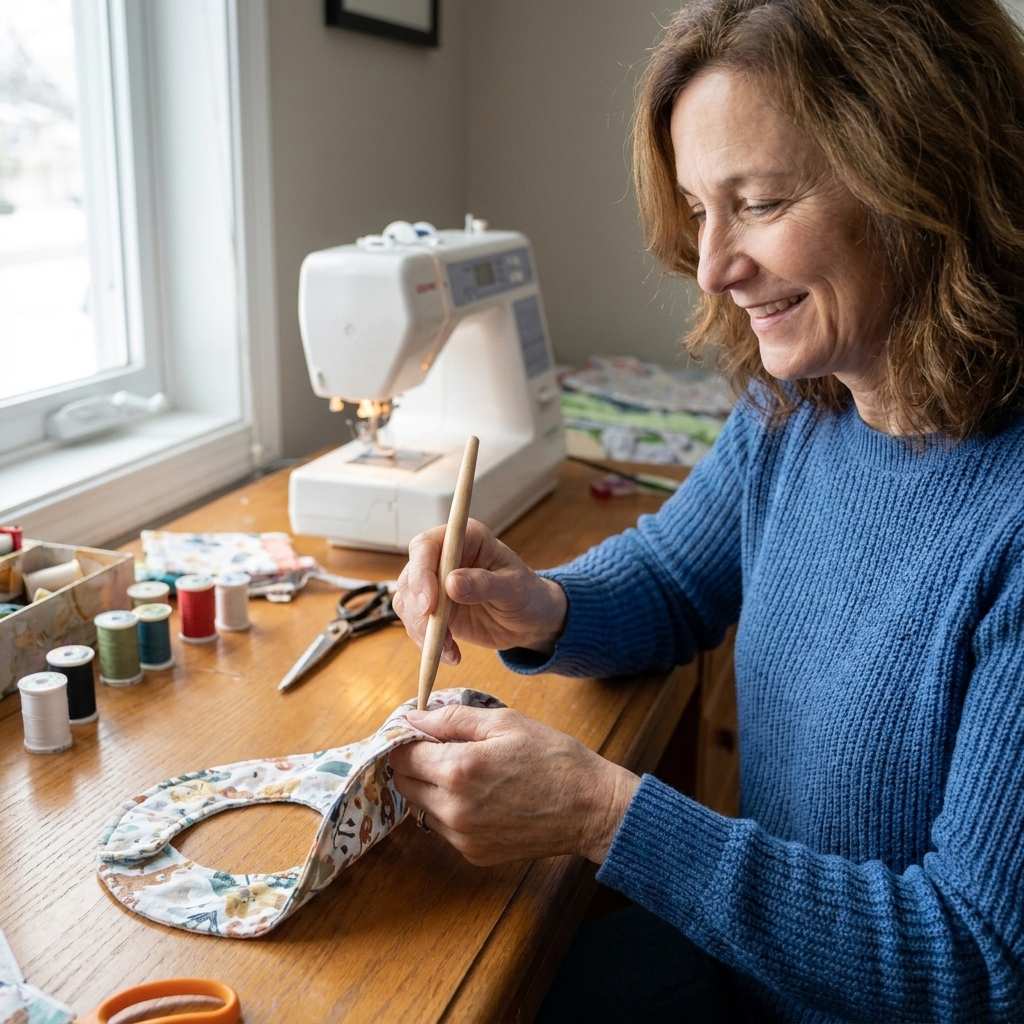
Turn the bib right side out through the opening. Use a chopstick or turning tool to gently push the curves smooth. Push the seam out a little at a time and do not jab the tool straight into the fabric (this is how people accidentally poke through).
Press the edges flat. Tuck the raw edges of the opening inward so they match the sewn seam allowance, then press that area too.
Topstitch
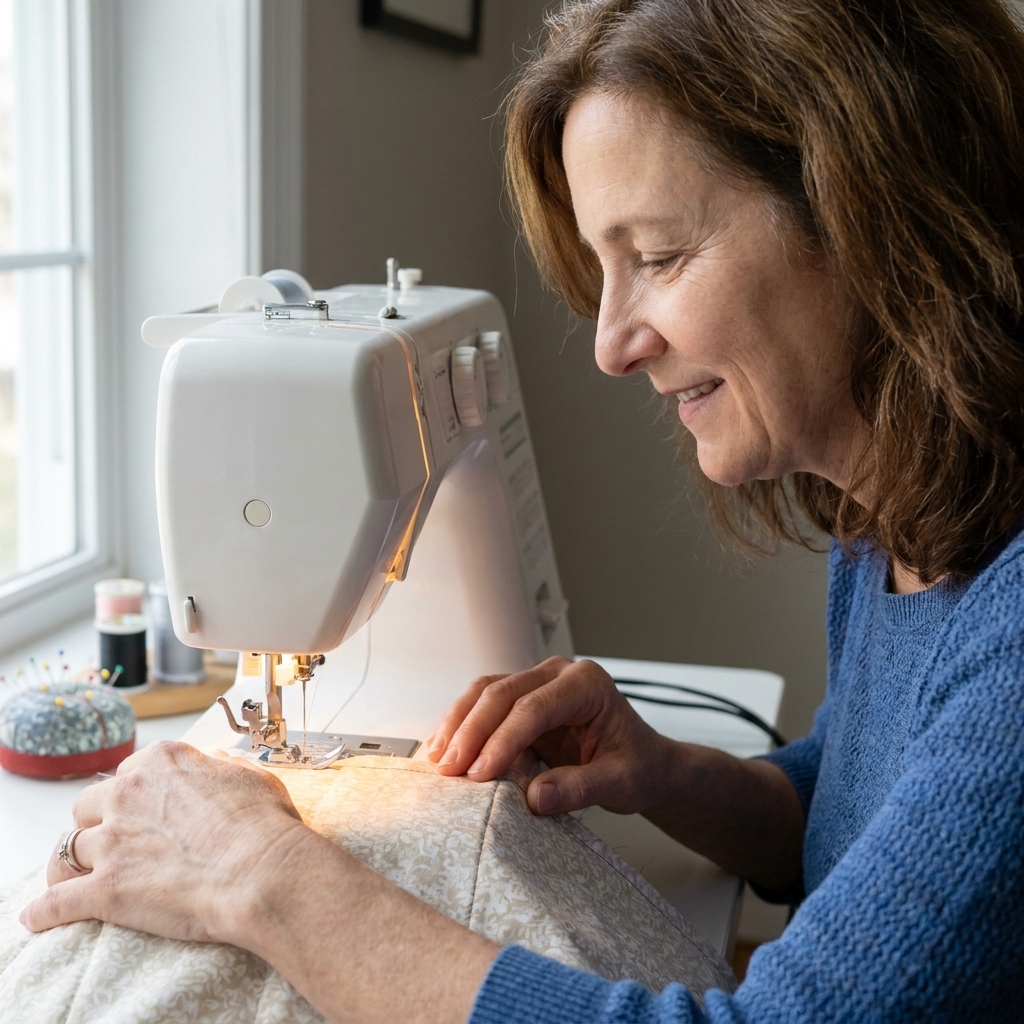
Topstitch around the entire bib, about 1/8 in (3 mm) from the edge. This does three helpful things:
- Closes the turning opening
- Keeps layers from shifting in the wash
- Makes the edges look neat and professional
Backstitch 2 to 3 stitches at the start and stop, or overlap your stitches by about 1/2 in (1.25 cm) for a clean finish.
If your layers want to wiggle, reduce speed and gently guide the fabric. Let the feed dogs do the pulling. Your job is steering, not yanking.
Add the closure
Quick placement tip: Whatever closure you choose, test it on the actual bib. Overlap the neck straps the way you want them to fasten, then mark where the two sides meet. Many PDFs include placement marks. If yours does, follow those.
Option A: Hook-and-loop tape
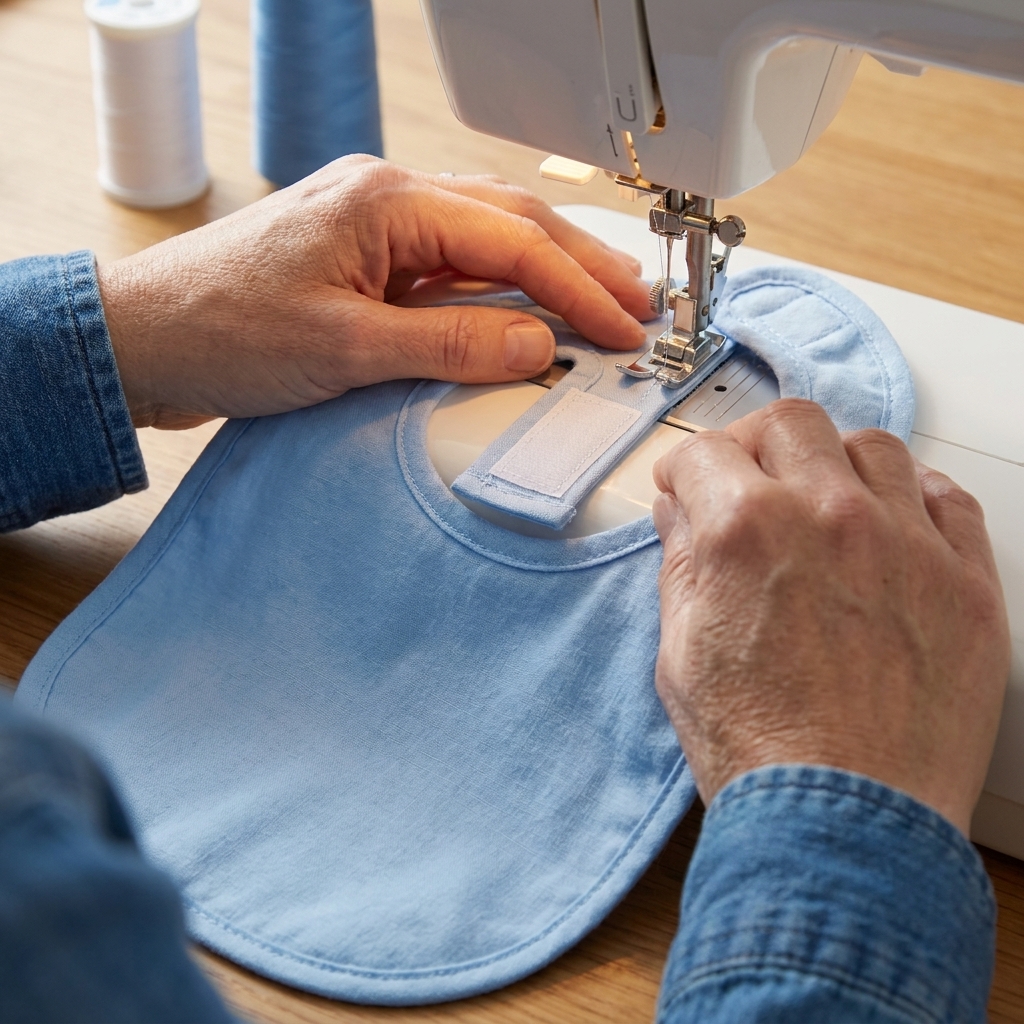
Cut two small rectangles of sew-on hook-and-loop tape, usually about 3/4 in by 1 1/2 in (2 by 4 cm) (adjust to your bib straps). Place the soft loop side where it could touch baby’s skin.
- Stitch a box around the edge of each piece.
- Add an X inside the box if you want extra hold.
- Go slowly at the corners.
Tip: If the tape is fighting your needle, use a fresh needle and sew slowly. Hook-and-loop tape is tough. You are not imagining it.
Option B: Snaps
You can use plastic snaps (with a snap tool) or sew-on snaps.
- Plastic snaps: Mark placement, then apply snaps according to your tool instructions. Practice on a scrap first.
- Sew-on snaps: Hand sew for control, or machine stitch carefully, keeping stitches neat and secure.
Placement tip: Overlap the straps as if fastening. Mark where the snap halves should meet before attaching.
Optional upgrades
More absorbency
If your little one is a champion drooler, cut two absorbent layers instead of one. Keep your stitch length at 3.0 mm and go slow over the thicker parts.
Quilt the layers
Before sewing the bib together, you can quilt the front cotton to the absorbent layer with a few straight lines. It looks cute and helps the bib keep its shape.
Bias tape edges
If you want the classic bound look, skip the turning method.
- Cut one front layer, one back layer, and one absorbent layer.
- Baste the three layers together within 1/4 in (6 mm) of the edge.
- Wrap 1/2 in (12 mm) double-fold bias tape around the raw edge and stitch it down, going slowly around curves.
You can use store-bought double-fold bias tape or make your own. Either way, clips help a lot around the neckline curve.
Care
- Wash: Machine wash cold or warm on a normal or gentle cycle.
- Dry: Tumble dry low or hang dry.
- If you used hook-and-loop tape: Close it before washing to prevent lint collecting and snagging.
- If you used plastic snaps: Avoid high heat, which can shorten their lifespan.
Gift ideas
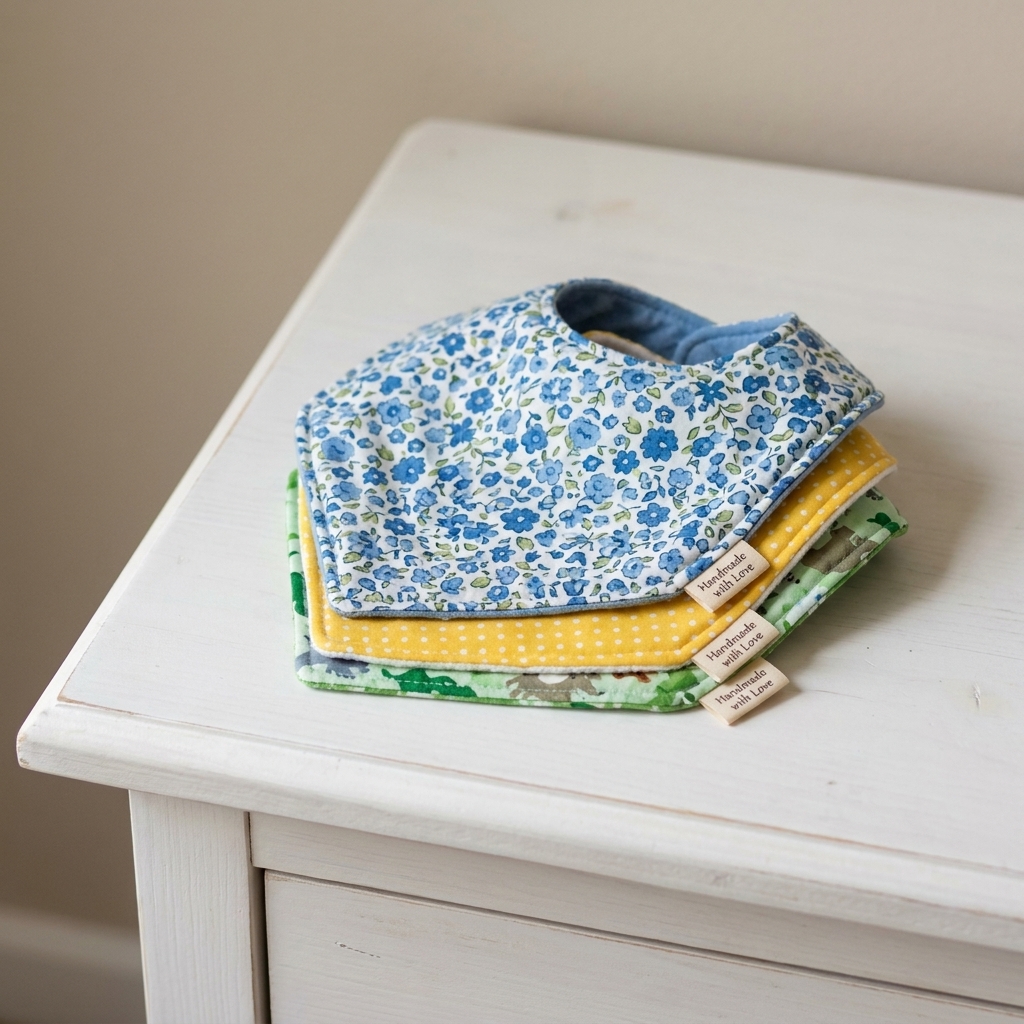
Baby bibs are a perfect “I made this for you” present because you can sew a small set in an afternoon.
- Bundle idea: Make 3 bibs in coordinating prints.
- Matchy-matchy idea: Use the same back fabric for all three so they feel like a set.
- Helpful note: Add a tiny card with care instructions, especially if you used hook-and-loop tape or snaps.
Troubleshooting
My bib edges look wavy
This is usually from stretching as you sew. Next time, reduce speed and guide lightly. After turning, press firmly and topstitch slowly. Pressing is half the magic.
The bib will not turn nicely
You probably need more clips at the concave neckline curve, or a small notch at the outer curves. Clip or notch closer together, but do not cut through the stitches.
My layers shifted
Totally normal. Trim the edge even after stitching, then turn and topstitch. The baby will never judge you. Babies have much bigger opinions about bananas.
Terry cloth is leaving fuzz
Welcome to terry cloth. Shake it out, lint roll if needed, and consider basting the layers before sewing around the edge. Prewashing and drying terry cloth before you cut also helps calm down the shedding.
Safety and comfort
- Keep the scratchy hook side away from skin where it could rub a neck or cheek.
- Stitch securely around hook-and-loop tape and reinforce snaps so they do not pull loose.
- Choose soft, washable fabrics. Cotton and cotton flannel are classics for a reason.
- Skip buttons. They can become a choking hazard if they come loose.
- Check fit. Make sure the neckline sits comfortably and does not feel tight. When in doubt, size up and overlap the straps a bit more.
- Supervision note: Like any baby item worn around the neck, bibs are for supervised use only.
FAQ
Do I need a serger?
Nope. A regular sewing machine is perfect. The bib is fully enclosed and topstitched, so there are no raw edges hanging out.
Should I prewash fabric?
I recommend it, especially for cotton, terry cloth, and flannel. Prewashing helps prevent shrink surprises later, and bibs get washed a lot.
Best absorbent layer?
Cotton terry cloth is often the most absorbent, but it varies by fabric weight and loop height. Cotton flannel is softer and less bulky. If you want a happy middle ground, use one layer of flannel plus one layer of batting.
Can I resize it?
Yes. To size up, trace the pattern and add a little width around the outer edge, keeping the neckline shape similar. To size down, trim the outer edge slightly. Do a quick paper test around the neck opening before cutting fabric.
What stitch should I use?
A basic straight stitch is all you need. Use 2.5 to 3.0 mm. Slightly longer stitches look nicer on thicker layers.
Next steps
If you make this bib, make a second one right away. The first teaches you the steps, and the second is where you feel the confidence click into place. Keep your seam ripper nearby, keep your tea warm, and remember: sewing is just a bunch of tiny decisions, one stitch at a time.