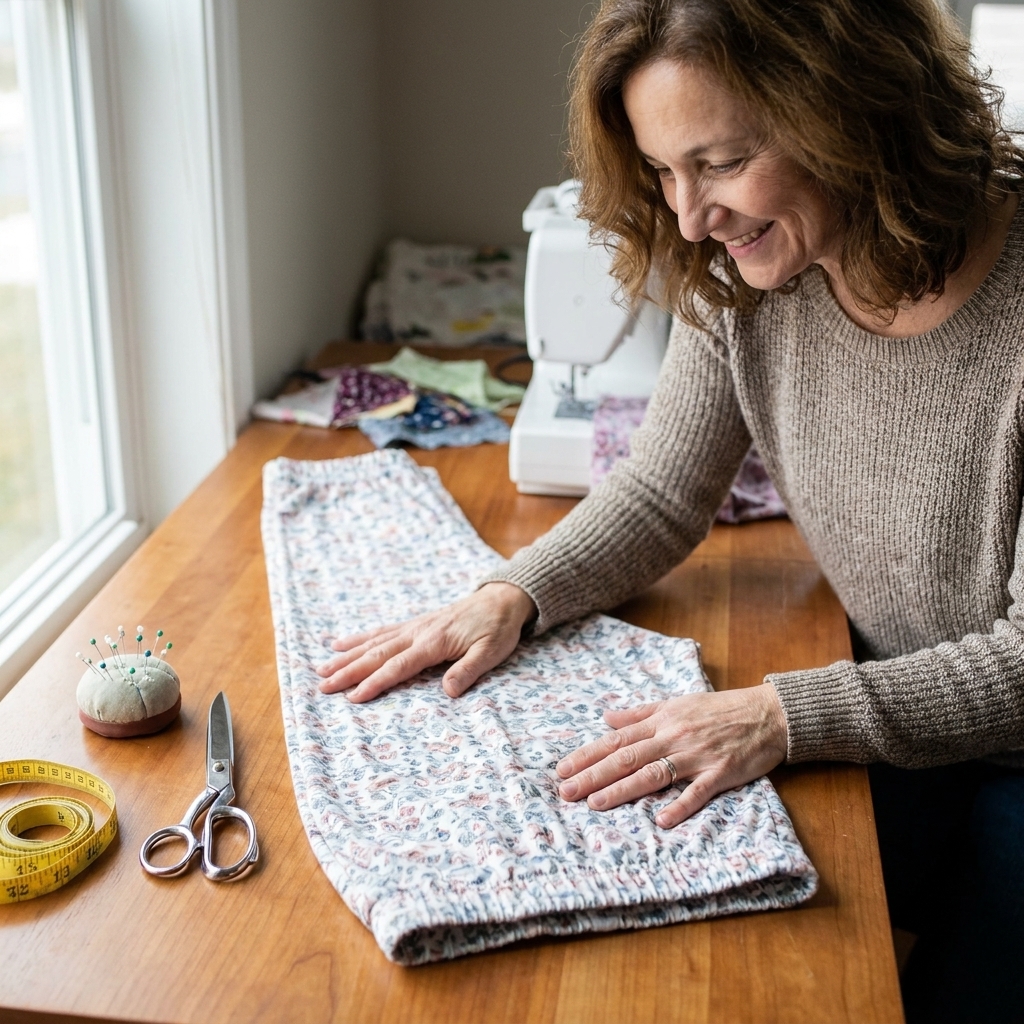
If you have ever wanted to sew clothes but felt intimidated by zippers, buttons, or anything that sounds like it requires math, pajama pants are your sweet spot. They are forgiving, comfy, and they teach you the exact garment basics you will use forever: cutting fabric, sewing long seams, making a casing, threading elastic, and hemming.
I am going to walk you through this like we are sitting side by side at the sewing table. No confusing terms, no skipped steps, and yes, we will treat the seam ripper like the helpful little sidekick it is.
Why these are beginner-friendly
- Elastic waist means no closures and an adjustable fit.
- Simple shapes with mostly straight or gently curved seams.
- Roomy fit so tiny wobbles in seam allowance do not ruin the day.
- Easy fabrics like quilting cotton or flannel behave nicely under the presser foot.
Supplies and tools
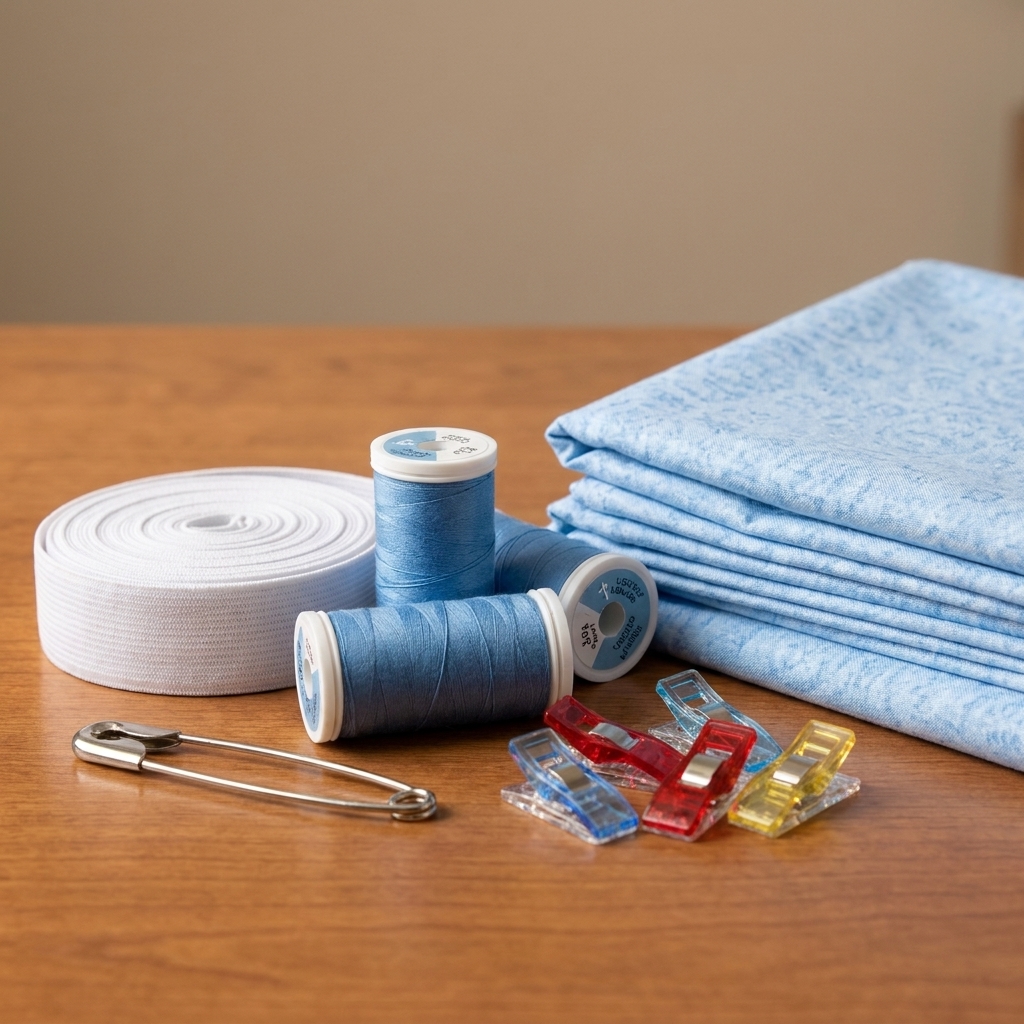
Fabric
Choose a woven fabric with a little body. Great options: quilting cotton, cotton flannel, cotton lawn, or a lightweight woven plaid. Avoid slippery satin and stretchy knits for your first pair.
- Fabric amount: 2 yards (1.8 m) is a safe buy for most adult sizes. If you are tall or want extra roomy legs, grab 2.5 yards (2.3 m). Quick reality check: if you are using a commercial pattern, confirm the yardage on the envelope and note your fabric width (often 44 to 45 inches or 58 to 60 inches).
- Prewash: Wash and dry your fabric the way you will launder the finished pants. This prevents surprise shrinkage later.
Notions
- 1 inch (2.5 cm) wide non-roll elastic, about 2 to 3 yards to be safe
- Thread that matches or blends
- Safety pin or bodkin for threading elastic
- Optional: twill tape for a drawstring, and interfacing if you plan buttonholes (not required here)
Tools
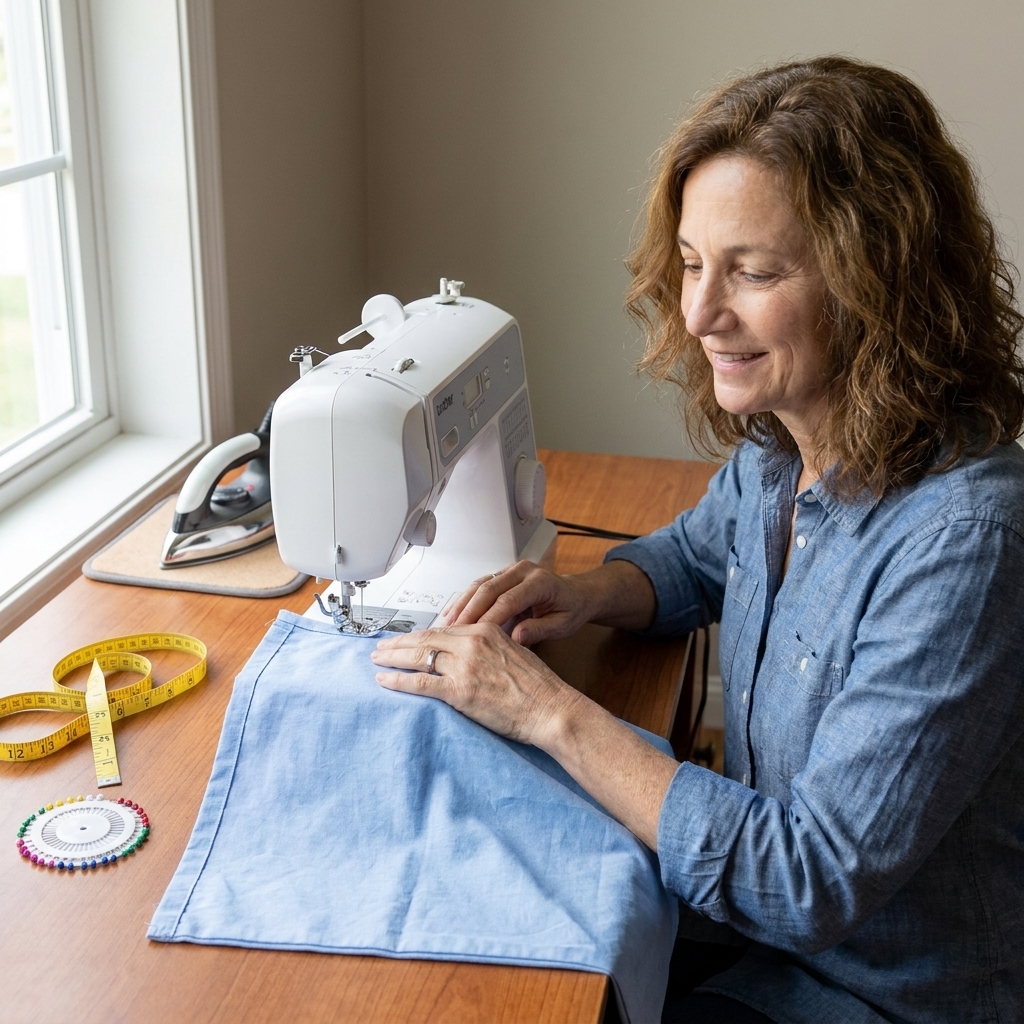
- Sewing machine
- Universal needle size 80/12 (90/14 for thicker flannel)
- Fabric scissors or rotary cutter and mat
- Measuring tape and ruler
- Pins or clips
- Iron and ironing board (yes, it matters)
- Seam ripper (put it within arm’s reach)
Picking a size
For elastic-waist pants, your hip measurement matters more than your waist because the pants have to slide over your hips.
- Measure around the fullest part of your hips while standing normally.
- If you are between sizes, choose the size that matches your hips and you can always adjust the elastic for comfort.
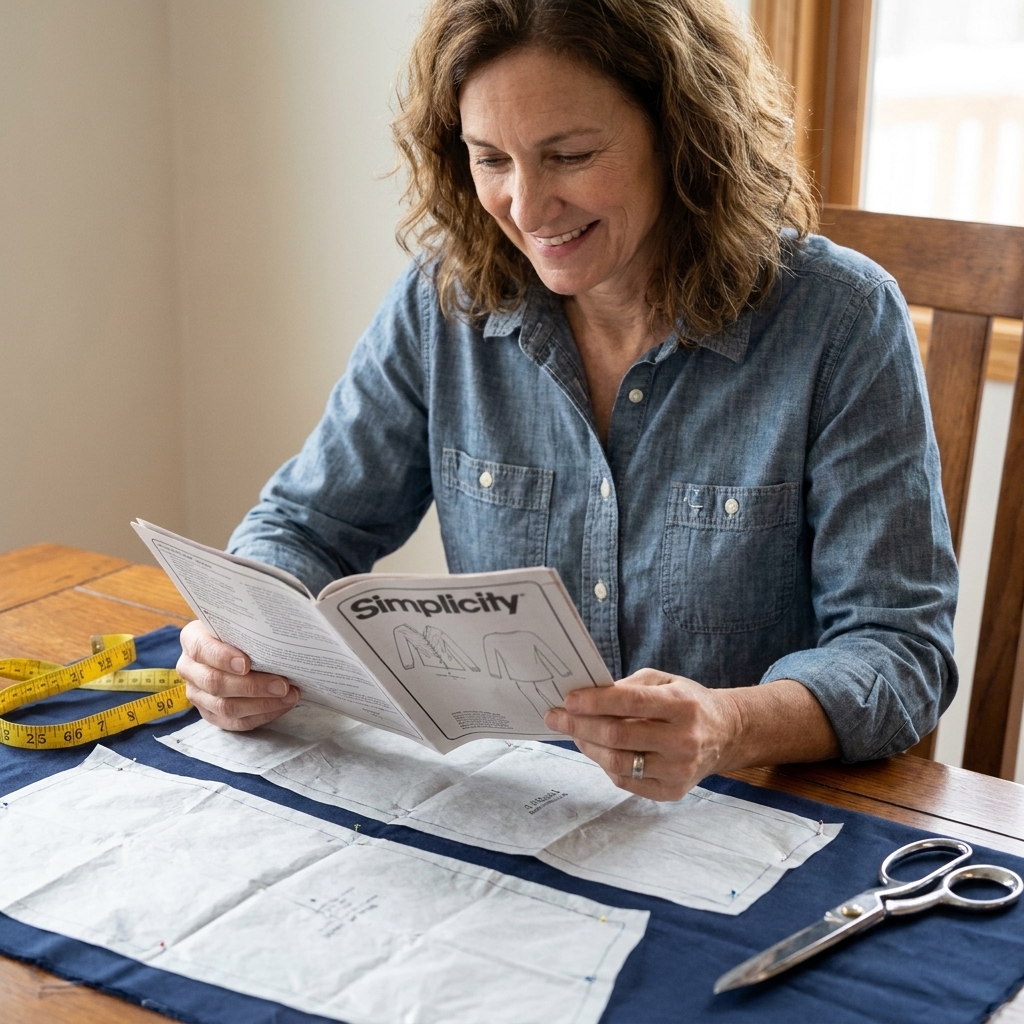
If you are using a commercial pattern, follow its size chart even if it does not match your ready-to-wear size. Pattern sizing has its own rules.
Before you cut
Take two minutes to set yourself up for success:
- Find the grain: The lengthwise grain runs parallel to the selvage edges. Most pant pieces should be placed with the grainline parallel to the selvage.
- Press the fabric: Wrinkles cause cutting mistakes. A quick press is faster than unpicking later.
- Use the right side consistently: If your fabric has a clear right and wrong side, decide now and stick with it.
Cutting the pieces
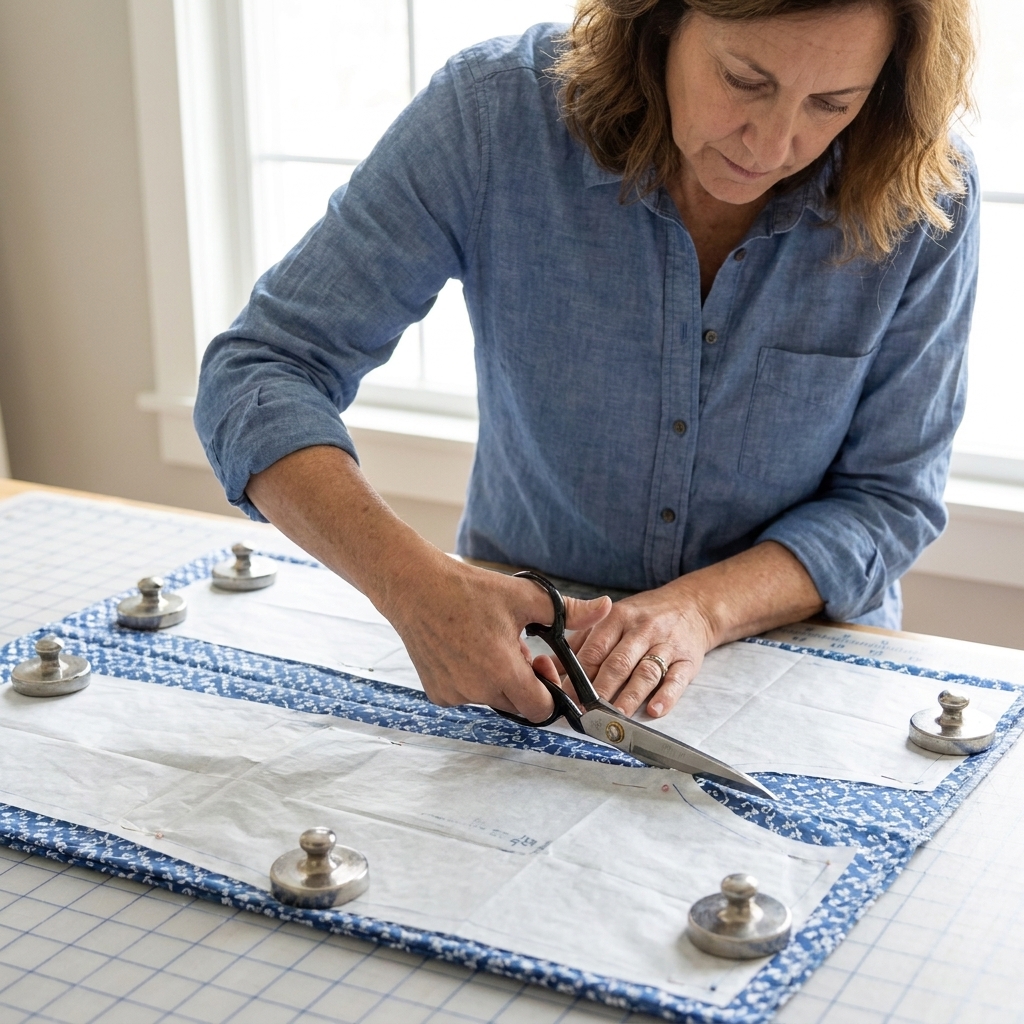
Most pajama pant patterns have these main pieces:
- Front leg (cut 2, mirrored)
- Back leg (cut 2, mirrored)
- Pockets (optional, and totally skippable for a first pair)
Transfer any markings the pattern includes, like notches. You can snip tiny 1/8 inch (3 mm) clips into the seam allowance or use chalk. Notches are like little road signs that keep you from sewing the wrong edges together.
Step-by-step sewing
We are using a simple, beginner-friendly construction that stays flat until the legs are formed: sew the front rise, sew the back rise, then sew the inseam from ankle to ankle, then sew the side seams. It is straightforward and forgiving.
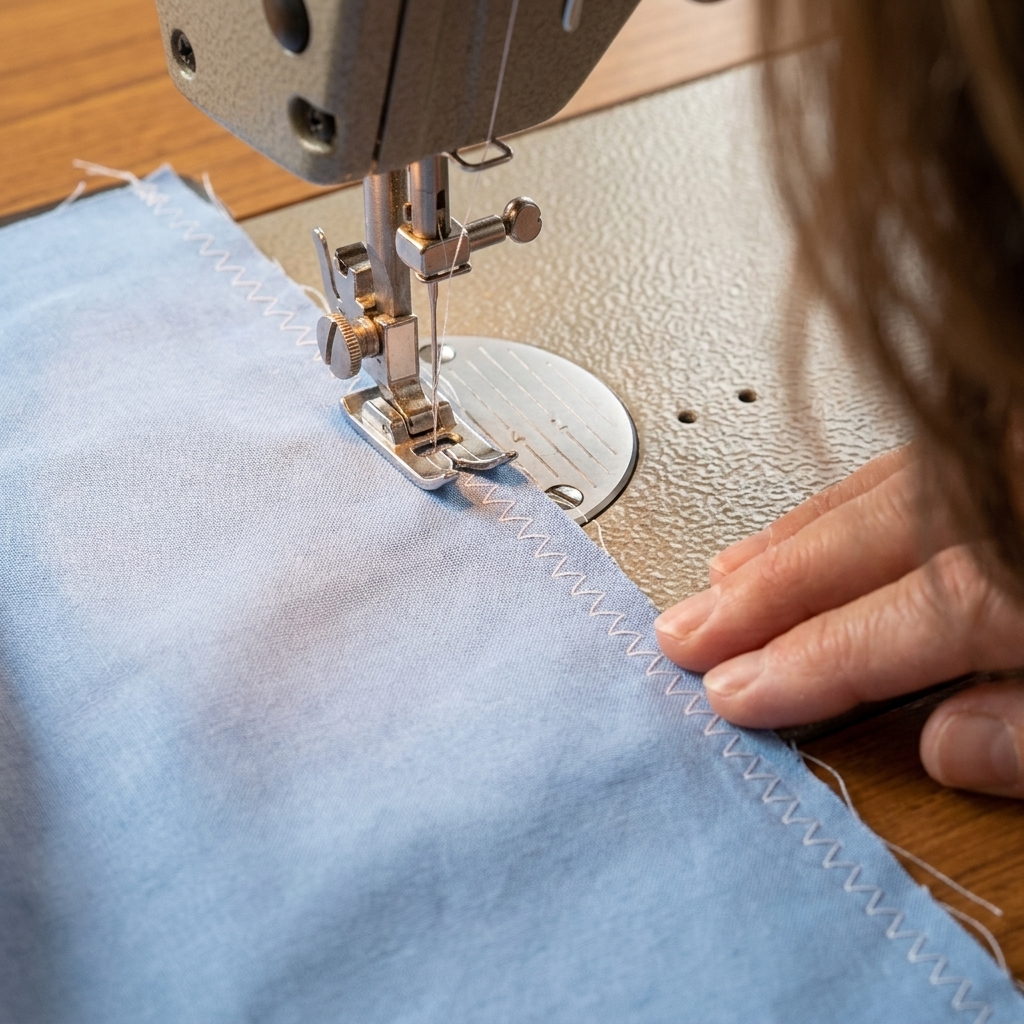
Seam finishing note: You can finish raw edges with a zigzag stitch after you sew each seam (either zigzag each seam allowance separately, or zigzag them together as one) and then press. If you prefer, you can also zigzag the raw edges before sewing. Either way is fine for pajama pants.
1) Sew the front rise
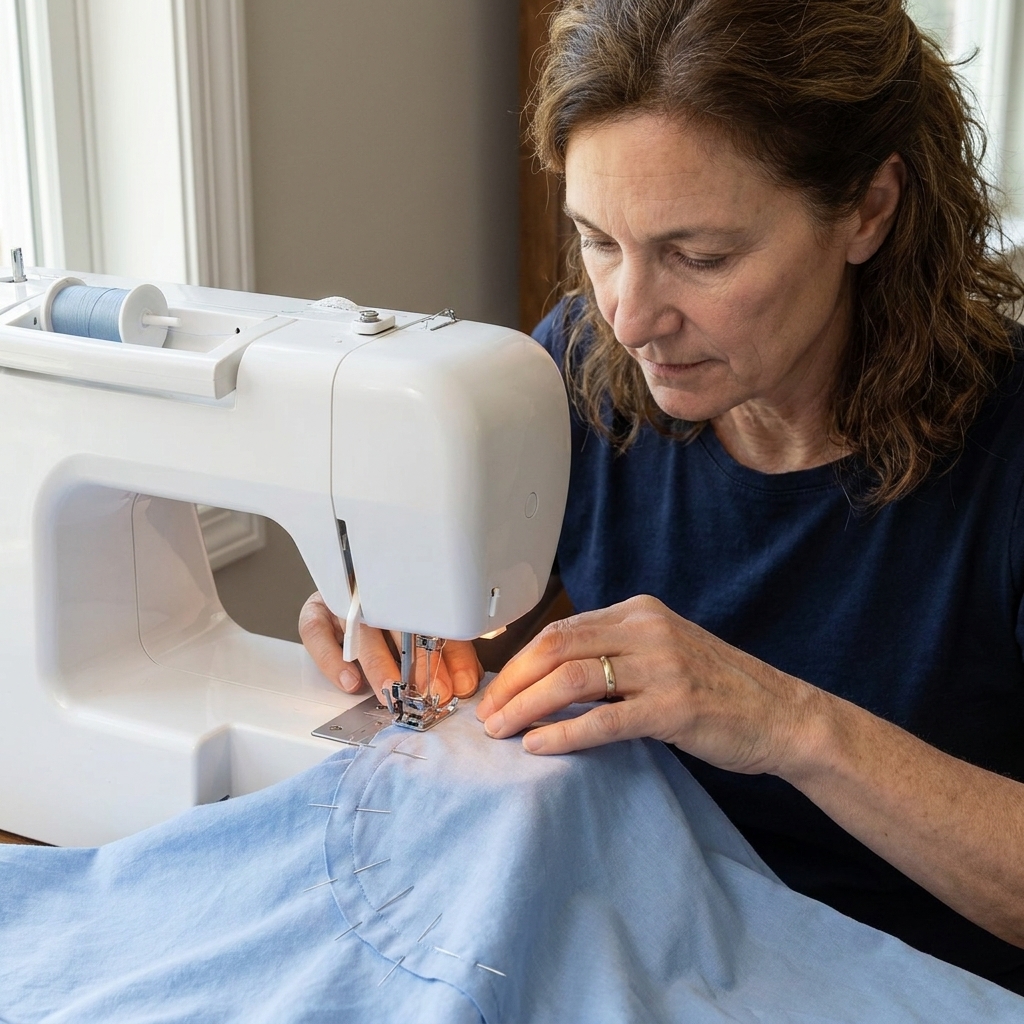
Put the two front pieces right sides together. Sew the curved front rise seam from the crotch point up to the top edge using the pattern’s seam allowance (often 5/8 inch or 1.5 cm).
- Beginner tip: Shorten your stitch length slightly around curves (for example, from 2.5 mm to 2.2 mm) if your machine likes to race around bends.
- Press: Press the seam allowances to one side. Pressing is not just for looks. It helps everything behave.
2) Sew the back rise
Repeat with the two back pieces, sewing the curved back rise seam from crotch point to waist.
Strength tip: The crotch area gets stress. If your machine has a reinforcement stitch, use it for the 2 inches (5 cm) around the crotch point, or sew that section twice.
Bulk tip: If you are using flannel or anything thicker, trim and grade the seam allowances at the crotch point (trim one seam allowance slightly narrower than the other). It reduces the lump where seams intersect.
3) Sew the inseam (hem to hem)
Now you have two larger pieces: one Front Panel (front rise sewn) and one Back Panel (back rise sewn). Keep them flat for this step.
At this stage you are sewing the inner leg seams (inseams). The outer sides are still open, and that is exactly what you want.
- Lay the Back Panel right side up on your table.
- Place the Front Panel on top, right side down, so right sides are together.
- Line up the curved crotch seams you just sewed so the crotch points meet. Match any notches.
- Pin or clip along the inseam from one hem, up through the crotch, and down to the other hem.
- Sew the inseam in one continuous seam if you can. Start at one hem, sew up to the crotch point intersection, then continue down to the other hem. Go slow over the thickest part at the crotch, and keep the fabric edges aligned.
Finish your seam edges if you would like. For beginners, a simple zigzag stitch along the raw edges works beautifully and keeps fraying under control.
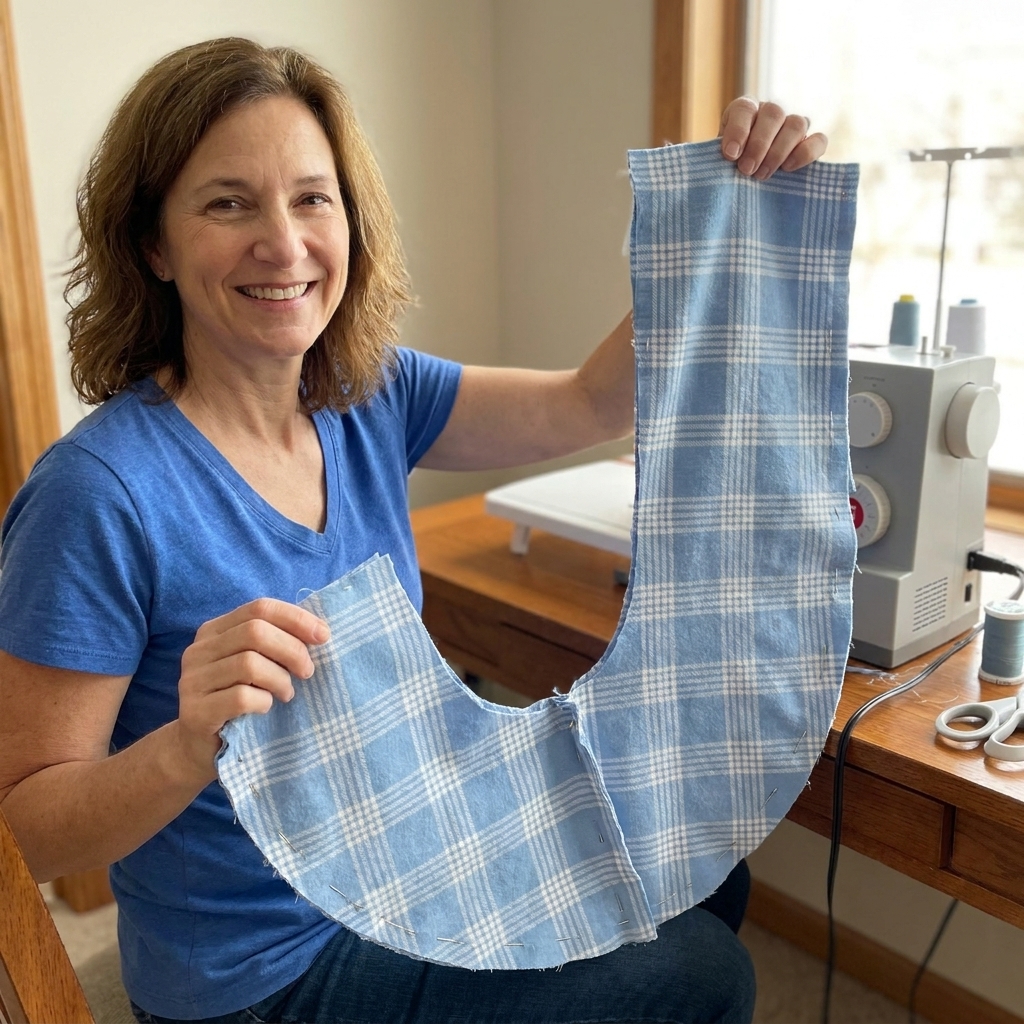
4) Sew the side seams
Now you will sew the remaining long raw edges, which become the outer leg seams (outseams).
- Keeping right sides together, match the outer edges of one leg from waist to hem. Pin or clip.
- Sew that side seam from waist to hem.
- Repeat for the other leg.
Press the side seams toward the back of the pants.
Elastic waistband
This is the part beginners worry about, but it is basically just a tidy fabric tunnel for elastic. You have got this.
1) Finish the top edge
Do a zigzag stitch around the top edge, or use a serger if you have one. This keeps the inside from getting fuzzy over time.
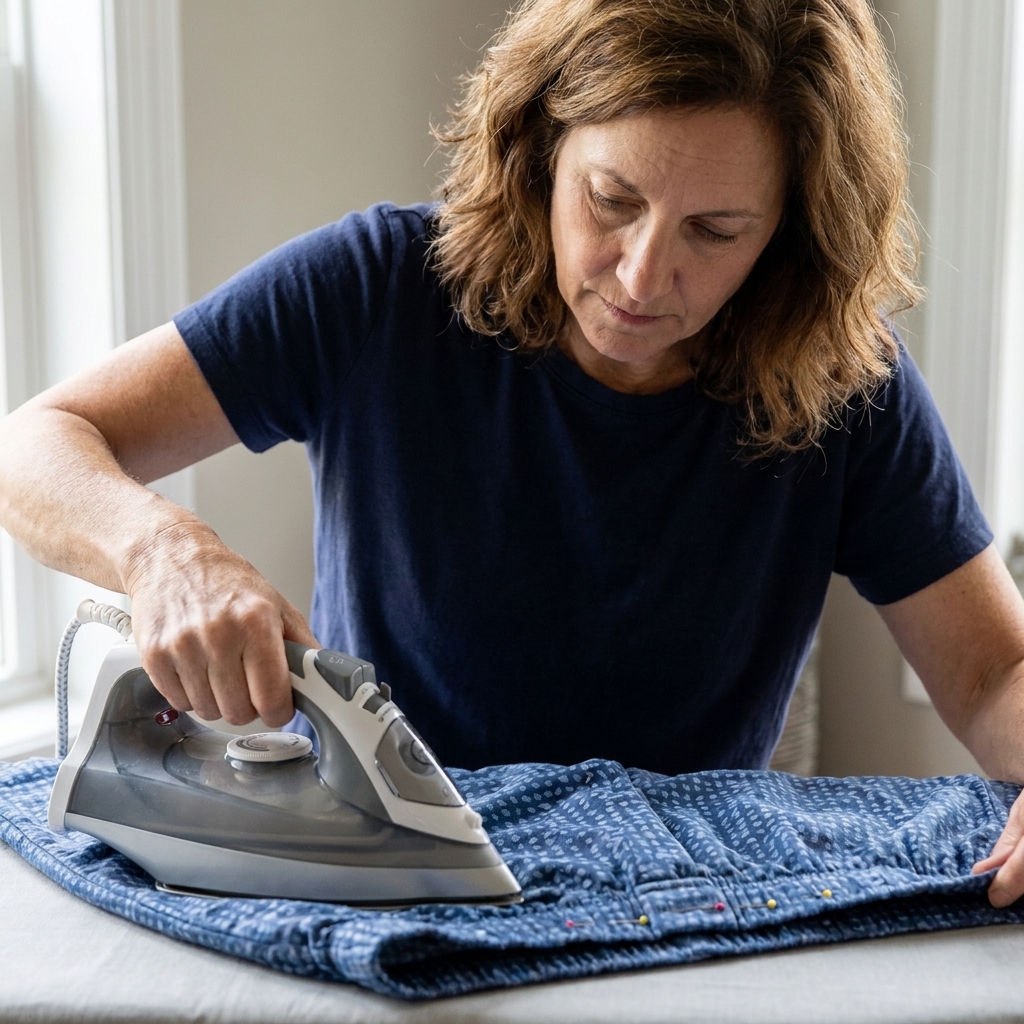
2) Fold and press
Try this two-step fold for a neat waistband:
- Fold the top edge down 3/8 inch (1 cm) to the wrong side. Press.
- Fold down again so the casing is slightly wider than your elastic. For 1 inch elastic, aim for about 1 1/8 to 1 1/4 inches (2.9 to 3.2 cm) of casing space. Press and pin.
Sew around the waistband close to the lower folded edge, leaving a 2 inch (5 cm) opening at the back or side to insert elastic.
Insert the elastic
Elastic length
Start with this simple method:
- Wrap elastic around your waist where you want the pants to sit.
- Pull it to a snug-but-comfy tension.
- Overlap the ends by 1 inch (2.5 cm) and mark.
If you like numbers, a common starting point is waist measurement minus 2 to 4 inches (5 to 10 cm), but your comfort is the real boss here.
Thread the elastic
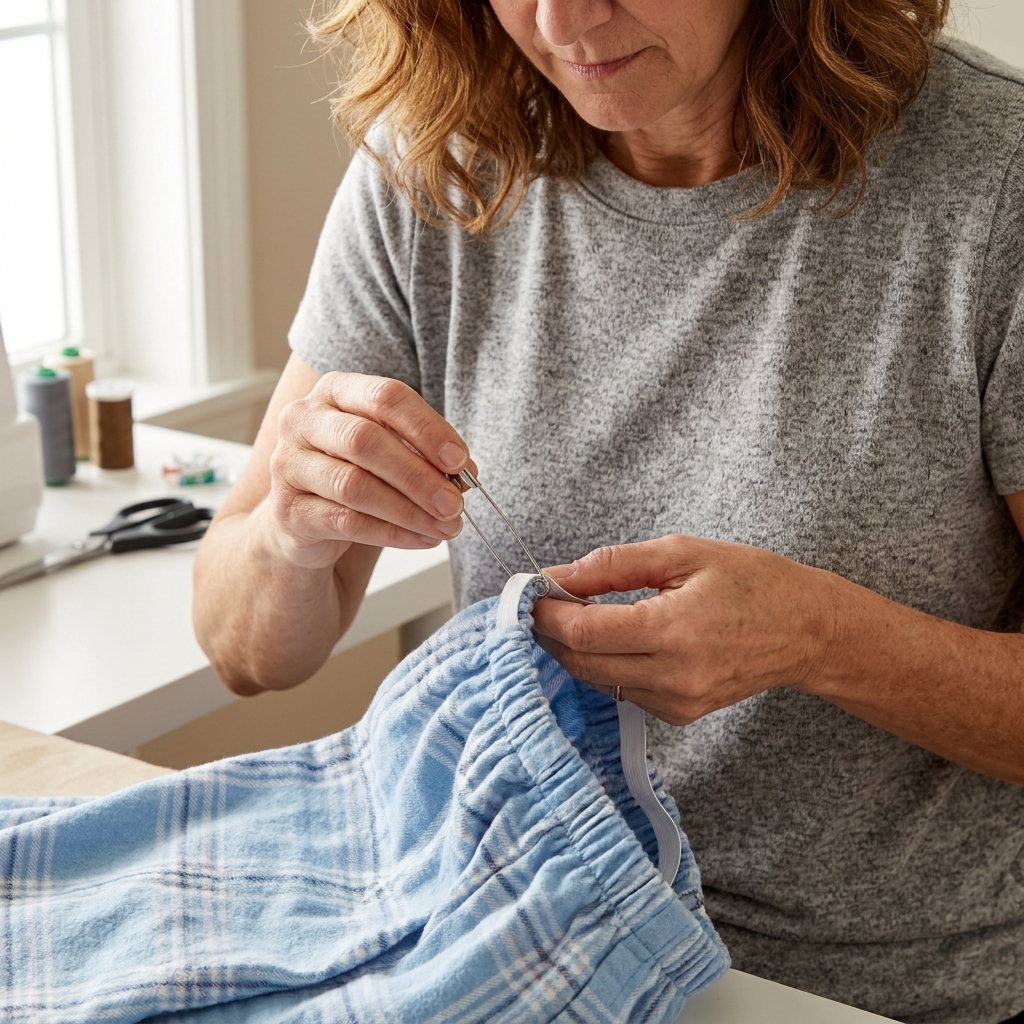
- Attach a safety pin to one end of the elastic.
- Feed it through the casing, bunching fabric over the pin and pulling it along.
- When the safety pin comes back out the opening, hold both elastic ends firmly so one does not disappear back inside. This is a classic pajama-pants rite of passage.
Join the ends
Overlap the ends by 1 inch (2.5 cm). Sew a rectangle around the overlap, then sew an X inside the rectangle for strength if you feel confident. If not, two or three sturdy rows of straight stitches work too.
Pull the waistband to distribute gathers evenly. Then stitch the casing opening closed.
Hem the pants
Try the pants on and decide your length. Pajama pants look cute with a little extra break at the ankle, so do not overthink it.
- Finish each raw hem edge with zigzag stitching if the fabric frays.
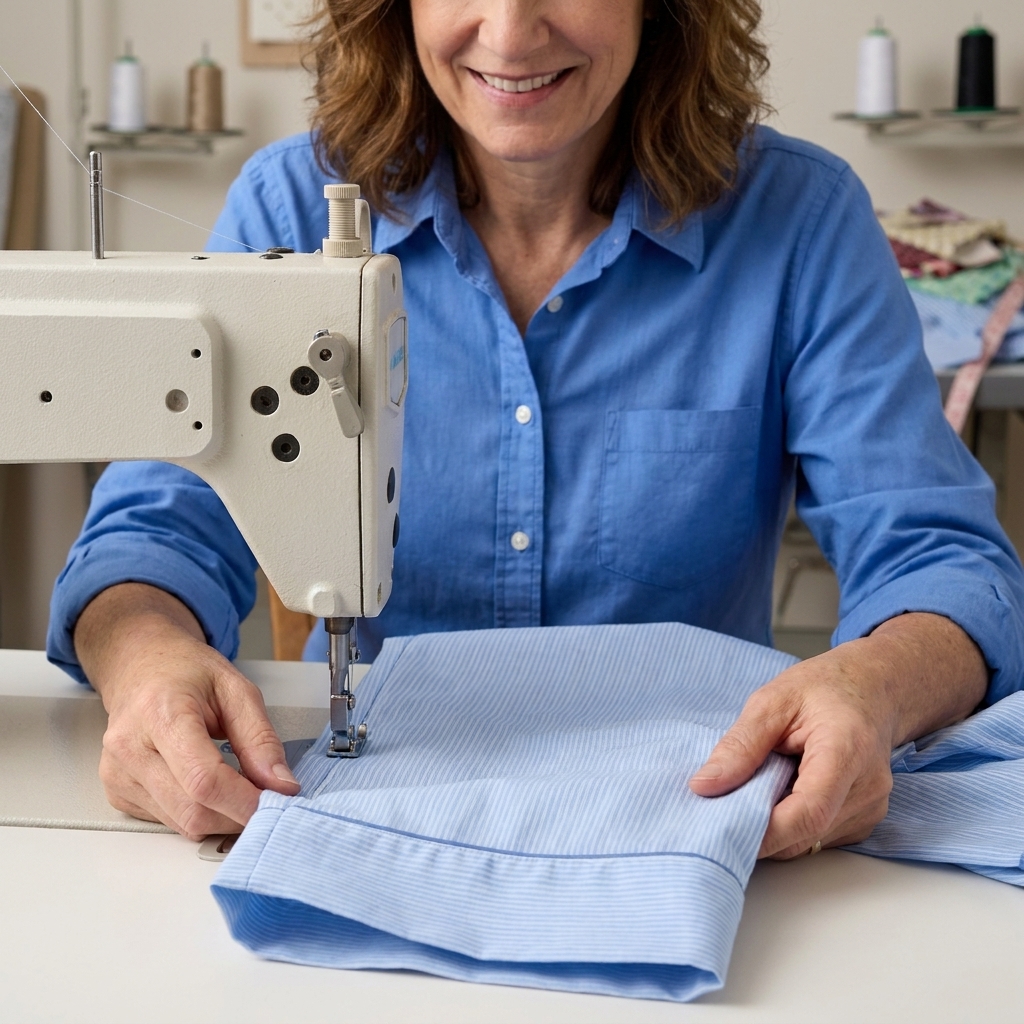
- Fold up 1/2 inch (1.3 cm), press.
- Fold up another 1 inch (2.5 cm), press and pin.
- Sew around each hem close to the inner folded edge.
Tiny secret: If your hem is wavering, slow your machine down and keep your eyes on the folded edge, not the needle. Your hands will follow what your eyes focus on.
Quick fit fixes
Waist too tight
- Replace elastic with a longer piece, or reduce overlap slightly.
- Make sure the elastic is not twisted inside the casing.
Waist too loose
- Shorten the elastic by 1 inch (2.5 cm) at a time.
- Try a slightly wider elastic for better grip and comfort.
Legs too long
- Trim length at the hem and re-press, or make a deeper hem.
Crotch seam pulling
- First, check seam allowance. A too-deep seam can steal room fast.
- If seams are correct, you may need a bit more rise. Next time, consider sizing up or choosing a pattern with a higher rise.
Optional upgrades
- Pockets: Side seam pockets are a fun skill jump once you feel comfortable.
- Contrast cuffs: Add a cuff band at the hem for a cozy finish.
- Drawstring: Add buttonholes at center front and thread twill tape through the casing along with elastic.
- Topstitching: Stitch a line down the center back of the waistband casing to keep elastic from flipping.
Troubleshooting
Waistband twisting
This usually happens if the casing is much wider than the elastic, or the elastic got twisted during insertion. Next time, make the casing just a bit wider than the elastic, and check for twisting before you sew the elastic ends together.
Fabric puckering
Try rethreading the machine (top and bobbin), then test on scraps. Puckers are often tension related. Also, press seams as you go. It makes puckers look magically less dramatic.
Wobbly seams
Totally normal. Use a seam guide on your machine if you have one, or place a strip of painter’s tape at your seam allowance distance to follow as you sew.
Care tips
- Wash cold or warm, tumble dry low for longer elastic life.
- Press lightly if you want them to look crisp, but pajamas are allowed to be a little wrinkly. That is part of their charm.
- If seams feel scratchy inside, consider trimming seam allowances and zigzag finishing, or sewing French seams on a future pair.
Finishing checklist
- All seams sewn and pressed
- Seam edges finished (zigzag is fine)
- Elastic secure and not twisted
- Waistband opening stitched closed
- Hems even and pressed before sewing
And that is it. You just sewed a wearable garment. Pajama pants are the gateway project for a reason, and once you have a pair that fits, you will suddenly look at the rest of your wardrobe like, “Okay, what else can I make?”
FAQ
Do I need a serger?
Nope. A regular sewing machine is perfect. Use a zigzag stitch to finish raw edges, or pinking shears if your fabric is not extremely prone to fraying.
What stitch length should I use?
A standard straight stitch at about 2.5 mm works well for most woven cottons. If your fabric is thicker, you can go a touch longer.
Can I use an old bedsheet?
Yes, as long as the sheet is in good shape and not too threadbare. Sheets are a wonderful beginner fabric because they are wide, inexpensive, and easy to sew.
My elastic keeps disappearing
Pin the free end of the elastic to the waistband fabric near the opening before you start threading. That one pin saves a lot of dramatic sighing.