The first time I opened a commercial sewing pattern, I swear it looked like it came with its own secret language. Tiny triangles. Weird dashed lines. A long arrow labeled “grainline.” And sizing that made me question everything I thought I knew about my body.
Good news: you do not need to be “a pattern person” to use patterns successfully. You just need a clear map of what you are looking at. Let’s turn that tissue paper puzzle into something that feels friendly and predictable.
What comes in a commercial pattern
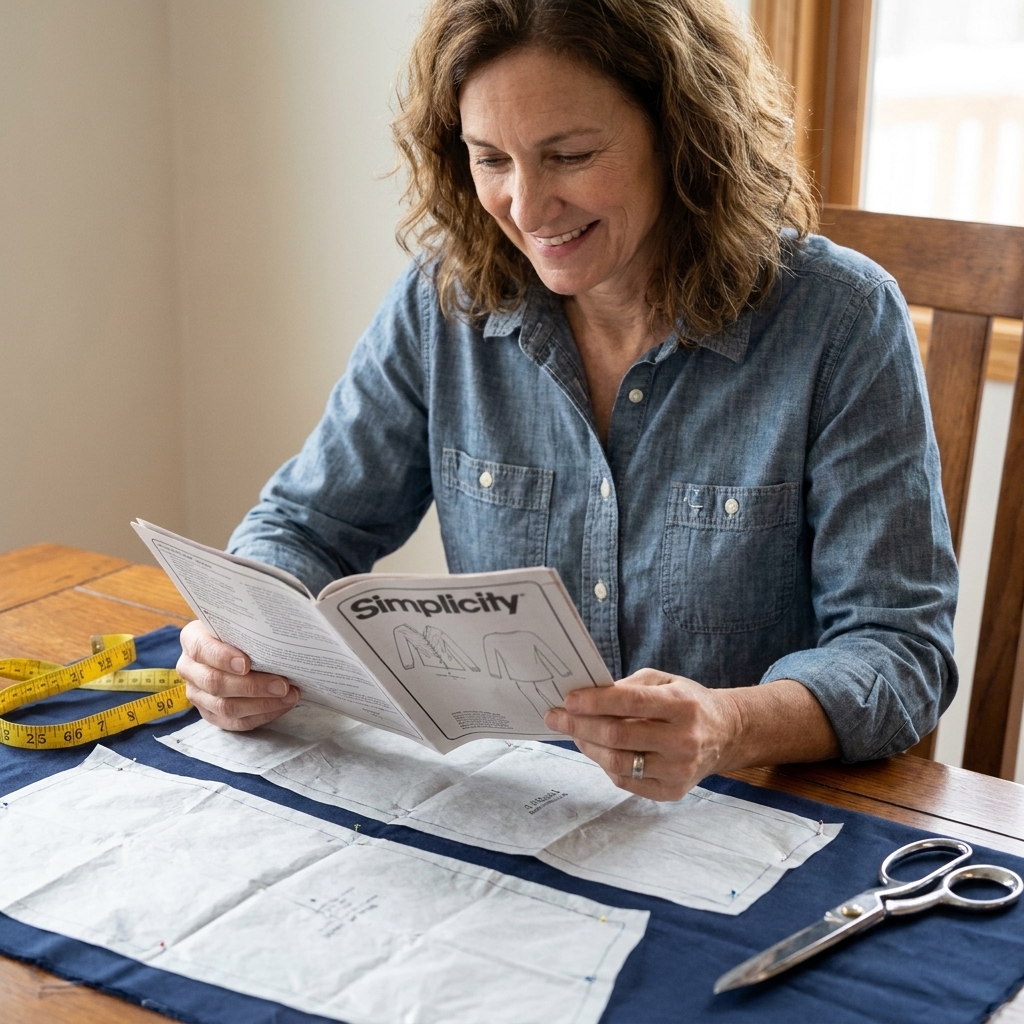
Most big commercial patterns (and many indie ones) include the same basic ingredients. Before you cut anything, take two minutes to identify each piece.
- The envelope (or product page): shows the design, recommended fabrics, yardage, and size chart.
- Instruction booklet: step order, cutting layouts, and a key for symbols and markings.
- Tissue pattern pieces: the shapes you cut out and pin to fabric.
- Notions list: items beyond fabric, like interfacing, zippers, buttons, elastic, and thread.
If you are using a PDF pattern, the “tissue” is your printed pages taped together, but the same concepts apply.
Start here: the envelope
View and options
Patterns often include multiple views (View A, B, C). One might have sleeves, another might be sleeveless. One might be knee-length, another maxi. Pick your view first, because it affects what pieces you need and how much fabric you buy.
Recommended fabrics (yes, it matters)
The suggested fabric list is not pattern-snobbery. It is your success shortcut. A pattern drafted for stable woven cotton will behave very differently in a drapey rayon or a stretchy knit.
- Woven fabrics: little to no stretch (cotton poplin, linen, denim). Great for crisp shapes.
- Knit fabrics: stretch (jersey, rib knit). Great for close fit and comfort.
If the pattern says “for stretch knits only,” believe it. If you use a non-stretch woven for a knit pattern, it usually will not go over your head or hips. Ask me how I know.
Notions and yardage
Yardage charts can look intimidating because they include multiple sizes, views, and fabric widths.
- Fabric width: typically 45 in or 60 in. Buy based on the width you are actually purchasing.
- With nap or one-way print: if your fabric has velvet-like nap or directional designs (all the flowers point up), you will need more yardage because pieces must face the same direction.
Pattern prep before you cut
Two minutes of prep here can save you an hour of “why is this not lining up” later.
- PDF patterns: print the test square first and measure it. If the square is off, everything is off.
- Tissue patterns: if the pieces are a crinkly disaster, you can press them gently with a dry iron on low heat. Keep the iron moving and do not linger.
- Multi-size patterns: if you want to keep all the sizes for later, trace your size onto pattern paper (or even Swedish tracing paper) instead of cutting the original.
Pattern sizing
Pattern sizes are not the same as ready-to-wear clothing sizes. Ignore the number. We are going to use measurements like calm, capable sewists.
Take three key measurements
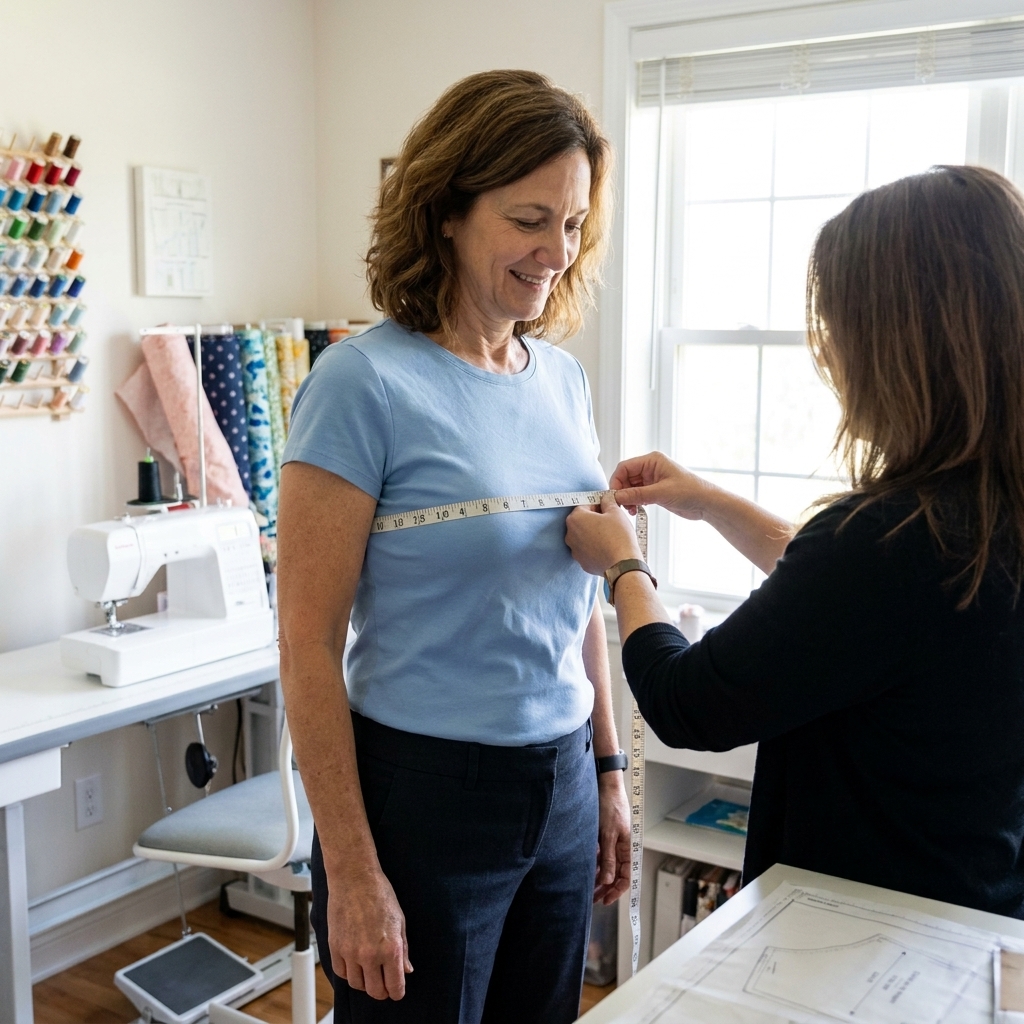
You will use a soft measuring tape and measure over the undergarments you plan to wear with the finished item.
- Bust: around the fullest part.
- Waist: around the narrowest part (or where you naturally bend side to side).
- Hip: around the fullest part of your hips and seat.
Use the size chart first
Most patterns include two helpful sets of numbers:
- Body measurement chart: what your body measures.
- Finished garment measurements: what the sewn item measures at key points. This reflects the total garment measurement, which includes ease relative to the body.
For your first time with a pattern, choose your size using the body measurement chart. That gets you in the right neighborhood.
What if you are more than one size?
Welcome to being a normal human. If your bust is one size and hips are another, you have options:
- Choose by your largest measurement and take in where needed.
- Grade between sizes: blend from one size line to another at the side seams.
Beginner-friendly rule of thumb: for many dresses and tops, prioritize bust. For many skirts and pants, prioritize hips. Waist is often the easiest to adjust.
Two important exceptions that save a lot of frustration: for a fitted woven bodice, high bust/full bust and cup options can matter a lot. For pants, waist and rise can be just as important as hip.
A quick word about ease
Ease is extra room built into a pattern so you can breathe, sit, and move like a person who intends to remain conscious.
- Wearing ease: basic comfort and movement.
- Design ease: the intentional style, like an oversized shirt.
If something looks “too big” on the envelope photo, it might be designed that way. Check the finished garment measurements when available to see what the pattern is aiming for.
Pattern pieces and symbols
Once you unfold a tissue piece, you will typically see a mix of solid lines, dashed lines, and markings. Here are the ones beginners run into most.
Cutting lines and size lines
If a pattern is multi-size, it will have nested outlines. Trace the size you want, or cut carefully on your chosen line. If you are between sizes or want to keep the pattern intact, tracing onto pattern paper is a game-changer.
Grainline arrow (your fabric’s compass)
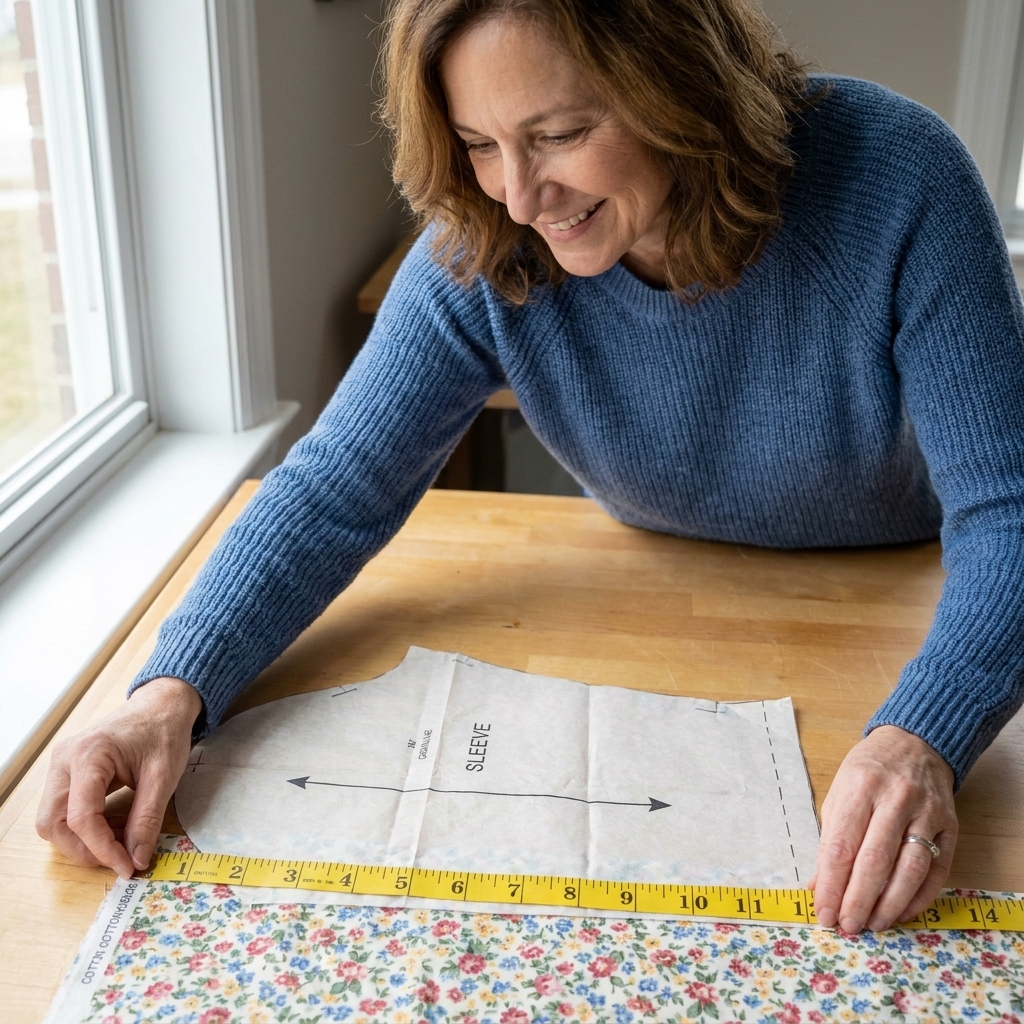
The long arrow on a pattern piece is the grainline. It tells you how to place the piece on fabric so it hangs and stretches the way the designer intended.
- Parallel to the selvage: the most common. Measure from each end of the grainline arrow to the selvage to keep it straight.
- Bias grainline (diagonal placement): used for drape, swing, or a clingy bias-cut look. It behaves differently and can stretch while you sew.
Note: even if a piece is cut on a fold, the grainline arrow is typically still meant to sit parallel to the selvage. “Place on fold” is a placement instruction, not a grain type.
Place on fold
If a pattern edge says place on fold, you line that edge up with the fabric fold. When you cut, you get a full symmetrical piece without a seam down the middle.
Beginner tip: keep the fold straight and smooth. If your fold is wobbly, your piece will be wobbly too.
Notches (little triangles or diamonds)
Notches are matching points. They help you line up seams correctly, especially on curves like sleeves and armholes.
- Single notch: one matching point.
- Double notch: a different location so you cannot mix up front and back.
Cut notches outward like tiny tabs instead of snipping inward. It is easier to see and less likely to weaken the seam allowance. If you are working on a very tight curve or a delicate fabric, a tiny inward snip within the seam allowance can be easier. Keep it small and controlled.
Dots, circles, squares, and balance marks
These are placement marks. Some patterns use dots or squares, others use little triangles, T-marks, letters, or short hash marks. However they are drawn, the job is the same: help you match pieces and place features accurately.
They might show:
- Where a pocket goes
- Where to stop stitching
- Where to start a zipper
- Where to line up a facing or collar
Transfer them accurately. These “tiny” dots are often the difference between a smooth neckline and a neckline that makes you say words you do not want your sewing machine to hear.
Darts
Darts shape fabric around curves like the bust, waist, or shoulder blades. They are not scary, just precise.
- Mark the dart legs (the two lines).
- Stitch from the wide end toward the point.
- Do not backstitch at the point. Leave long tails and tie a knot for a smooth finish.
- Press the dart as directed by the pattern. A tailor’s ham is lovely, but a tightly rolled towel works too.
Pleat and gather markings
Pleats are folds. Patterns usually show a pair of lines and arrows indicating which way to fold.
Gathers are controlled fullness, often marked by notches or dots showing the area to gather. You sew long stitches (or two rows of basting) and gently pull threads to scrunch the fabric until it fits the smaller piece.
Lengthen/shorten lines
These are usually labeled lengthen or shorten here. They exist because bodies are beautifully varied. If you are petite or tall, you can adjust the pattern in a way that keeps the shaping in the right places.
Seam allowance
Many commercial patterns include seam allowance already, often 5/8 in for Big 4 patterns. Many indie patterns include it too, but the amount varies widely (you might see 1/4 in, 3/8 in, 1/2 in, or metric allowances like 1 cm).
Find this before you cut. It affects everything.
Layout diagrams
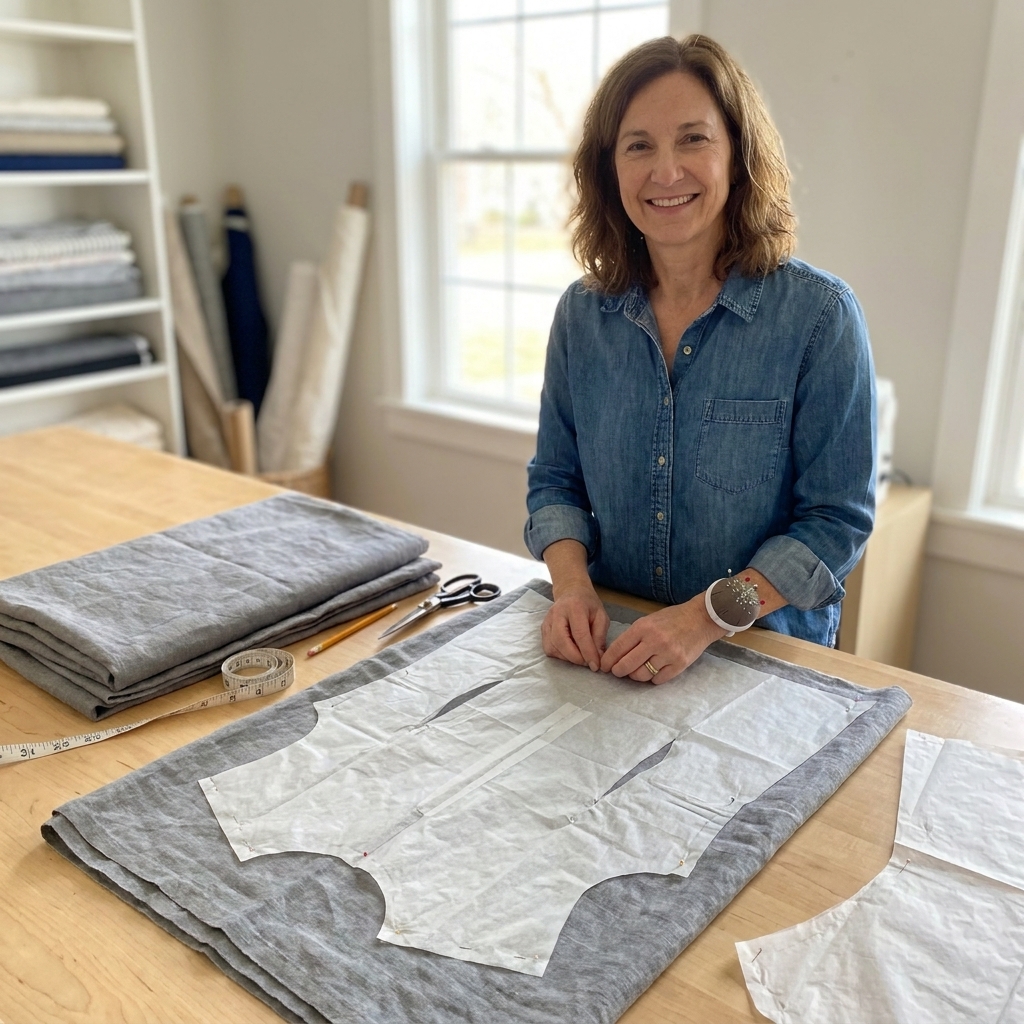
The cutting layout in the instructions is like a suggested seating chart for your pattern pieces. It shows you where to place each piece based on fabric width and whether the fabric is folded.
Understand the fabric drawing
- Fold line: shows the fabric is folded, usually right sides together.
- Selvage edges: the finished edges of the fabric. Layouts usually align pieces parallel to these edges.
- Right side vs wrong side: layouts may show pieces right-side up, wrong-side up, or both.
Do you have to follow the layout exactly?
No, you can rearrange pieces as long as you respect these rules:
- Keep grainlines parallel to the selvage (unless the pattern says otherwise).
- Keep “place on fold” edges on the fold.
- Pay attention to one-way prints and nap.
- Make sure you cut the correct number of each piece.
Folded vs single-layer cutting
Most layouts assume folded fabric because it is fast and makes it easy to cut mirrored pairs. Single-layer cutting is slower, but it can be worth it when:
- You have a directional print or nap and want to control exactly how each piece faces.
- You are matching stripes, plaids, or large motifs.
- You are working with limited yardage and need more flexibility.
Cut counts: Cut 2, Cut 1, Cut 2 mirrored
Patterns tell you how many of each piece to cut.
- Cut 1: one single piece.
- Cut 2: two identical pieces. Often cut with fabric folded.
- Cut 2 mirrored: you need a left and a right version. If you cut on folded fabric, you usually get mirrored automatically. If cutting single layer, you must flip the pattern piece to get a mirror image.
Small but important caution: flipping a pattern piece on a one-way print or napped fabric can reverse the direction. Also, with one-sided fabrics, pay attention to right side and wrong side so you do not accidentally cut two pieces that both belong on the same side of the body. When in doubt, cut as pairs with right sides together or follow the layout shown.
Lines to follow
Some pattern pieces contain options, like different hemlines or sleeve lengths. You might see:
- Cutting line: where you cut.
- Hemline or fold line: where fabric folds up for a hem or casing.
- Stitch line: where you sew (common on some indie patterns and on collar or cuff pieces).
If you ever feel unsure, pause and check the instructions for that specific step. Patterns are like recipes. The piece makes more sense when you know what you are cooking.
Transfer markings
Those little dots and dart points have to make it from tissue to fabric. Pick a method that feels doable.
For notches
- Cut tiny outward tabs.
- Or snip 1/8 in into the seam allowance (gentle snip, not a dramatic bite).
For dots, circles, and dart points
- Tailor’s chalk or washable pencil: quick, easy.
- Tracing wheel and dressmaker’s carbon: good for crisp marks, but test first.
- Thread tracing: slow but accurate, great on delicate fabrics.
My personal rule: if the mark tells me where to stop sewing or where to line up a zipper, I transfer it twice. Once on each fabric layer. Future-me deserves that kindness.
Mini glossary
| Term | What it means |
|---|---|
| Right side (RS) | The “pretty” side of the fabric that faces outward. |
| Wrong side (WS) | The inside or less visible side of the fabric. |
| Selvage | The finished fabric edge that does not fray. |
| Nap | Fabric surface that looks different depending on direction (velvet, corduroy). |
| Interfacing | A stiffening layer for collars, waistbands, button plackets, and more. |
| Understitch | Stitching facing to seam allowance so it stays rolled to the inside. |
| Staystitch | A line of stitching that stabilizes curves so they do not stretch out. |
| Baste | Temporary long stitches used for testing fit or holding layers. |
| Notions | Everything that is not fabric: zipper, buttons, elastic, hooks, etc. |
Common beginner mistakes
- Cutting before reading the instruction booklet: at least skim it first so you know what pieces you need.
- Ignoring grainline: crooked grain can cause twisting seams and weird drape.
- Cutting the wrong size because you used store-bought size habits: trust your measurements, not the number.
- Forgetting to transfer markings: then spending 20 minutes wondering why nothing lines up.
- Mixing up seam allowance: always confirm what the pattern uses.
And if you do make one of these mistakes, this is your friendly reminder that seam rippers are not shame tools. They are precision tools. I keep mine within arm’s reach, like a responsible adult.
When to make a test version
If your project is loose and forgiving, you can often jump right in. If it is fitted, structured, or using a fabric that does not forgive mistakes, a quick test garment (often called a muslin or toile) can be the difference between “I made this” and “I made this twice.”
A test version is especially worth it for fitted bodices, pants, and anything with sleeves you want to fit comfortably.
Pre-cut checklist
- Pick your view (A, B, C).
- Check the size chart and circle your size.
- Confirm seam allowance information.
- Prewash fabric if you plan to wash the finished item.
- Press your fabric flat.
- Identify grainline and fold placement for each piece.
- Confirm how many of each piece to cut.
- Plan how you will transfer markings.
FAQ
Why does the pattern size feel too big compared to my clothes?
Because pattern sizing is its own system, and because patterns include ease. Always use the pattern’s measurement chart and consider finished garment measurements when available.
What does cut on bias mean?
It means the piece is placed diagonally across the fabric grain (usually 45 degrees). This gives more stretch and drape, but it can also grow and shift. Pin well and handle gently.
Do I have to cut pattern tissue, or can I trace it?
You can absolutely trace it. Tracing is great if the pattern has multiple sizes or if you want to preserve the original. I trace often, especially for re-usable basics.
My pattern says cut 2 but my fabric is not folded. What do I do?
Cut one piece, then flip the pattern piece over and cut a mirrored second piece, keeping the grainline direction correct. If your fabric has a one-way print or nap, plan your cuts so both pieces face the same direction.
What if I am between sizes?
For beginners, sizing up is usually safer. It is generally easier to take in than to add fabric later. You can also grade between sizes for a smoother fit.
One last pep talk
If patterns have felt intimidating, it is not because you are not good at sewing. It is because patterns love shorthand. Once you learn the handful of symbols and the logic behind grainlines and sizing, the whole thing starts to click.
Take it one stitch at a time, and remember: you are allowed to pause, reread, and pin twice. That is not overthinking. That is sewing.