If you have been side-eyeing zippers like they are advanced sewing magic, this is your project. A lined zipper pouch is small, useful, and forgiving, which is exactly what we want while we practice. By the end, you will have a cute little pouch for makeup, pens, charging cords, or the mysterious collection of lip balms that lives at the bottom of every bag.
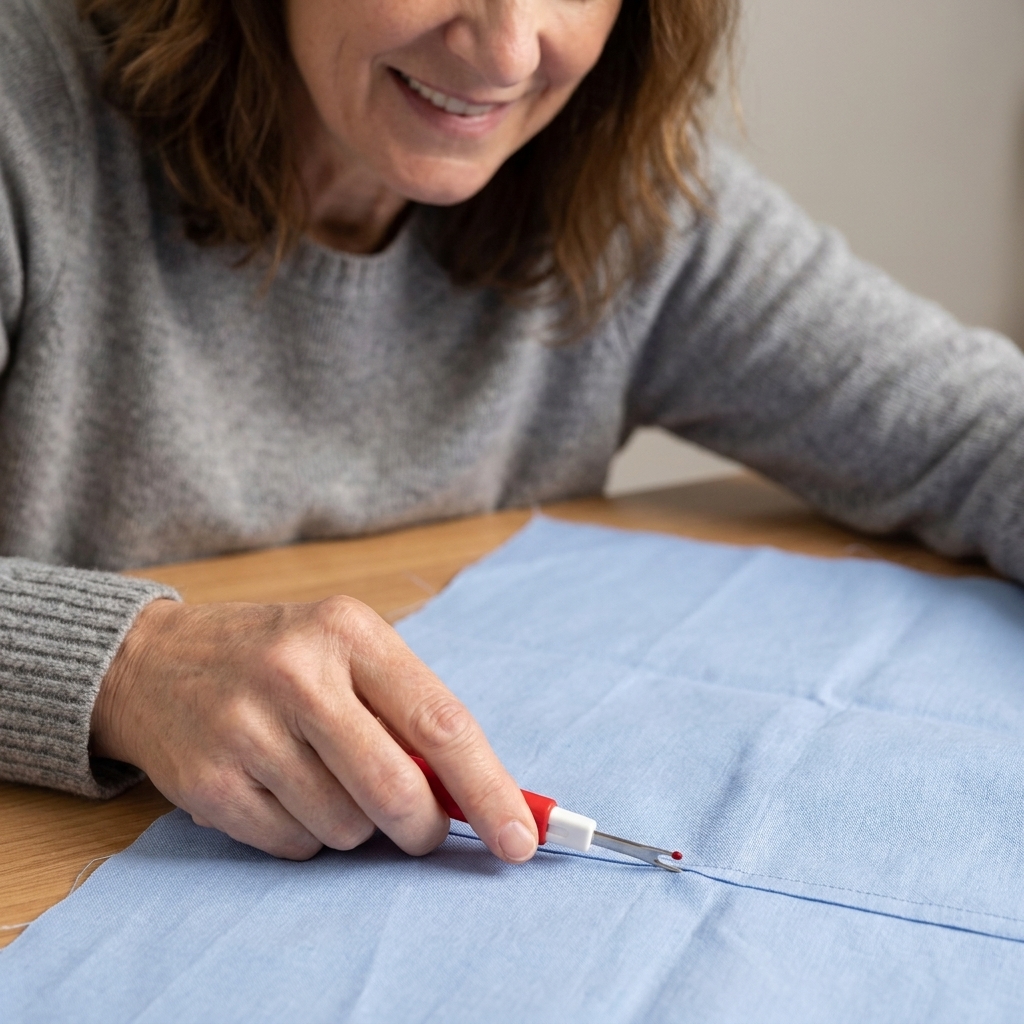
And if your zipper goes in a little wiggly the first time, welcome to the club. That is what seam rippers are for. Mine has a permanent spot on the right side of my machine, like a tiny reminder that mistakes are just part of the process.
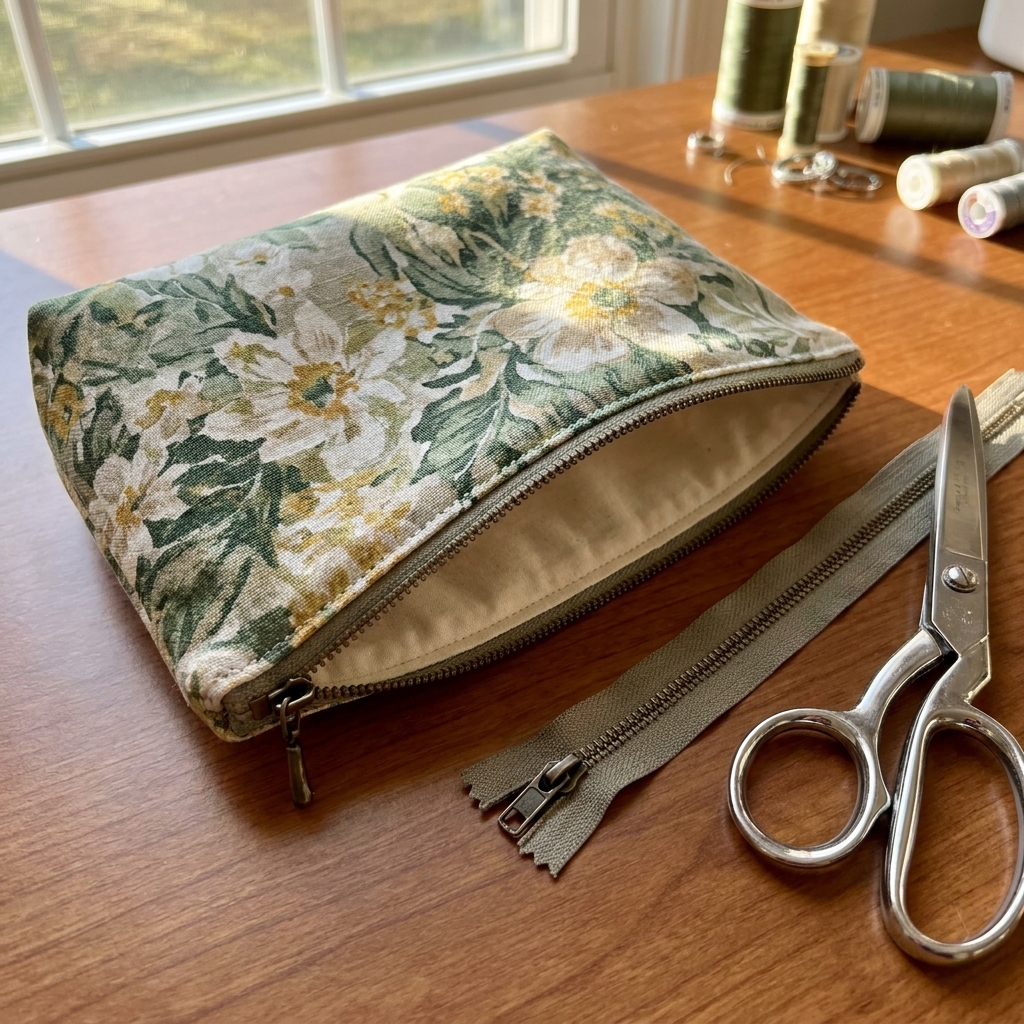
What you will make
This tutorial makes one medium pouch that is great for pencils or a simple makeup bag. You can keep the exact same steps and change the size later.
- Finished size: about 8 1/4 in wide x 5 1/4 in tall x 2 in deep (21 x 13.5 x 5 cm)
- Skill focus: sewing a zipper between layers, topstitching, and boxing corners
- Time: about 45 to 75 minutes as a beginner (including snack breaks)
Supplies
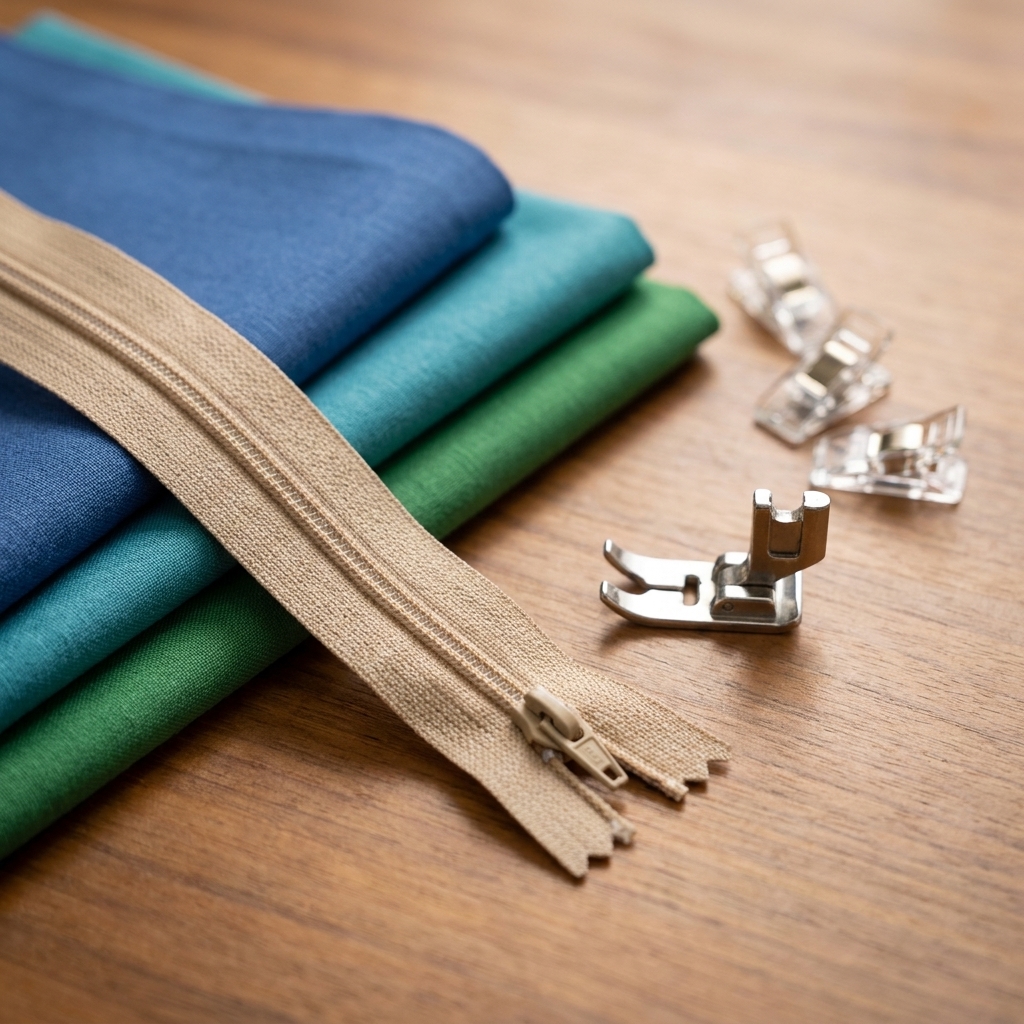
Fabric and notions
- Outer fabric: 2 pieces, 9 in x 6 in
- Lining fabric: 2 pieces, 9 in x 6 in
- Interfacing (optional but recommended): 2 pieces, 9 in x 6 in (woven fusible for a crisp pouch, or fusible fleece for a squishier, more structured feel)
- Zipper: 9 in nylon coil zipper (longer is fine, we can trim)
- Matching all purpose thread
- Wonder clips or pins
Tools
- Sewing machine
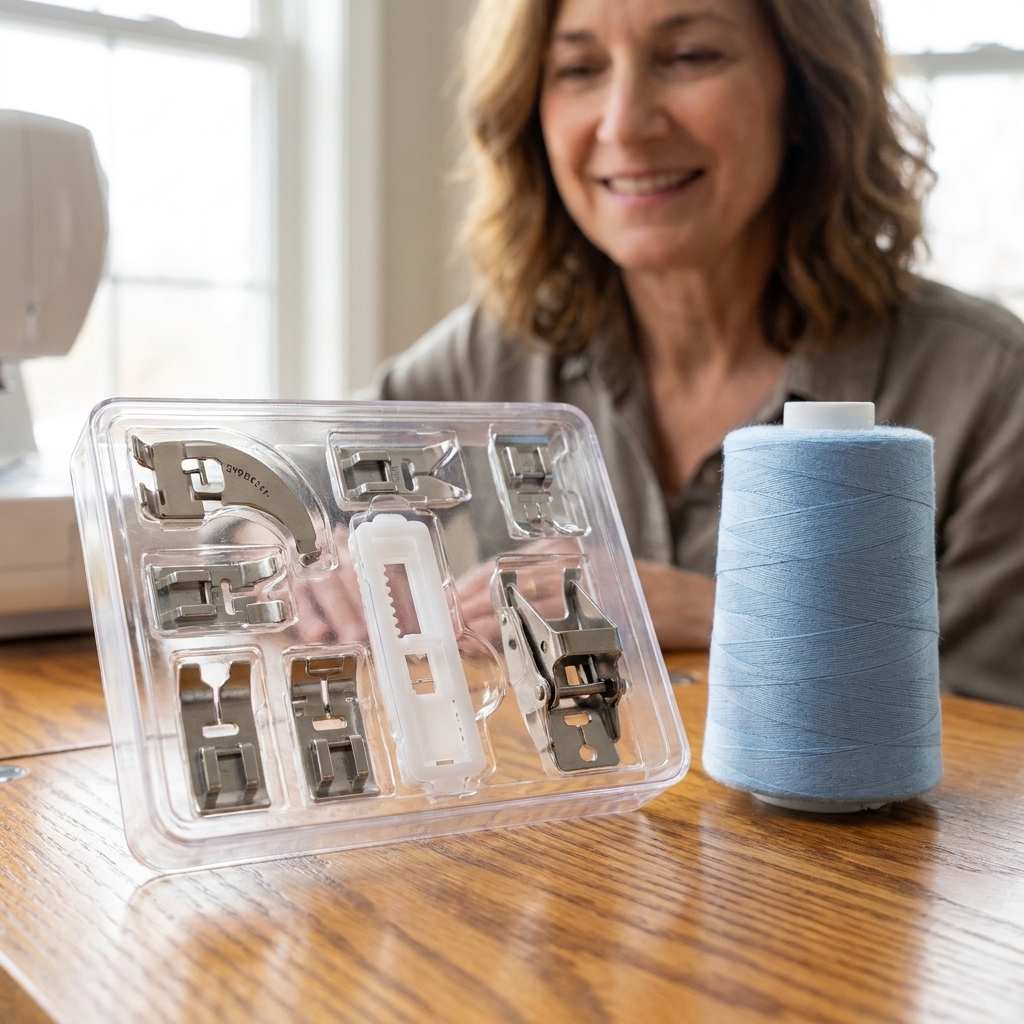
- Zipper foot (nice to have) or your regular presser foot (also works)
- Fabric scissors or rotary cutter
- Seam ripper (best friend energy)
- Ruler and marking pen or chalk
- Iron and ironing board
Needle tip: A universal 80/12 needle is great for quilting cotton. If you are using heavier fabric like canvas, step up to a 90/14.
Zipper tip: Nylon coil zippers are the easiest for beginners and they sew like butter compared to chunky metal teeth.
Cutting and prep
1) Cut your pieces
Cut:
- 2 outer rectangles: 9 in x 6 in
- 2 lining rectangles: 9 in x 6 in
- Optional: 2 interfacing rectangles: 9 in x 6 in
2) Add interfacing (optional)
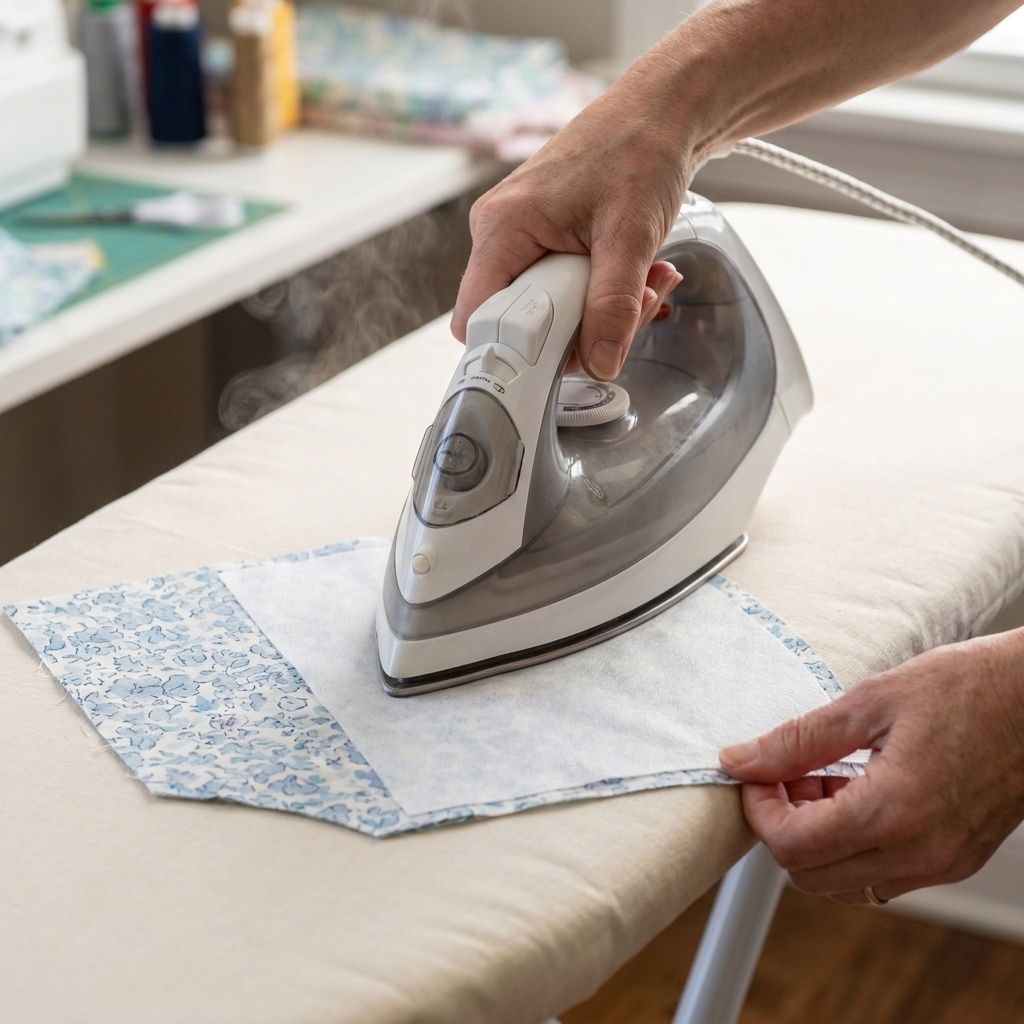
If you want a pouch that holds its shape, fuse interfacing to the wrong side of both outer pieces. Follow your interfacing instructions for heat and steam. Take your time here. Good fusing makes everything feel more “store bought” later.
Install the zipper
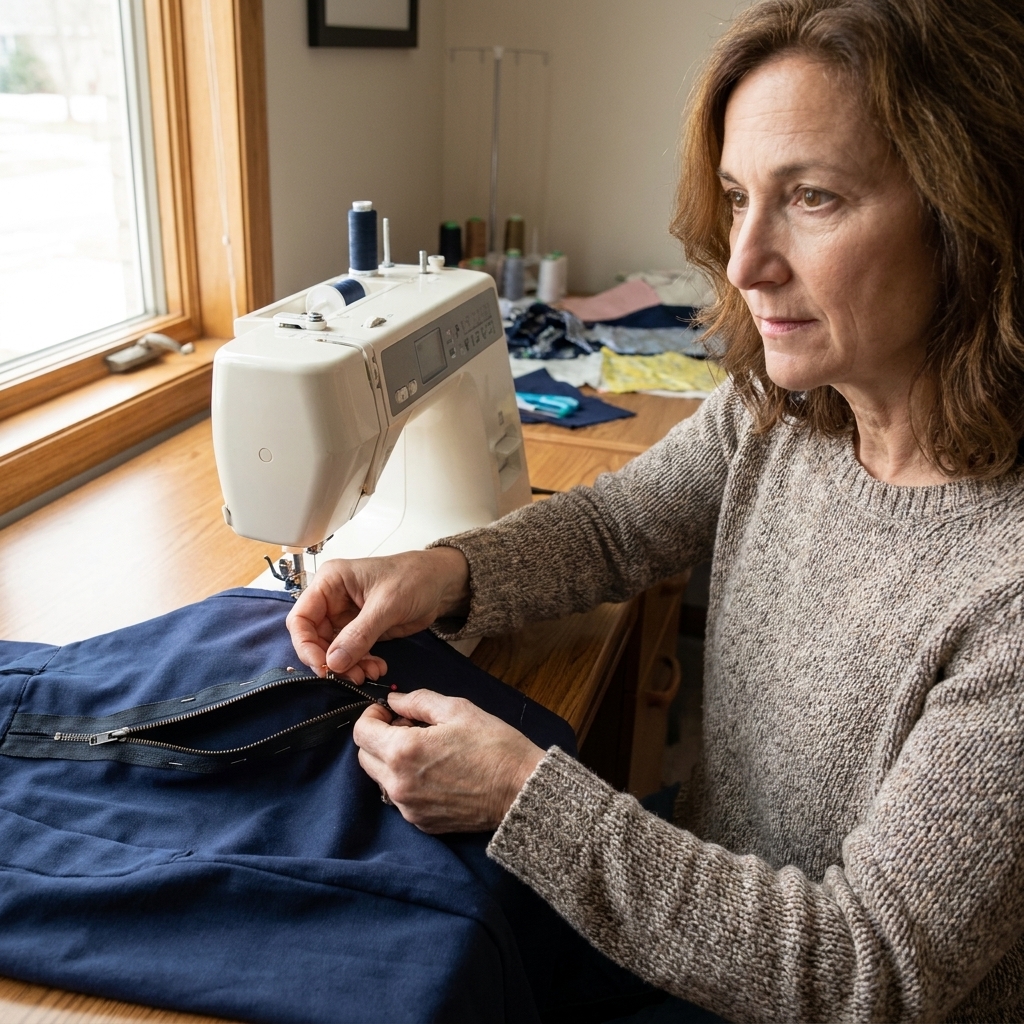
We are going to sandwich the zipper between the outer fabric and the lining. Think of it like making a little zipper taco.
3) Make the first zipper sandwich
- Place one outer piece right side up.
- Lay the zipper on top with the zipper pull facing down toward the fabric. If you are wondering what the “right side” of a zipper is, it is the side where the pull is visible when the zipper is zipped.
- Align the top edge of the zipper tape with the top edge of the fabric.
- Place one lining piece right side down on top, matching the top edges. Now the zipper is trapped in the middle.
- Clip or pin along the top edge.
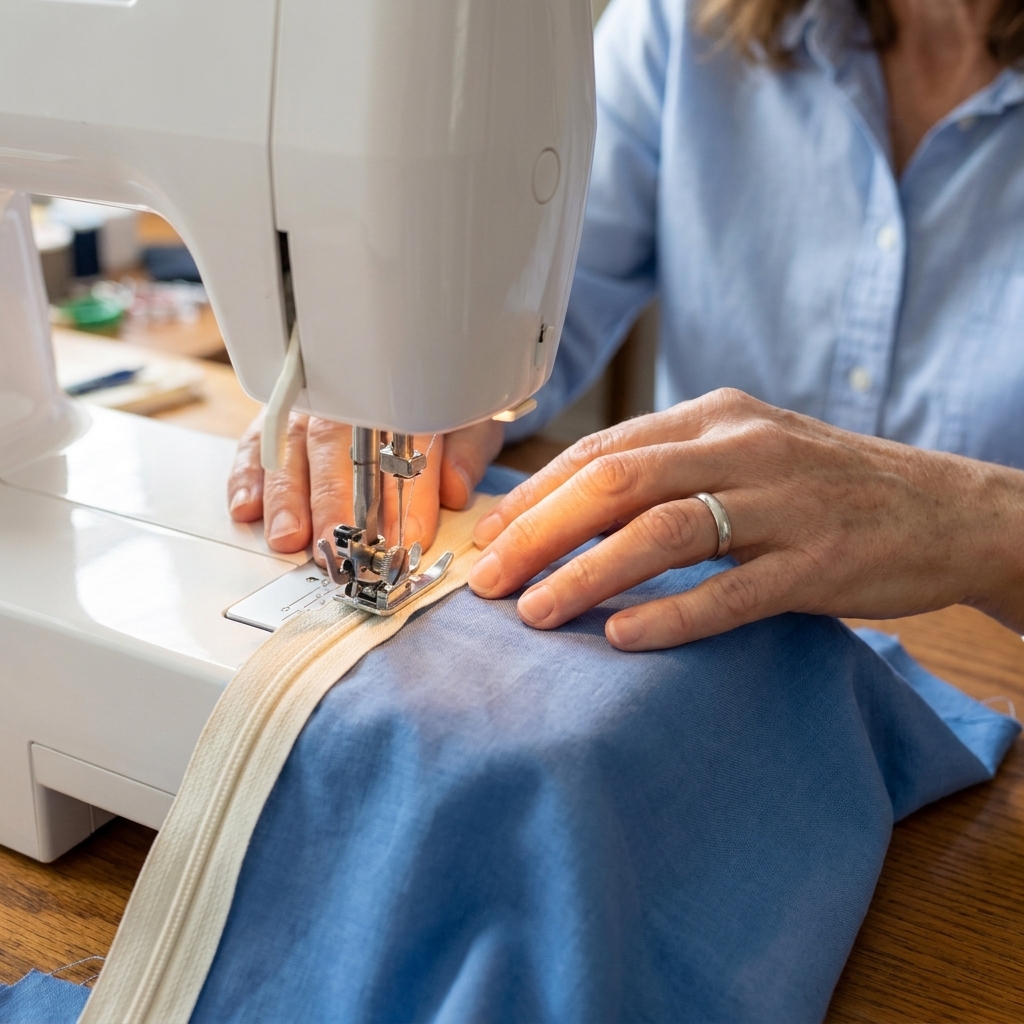
Sew along the top edge using a 1/4 in seam allowance. Go slowly as you approach the zipper pull. If it gets bulky, stop with the needle down, lift the presser foot, and slide the zipper pull out of the way.
If your zipper is longer than your fabric: Do not trim it yet. It is usually easier to sew first, then trim the excess zipper tape later. (If your zipper has metal stops, do not cut through the teeth. Use a zipper that is already close to length, or swap to nylon coil while you learn.)
4) Press and topstitch the first side
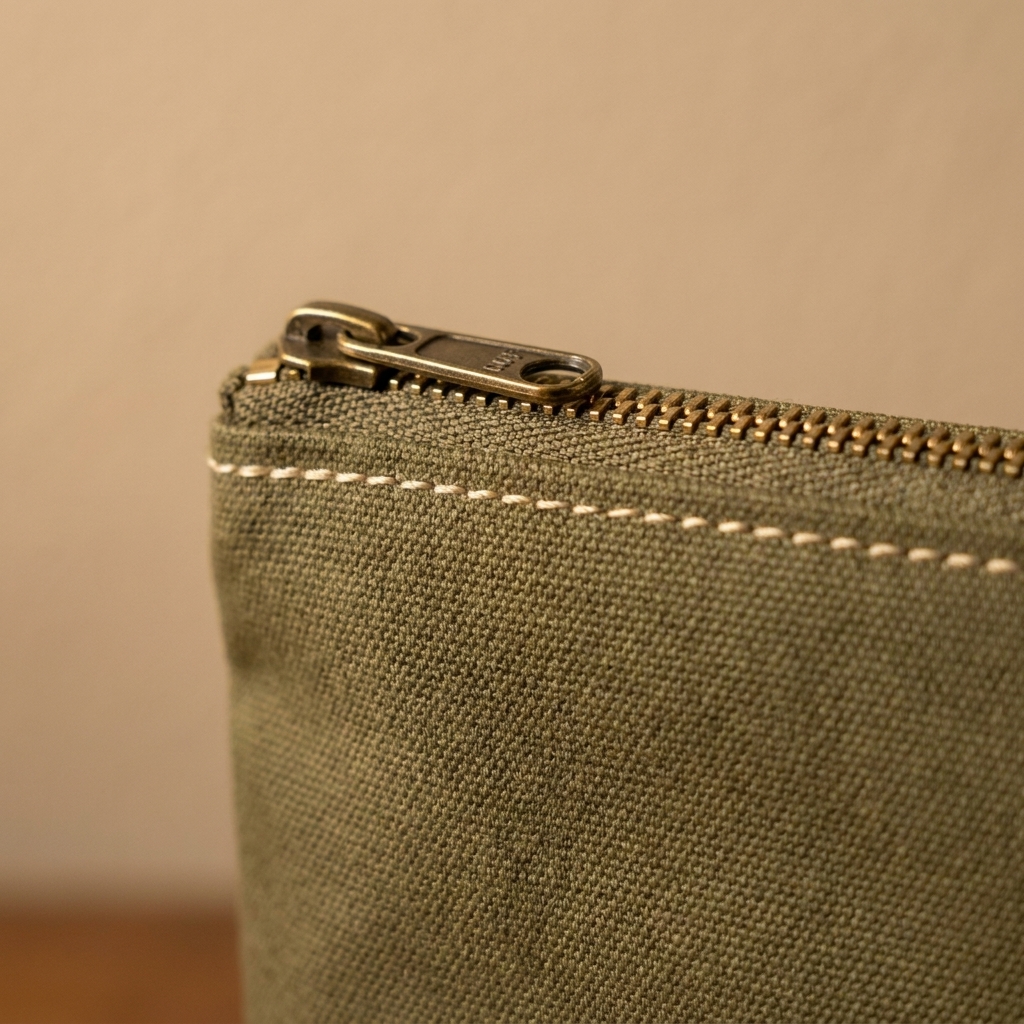
Open the fabric away from the zipper and press so the seam lays flat. Then topstitch about 1/8 in from the seam, sewing through the outer and lining layers together right next to the zipper tape. Topstitching is what keeps the lining from rolling into the zipper later, and it also makes you look like you know exactly what you are doing.
5) Repeat for the second side
- Place your second outer piece right side up.
- Put the zipper unit on top with the zipper right side down, aligning the free zipper tape edge with the top edge of the outer fabric.
- Place the second lining piece right side down on top, align edges, and clip.
- Sew with a 1/4 in seam allowance.
- Press and topstitch this side too.
At this point, if you open everything up, you should have outer fabrics on the outside and lining fabrics on the inside, connected by the zipper at the top.
Trim-a-longer-zipper note: If your zipper extends past the fabric edges, stitch a few times across the zipper tape at each end, just past the fabric edge, to act as a new “stop.” Then trim the excess zipper tape. (Nylon coil is happiest with this plan.)
Assemble the pouch
6) Open the zipper halfway
Please do not skip this. I have absolutely sewn a pouch shut with the zipper closed and then stared at it in silence for a full minute.
Open the zipper at least halfway so you can turn the pouch right side out later.
7) Match outer to outer, lining to lining
Fold the project so the two outer pieces are right sides together, and the two lining pieces are right sides together. The zipper will now sit between the outer and lining sections, like a little bridge across the middle.
Align all the raw edges.
Important: Push the zipper tape toward the lining side so the bulk is not sitting right on your outer seam. This helps your corners look cleaner.
8) Sew around, leaving a turning gap in the lining
Sew all the way around the edge using a 3/8 in seam allowance. Leave a 3 to 4 in gap along the bottom of the lining for turning.
Go slowly across the zipper ends. If your machine thumps, hand crank over the thick spot.
Bulk tip: If your fabric is thick, trim and grade seam allowances a bit around the zipper ends and corners after stitching (do not cut your stitches). Less bulk equals nicer corners.
Box the corners
Boxed corners turn your flat rectangle into a real pouch with depth.
9) Mark the corner squares
With the pouch still wrong side out:
- On each bottom corner of the outer fabric, measure and mark a 1 in square.
- Do the same on the lining bottom corners.
Cut out the squares. You will have four little fabric bites removed total.
10) Stitch the boxed corners
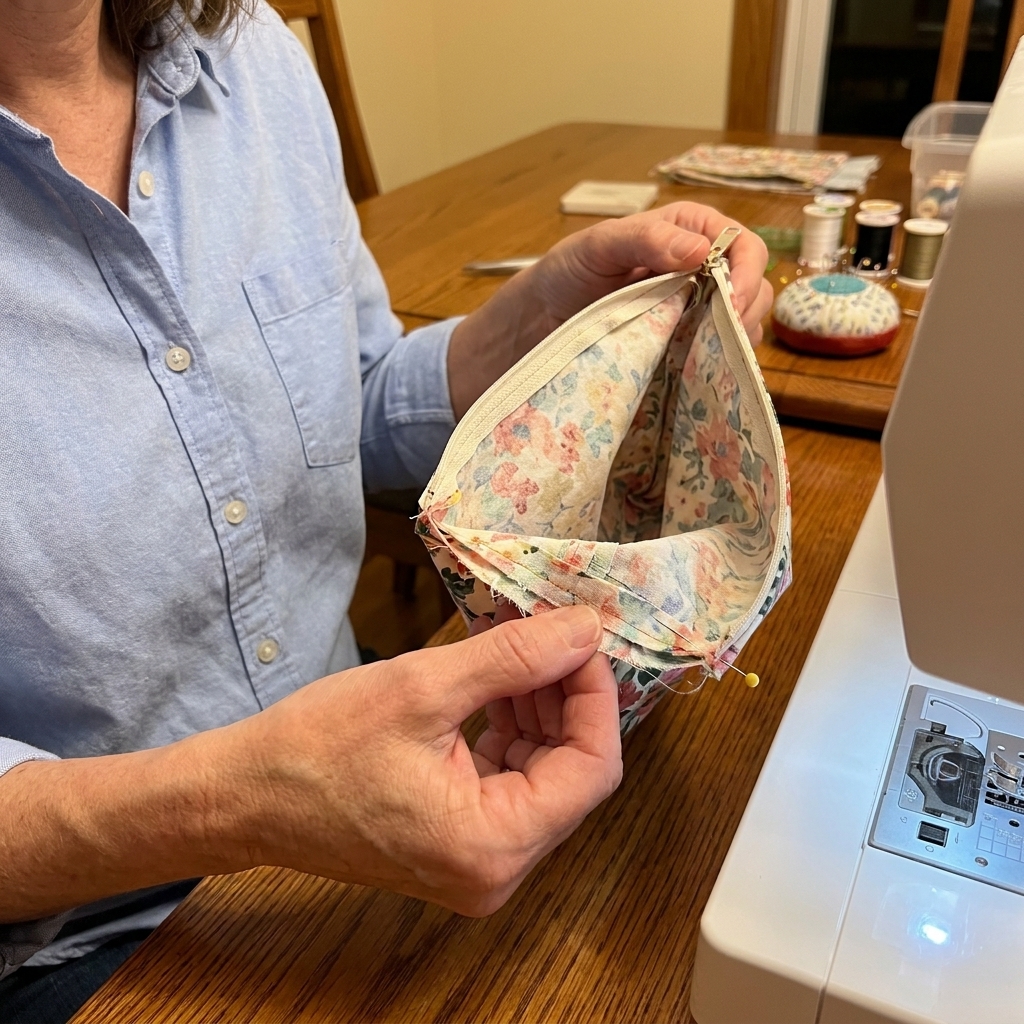
Pinch one cut-out corner so the side seam meets the bottom seam and the seam lines match up. You will get a straight line across the opening.
Key detail: Sew directly on the existing seam line where your 3/8 in seams meet. That is what gives you an even depth (and yes, it is how that 1 in square becomes about 2 in of depth).
Repeat for all corners (two outer, two lining).
Turn and finish
11) Turn the pouch right side out
Pull the pouch right side out through the gap in the lining. Then gently push out the corners with your finger. No sharp tools needed. Fingers are plenty.
12) Close the lining gap
Fold the raw edges of the lining gap to the inside and press. Stitch it closed either:
- With a neat machine stitch close to the edge (fast and sturdy), or
- By hand with a ladder stitch (invisible and satisfying)
13) Tuck the lining in and do a final press
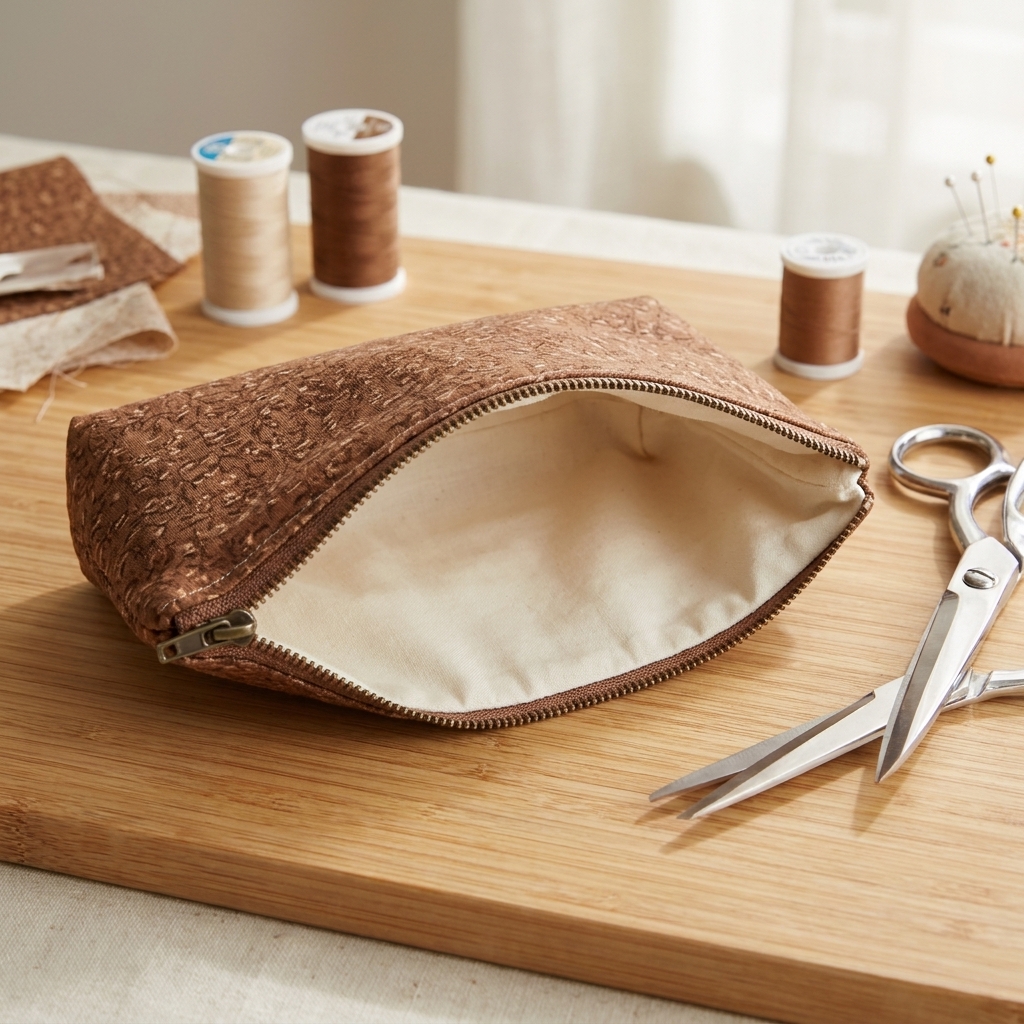
Stuff the lining into the pouch, zip it closed, and give everything a final press. You did it. Zipper skills officially leveled up.
Troubleshooting
My zipper looks wavy
- Press the seam before topstitching. Pressing fixes more than we want to admit.
- Do not pull the fabric as you sew. Let the feed dogs do the work.
- If your fabric is thin, interfacing on the outer fabric helps a lot.
The lining keeps getting caught in the zipper
- Topstitch on both sides of the zipper. It is not optional in my book.
- Make sure the lining is pressed away from the zipper teeth before you sew the pouch together.
I cannot get past the zipper pull
- Stop with the needle down, lift the presser foot, and move the zipper pull behind the foot.
- Switch to a zipper foot if you have one, but you can still do this with a regular foot by sewing slowly.
My corners look lumpy
- Trim seam allowances a bit, especially near the zipper ends (do not cut your stitches).
- When boxing corners, match the seams carefully and clip in place before stitching.
Easy upgrades
- Add a little loop tab: Cut a 2.5 in x 2 in rectangle, fold into a small strap, and sew it into one side seam before sewing around.
- Try a wipe-clean lining: Laminated cotton or PUL is great for makeup messes. Use clips instead of pins, a slightly longer stitch length, and do not press directly on the coating (press from the fabric side with a pressing cloth).
- Make it wider: Keep the height the same and add 2 inches to the width for a roomier pouch.
- Try a longer zipper: A slightly longer zipper can actually be easier. You can trim the extra at the ends after sewing.
Quick FAQ
Do I need a zipper foot?
No. A zipper foot is helpful, but you can sew this pouch with a regular presser foot. Just sew slowly and stop with the needle down when you need to move the zipper pull out of the way.
What seam allowance should I use?
I use 1/4 in for sewing the zipper in and 3/8 in for sewing around the pouch and boxing corners. Consistency matters more than perfection.
Can I use a metal zipper?
You can, but it is trickier. Metal teeth can break needles if you accidentally sew into them. Nylon coil is friendlier while you are learning.
Why do we leave a gap in the lining?
That is how we turn the whole pouch right side out without leaving an opening on the outside. It is a classic “magic trick” that never gets old.