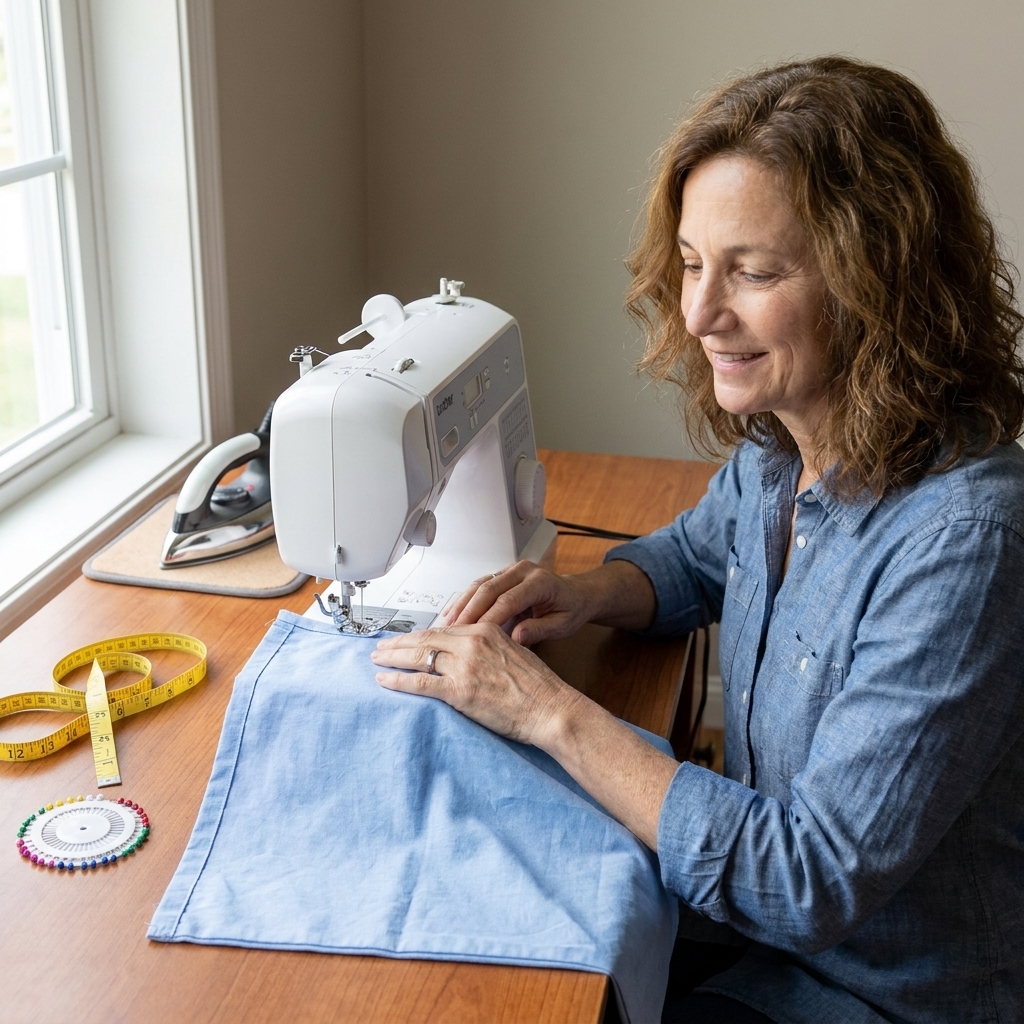
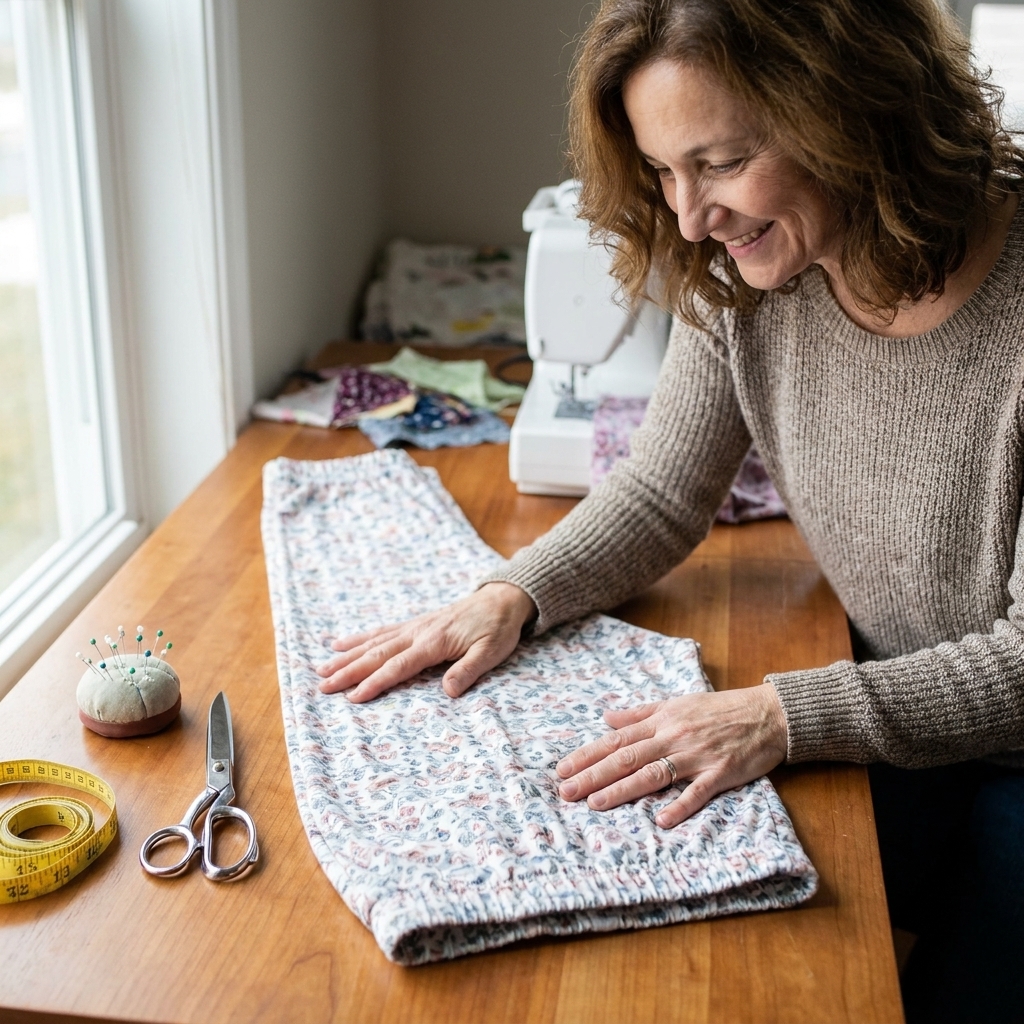
If you have been itching to sew your first piece of clothing but every pattern envelope feels a little too intense, this wrap skirt is the gentlest on-ramp I know. It is adjustable, forgiving, and built from simple shapes. No zipper. No buttonholes (unless you want them). No tricky curves. Just straight seams, a tidy waistband, and the magic of a tie closure.
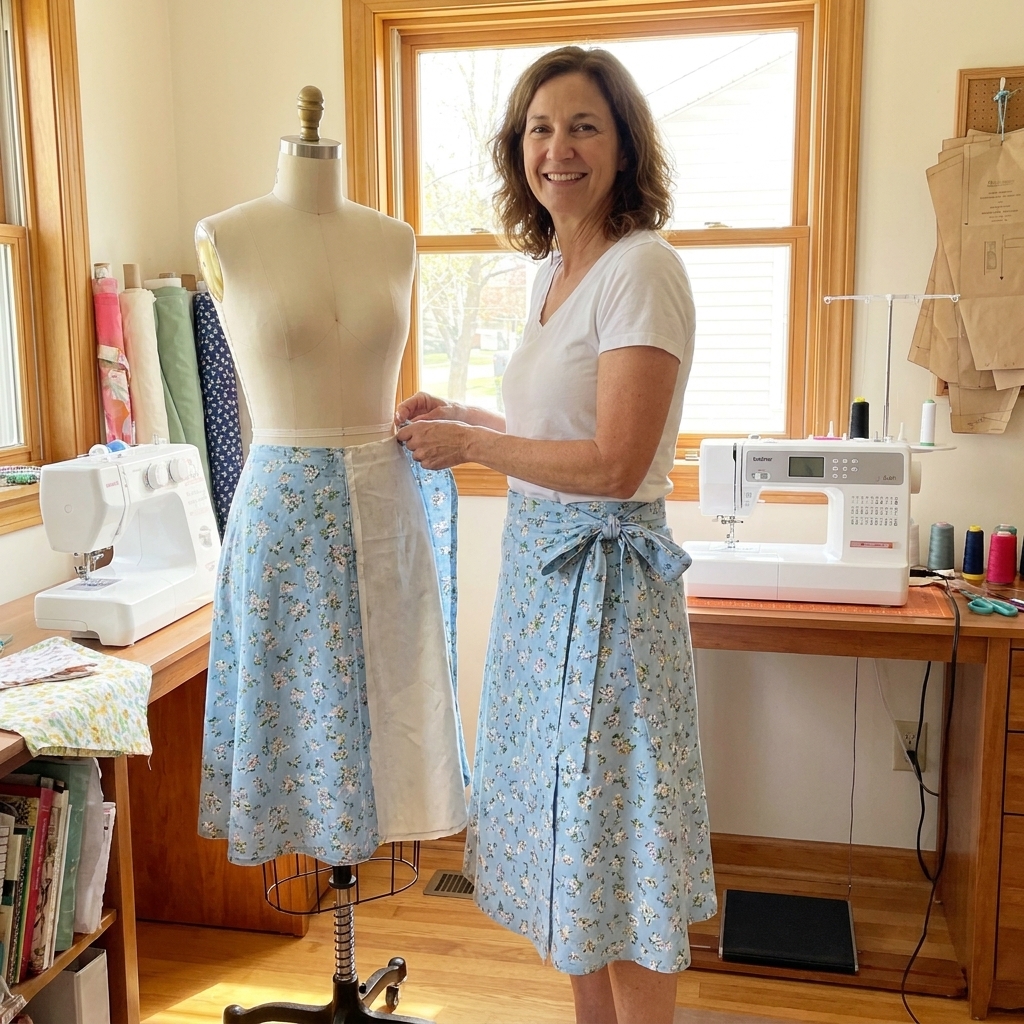
I am going to give you a free pattern you can draft at home in minutes using your own measurements, plus a step-by-step sewing guide. Grab a cup of tea, keep your seam ripper nearby like the loyal sidekick it is, and let us make something wearable.
Why this is a great first garment
- Adjustable fit: Ties mean you do not need a perfect waist measurement to the millimeter.
- Beginner seams: Mostly straight stitching, which is exactly what you want while you are building confidence.
- Easy hemming practice: You will learn how to hem in a low-stress way.
- Real-life useful: This is a skirt you can wear now, even if your skills are brand new.
Bonus: if your fabric is a little wrinkly or your topstitching is not runway-perfect, nobody will notice. Wrap skirts are charming like that.
What you will make
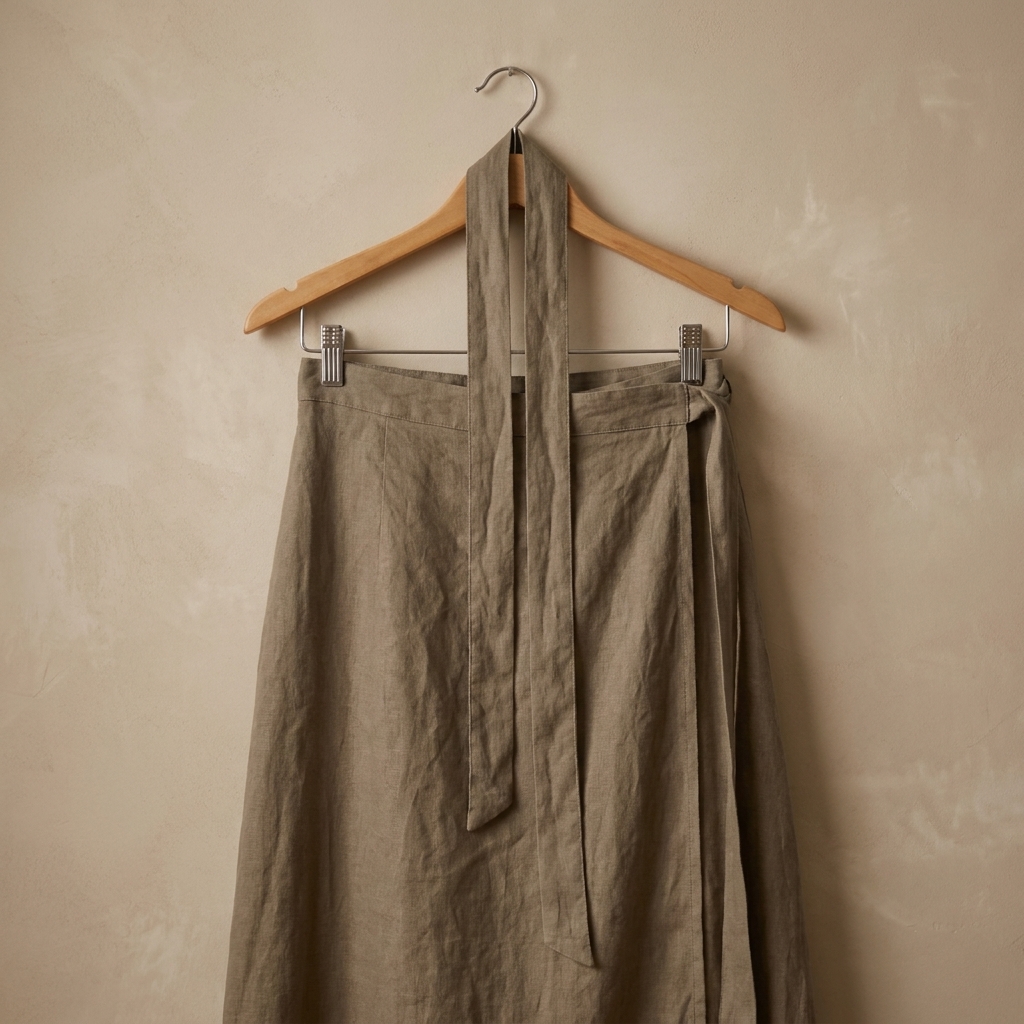
This pattern creates a simple wrap skirt with:
- Overlapping front edges for coverage
- A straight waistband casing (easy to sew, comfy to wear)
- Two ties that wrap around and knot at your waist
- An optional inner tie anchor (loop method included, plus a classic pass-through option)
How the wrap works in real life: one top corner becomes the inner edge and sits against your body first, then the opposite edge becomes the outer edge and crosses over the top. One tie will travel around your back to meet the other tie at the side (or front, if you prefer).

Supplies and fabric
Fabric picks
Choose a fabric that is friendly to sew and easy to press. My favorites for this first garment are:
- Cotton lawn
- Cotton poplin
- Quilting cotton
- Lightweight denim or chambray
- Linen or linen blends (press as you go and it behaves)
Avoid for your first try: slippery satin, very stretchy knits, and anything very sheer unless you plan to add a lining.
Notions
- Matching thread
- Fabric scissors or rotary cutter
- Measuring tape
- Chalk or washable fabric marker
- Pins or clips
- Iron and ironing board (your secret weapon)
- Safety pin or bodkin for turning ties
Before you cut
Pick a seam allowance
Use a 1/2 inch (12 mm) seam allowance for everything unless a step says otherwise. That way your brain can stay calm.
Measurements you need
Grab a flexible tape measure and take these two measurements:
- Waist: where you want the waistband to sit
- Skirt length: from that waist point down to where you want the hem
Helpful optional measurement: high hip (about 3 to 4 inches below your waist). If your hips are significantly larger than your waist, we will use hip ease to keep the wrap from pulling open.
Free wrap skirt pattern
This is a no-print pattern. You will draft rectangles directly onto fabric or onto paper first if you like. Either way, the shapes are the same.
Decide your overlap
Overlap is how much the front edges cover each other. For a beginner wrap skirt, I recommend:
- Standard overlap: 8 inches (20 cm)
- Extra coverage overlap: 10 to 12 inches (25 to 30 cm)
Choose your skirt width
Here is a beginner-friendly starting point for a casual wrap skirt with some swish:
Skirt width (W) = Hip measurement + 10 inches (25 cm) ease + overlap
That 10 inches (25 cm) ease is a design choice, not a law of physics. If you want a less voluminous skirt, reduce the ease to 6 inches (15 cm). If you want more movement, bump it to 14 inches (35 cm).
If you did not measure hip, you can use waist + 14 inches (35 cm) as a beginner-friendly substitute.
Cut list
You will cut:
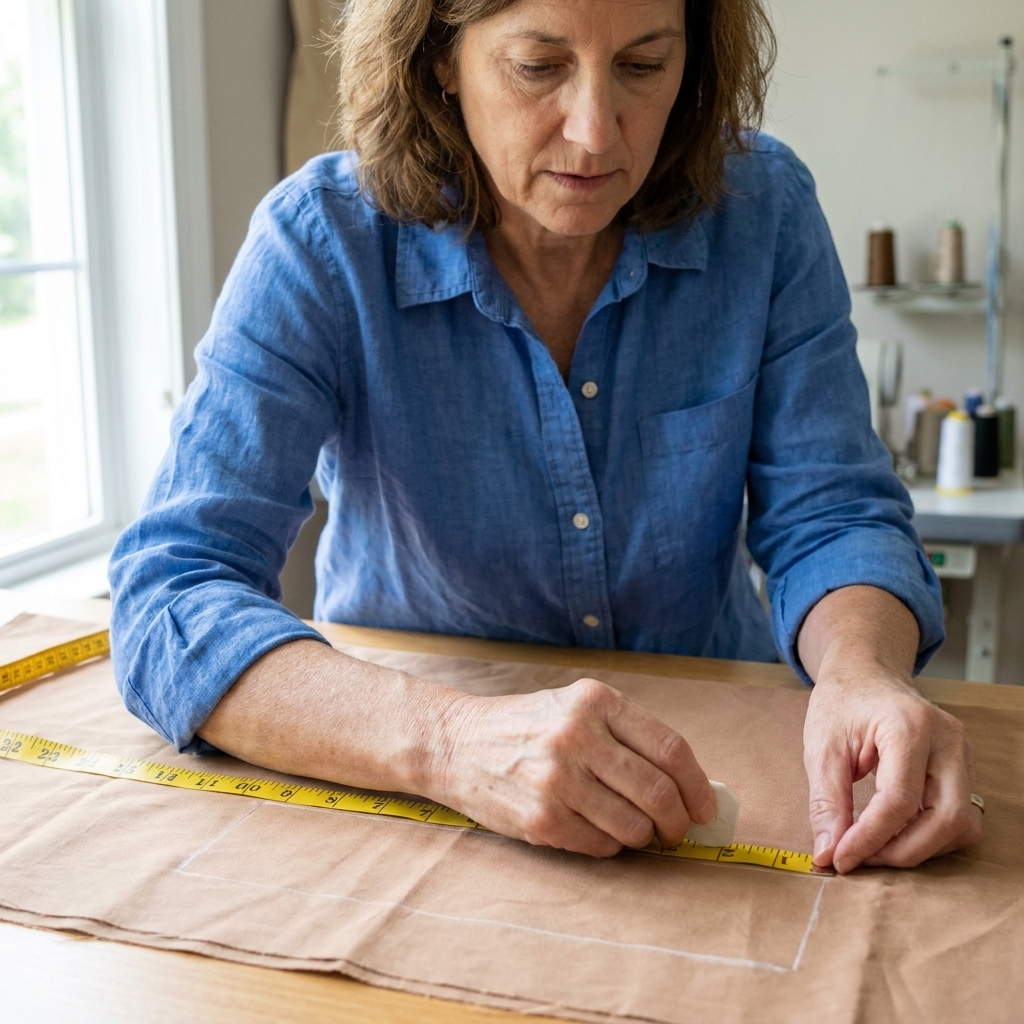
- Main skirt panel: 1 rectangle, width = W, height = skirt length + 2 inches (5 cm) for hemming
- Waistband casing: 1 rectangle, length = W + 2 inches (5 cm), width = 4 inches (10 cm)
- Ties: 2 rectangles, each 3 inches (7.5 cm) wide by 30 to 36 inches (76 to 91 cm) long
Tie note: If you want a bigger bow, or you simply enjoy a dramatic wraparound moment, cut ties 40 to 45 inches (102 to 114 cm) long.
Quick example
If your hip is 42 inches and you want standard overlap (8 inches):
- W = 42 + 10 + 8 = 60 inches
- Main panel: 60 inches wide by (length + 2 inches) tall
- Waistband: 62 inches long by 4 inches wide
Fabric width check
One quick reality check before you commit: your skirt panel width W has to fit on your fabric width, or you will need to piece it. Many beginners get tripped up here, so let us make it simple.
Does W fit your fabric?
- If W is less than or equal to your fabric width (common with 60 inch fabric), you can cut the main panel as one rectangle.
- If W is wider than your fabric width (very common with 45 inch fabric), plan to seam two panels together to reach W.
How to piece the skirt panel
Cut two rectangles with the same height (skirt length + 2 inches). Their widths should add up to W, plus seam allowances.
- Option A (easy): Piece with one seam at center back.
- Option B (also easy): Piece with one seam near a side, then make that your back.
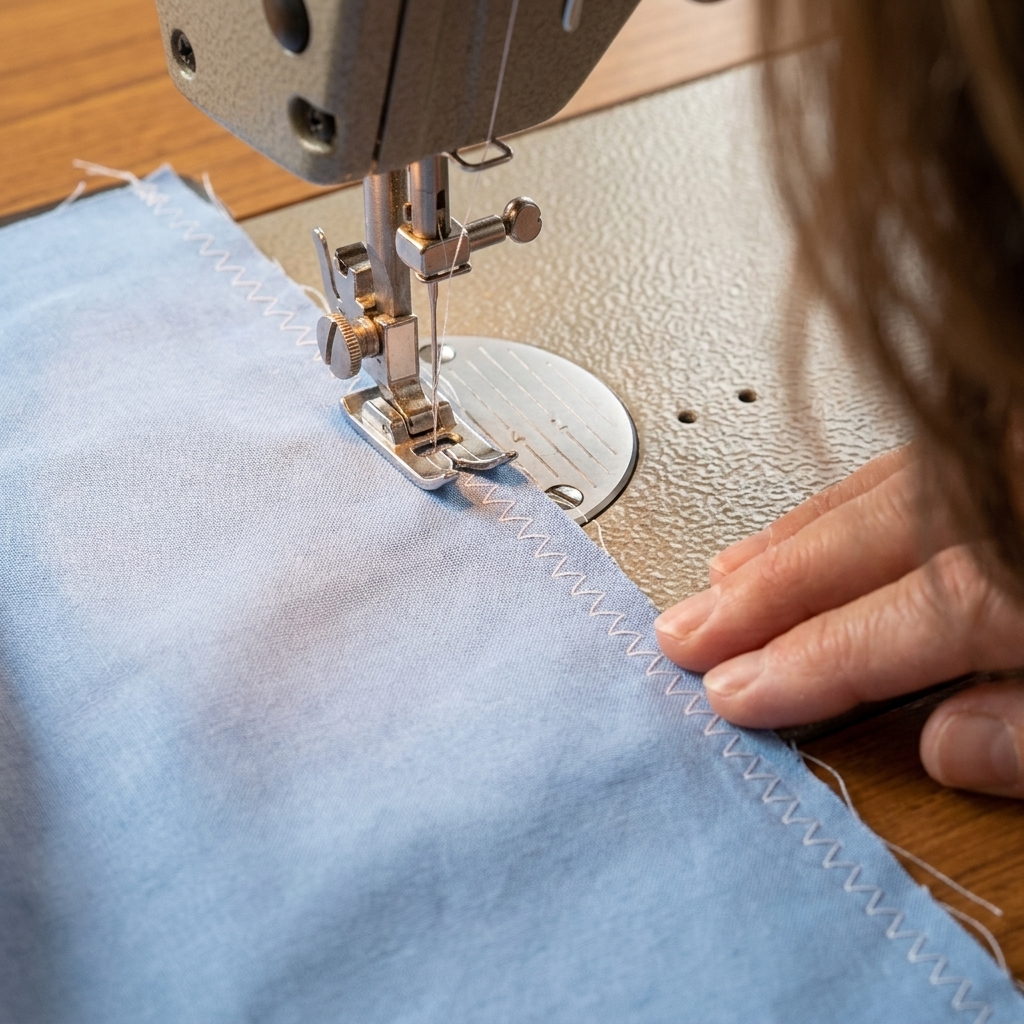
Stitch the panels right sides together using your 1/2 inch (12 mm) seam allowance, press the seam open, then treat the result as your single main panel. If your fabric frays, finish that pieced seam allowance with a zigzag stitch, overcast stitch, or a serger.
Yardage guide (with a clearer check)
Yardage depends on skirt length, fabric width, and whether you are piecing. Use these as starting points:
- Most sizes, knee length: about 2 yards (1.8 m) of 45 inch (115 cm) wide fabric
- Most sizes, midi length: about 2.5 yards (2.3 m) of 45 inch (115 cm) wide fabric
- If your fabric is 60 inch (150 cm) wide: you can often reduce by about 0.5 yard (0.5 m)
Now do this quick rule-of-thumb check before you buy or cut: you need enough fabric for the skirt height (skirt length + 2 inches / 5 cm hem allowance). If W fits on your fabric width, you typically need one skirt height plus a little extra for waistband and ties. If W does not fit and you are piecing, you may need two skirt heights (because you are cutting two widths and seaming them), plus extra for waistband and ties.
If you are between options, size up on yardage. Extra fabric is cheaper than heartbreak.
Cutting tips
- Keep grainline straight: Align your rectangles parallel to the selvage. Your skirt will hang better and twist less.
- If your fabric is directional: Make sure the print is upright before cutting.
- Press before you cut: Cutting wrinkled fabric is like trying to slice toast while it is still in the bag.
Sewing steps
1) Finish the wrap edges (optional but nice)
If your fabric frays, finish the two vertical wrap edges of the main panel (the left and right sides). You can also finish the top raw edge before the waistband goes on, but it will be enclosed, so it is optional.
Options:
- Zigzag stitch along the edge
- Overcast stitch if your machine has one
- Serger if you have it, but you absolutely do not need one
2) Hem the skirt
We are going to hem the two vertical sides and the bottom edge.
- Press the raw edge in by 1/2 inch (12 mm).
- Press again by 1/2 inch (12 mm) to hide the raw edge.
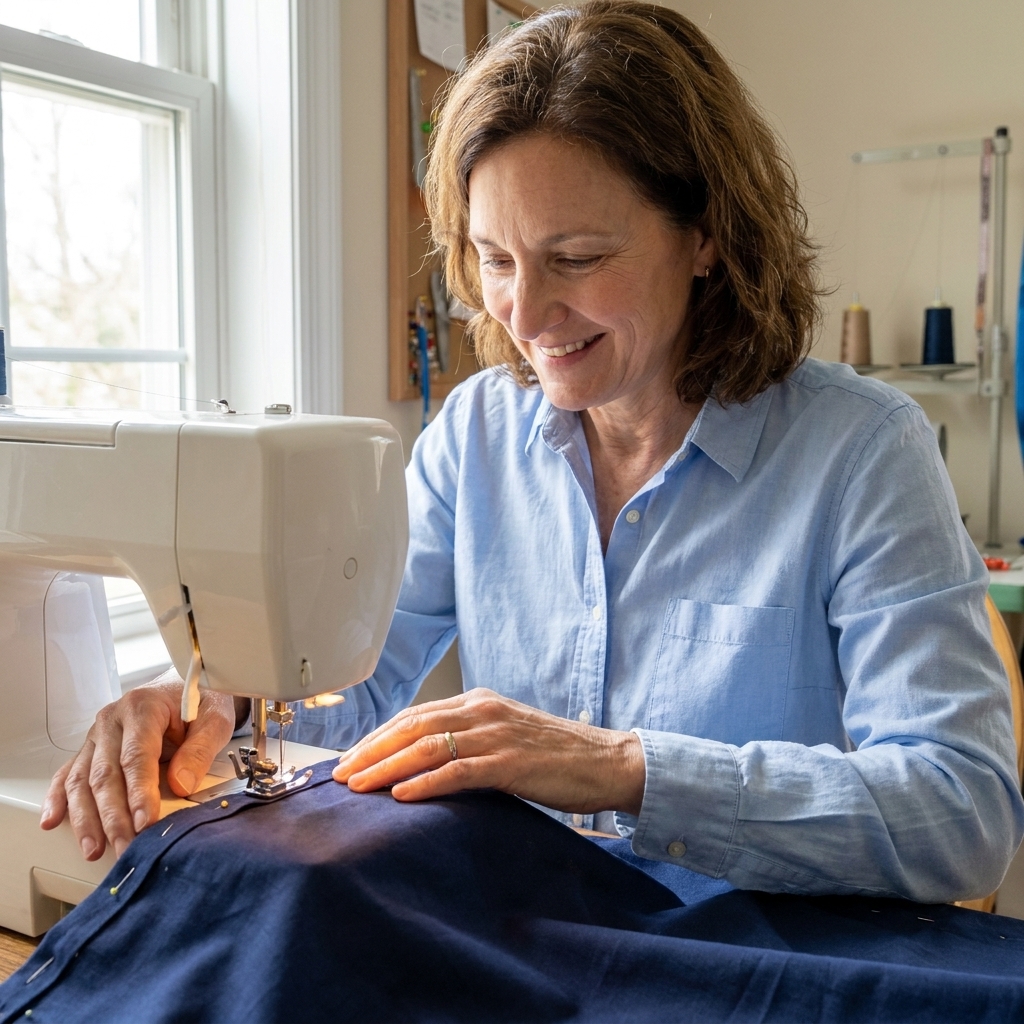
- Pin or clip, then stitch close to the inner fold.
Beginner tip: If your corners feel bulky, trim a tiny bit off the corner of the folded hem bulk before the second fold. Just do not cut your stitches.
3) Mark the overlap
Lay your hemmed rectangle flat, right side up. Decide which vertical edge will be your inner edge (the one that sits against you first, under the outer layer). From the top corner of that inner edge, measure in your overlap amount (8 to 12 inches / 20 to 30 cm) and mark it.
This mark is just a guide so you can see where the inner layer should reach once you wrap it. The skirt piece stays rectangular. The wrap happens through how you tie and anchor it.
4) Make the ties
Each tie rectangle becomes a fabric strap.
- Fold a tie in half lengthwise, right sides together.
- Stitch along the long edge with a 1/2 inch (12 mm) seam allowance, and stitch across one short end.
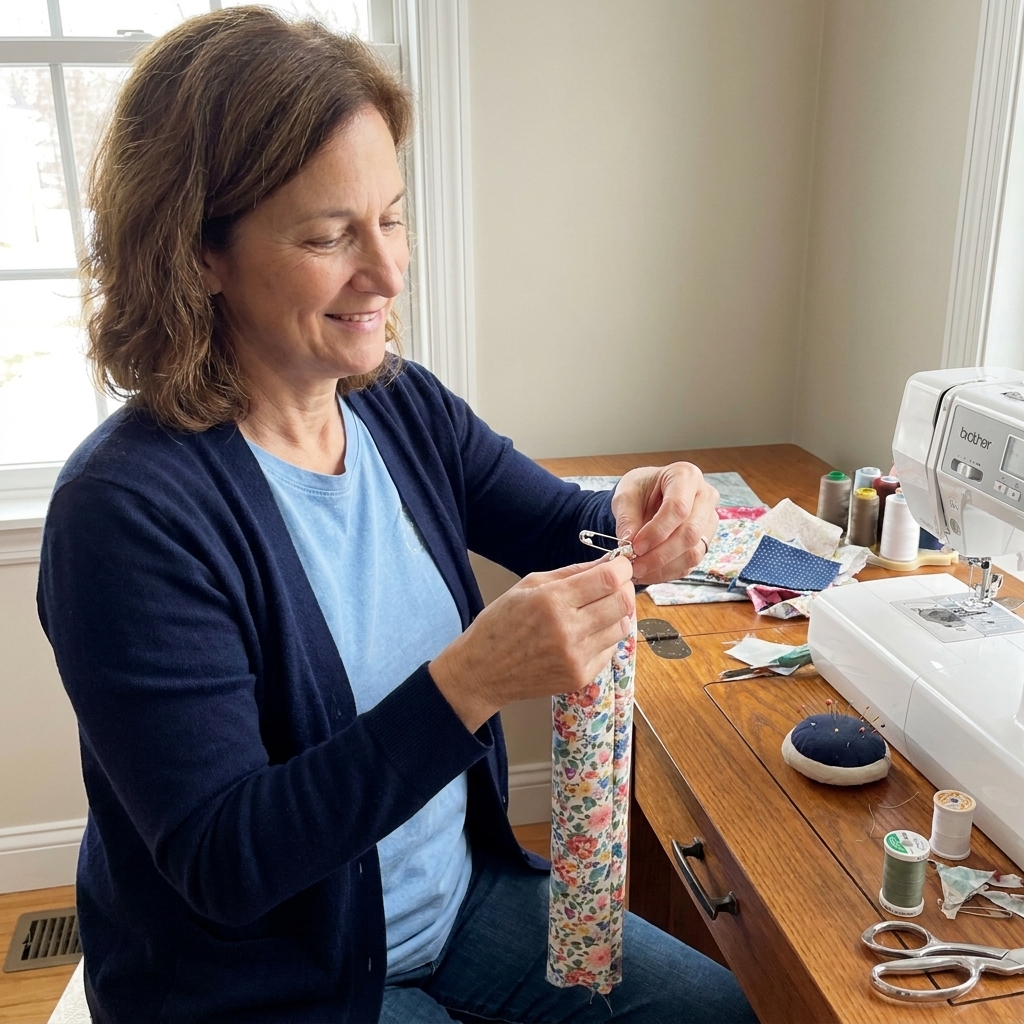
- Trim seam allowance slightly, turn right side out using a safety pin or bodkin, and press flat.
- Repeat for the second tie.
5) Press the waistband casing
- Take the waistband rectangle and press it in half lengthwise, wrong sides together. You now have a long strip, 2 inches (5 cm) wide.
- Open it back up. Press each long raw edge in by 1/2 inch (12 mm).
- Fold it back on the center crease so the pressed edges are tucked inside. Press again.
6) Add ties to the waistband
Before you sew the waistband onto the skirt, we will sandwich the ties inside it.
- Slide one tie end into the left end of the waistband casing about 1/2 inch (12 mm). Pin.
- Slide the other tie end into the right end of the waistband casing about 1/2 inch (12 mm). Pin.
- Stitch across both short ends of the waistband casing to close them and secure the ties.
7) Attach the waistband
- Find the center of your skirt top edge and the center of your waistband. Mark with pins.
- Wrap the waistband casing over the raw top edge of the skirt so the skirt top edge sits inside the casing.
- Pin all the way along, matching centers and smoothing as you go.
- Stitch close to the lower folded edge of the waistband, all the way across.
- Stitch close to the upper folded edge too for a tidy finish (optional, but it helps it stay flat).
Press, press, press: A quick press before stitching makes your waistband look instantly more polished.
8) Anchor the inside (no buttonholes required)
You need a way to secure the inside layer so the skirt does not drift open while you walk. The key is placement: the anchor should sit at your side waist, not at the skirt edge.
A simple way to think about it: choose the side where you want your bow to land. The tie coming from the opposite waistband end is usually the one that needs to pass through the inner anchor first, then travel around your back to meet the other tie and form the bow.
Option A: Inner tie loop (beginner favorite)
- Try the skirt on and wrap it the way you plan to wear it. Decide which side you want the outer bow to land on.
- With the skirt on, mark where the inner layer meets the waistband at your side waist.
- Cut a small strip of fabric 1 inch (2.5 cm) by 3 inches (7.5 cm). Fold it into a small loop and stitch the raw ends together.
- Stitch the loop to the inside of the waistband at your marked point.
- When you wear the skirt, thread the tie from the opposite waistband end through this loop inside, then wrap around and tie outside.
Option B: Pass-through buttonhole
If you want the classic look, sew a buttonhole on the waistband at that same marked side-waist point and cut it open so the inner tie passes through. You are making the buttonhole through the waistband casing only, not through the skirt panel. If buttonholes make you nervous, do not start there. The loop method works beautifully.
9) Final try-on
- Try it on and test your overlap while walking and sitting.
- If you want more coverage, add a small snap inside, or increase overlap next time.
- Clip threads and give the whole skirt a final press.
Fit tweaks
If the waistband feels bulky
Use a lighter fabric for the waistband, or reduce casing width. You can cut the waistband 3.5 inches (9 cm) wide instead of 4 inches (10 cm).
If the skirt gapes open
- Increase overlap to 10 to 12 inches (25 to 30 cm).
- Add the inner tie loop and actually use it. It makes a huge difference.
- Stitch a small hidden snap on the inner layer at hip level.
If you are between sizes
Wrap skirts are wonderfully forgiving. Draft using your larger measurement (usually hip), and rely on the ties to cinch the waist.
Easy variations
- Add pockets: Patch pockets are easiest. Cut two rectangles, hem the top edge, then stitch onto the outer wrap front (the layer you see on top) before attaching the waistband.
- Add trim: Sew lace or rickrack along the hem for a sweet finish.
- Change the hem: Try a curved hem once you feel confident. It is great practice for slow stitching and pressing.
- Use contrast ties: A fun way to use scraps or thrifted fabric.
Troubleshooting
My hem is wavy
This usually means the fabric stretched while sewing. Press the hem first, use more pins, and stitch a little slower. If it is very wavy, unpick a short section and resew. That is not failure, that is sewing.
The waistband twists
Press it flat again and add that second line of stitching along the top edge. Two rows of stitching help it behave.
I sewed the ties in the wrong direction
Welcome to the club. Unpick the end seam of the waistband, reposition, and restitch. This is exactly why seam rippers exist.
Care
If you used prewashed cotton, your skirt can usually be machine washed cold. For linen and linen blends, machine wash cold is also typically fine, and you can air dry or tumble dry low if you like. If your fabric is likely to shrink, always prewash before cutting next time. Handmade clothes deserve a little kindness, but they do not have to be precious.
FAQ
Do I need a pattern printer?
No. This pattern is drafted from rectangles using your own measurements, so you can cut directly on fabric or trace onto paper first.
Do I need to finish the seams?
Not strictly, but I recommend it for fabrics that fray. A simple zigzag stitch is perfect for beginners. If you pieced your skirt panel, finishing that piecing seam is especially helpful.
How long does it take?
For most beginners, 2 to 4 hours including pressing and hemming. Your second one will be faster, promise.
What if I want it more flowy?
Add width. Increase the ease portion in the formula from 10 inches (25 cm) to 14 inches (35 cm). More fabric equals more swish.
Your next tiny step
If you make this wrap skirt, keep a little note of what you loved and what you would tweak next time (longer ties, more overlap, a deeper hem). That is how sewing confidence is built, one perfectly normal learning moment at a time. And if you catch yourself thinking, “I cannot believe I made a skirt,” please know that is my favorite part.