If you have a rectangle of fabric and a tiny bit of curiosity, you can make an infinity scarf. This is one of my favorite confidence-boosting projects because it is basically two seams and a little turning trick. If you can sew a straight line (even a wobbly one), you are in business.
This free infinity scarf pattern works with lightweight knits for a soft drape, quilting cotton for a crisp look, or flannel for cozy warmth. I will show you the easiest method first, plus a few small tweaks depending on your fabric.
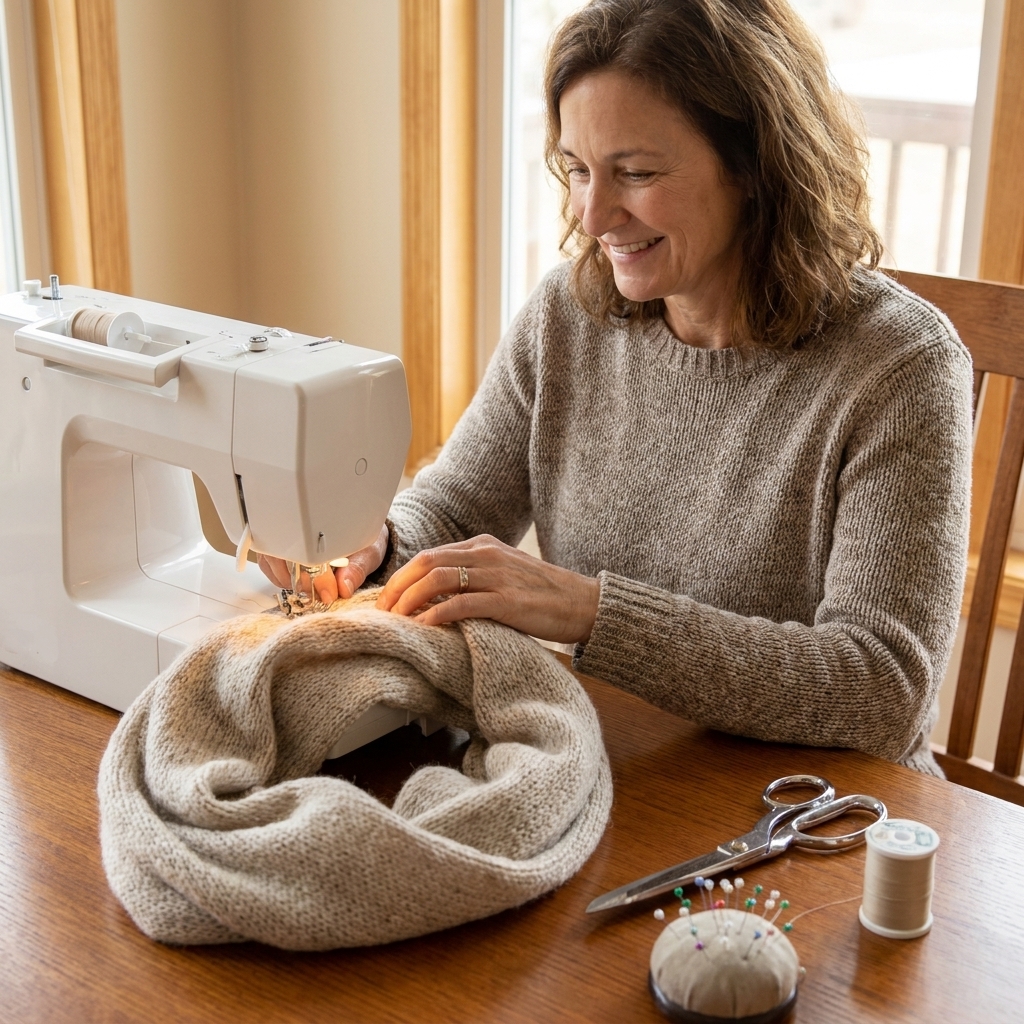
What you will make
A simple loop scarf made from one long rectangle. You will sew the long edges to form a tube, then join the short ends to make a loop, leaving a small opening to turn everything right side out.
- Skill level: Absolute beginner
- Time: About 15 to 30 minutes (closer to 15 once you have done it once)
- Stitches: Straight stitch (plus a zigzag or stretch stitch if using knits)
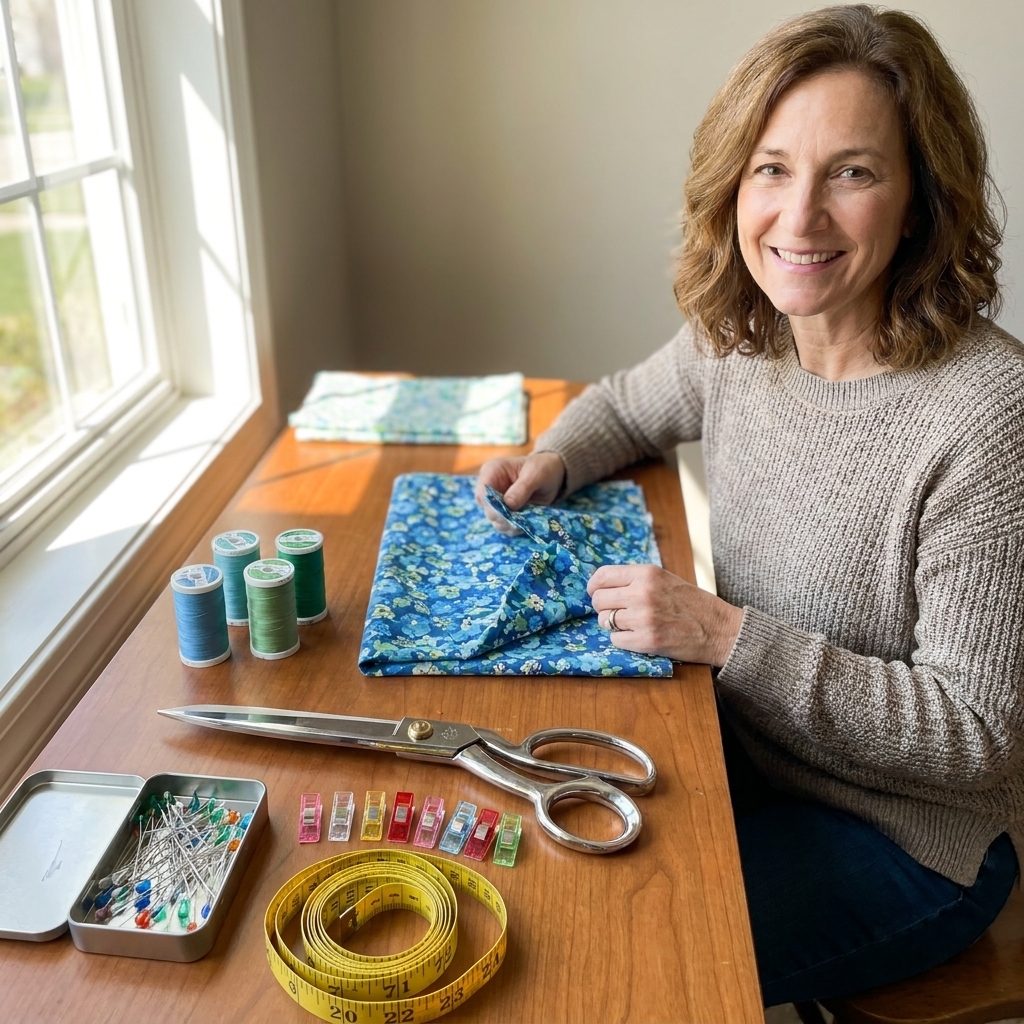
Materials and tools
- Fabric (amounts below)
- Matching thread
- Scissors or rotary cutter
- Pins or clips (clips are wonderful for knits)
- Measuring tape or ruler
- Sewing machine
- Iron (optional but very helpful)
- Seam ripper (not because you will fail, but because you are a sewist now)
Free pattern (cut size)
This pattern is a rectangle. Pick a size based on how you want it to sit around your neck.
| Fit and look | Cut size (width x length) | Best fabrics |
|---|---|---|
| Lightweight, drapey (classic loop) | 18 in x 60 in | Lightweight knit, rayon jersey, cotton voile |
| Everyday (one cozy loop) | 20 in x 65 in | Quilting cotton, flannel, stable knits |
| Extra cozy (loftier fabrics) | 22 in x 70 in | Flannel, sweater knit, double gauze |
| Kid size | 10 to 12 in x 45 to 50 in | Cotton, flannel, stable knit |
Seam allowance: Use 1/2 inch unless noted otherwise.
Buying fabric (quick yardage guide): For most adult sizes, 1 3/4 to 2 yards of 44 to 45 inch wide fabric is usually enough if you cut the scarf length parallel to the selvage (so the 60 to 70 inch measurement runs along the fabric length). Keep in mind the usable width is often a bit less once you avoid the selvages.
- Example: For an 18 in x 60 in scarf, you need a 60 inch length from the bolt and at least 18 inches of usable width.
- Example: For a 22 in x 70 in scarf, you need a 70 inch length from the bolt and at least 22 inches of usable width.
If your fabric cut is shorter (or you are working with a remnant), no stress. You can piece two rectangles together (instructions below).
Best fabrics (and what changes)
Lightweight knit (my favorite for a soft drape)
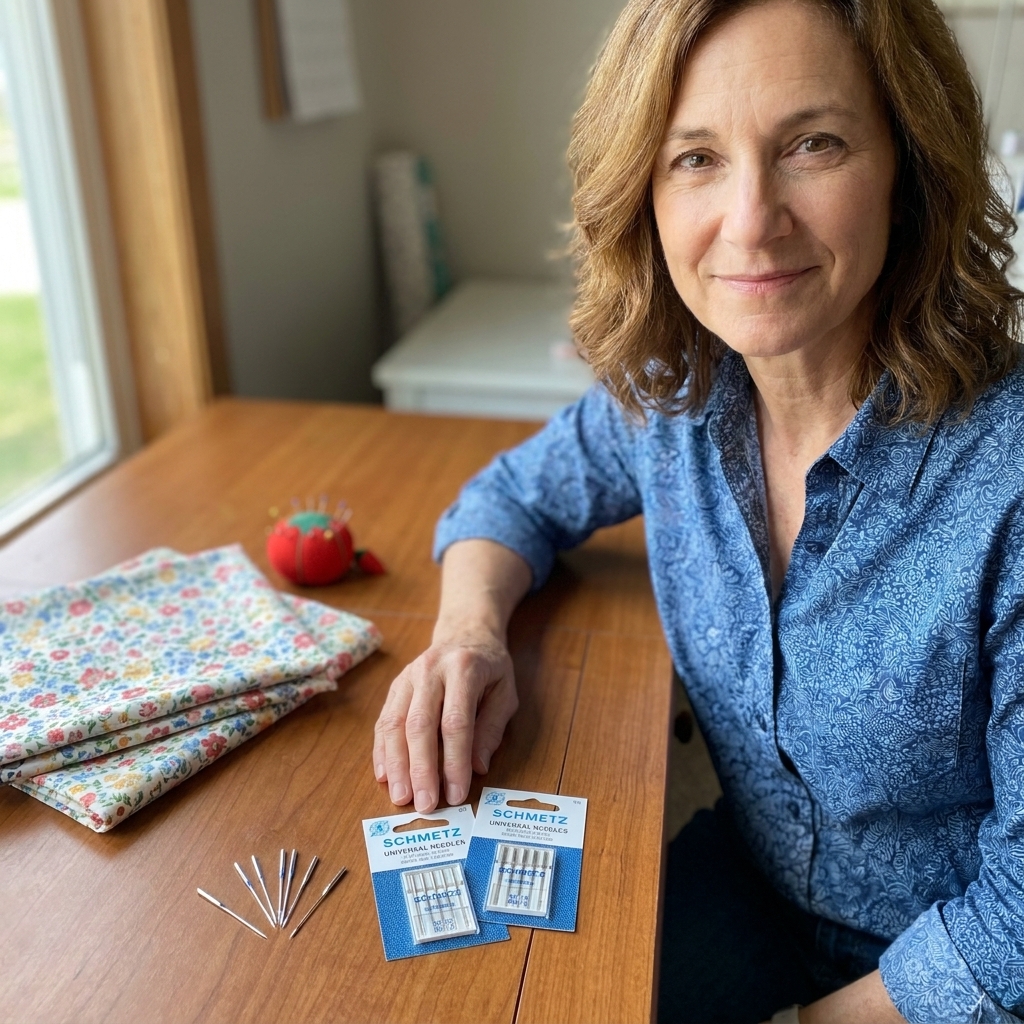
- Use a stretch needle or ballpoint needle.
- Use a stretch stitch or a narrow zigzag so the seam can stretch.
- Do not pull the fabric while sewing. Let the machine feed it.
- If you have one, a walking foot can help prevent waviness.
Quilting cotton (crisp and beginner-friendly)
- Standard universal needle is perfect.
- Straight stitch all the way.
- Pressing makes it look extra polished.
Flannel (cozy and forgiving)
- Flannel frays a bit, so consider finishing seams with zigzag or an overcast stitch if you like.
- It is slightly thicker, so use clips and sew a touch slower.
About double gauze: It is not thick, but it can feel a little lofty and puffy once it is doubled into a scarf. It makes a soft, cozy loop without the weight.
Skip very slippery fabrics (like satin) for your first scarf. You deserve an easy win.
Cut your rectangle
- Wash and dry your fabric first if it is likely to shrink (hello, flannel). Prewashing also helps prevent dye and shrink surprises later.
- Square up one end of your fabric so your rectangle is actually a rectangle.
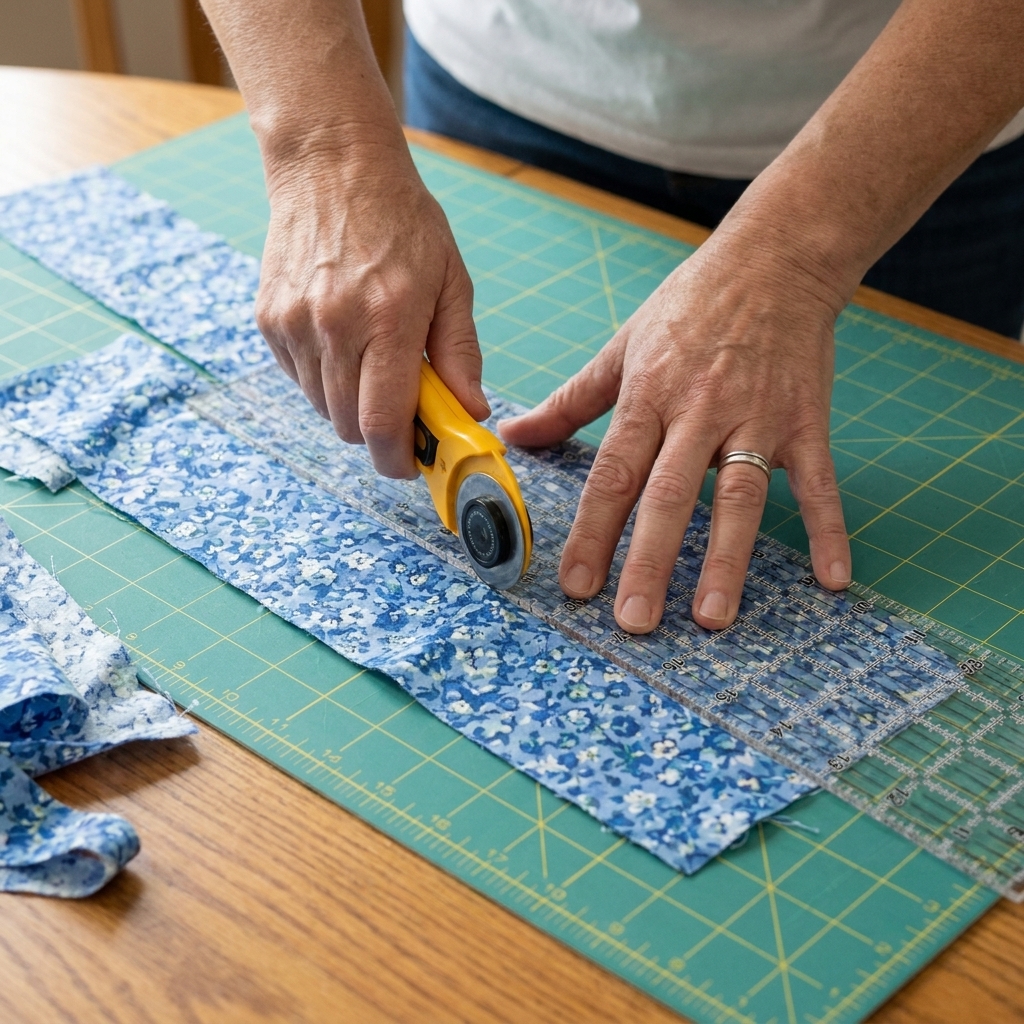
- Measure and cut your chosen width x length.
Infinity scarf tutorial
Step 1: Fold and sew the long edge
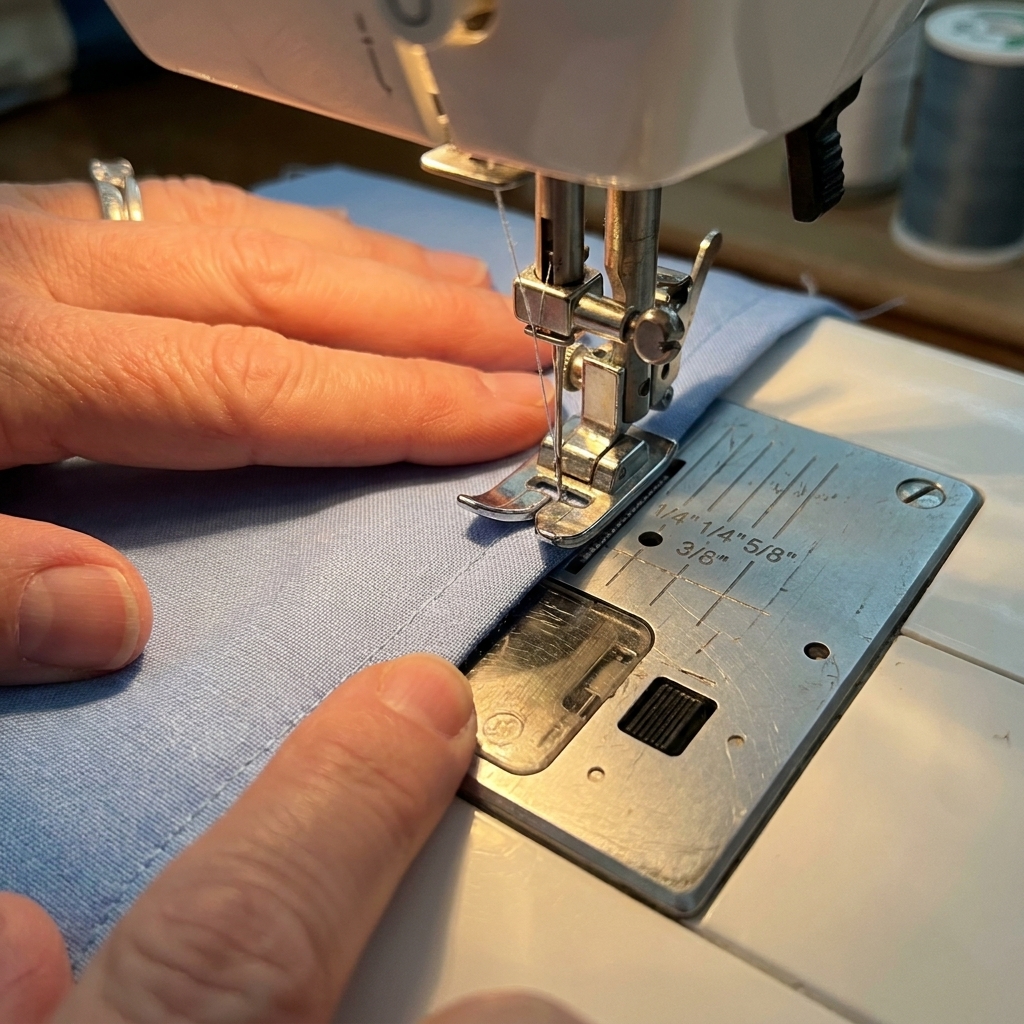
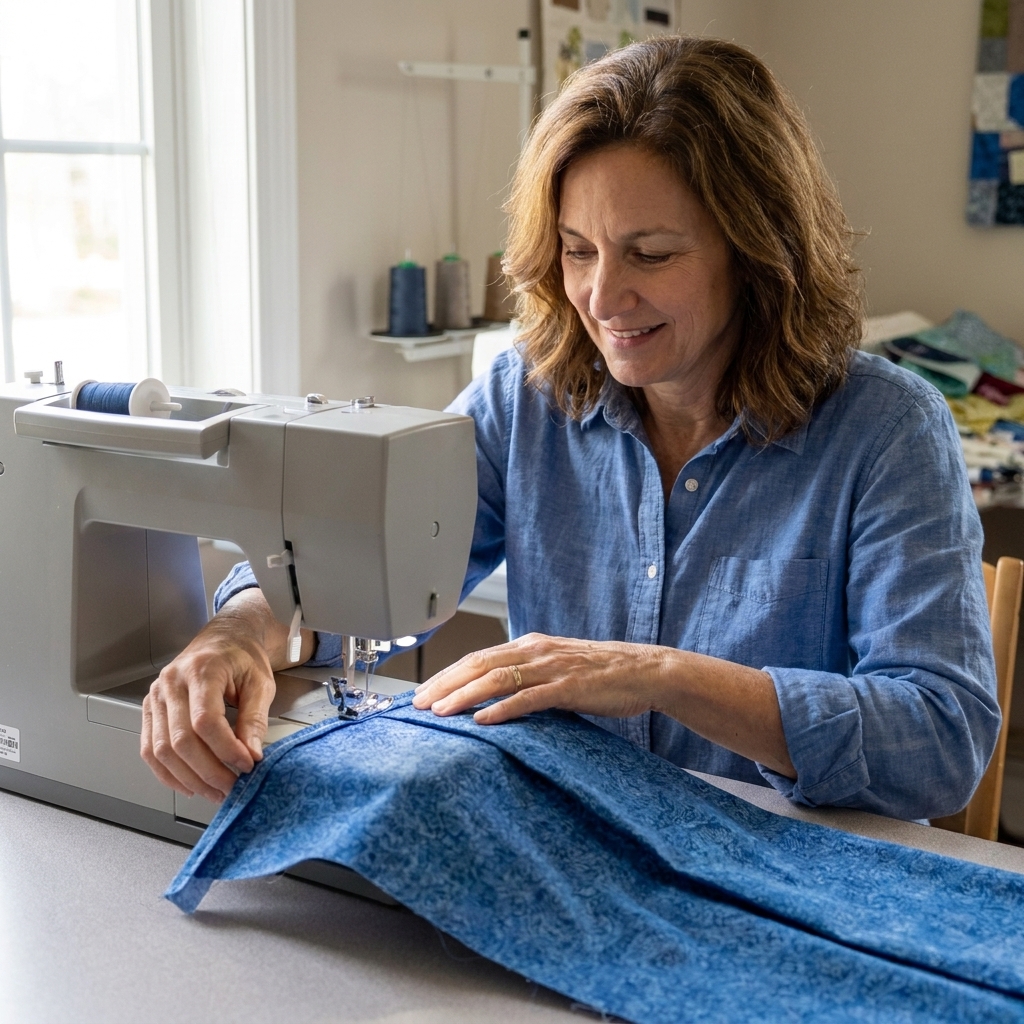
Fold your fabric rectangle right sides together, matching the long edges. Pin or clip along the long edge.
Sew the long edge using a 1/2 inch seam allowance to make a long tube.
- Cotton or flannel: Straight stitch is great.
- Knit: Stretch stitch or narrow zigzag.
If you have time, press the seam open (cotton) or press it to one side (knit or flannel). Not mandatory, just nicer.
Optional, tidy seams: For fray-prone wovens, you can zigzag or overcast the seam allowance after sewing. It is not required for a scarf, but it is a nice upgrade.
Step 2: Turn the tube right side out
Reach inside the tube and pull the fabric through so the right side is facing out. Now you have a long fabric tube.
Tip: If turning feels fussy, use a safety pin clipped to one end to help pull it through.
Knit note: Do not worry if the edges curl a bit. It will settle once everything is joined up.
Step 3: Match the short ends
Lay the tube flat with the seam running down the middle.
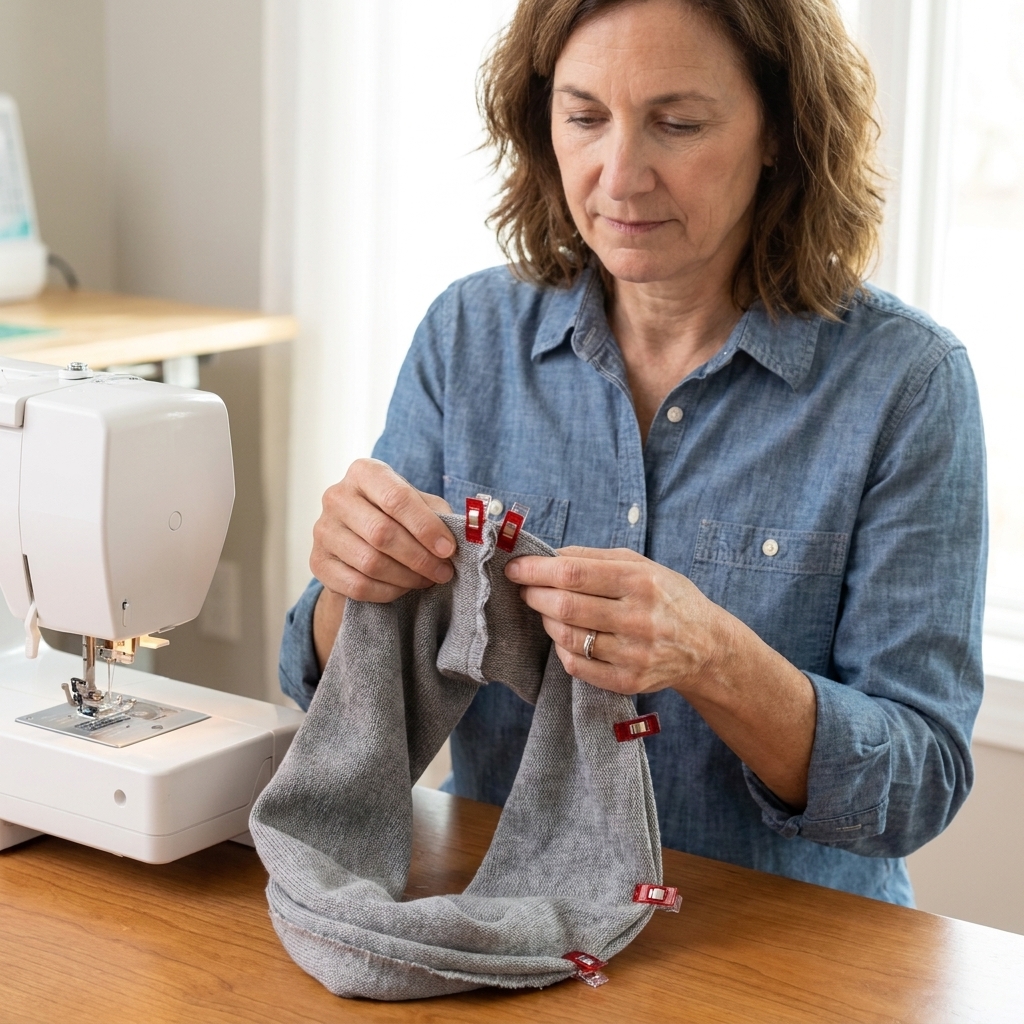
Hold one short end in each hand, then push one end into the other so you are nesting the ends together. You are aligning the two raw end circles while the tube is still right-side out. A section will look a bit inside out. That is exactly what you want.
- Line up the raw edges all the way around.
- Match the seam to the seam.
- Quick check: At the seam you are about to sew, you should see right sides touching. If you see wrong sides touching, flip one end and try again.
You will now be looking at a donut-shaped bundle of fabric. This is the part that feels like a magic trick the first time, and then it becomes your new party skill.
Step 4: Sew the final seam (leave an opening)
Sew around the raw edge of the nested short ends with a 1/2 inch seam allowance, stitching through both layers all the way around the circle.
On this same circle seam, stop and leave a 3 to 4 inch opening unsewn. Backstitch at the start and stop so the opening does not grow.
Do not skip the opening. It is how you will turn the scarf right side out.
Thick fabric tip: If you are using flannel or sweater knit, you can reduce bulk by grading the seam allowance after sewing. Trim one seam allowance layer slightly narrower than the other (do not cut your stitches).
Step 5: Turn right side out and close the opening
Pull the scarf through the opening until the whole loop is right side out. Tuck the raw edges of the opening to the inside and press if your fabric allows.
Close the opening using one of these beginner-friendly options:
- Machine stitch: Edgestitch close to the fold (fastest). Use matching thread and a slightly longer stitch length for a cleaner topstitch. This will create a visible stitch line at one small spot on the scarf, which is totally fine.
- Ladder stitch by hand: Nearly invisible, still beginner-friendly, and great practice if you want a more seamless look.
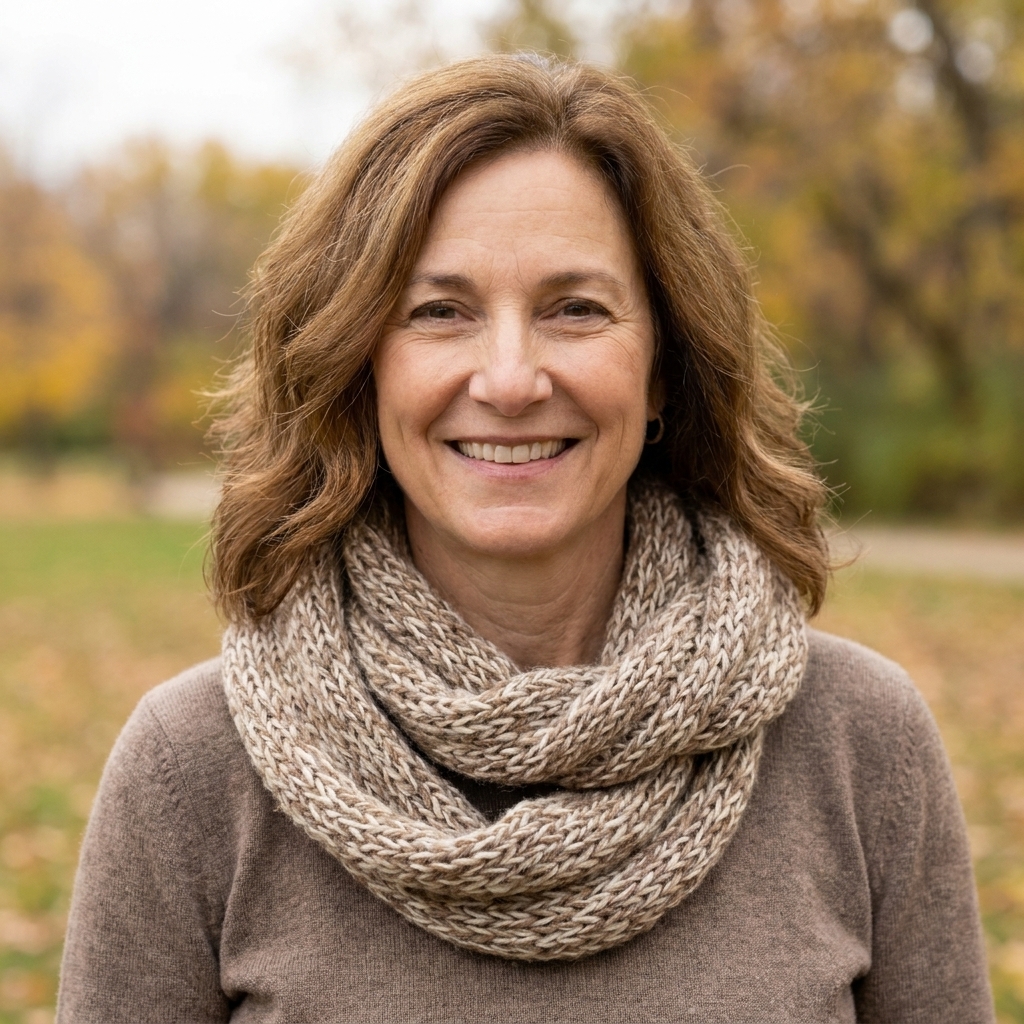
Give your scarf a final press (cotton or flannel), fluff it up, and you are done.
If your fabric is not long enough
If you only have a shorter cut, you can piece two rectangles together before Step 1.
- Cut two pieces that add up to your desired length (for example, two pieces at 30 inches to make 60 inches).
- Put the pieces right sides together along the short edge.
- Sew with a 1/2 inch seam allowance and press the seam open.
- Now treat it like one long rectangle and continue the tutorial.
Troubleshooting
My knit seam looks wavy
- Make sure you are not stretching the knit as you sew.
- Try a slightly longer stitch length or a stretch stitch.
- Reduce presser foot pressure if your machine allows.
- Try a walking foot if you have one.
My scarf twists weirdly
This usually happens if the tube got flipped when nesting the short ends. Before sewing the final seam, run your fingers along the tube and double-check that it is not twisted. If it is, untuck and try again. This is a seam ripper moment, not a you moment.
The opening is bulky
- Grade the seam allowances around the final seam on thicker fabrics (trim one layer slightly narrower than the other).
- Press the opening edges neatly before closing.
- Hand sew the opening with a ladder stitch for a flatter finish.
Flannel is fraying inside
Add a quick zigzag or overcast stitch over the seam allowance, or trim with pinking shears. Not required, just tidier.
Optional upgrades
- Add a label: Stitch a small folded tag into the final seam.
- Make it reversible: Use two coordinating fabrics, cut two rectangles, sew them into one longer piece, then continue as usual.
- Topstitch: After sewing the long seam, topstitch 1/8 inch from the seam for a polished look (best on cotton).
Care
- Best rule: Follow your fabric care label when in doubt.
- Cotton and flannel: Machine wash cold or warm, tumble dry low. Press as needed. Prewashing helps prevent surprises.
- Knit: Wash cold, lay flat to dry if it tends to stretch out.
Quick FAQ
How long should an infinity scarf be?
For adults, 60 to 70 inches is a sweet spot. Shorter (around 55 to 60) makes a snug, single loop. Longer (65 to 70) is better if you want to double loop comfortably.
What width is best?
18 to 22 inches is great for a cozy look. If you want a lighter, less bulky scarf, go closer to 15 to 18 inches.
Do I need a serger?
Nope. A regular sewing machine is perfect. If you are using knits, just choose a stretch-friendly stitch.
Can I make this without hand sewing?
Yes. Close the opening with a neat machine edgestitch. It is fast and sturdy, and beginner-approved.
One last pep talk
Your first infinity scarf does not need to be perfect to be lovable. The goal is to finish, wear it, and feel that little spark of pride that comes from making something with your own hands. If you get stuck, slow down, take a sip of tea, and remember: the seam ripper is just a tool, not a report card.