A drawstring bag is one of those “I cannot believe I made this” projects that looks polished, works hard, and teaches you a skill you will use forever: sewing a clean casing (the little tunnel that holds the cord). I use these for everything from charging cables to travel toiletries, and they also make the sweetest reusable gift wrap.
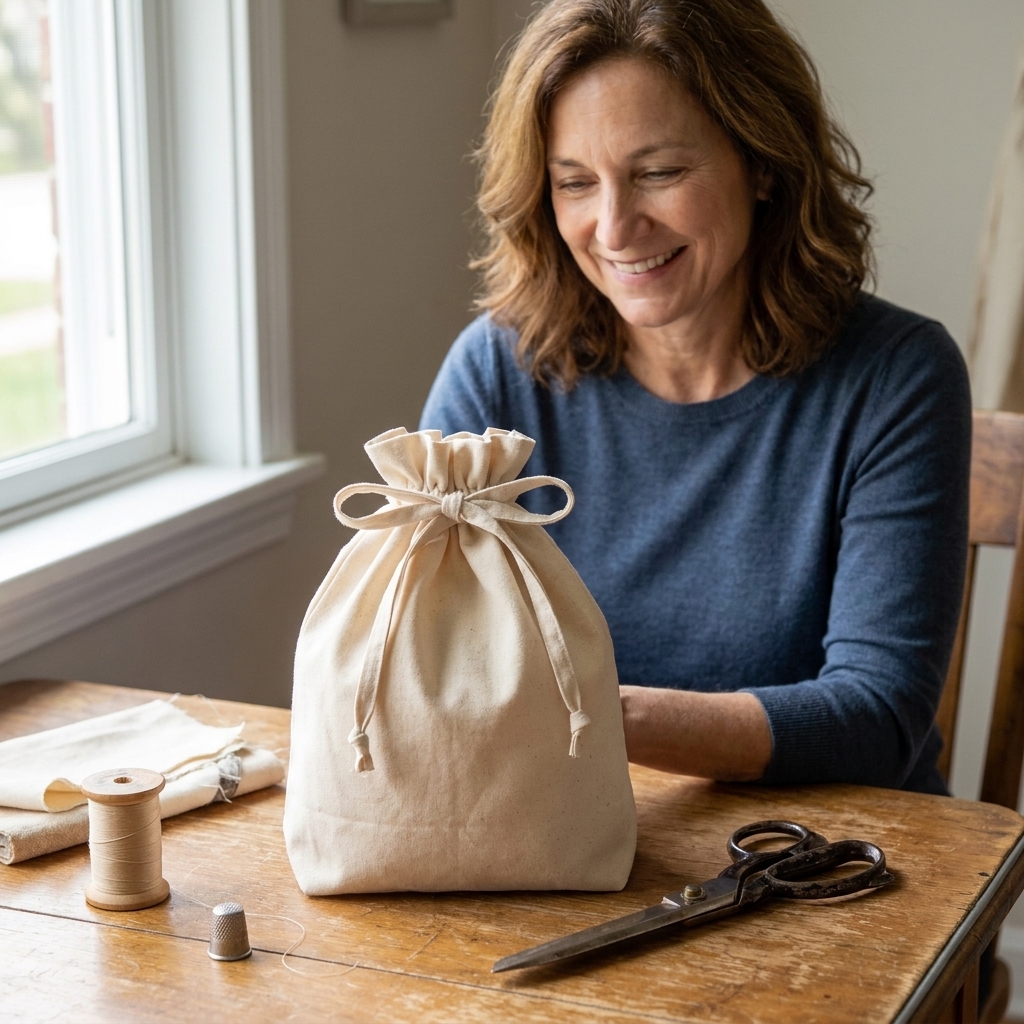
This tutorial is written for true beginners, so I will spell out the tiny steps that other instructions love to skip. Keep your seam ripper nearby like a good friend, and let’s stitch.
What you will make
A lined drawstring bag with a neat casing near the top and two cords that pull evenly from both sides. The lining hides raw edges, which means the inside looks as nice as the outside (and beginner Clara absolutely needed that kind of encouragement).
- Finished size: You choose. I will show a simple “cut size to finished size” formula plus a few ready-to-go sizes.
- Skill builders: straight stitching, pressing, turning, topstitching, and sewing a casing channel.
Supplies
- Fabric: woven cotton is easiest (quilting cotton, broadcloth, lightweight canvas). You will cut 4 rectangles total: 2 for the outside and 2 for the lining. All four rectangles are the same size.
- Cord or ribbon: 2 lengths. Cotton cording, paracord, twill tape, or ribbon all work.
- Thread: all-purpose polyester is beginner friendly.
- Tools: sewing machine, scissors or rotary cutter, pins or clips, ruler or measuring tape, safety pin or bodkin for threading the cord, iron and ironing board.
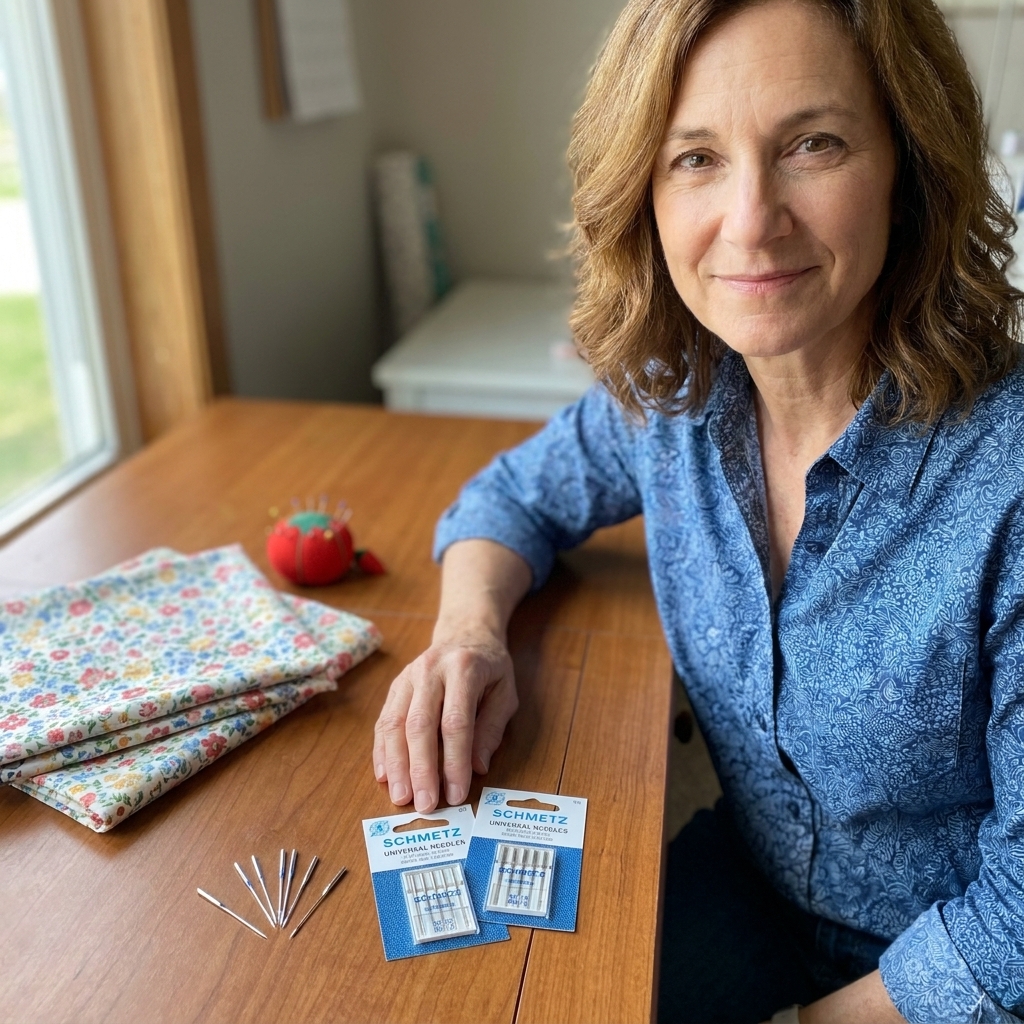
Needle tip: A fresh universal 80/12 needle is perfect for most quilting cotton. If your fabric is thicker (like canvas), a 90/14 is often happier.
Cord tip: Your casing should be roomy. Aim for a channel that is at least twice the thickness of your cord (more is fine). Thick cord in a skinny casing is a special kind of annoying.
Choose your size
This bag uses 1/2 inch seam allowance unless I say otherwise.
Cut size formula
Decide your finished bag width and finished bag height (not including the drawstring ruffle at the top). Then cut 4 rectangles (2 outer, 2 lining):
- Cut width = finished width + 1 inch
- Cut height = finished height + 3 inches
The extra height includes seam allowances plus room for the casing and a little ruffle above it.
Quick sizes
| Use | Finished size (W x H) | Cut 4 rectangles (W x H) | Cord length (cut 2) |
|---|---|---|---|
| Gift cards, jewelry | 5" x 7" | 6" x 10" | 20" |
| Snack bag, small toys | 7" x 9" | 8" x 12" | 26" |
| Project bag, toiletries | 10" x 12" | 11" x 15" | 34" |
Cord length rule of thumb: cut each cord about 2.5 to 3 times the bag width. You can always trim later.
Before you sew
1) Prewash
If you plan to wash the bag later (most of us do), prewash and dry your fabric now to avoid surprise shrinkage.
2) Press your fabric
Crisp, pressed fabric is like having an extra set of hands. It makes your seams straighter and your casing neater.
3) Mark the side openings
Stack your two outer rectangles right sides together and make sure all edges are lined up. Decide which edge is the top (the drawstring opening edge) and keep that orientation the whole time.
On each side seam area of the outer bag, you will leave a small unsewn gap so the cord can exit the casing.
- Mark a 1-inch opening on each side seam.
- Place it so it straddles the casing seam: start the opening at 3/4 inch down from the top edge and end it at 1 3/4 inches down from the top edge.
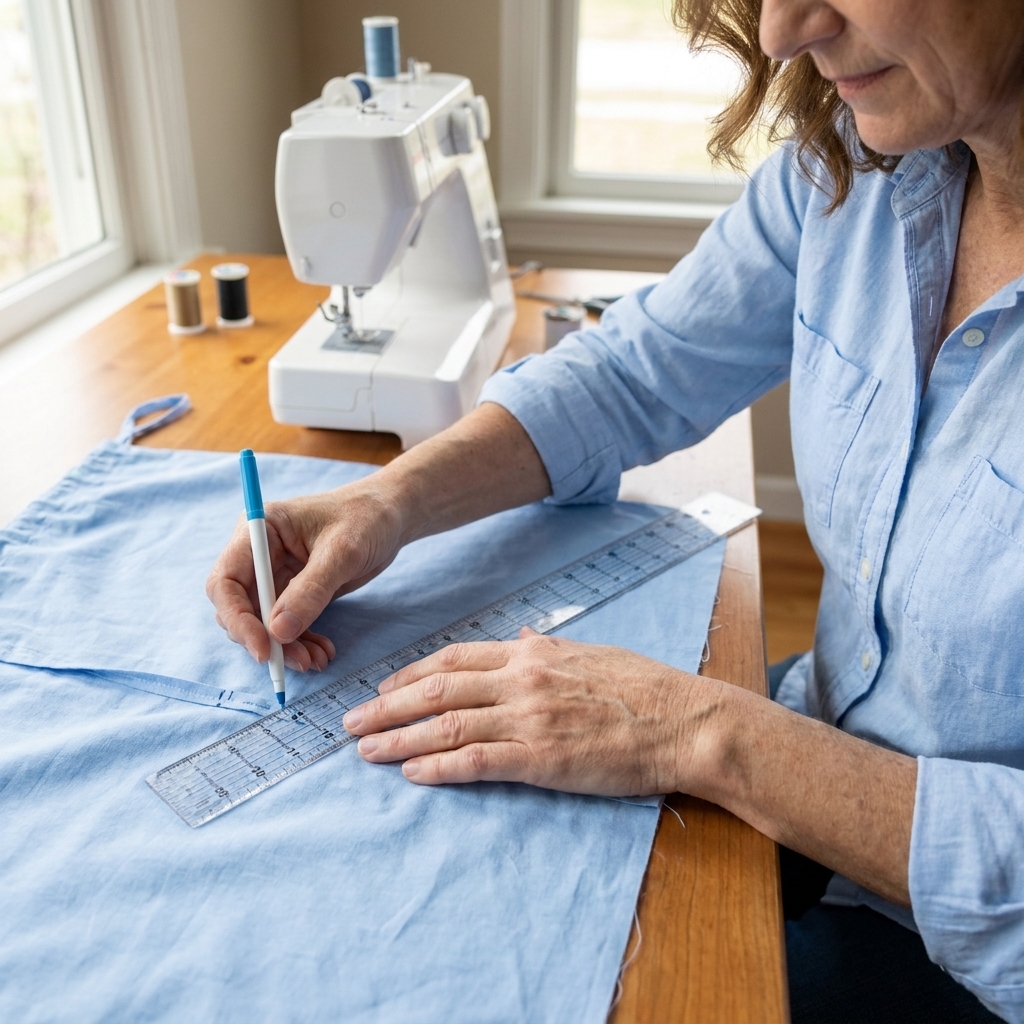
Why the side openings? They let the cord pass through the casing without getting trapped in the side seam. This is the part that makes your bag feel professionally made.
Step by step
Step 1: Sew the outer side seams
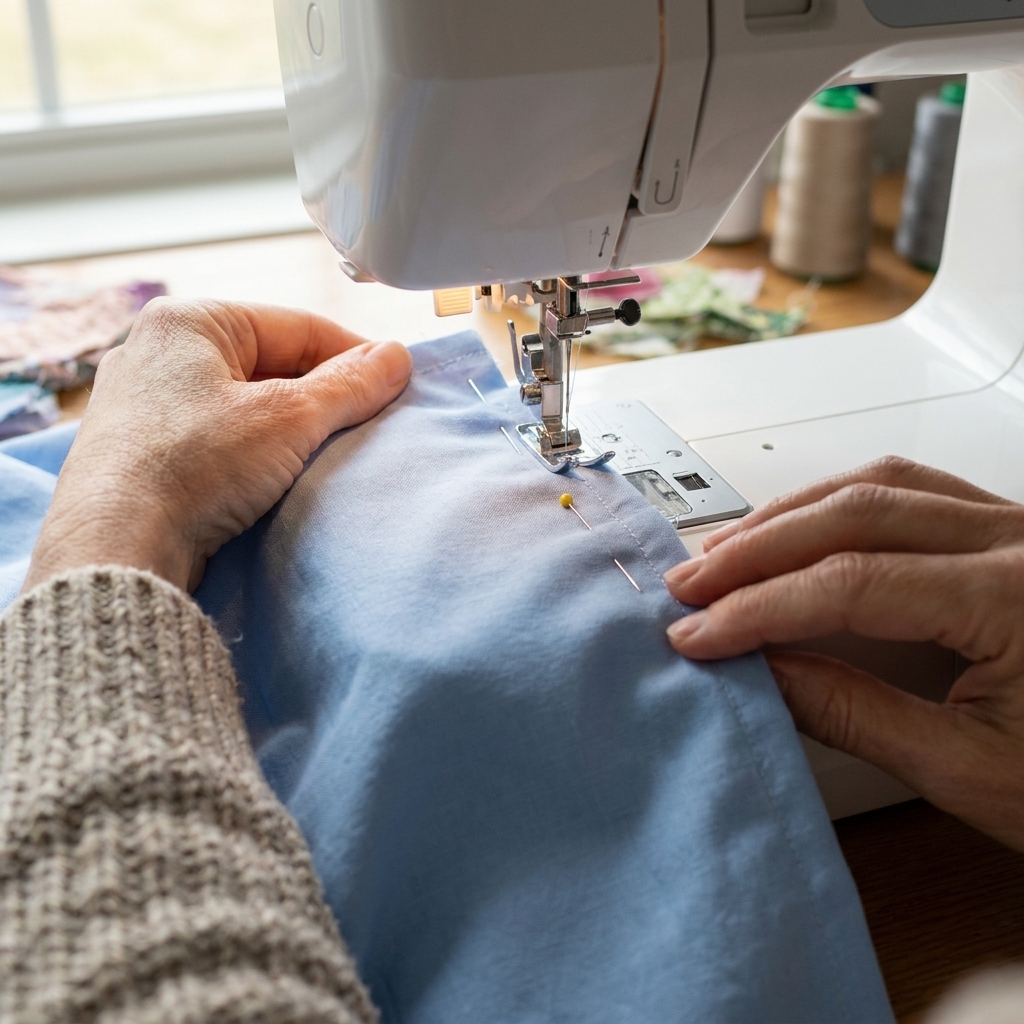
Place the two outer pieces right sides together. Pin or clip along both side edges.
Sew each side seam with a 1/2 inch seam allowance, but stop and start to leave that 1-inch opening you marked:
- Sew from the bottom up.
- Stop at the lower mark (about 1 3/4 inches from the top). Backstitch.
- Skip the opening. Start again at the upper mark (about 3/4 inch from the top). Backstitch.
- Sew to the top edge.
Step 2: Sew the lining seams
Place the two lining pieces right sides together. Sew both side seams all the way from bottom to top using a 1/2 inch seam allowance.
Sew the bottom seam too, but leave a turning gap in the middle, about 3 to 4 inches wide. Backstitch at both ends of the gap.
Step 3: Box the corners
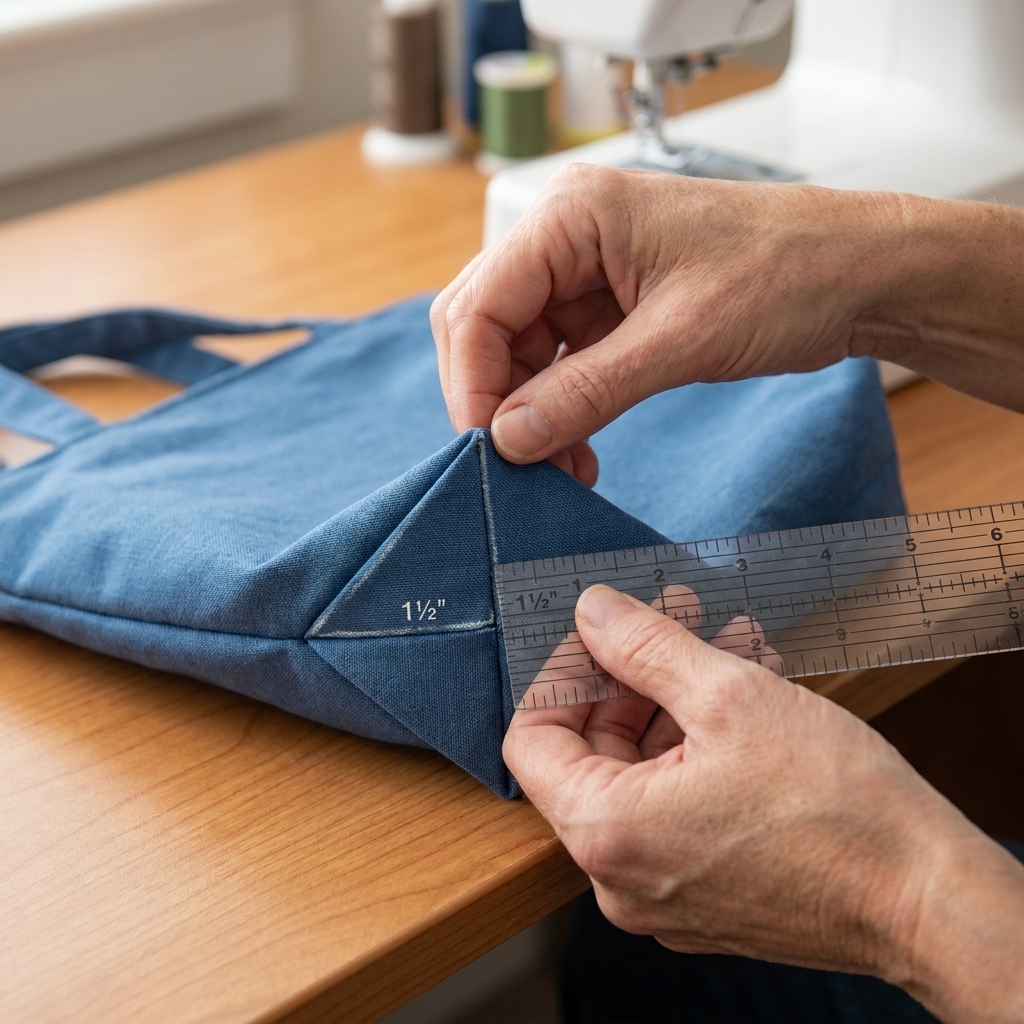
If you want a flat-bottom bag that stands up better, box the corners on both outer and lining pieces.
With the bag wrong side out, pinch one bottom corner so the side seam and bottom seam line up, making a triangle. Measure in 1 1/2 inches from the point and draw a line. Sew across that line, then trim the triangle leaving about 1/4 inch.
What that measurement means: 1 1/2 inches in gives you a base that is about 3 inches wide.
Repeat for the other corner, and do the same on the lining.
Step 4: Press and secure the openings
On the outer bag, press the seam allowances open, especially around the little side openings. Use the tip of your iron and go slowly.
Beginner trick: Fold the seam allowance under by about 1/4 inch along the opening edges and press. This makes a tidy, sturdy exit for the cord.
To help prevent fraying, add one of these quick reinforcements (pick one):
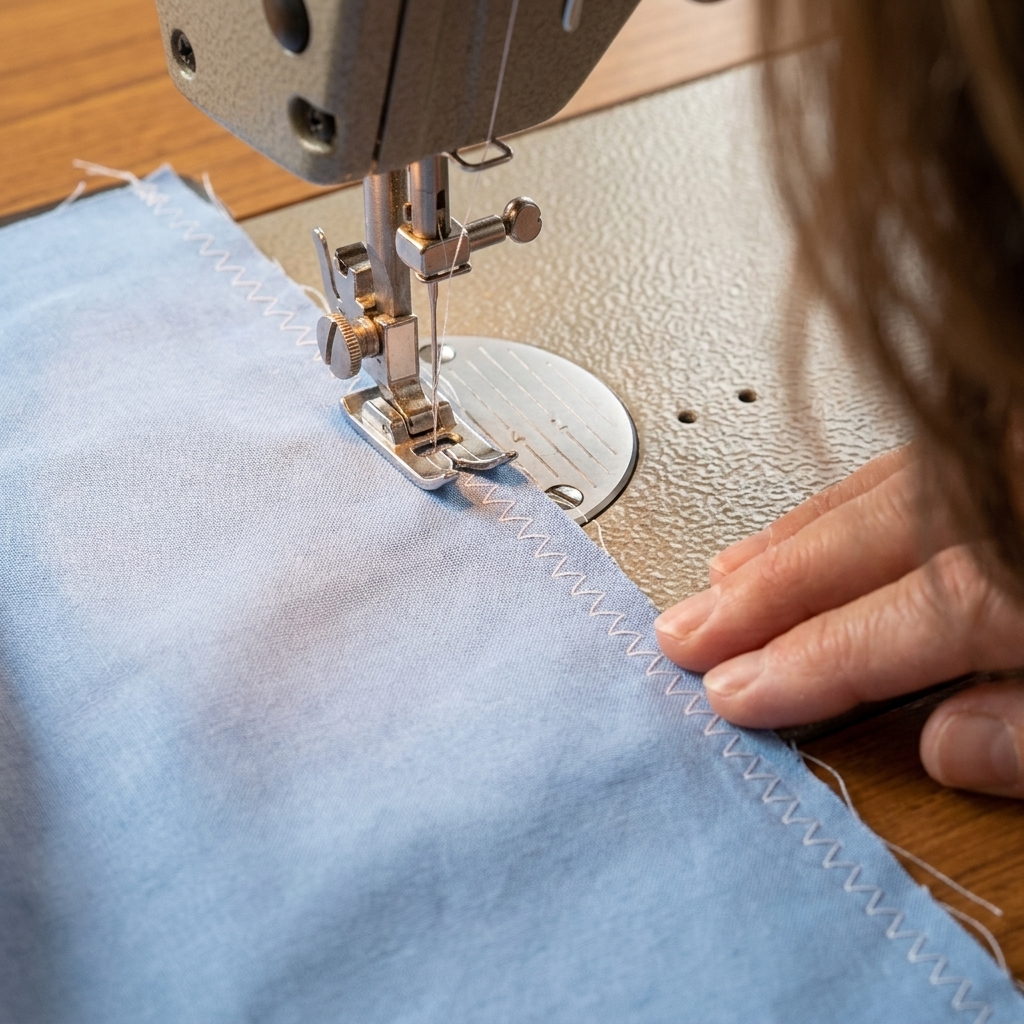
- Zigzag: Sew a short, narrow zigzag along the raw edge inside the opening.
- Mini bar tacks: Stitch a few dense stitches across each end of the opening (right at the top and bottom of the gap) to strengthen it.
Step 5: Nest the outer and lining
Turn the outer bag right side out. Keep the lining wrong side out.
Insert the outer bag into the lining so they are right sides together (the pretty sides touching). Line up side seams and top edges. Pin all the way around the top.
Step 6: Sew the top seam
Sew around the entire top edge with a 1/2 inch seam allowance.
Trim threads, then press the seam allowance toward the lining. If your fabric is thick, you can also trim the seam allowance slightly to reduce bulk.
Step 7: Turn and close the lining gap
Pull the whole bag right side out through the lining turning gap.
Close the turning gap with either:
- Machine stitch: fold raw edges in, press, and stitch close to the edge.
- Hand stitch: a simple slip stitch for an invisible finish.
Push the lining down inside the outer bag and press the top edge until it is crisp and even.
Step 8: Topstitch the top edge
Topstitch around the top edge about 1/8 inch from the seam. This keeps the lining from rolling out and makes the bag look finished.
Step 9: Sew the casing channel
This is the moment to measure, because earlier markings often disappear once everything is sewn, turned, and pressed (you did nothing wrong, it is just fabric being fabric).
With the bag right side out and nicely pressed, measure down from the finished top edge and mark a line all the way around:
- Mark 1 1/4 inches down from the top edge.
- Use chalk, a washable marker, or a ring of pins.
- Double-check that your side openings sit centered on that line. If not, adjust the line slightly so the stitching will run through the middle of the opening area.
Stitch all the way around the bag on that line to form the casing. When you reach your starting point, overlap your stitching by about 1/2 inch to lock it in place.
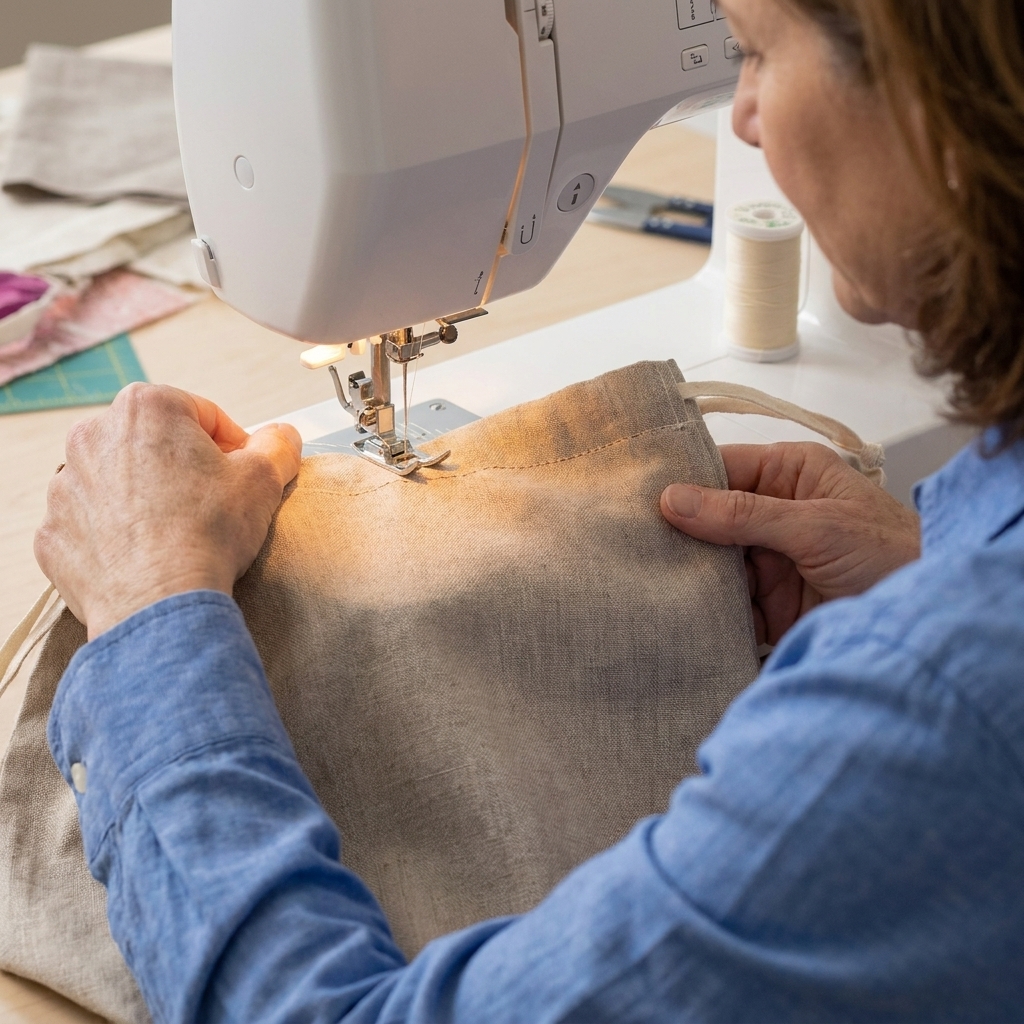
If your fabric bunches: Slow down, keep the bag flat, and pause with the needle down whenever you need to rearrange the fabric. You are the boss of the machine, not the other way around.
Add the drawstrings
Two cords make the bag cinch evenly and open smoothly.
Step 1: Prep the cords
Cut two cords to the length you chose. Seal the ends if needed:
- Cotton cord: wrap the end tightly with a bit of tape or whipstitch with thread.
- Ribbon or twill tape: cut cleanly and tie a small knot at the end.
- Synthetic cord: carefully melt the tip to prevent fraying (use caution and ventilation).
Step 2: Thread cord one
Attach a safety pin to one end of cord #1. Feed it into one side opening, all the way around the casing, and back out the same opening. Tie the two ends of that cord together.
Step 3: Thread cord two
Start cord #2 at the opposite opening and repeat. Tie the ends together.
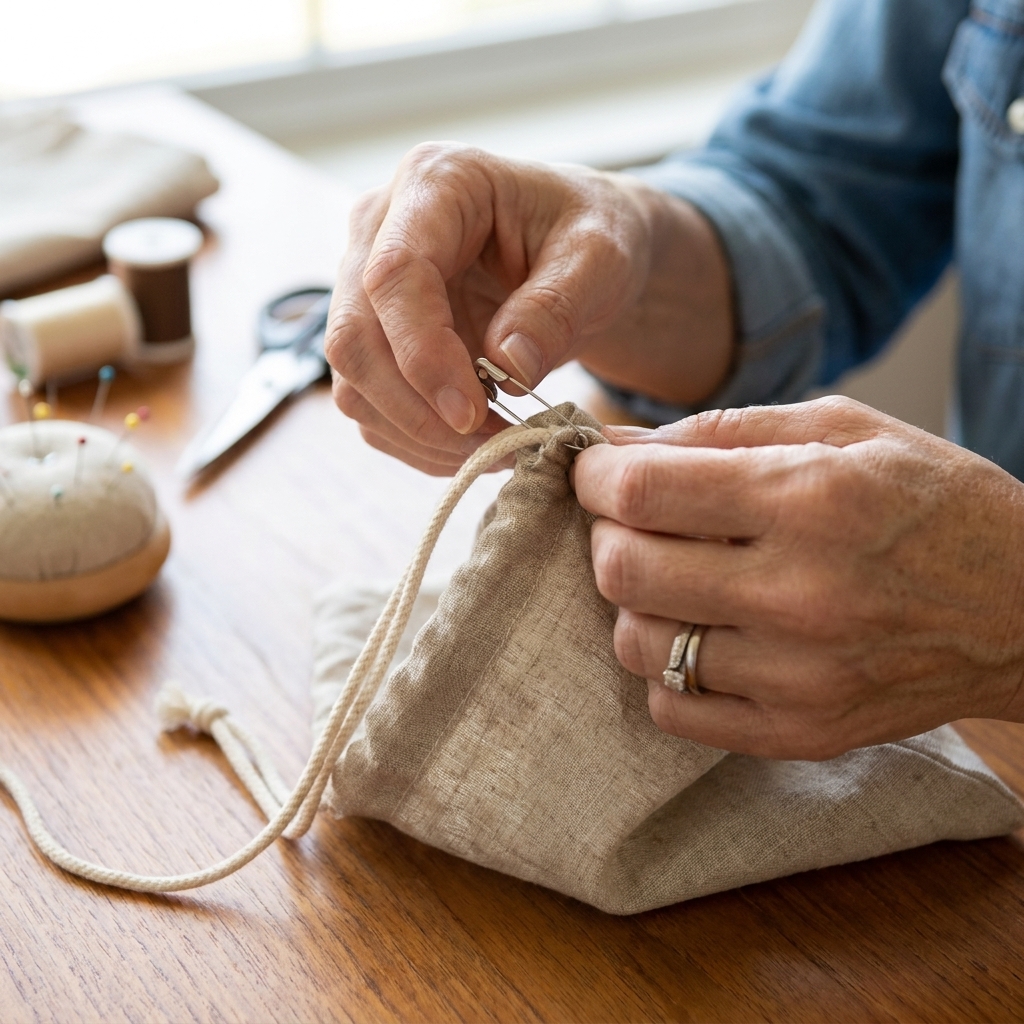
Give both knots a gentle tug at the same time and watch your bag gather up like magic.
Neat upgrades
Contrast lining
A surprise lining is my favorite low-effort wow factor. It also helps beginners see right sides and wrong sides clearly while sewing.
Label loop
Before sewing outer pieces together, baste a small folded ribbon loop into one side seam near the top. It becomes a cute grab loop or a spot to clip keys.
Ribbon drawstring
For gifting, ribbon feels special and slides easily through the casing. Just avoid super slippery satin when you are brand new, since it likes to wiggle out of knots.
Common hiccups
I stitched an opening closed
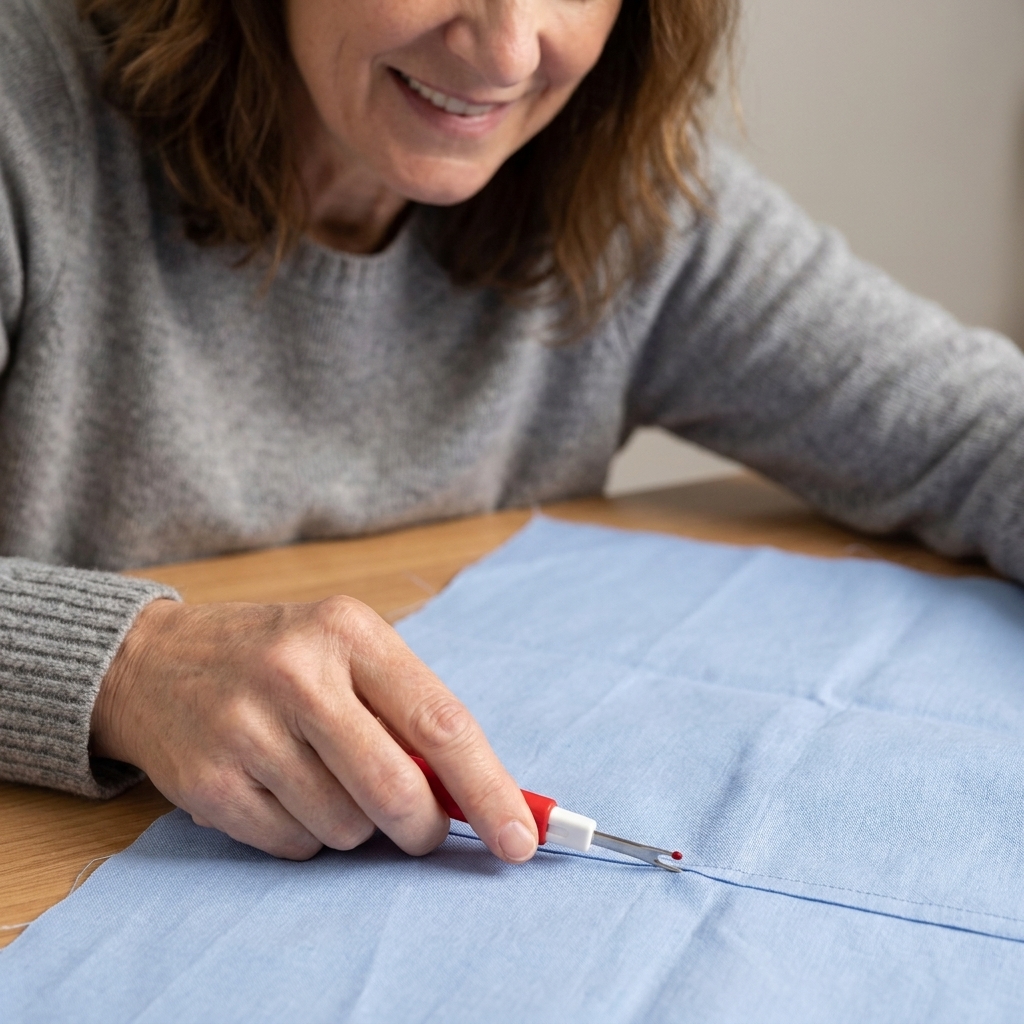
It happens. Use your seam ripper to open just the few stitches that blocked the gap. Then stitch a few securing stitches on either side of the opening to keep the seam strong.
The lining peeks out
Press the top edge firmly, rolling the seam slightly toward the lining. Then topstitch again a hair closer to the edge. A good press solves most “why does this look weird?” moments in sewing.
My bag will not cinch smoothly
Check that:
- Your cord is not twisted or caught in the side seam.
- Your casing channel is wide enough for your cord. If it is tight, sew the casing seam a little lower to create a bigger tunnel.
- You used two cords starting from opposite sides.
The fabric frayed at the openings
Next time, use the fold-under-and-press trick before you assemble. For this bag, add a small zigzag along the raw edge inside the opening and a couple of bar tacks at the opening ends to calm things down.
Ideas for organizing and gifting
- Travel: chargers, earbuds, makeup, socks, hair tools.
- Home: batteries, game pieces, crayons, small toys.
- Sewing room: presser feet, bobbins, rotary blades, fabric clips.
- Gifting: wrap cookies in a food-safe liner bag inside, bundle a candle with matches, or make a “tea night” gift with a mug and sachets.
If you are gifting, I love adding a little tag that says “Reusable bag, keep me!” because it gives the recipient permission to repurpose it instead of tossing it.
Quick FAQ
Do I have to line the bag?
No, but lining is the easiest way to get a clean finish without fussing with raw edges. Once you are comfortable, you can make an unlined version with French seams or zigzagged seam finishes.
What seam allowance should I use?
This tutorial uses 1/2 inch because it is forgiving for beginners and holds up well. If you prefer 3/8 inch, you can use it, just be consistent on every seam.
Can I use one drawstring instead of two?
You can, but the bag usually cinches less evenly and the knot tends to sit off to one side. Two cords are worth the extra minute.
What fabric is best for a first drawstring bag?
Quilting cotton is the friendliest. It presses well, it does not stretch much, and it is easy to stitch. Avoid very slippery fabric for your first try.
One last nudge
If this is your first casing, do not worry if it is not perfectly even. The first drawstring bag I made had a casing that looked like it was sewn during an earthquake, and it still held my stuff for years. Make one, learn one thing, then make a second. The second one always looks like you have been sewing longer than you have.
When you finish, give the cords a proud little tug and enjoy that satisfying scrunch. You made something useful with your own two hands. That never gets old.