If you have ever wished your pillowcases looked as neat on the inside as they do on the outside, meet my favorite little sewing magic trick: the burrito pillowcase method. It sounds silly, but it is the easiest way I know to get a clean finish with no raw edges showing, even if you are brand new to sewing.
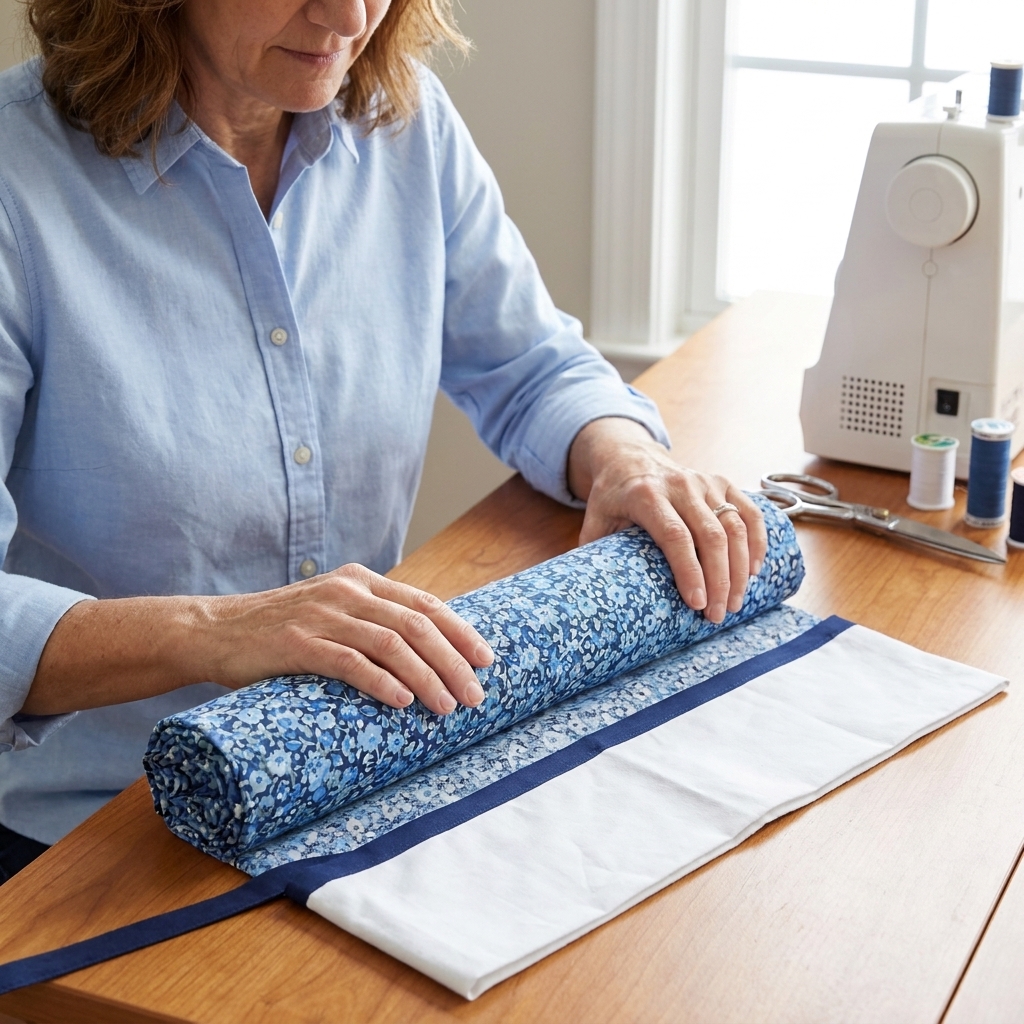
You will sew a standard pillowcase with a main body, a contrasting cuff, and an optional trim (that skinny accent band that makes it look store-bought). Then you literally roll the fabric up like a burrito so you can stitch the cuff to the body with all the seams tucked inside.
What makes this method so great
- Beginner friendly: mostly straight seams.
- Professional finish: the cuff seam is fully enclosed.
- No scratchy edges: nothing frays inside the cuff.
- Fast: once you do one, you will want to make three more.
I also love it as a confidence builder. You get that “wow, I made that” result without needing fancy gadgets or confusing steps.
Materials and tools
Fabric
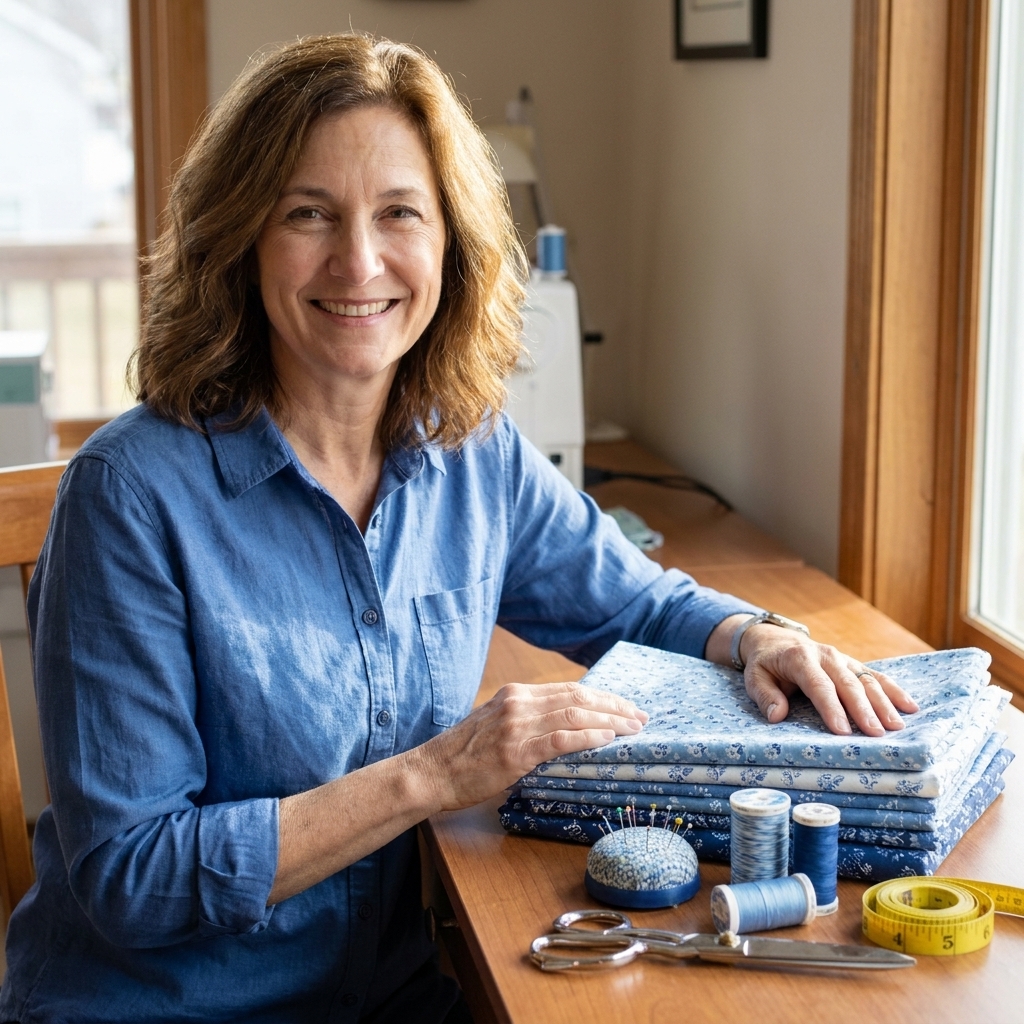
- Main fabric: quilting cotton is perfect for beginners. Broadcloth works too.
- Cuff fabric: same type of cotton, contrasting or coordinating.
- Trim (optional): a third fabric, usually a small print or solid accent.
Fabric width note: These cutting sizes assume a typical quilting cotton width of fabric (WOF) around 42 to 44 inches. If your fabric is narrower, you may need to piece the width or adjust the cut size.
Quick yardage guide (for 42 to 44 inch WOF): Main fabric is usually about 3/4 yard, cuff about 1/3 yard, and trim about 1/8 yard (or use scraps). Yardage can vary with pre-cuts, directional prints, and how carefully you want to fussy cut.
Prewash your fabric if you plan to wash the pillowcases later. Cotton loves to shrink the first time, and it is much kinder to deal with that before you sew.
Notions
- Matching thread
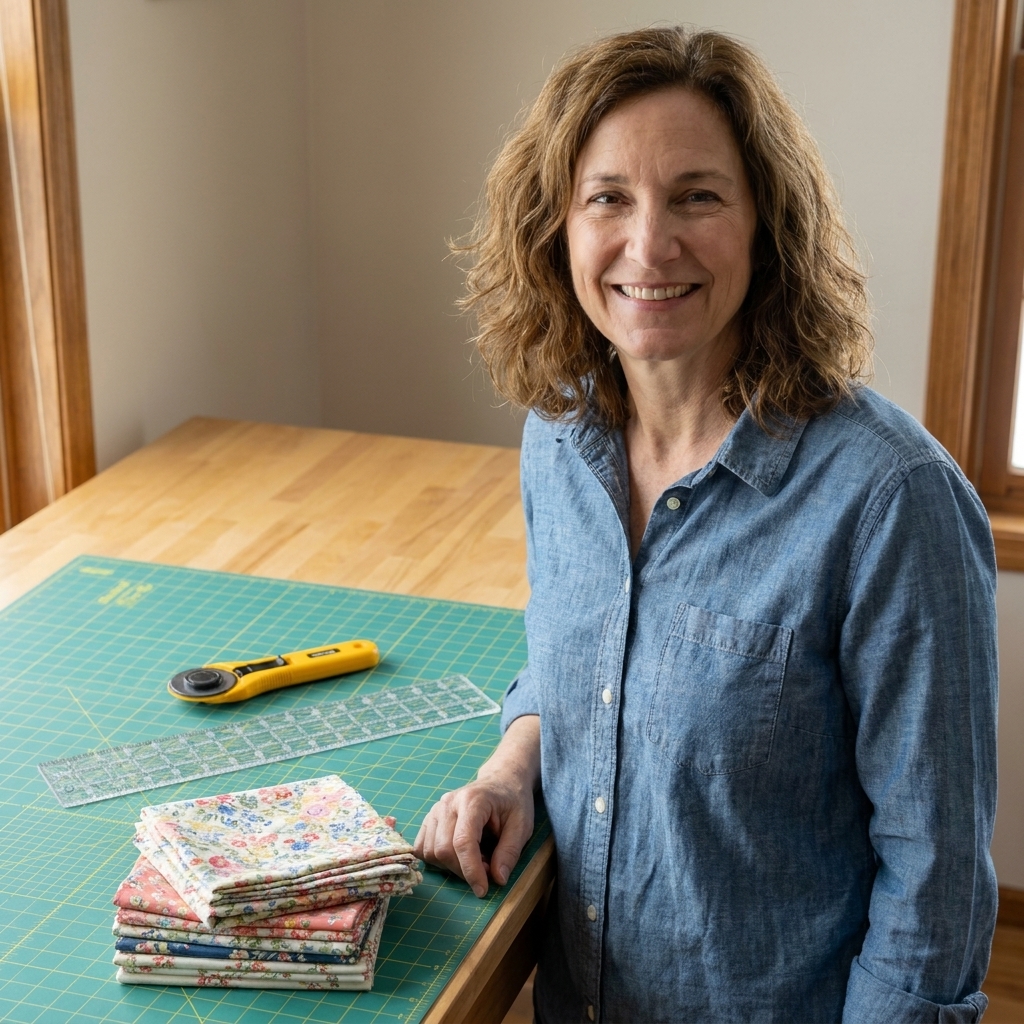
- Fabric scissors or rotary cutter and mat
- Ruler or measuring tape
- Pins or clips
- Iron and ironing board
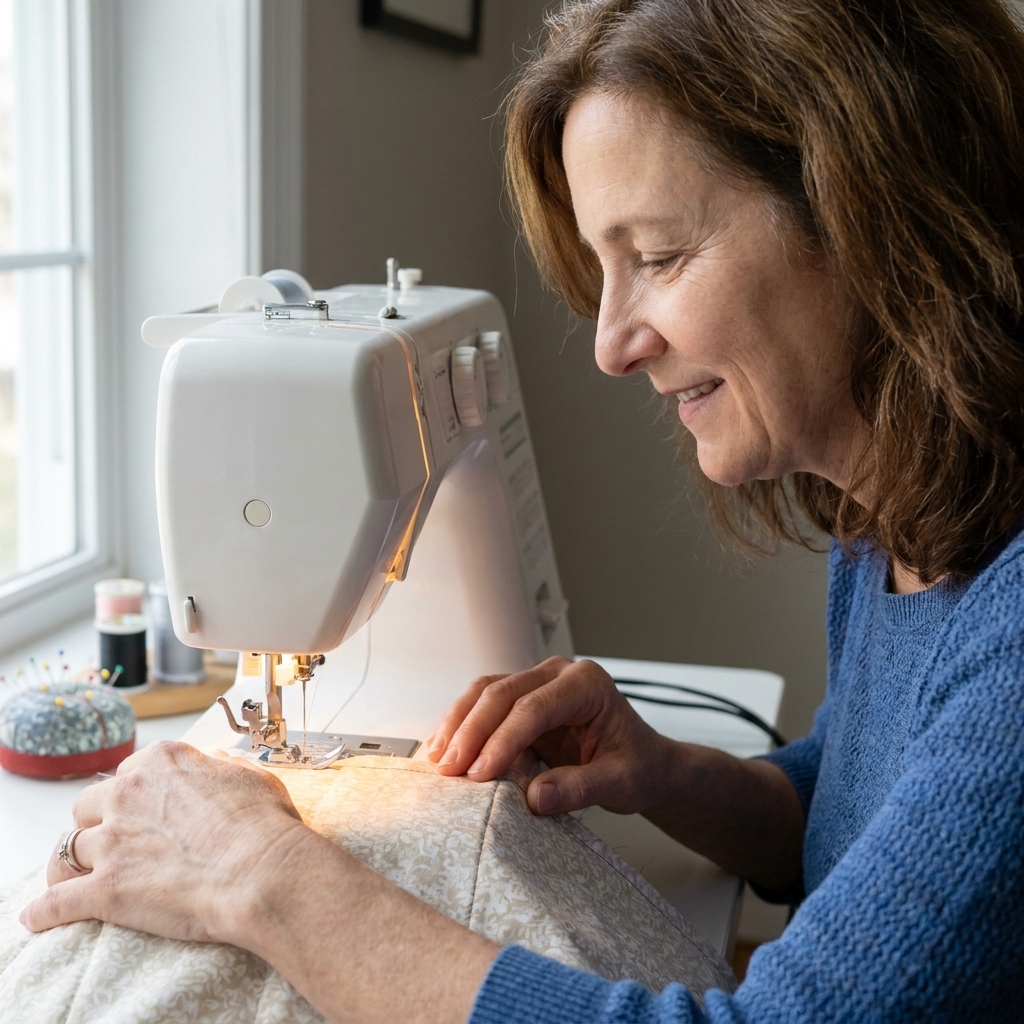
- Sewing machine
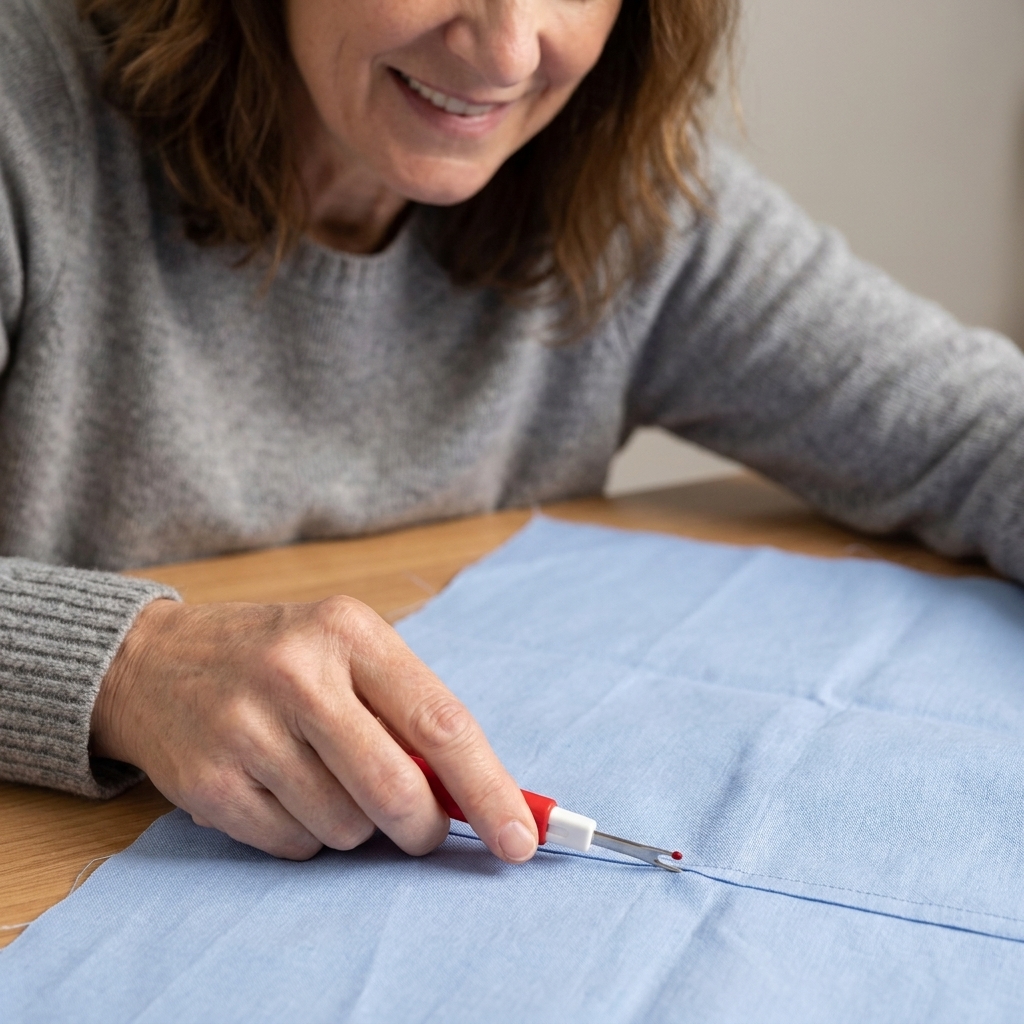
- Seam ripper (best friend, not bad news)
Cutting sizes (standard pillowcase)
This tutorial makes a standard pillowcase that fits most standard bed pillows. If you are working with directional prints (words, animals, stripes), read the directional print note below before cutting.
| Piece | Cut size | Notes |
|---|---|---|
| Main (body) | 27 in x 41 in | 41 in is the width that wraps around the pillow |
| Cuff | 12 in x 41 in | Finished cuff is about 4 inches, depending on seam allowance and how it turns |
| Trim (optional) | 2 in x 41 in | Use 1.5 in if you want a slimmer accent |
Directional print tip
If your main fabric has an obvious “top” and “bottom,” make sure the 27 inch measurement runs from top to bottom of the print. The 41 inch measurement should run side to side around the pillow.
Grain and squaring tip
Before you cut, take a minute to square up one edge and make sure your pieces are cut on grain. A slightly off-grain cut can make the pillowcase twist and feel wonky, especially with stripes and other directional prints.
Before you sew
I use a 1/4 inch seam allowance for the burrito seam. For the side seams, we will use a simple French seam finish so the inside looks tidy and fully enclosed.
- Stitch length: 2.5 mm is a great default.
- Needle: a fresh universal 80/12 needle works well for quilting cotton.
- Pressing: press as you go. It makes everything line up and look crisp.
Step-by-step: the burrito roll
1) Press and stack
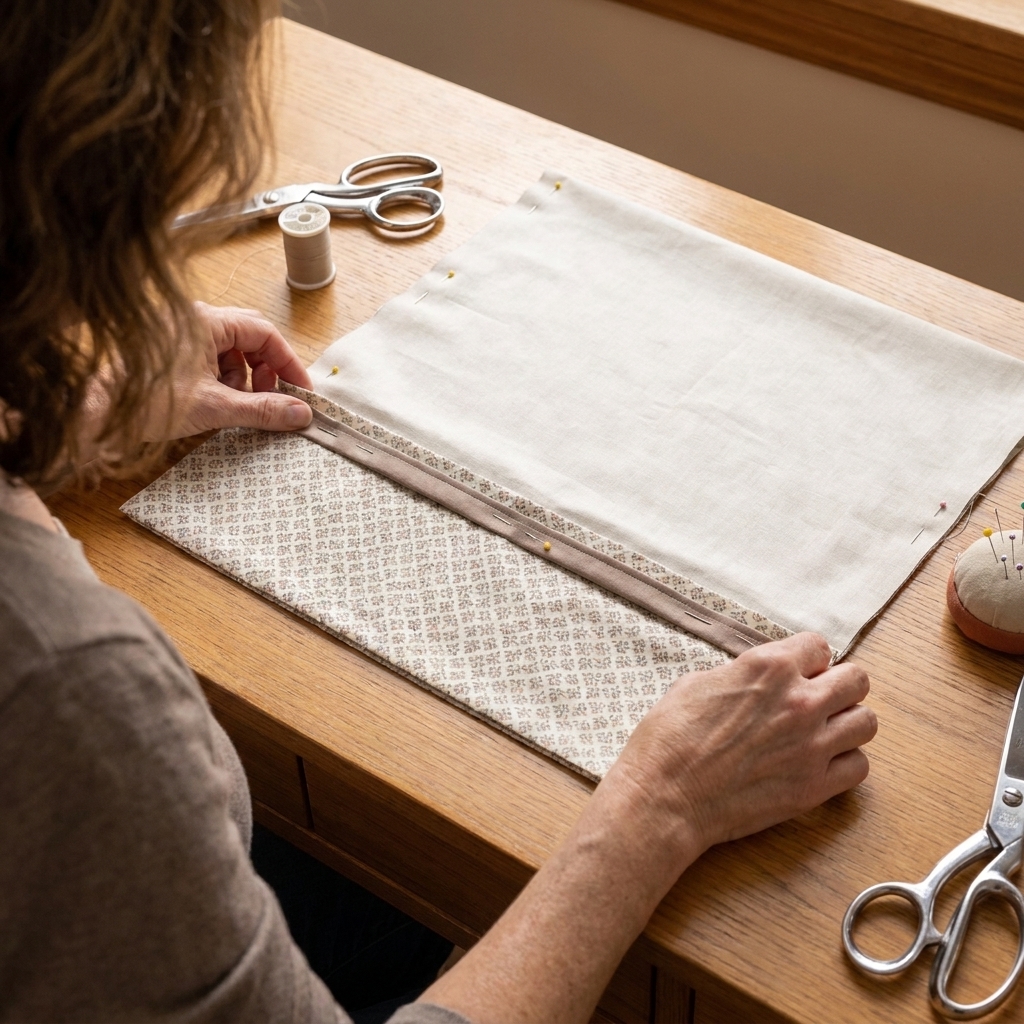
Press all three pieces. Then lay them on your table in this order, with all raw edges aligned along the same top long edge:
- Cuff fabric right side up, long edges at top and bottom.
- Trim fabric right side up along the top long edge of the cuff (optional).
- Main fabric right side down, aligned to that same top long edge.
You are making a fabric sandwich at that top edge. Take a moment to smooth everything flat before pinning.
2) Pin the top edge
Line up the raw edges along the top and pin through all layers. If you are using clips, use a bunch. This is one of those times where extra pins are a kindness to your future self.
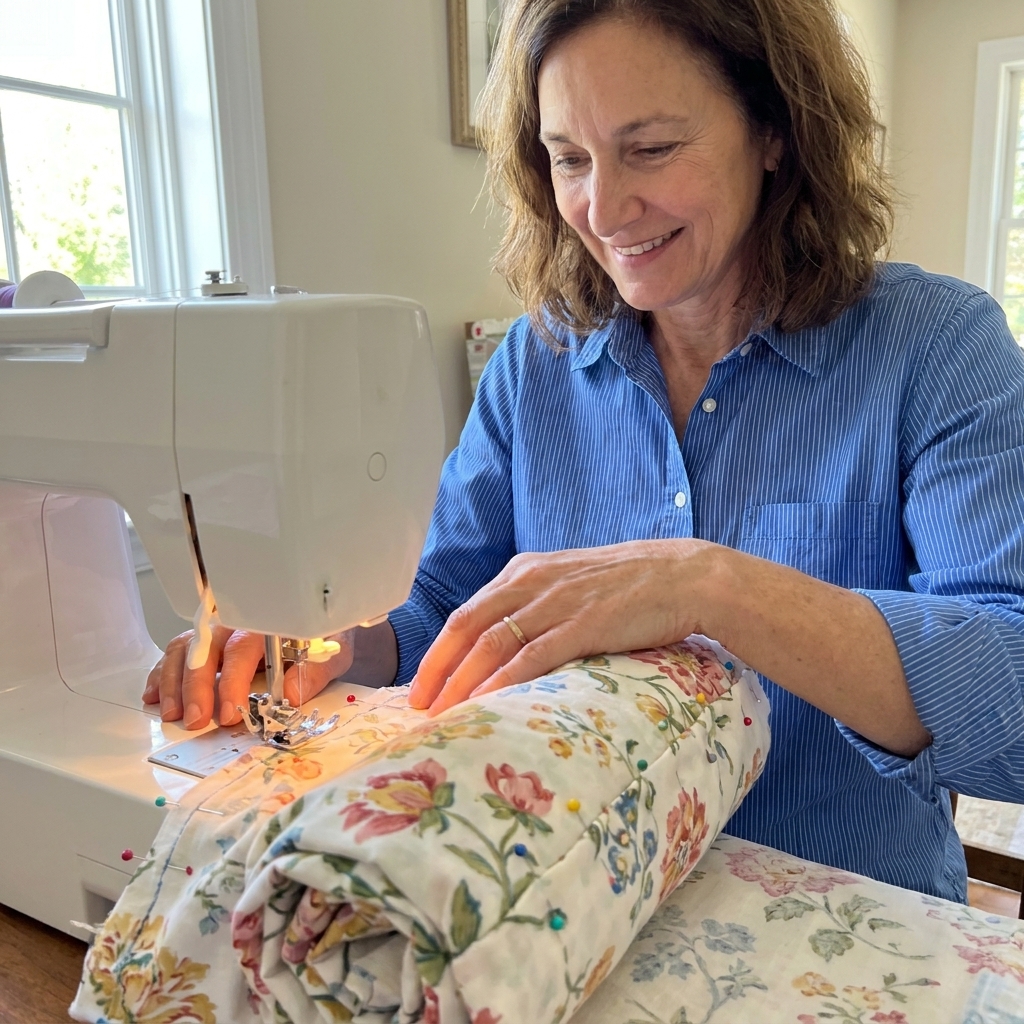
3) Roll the main fabric
Starting at the bottom long edge of the main fabric (the edge closest to you), roll it up tightly toward the pinned edge. Keep rolling until the roll sits a couple inches away from the pinned edge. You should still see the pinned sandwich edge at the top.
Think: neat sleeping bag roll, not chaotic towel ball. A tidy roll is easier to wrap and stitch.
4) Wrap the cuff around the roll
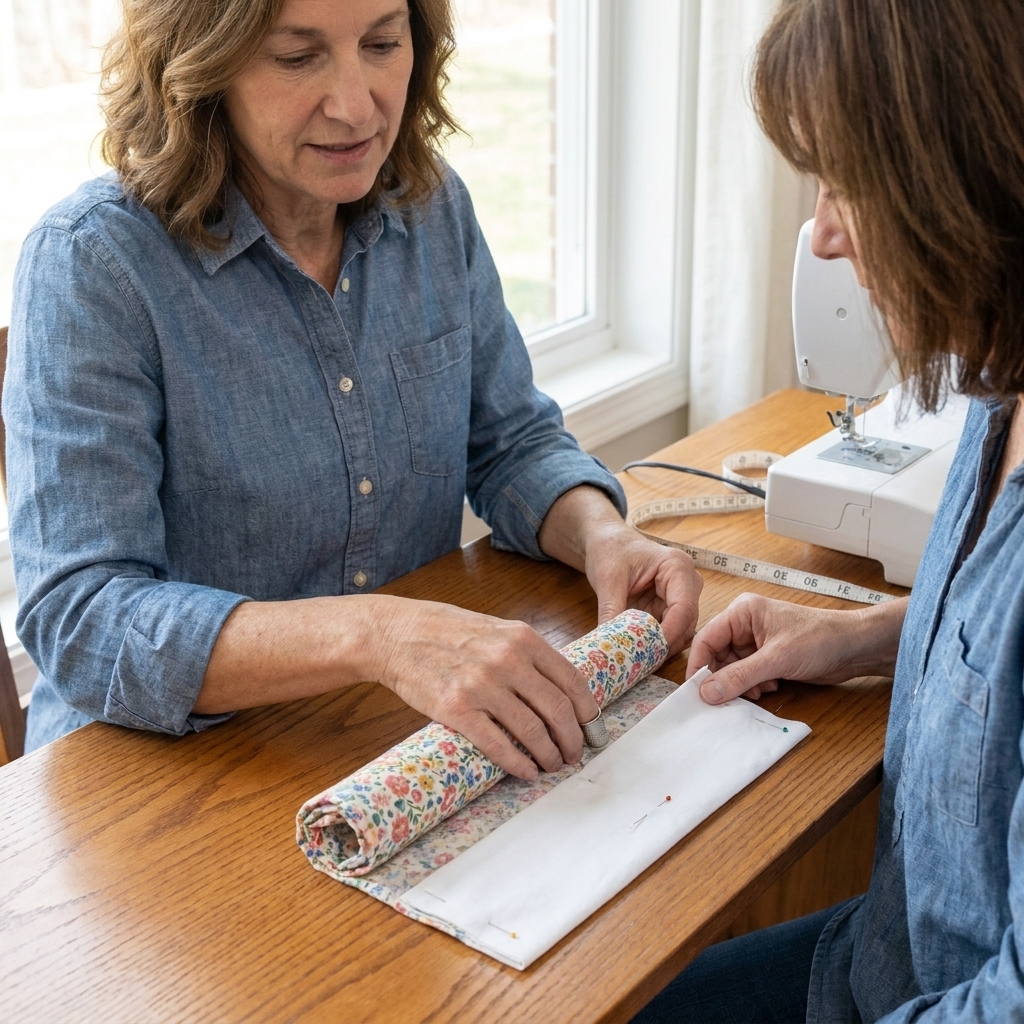
Keep the cuff fabric right side up. Now take the bottom long edge of the cuff fabric (the edge closest to you) and bring it up and over the burrito roll to meet the pinned top edge.
Line that cuff edge up with the pinned raw edges at the top. You are enclosing the roll inside the cuff like a little fabric sleeping bag.
Pin this new edge to the pinned edge, matching raw edges all along the width.
5) Stitch the long seam
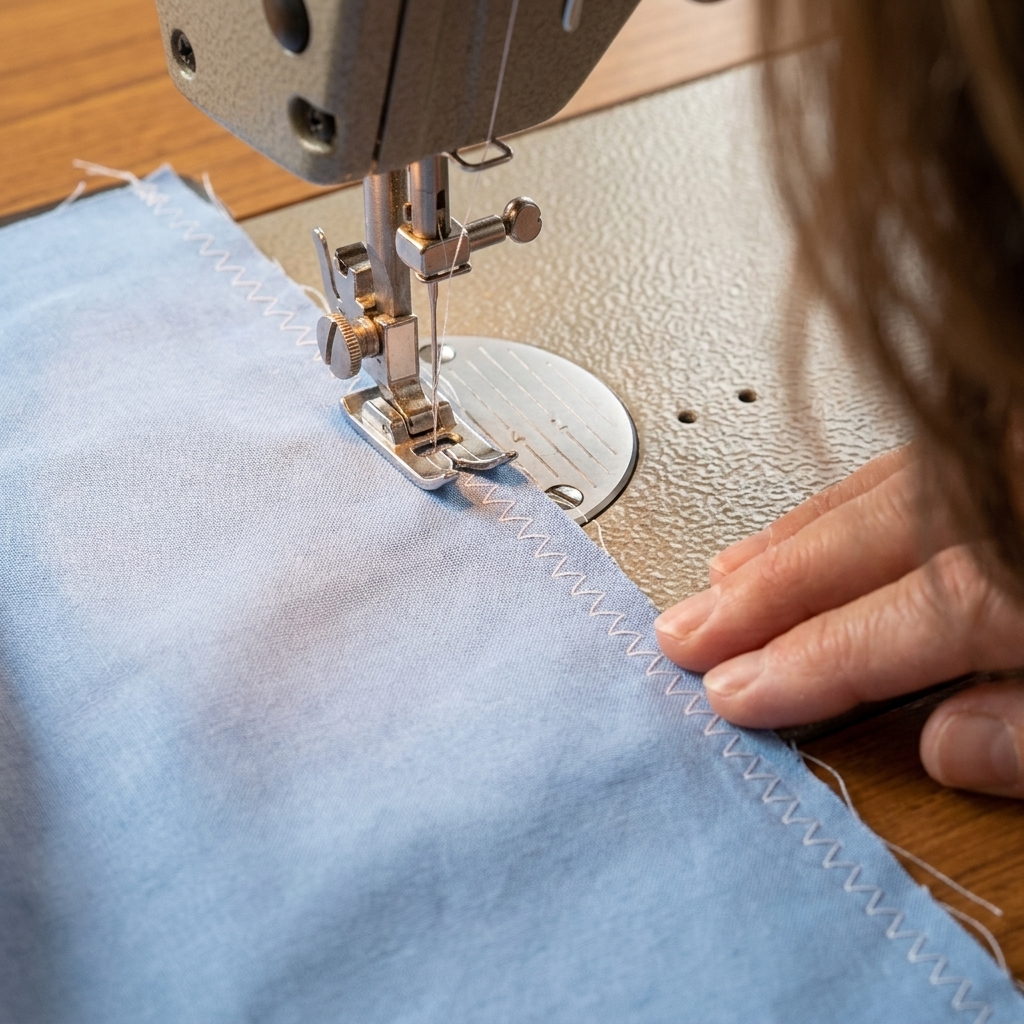
Sew straight across the pinned long edge with a 1/4 inch seam allowance. Backstitch at the beginning and end.
Important: keep the burrito roll safely away from your needle. I like to peek in from the side and make sure the roll is not creeping into the seam line.
6) Turn right side out
This is the fun part. Find one end of the fabric roll and gently pull the main fabric out through the tube. Keep pulling until everything flips right side out and the cuff seam is fully enclosed.
Press the seam flat, then press the cuff away from the main fabric so it lies crisp and straight.
Finish with French seams
Now we will sew the side and bottom seams in a way that hides the raw edges. French seams are my favorite beginner upgrade because they look fancy but they are basically just “sew it twice.”
1) Fold wrong sides together
Fold the pillowcase in half with wrong sides together so the right sides face outward. Align the side edges and the bottom edge.
Pin along the side and bottom (leave the cuff end open, of course).
2) Sew the first seam
Sew down the side and across the bottom with a 1/4 inch seam allowance. Pivot at the corner with the needle down.
Trim any loose threads. If your fabric frays a lot or feels bulky, trim the seam allowance down to about 1/8 inch. This helps the second seam wrap neatly, but do not accidentally cut your stitches.
3) Turn and press
Turn the pillowcase inside out so right sides are together. Use a blunt tool (like a chopstick) to gently push out the corner. Press the seam so it is crisp.
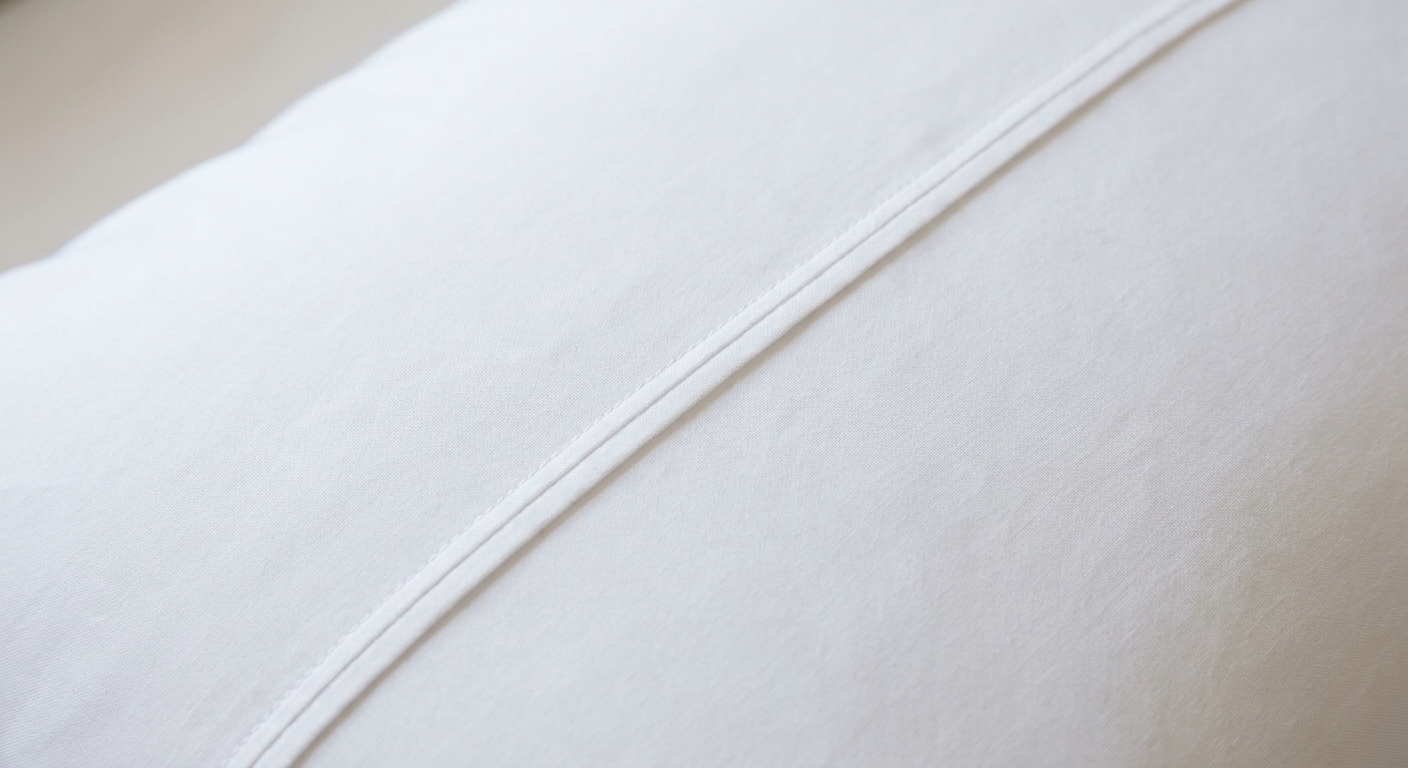
4) Sew the second seam
Sew down the side and across the bottom again, this time with a 3/8 inch seam allowance. This wraps the raw edge inside the seam. Press again.
Final press and fit check
Turn your pillowcase right side out, give it a final press, and slide it onto a pillow. The cuff should sit flat, the trim should peek out evenly (if you used it), and the inside should look beautifully finished.
If something is slightly wiggly, you did not fail. This is what the seam ripper is for. Unpick a few inches, smooth it out, and sew again. That is real sewing.
Common hiccups
My cuff seam looks twisted
This usually happens if one fabric layer flipped while pinning. Unpick just that long seam, restack your layers carefully, and sew again. Pressing before you pin helps a lot.
I stitched the burrito roll
You are not alone. Use your seam ripper to free the trapped section, then resew that area. Next time, keep the roll a bit farther from the seam and pause to check before you sew.
The trim is uneven
The trim strip may have slid. Baste the trim to the cuff edge first with a long stitch, then assemble the burrito. It adds two minutes and saves a lot of fussing.
The pillowcase is too tight or too loose
Cutting sizes can vary by pillow brand. If your pillow is extra plump, add 1 to 2 inches to the 41 inch width of the main, cuff, and trim pieces next time.
Simple variations
- No trim version: Skip the trim piece. Place the main fabric right side down on the cuff and proceed as usual.
- King size: One common cut is 27 in x 45 in for the main, 12 in x 45 in for the cuff, and trim to match. King pillows vary a lot, so measure your pillow and adjust the width for a comfortable fit.
- Cozy flannel: Flannel makes dreamy winter pillowcases. Use a fresh needle and press well, since flannel is a little thicker.
FAQ
Is the burrito method the same as a French seam?
They work together, but they are different steps. The burrito method encloses the cuff seam (that long seam attaching cuff to body). French seams finish the side and bottom edges so there are no raw edges inside.
Do I need a serger?
Nope. That is the beauty here. A regular sewing machine plus French seams gives you a fully enclosed, durable finish.
What if I only have 1/2 yard cuts?
You can piece fabrics, but for your very first one I recommend using fabric that is wide enough to cut the full 41 inch width. Once you understand the construction, piecing is totally doable.
What is the best fabric for beginner pillowcases?
Quilting cotton is the easiest to cut, press, and sew. It behaves nicely under the presser foot and shows off fun prints.
One last pep talk
The burrito pillowcase looks like a magic trick the first time you do it. If your first attempt feels a little clumsy, that is normal. The second one will feel easier, and by the third you will be rolling fabric like you were born doing it. Put the kettle on, press those seams, and take it one stitch at a time.